Tag Archives: Stitched Shapes Dies

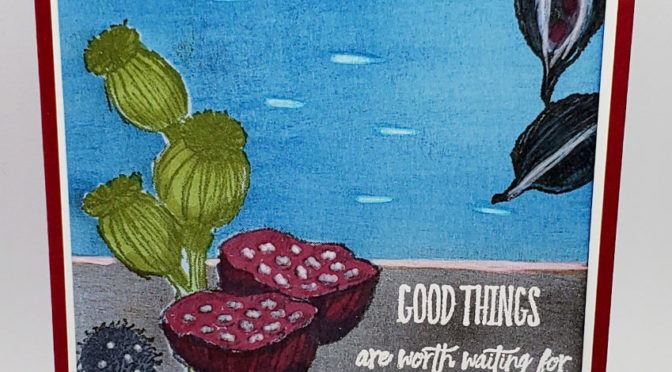
Mini Class – Enjoy the Moment

Hey Guys!

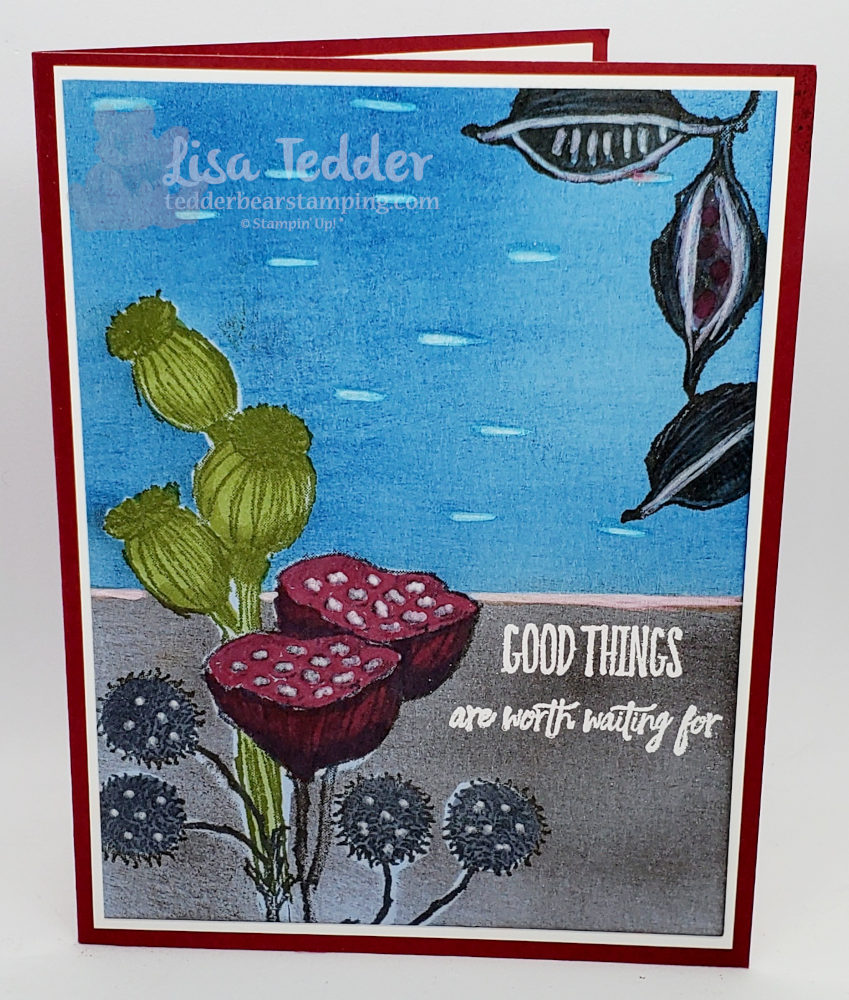
Today I am sharing with you my Mini Class – Enjoy the Moment stamp set from Stampin’ Up! If you were a demonstrator and signed up for the ‘convention’ from SU! you would have received this stamp for FREE! I LOVE being a demo, the perks are so awesome, not only do I get 25% off whatever I buy, but when I go to the get togethers that are done throughout the year, I get freebies! Also, I get to order a month before any catalog goes Live! The best part of all is all the people I have met through Stampin’ Up! If you have any questions about joining my team, let me know! I would love to have you as part of my SU! family!

So, today I am sharing two cards I did with this stamp set! If you missed my Live video, you can catch the repeat here. These cards were a lot of fun! Here is the first one:
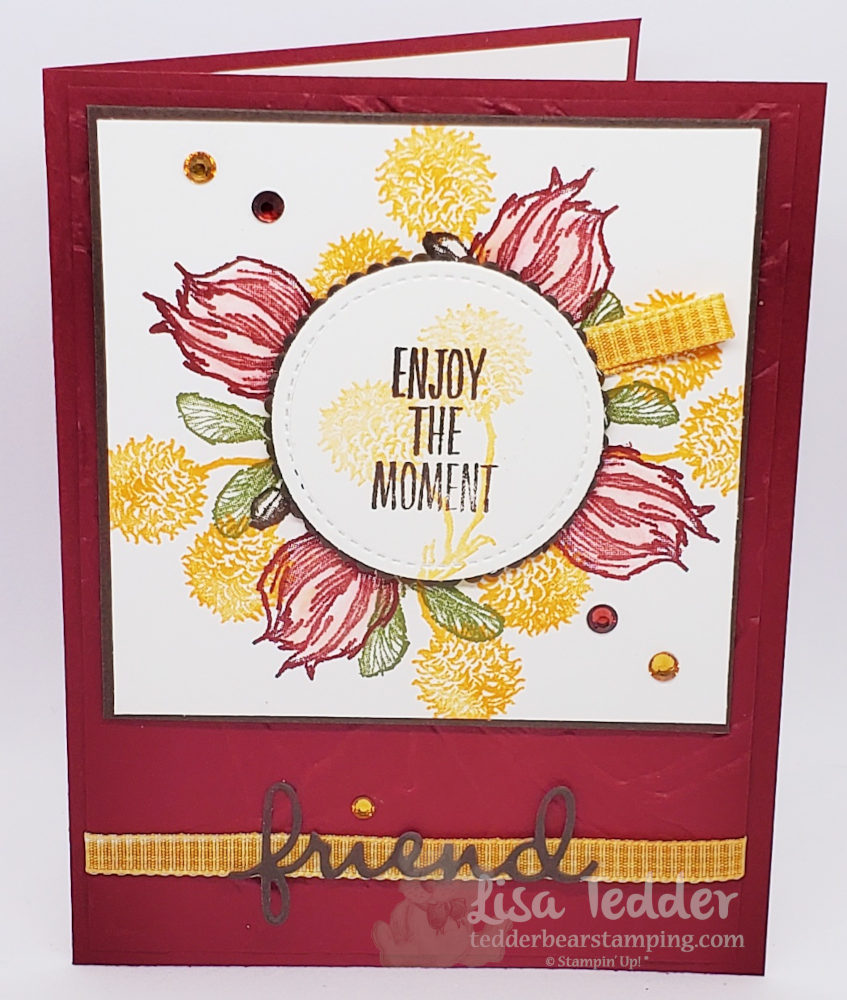
Mini Class Enjoy the Moment-Inspired by Narello Fasulo
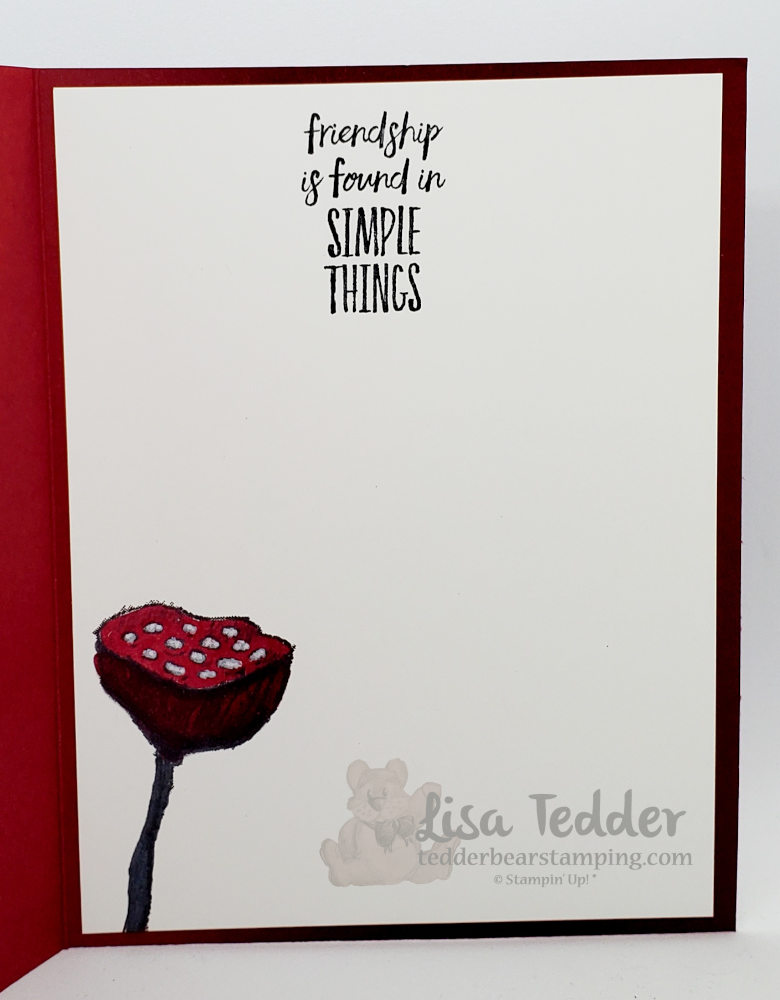
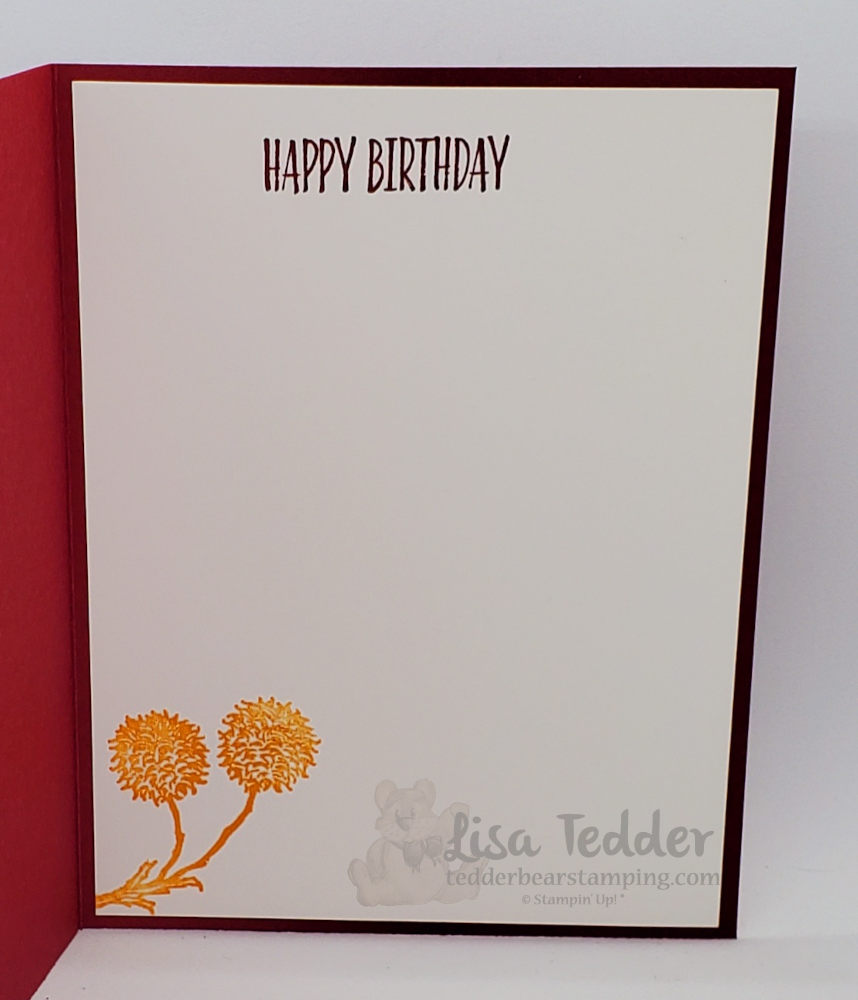
Mini Class Enjoy the Moment inside
Mini class Enjoy the Moment-Inspired by Cheryl Miller
Enjoy the Moment inside

As Always, I am listing the supplies used for both of these cards below, they will also be listed in picture form at the bottom, click on any of the pictures to be taken to my online store! When shopping with me, if you order $35 or more you will receive the card kit for that week plus a pillow gift!! And you will also get a pdf of 16 cards with step by step instructions with pictures!

  • Stamps:
  • Enjoy the Moment
  • Inks:
  • Old Olive
  • Mango Melody
  • Cherry Cobbler
  • Pacific Point
  • Memento Black
  • Versamark
  • Blends:
  • Mango Melody
  • Old Olive
  • Cherry Cobbler
  • Basic Black
  • Paper:
  • Basic Black 3 3/4″ sq ( 2nd card), scrap for ‘friend’, and scrap for scalloped circle behind sentiment on card 1
  • Cherry Cobbler 8 1/2″ x 5 1/2″ (for both cards), 5 1/4″ x 4″ (card 1)
  • Basic White 5 1/4″ x 4″ (x2) for card 2, 5 1/4″ x 4″ for card 2, 5″ x 3 3/4″ (card 2), 3 5/8″ sq (card 1), scrap for sentiment on card 1
  • Misc:
  • Dimensionals
  • White embossing powder
  • heat tool
  • Stitched shapes dies
  • Layering circles dies
  • Stamparatus
  • Wink of Stella
  • White Chalk Marker
  • Holiday Rhinestones
  • Well Written dies (for ‘friend’)
  • Painted Texture Folder
  • Bumblebee Gingham ribbon

Here is a sneak peek of the pdf that you will get when you spend $35 or more:
I hope you enjoyed the cards today! If you missed last weeks video/class you can catch it here. I have been really loving my weekly mini classes, I hope you have been too! Come back next week to see the two cards I make!

Lisa Tedder
A former California girl living in North Carolina

Product List

Two Techniques in one Class

Hey Guys!

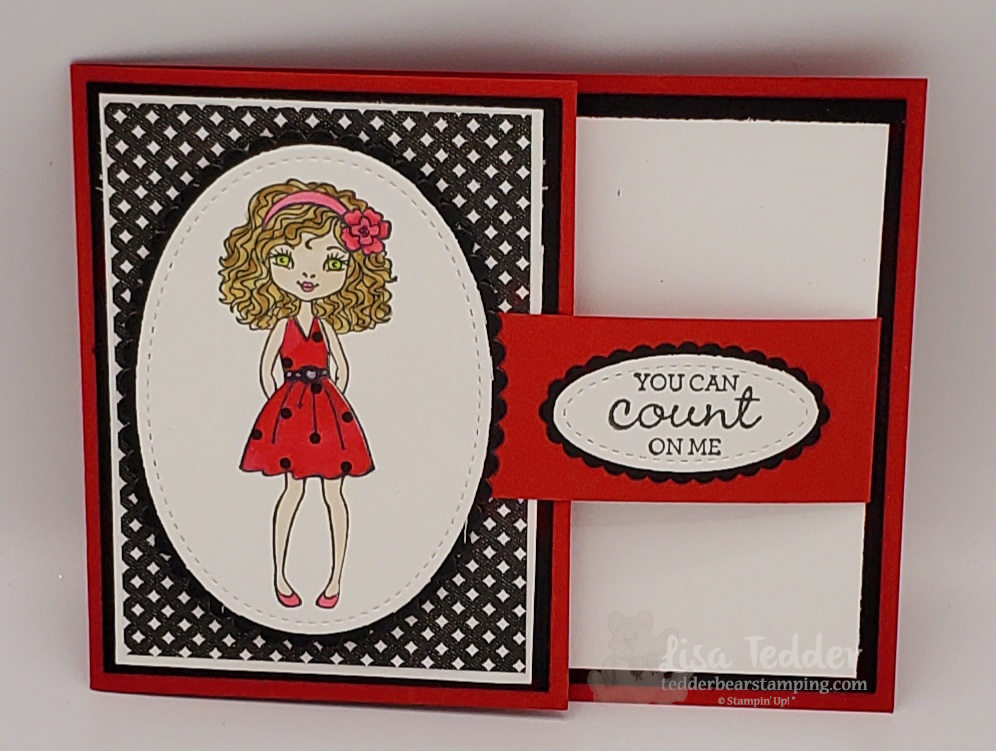
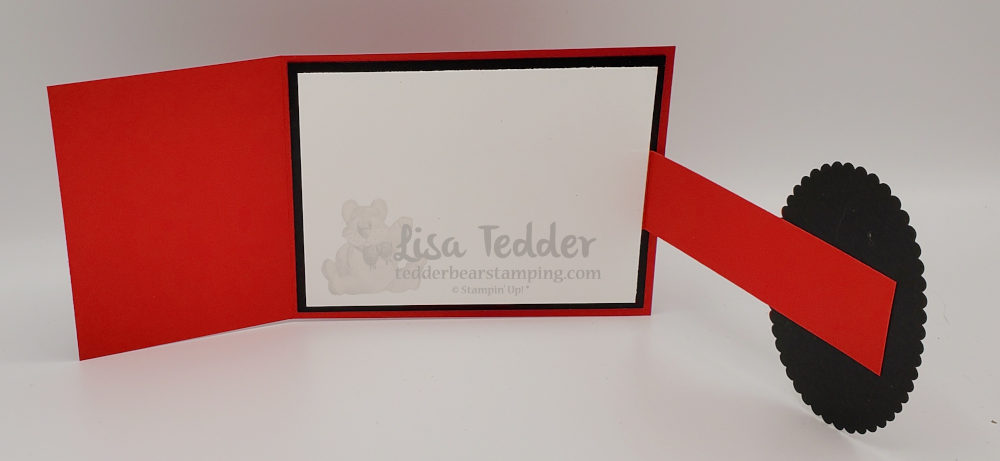
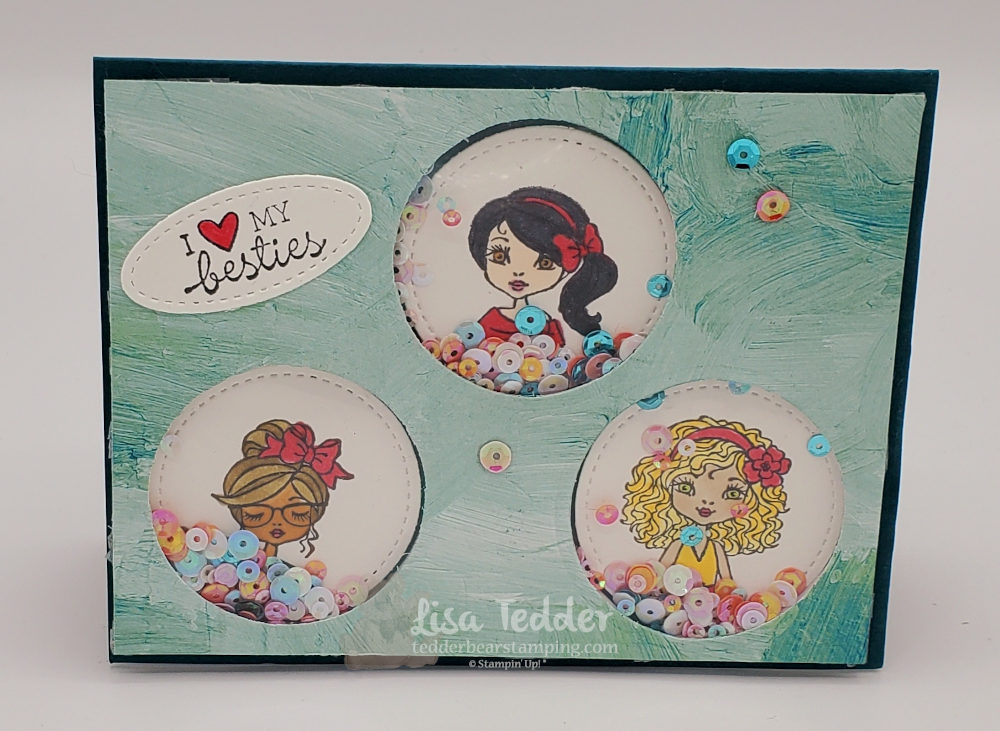
For today’s post I am sharing with you a mini class that I am doing on YouTube that has two techniques! One of the techniques I’m doing for the first time! I really hope you joined me on my Live, but if not you can always catch it here.

One of Two Techniques
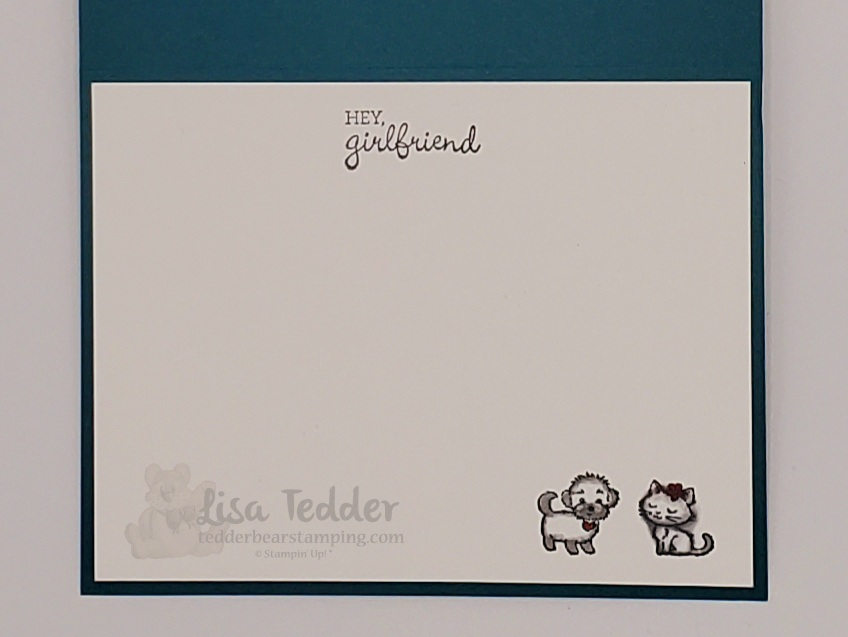
Inside
Technique two, one mini class
Inside card 2

As always, here are the supplies for both of these cards:

  • Stamps:
  • Hey, Girlfriend
  • Inks:
  • Memento Black
  • Blends:
  • Real Red
  • Basic Black
  • Mango Melody
  • Cinnamon Cider
  • Ivory
  • Petal Pink
  • Soft Suede
  • Granny Apple Green
  • Smoky Slate
  • Paper:
  • Pretty Peacock 8 1/2″ x 11″ card 2
  • Fine Art Floral Designer Series Paper 5 1/4″ x 4″ card 2
  • True Love Designer Series Paper 3 3/4″ x 2 3/4″, scrap for dress. card 1
  • Real Red 8 3/4″ x 4 1/4″ scored @ 3 1/4″, 5″ x 1 1/4″ scored @ 1/2″. card 1
  • Basic Black 5 1/4″ x 4″, 4″ x 3″, 3 3/4″ x 2 3/4″ (for scalloped piece behind girl), 2 1/4″ x 1 1/4″ (for scalloped piece behind sentiment) card 1
  • Basic White 5″ x 3 3/4″, 3 7/8″ x 2 7/8″ (front flap card 1), 3 1/2″ x 2 1/2″ (for stitched shape of girl) , 2″ x 1″ for sentiment, 5 1/4″ x 4″ for card 2, scraps for circles for card 2
  • Misc:
  • Layering Ovals dies
  • Stitched shapes dies
  • Foam Adhesive Strips
  • Woven Threads Sequin Assortment
  • White Chalk Marker
  • Magnet
  • Stampin’ Cut & Emboss Machine
  • Stampin’ Seal +

As a rule, I have the same supplies listed in picture form below, click on any of them to be taken to my OnLine Store! Likewise, for every $35 purchase you will receive from me the class packet from this class (excluding stamps/inks) and a PDF of 16 projects with step by step instructions. Sneak Peek:

Subsequently, I hope you enjoyed my Two Techniques in one Mini Class, if you missed my class from last week, you can go here. Likewise, if you missed my last blog post about that video you can see it here. That class was one of my very favorites, I hope you like it as much as I do!

Again, I want to share with you my Stampin’ Bestie Club! You can find all the info about it here, and you can join at any time! Though, you DID miss our inaugural class you can always be there next time! For those who join, Hetty, Carol and I would love to let you in on one of our favorite traditions: getting a charm for a bracelet every time we get together! We supply the bracelet too! Hence you will LOVE being apart of our club, we will have so much fun and each month you will receive between $19 – $22 of fun product!

In Conclusion, thank you so much for joining me today! I appreciate you supporting my small business and hope to see you on one of my Live videos so I can say hi!

Lisa Tedder
A former California girl living in North Carolina

Product List
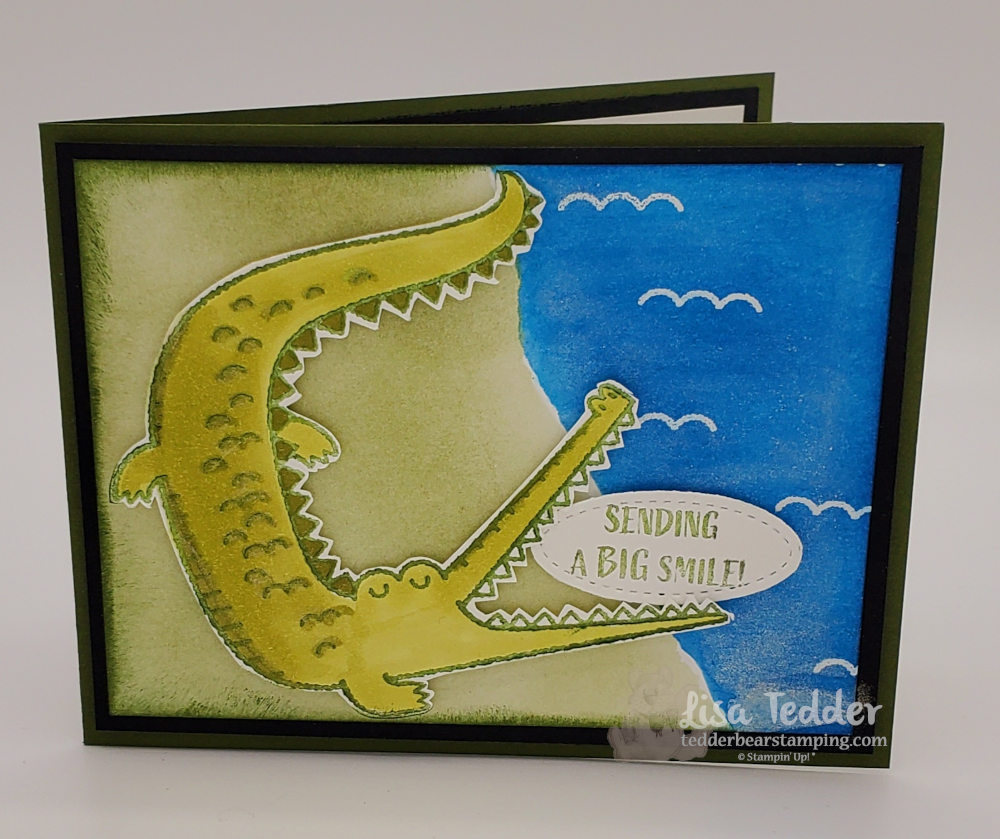
One stamp set – TWO different looks!

Hey Guys!

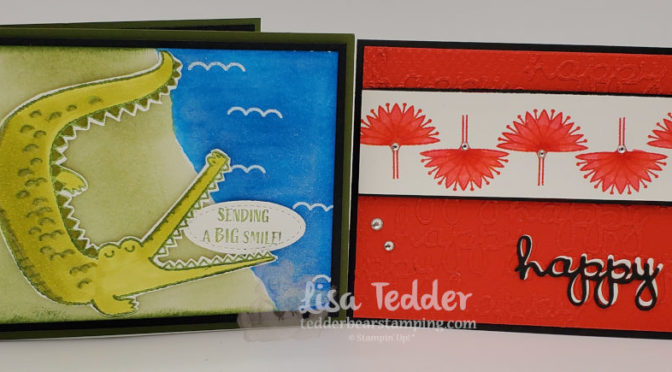
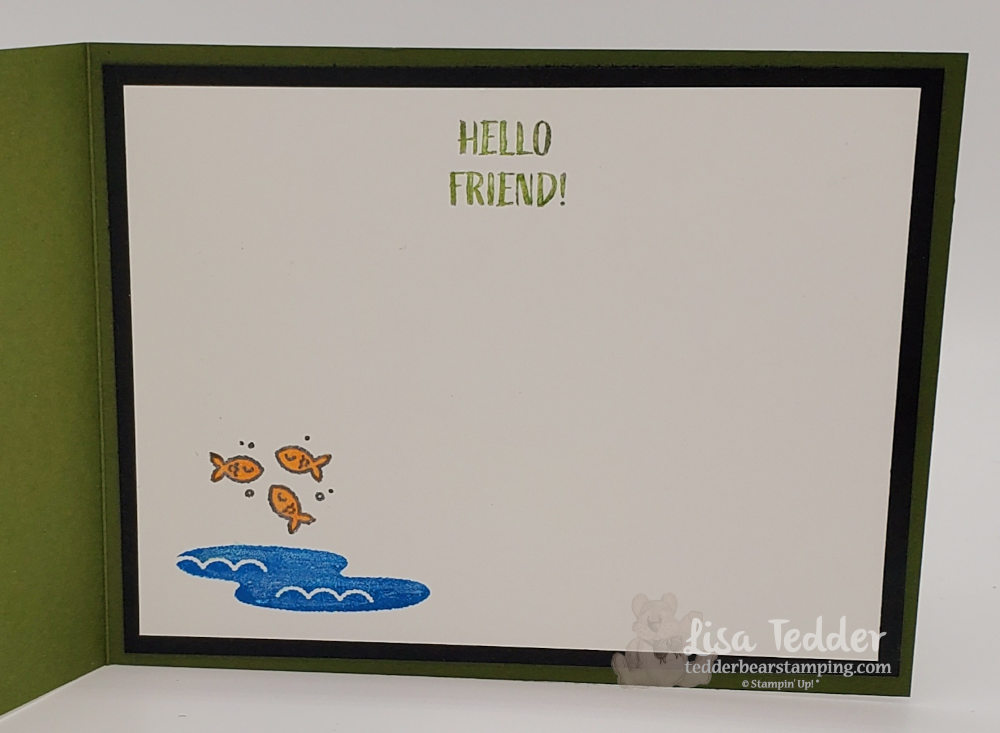
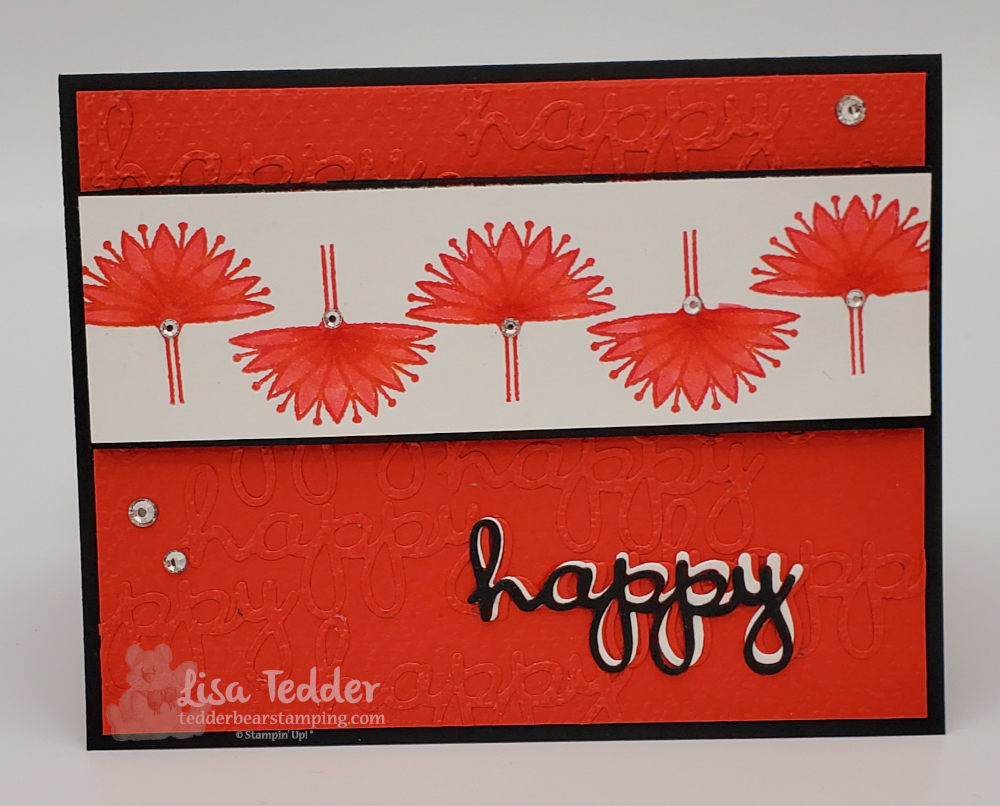
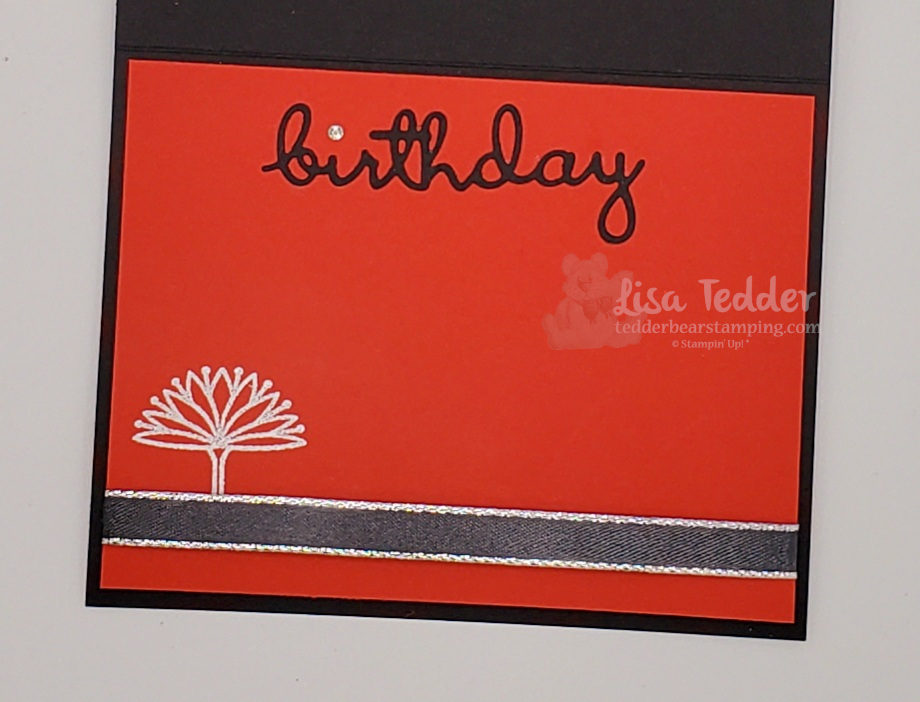
For this weeks Live video I used one stamp set, but got two very different looks! One is cute and simple something you might want to give the ‘kid’ in your life. The second card is very elegant and you wouldn’t think it came from the SAME stamp set! Don’t you love it when you can get more options when you buy something?!

One way of using this stamp set
Inside
One stamp set – Two very different looks!

As usual, here are the supplies needed for both of these cards:

  • Stamp sets:
  • Oh Snap
  • Inks:
  • Old Olive
  • Pacific Point
  • Mossy Meadow
  • Poppy Parade
  • Versamark
  • Blends:
  • Poppy Parade
  • Old Olive
  • Black
  • Paper:
  • Mossy Meadow 11″ x 4 1/4″ scored @ 5 1/2″
  • Basic Black 5 1/4″ x 4″ (x2) first card, 8 1/2″ x 5 1/2″ scored at 5 1/2″ second card, 5 1/4″ x 1 5/8″ second card, scraps for 2nd card
  • Basic White 5″ x 3 3/4″ (x2) 1st card, 5 1/4″ x 1 1/2″ second card, scraps for BOTH cards
  • Poppy Parade 5 1/4″ x 4″ (x2), scraps for ‘happy’ in 2nd card
  • Misc:
  • Dimensionals
  • Wink of Stella
  • Adhesive sheets
  • basic rhinestones
  • White Embossing powder
  • silver edged ribbon
  • Stampin’ Cut & Emboss Machine
  • paper snips
  • Heat tool
  • Blending brushes
  • Stitched Shapes Dies

I have been having so much fun doing my weekly YouTube Live videos! If you missed them you can always check them out at my YouTube Page! I would love it if you would join me at one of my Live Classes, you could be put in the drawing for one of the cards I make! You can also comment on one of my videos after they are live and I will put you in a drawing for that!

Like I say each week, each of the supplies that are listed above can be found below in picture form. Click on any of them and you will taken to my OnLine Store! If your purchase totals over $35, you will receive from me the class card pack that has everything except for stamps/ink that you will need to reproduce my cards…..or make them into similar cards with stamps you own.

If you missed my post on last weeks classes, you can go to this page and catch up! I made a HUGE announcement last week! You’ll want to check it out! I’m so excited!

Thank you for stopping by! I really appreciate you supporting my small business! Come back next week to see my next Mini Class!

Lisa Tedder
A Former California girl living in North Carolina

Product List

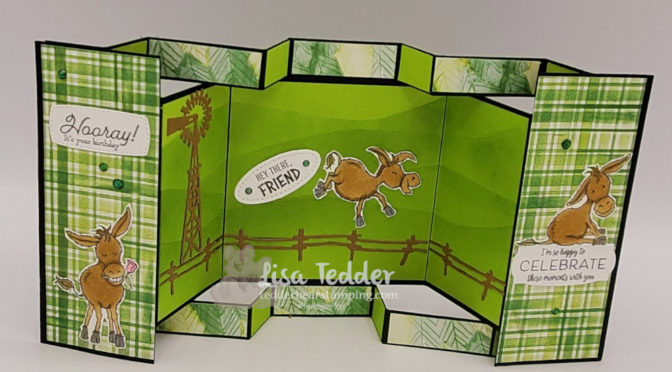
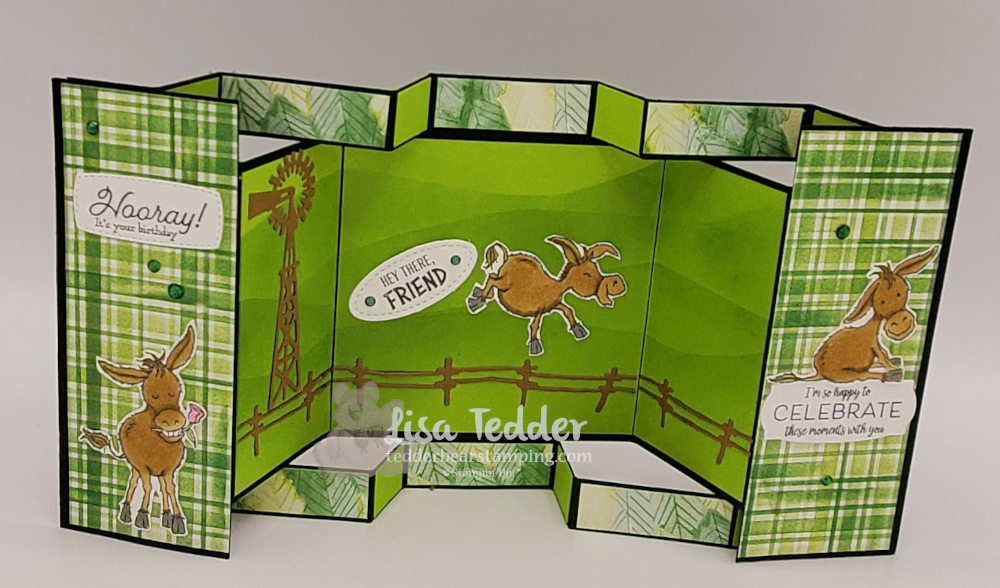
Donkey Fancy Fold

Hey Guys!

Yesterday I posted a Live YouTube video doing a Fancy Fold using the Darling Donkey stamp set! You can get this set FREE with a $50 purchase! Love, Love, Love this set!! I have been using it a lot ’cause I love it so much! If you missed my last Live you can catch it here! Also, I did a Blog post and that can be found here!

Free Donkey set Fancy Fold!

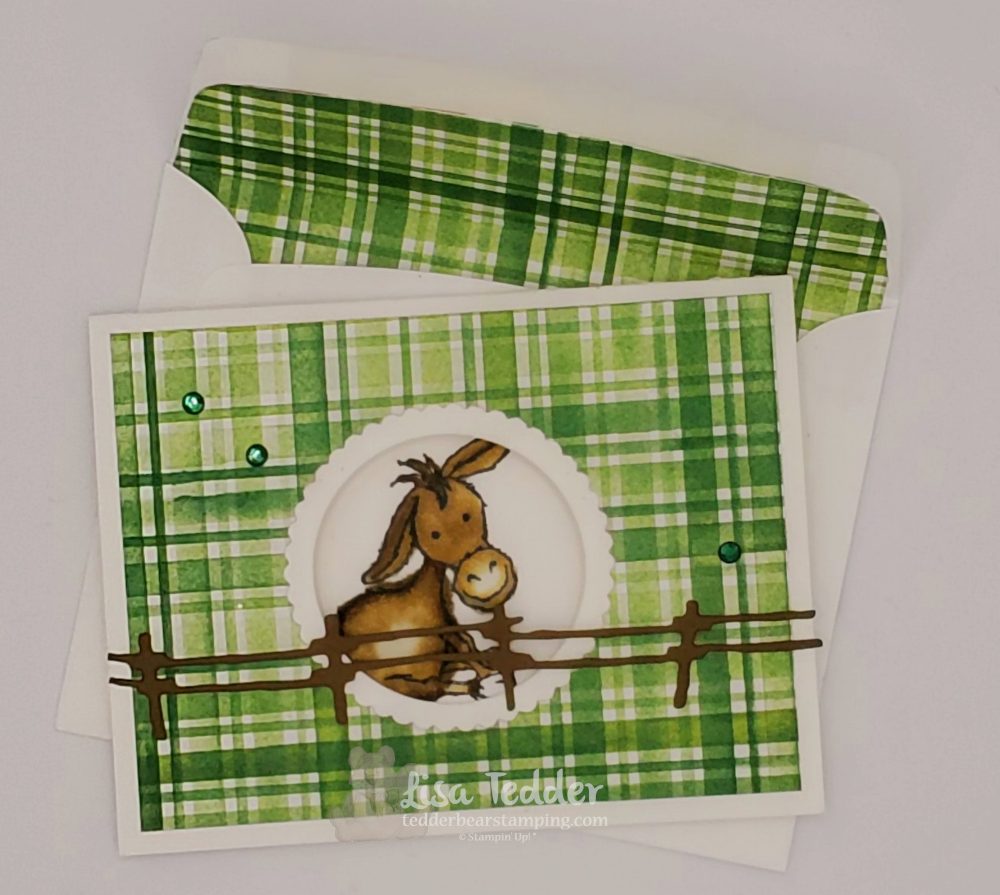
Of course I did a SECOND card for my Mini Class! And I also used the Free Donkey set!

Free Donkey stamp set on Memories & More gift card

First off, I wanted to tell you that I also used, along with the Donkey, the dies from the Bundle Ride the Range. I will be using this bundle for my next YouTube Live on Thursday January 14th! I hope you can join me. Also, I used some Free Designer Series Paper that comes in the Sale-a-Bration catalog as a bundle itself called Berry Blessings Stamp set + Berry Delightful Stamp set.

Secondly, as usual I am providing all the details needed to make BOTH projects:

  • Stamp sets:
  • Darling Donkeys
  • Many Messages
  • Inks:
  • Memento Black
  • Garden Green
  • Granny Apple Green
  • Blends:
  • Soft Suede
  • Smoky Slate
  • Color Lifter
  • Paper:
  • Basic Black: 12″ x 5 1/2″ (base), 5 1/2″ x 2 18″ (for panels) For Base you will lay it on your cutter/trimmer portrait and place the edge along the 3/4″ line and cut from the 1″ to 5″, pick up cutter and cut from 7″ to 11″, repeat for other side. Then place on trimmer Landscape and you will SCORE only on the outside edge (between the cut and edge), score on 1″, 5″, 7″ & 11″. Keep in Landscape and score ALL THE WAY across on 2″, 4″ 8″ & 10″. You will fold them on the outside edges mountain, valley, mountain valley (this is the same on both sides working towards the middle) Do both top and bottom. Inside flap gets folded mountain, valley, valley, mountain.
  • Granny Apple Green: 3 7/8″ sq. (back panel), 8″ x 3 7/8″ for middle scene, 5/8″ x 7/8″ (x8) for bottom and top small edges, 4 1/8″ x 3 1/8″ (for gift card)
  • Berry Delightful Designer Series Paper: cut 4″ x 5 3/8″ (turn and cut @ 2″ in half so they will line up), 4″ x 5 3/8″ for front panels when card is closed. 5/8″ x 1 7/8″ for adding to the tip and bottom small panels. And 4 1/4″ x 2″ for envelope flap
  • Memories & More Cards & Envelopes: I used a gift card/Envelope for small Donkey card.
  • White: 4″ x 3″ inside the Gift card
  • Misc:
  • Open Range Dies
  • Many Messages Dies
  • Layering Circle Dies
  • Stitched Shapes Dies (for sentiment donkey is kicking)
  • Holiday Rhinestones
  • Liquid Glue
  • Paper Trimmer

As you already know if you follow me and my blog, all the supplies will be listed below, click on any of the pictures and you will be taken to my OnLine Store! For any purchase of $35 or more you will receive from me the class packet for the class I am detailing today, which will include all the cardstock, die cuts (not the sentiments since that is not allowed per SU!) but I can send you the one die cut for the sentiment that the donkey is kicking since that is stamped with the stamp set and not the Many Messages. Also, you will get the Rhinestones and I will pre cut/score for the main card and die cut the circle for the gift card! The one thing I can not do is stamp anything.

BUT the great thing is it’s Sale-a-Bration now and you can get MORE than you would normally! Spend $50 and you can pick out that CUTE Darling Donkey set for FREE! This is while supplies last, so don’t wait! Furthermore, you will get the 16 project ideas in a PDF that has step by step instructions and pictures….hint, my Home decor item is what I made!! So you will have the measurements for that too!

Thank you for all your support! I so appreciate you joining me on my Live classes and for those who can’t watch live I appreciate you watching it later!

If you are in need of a catalog, let me know and I will get one right out to you!

Love ya!

Lisa Tedder
Formerly a CA girl now living in North Carolina

Product List

Another CUTE kid card!

Hey Guys!

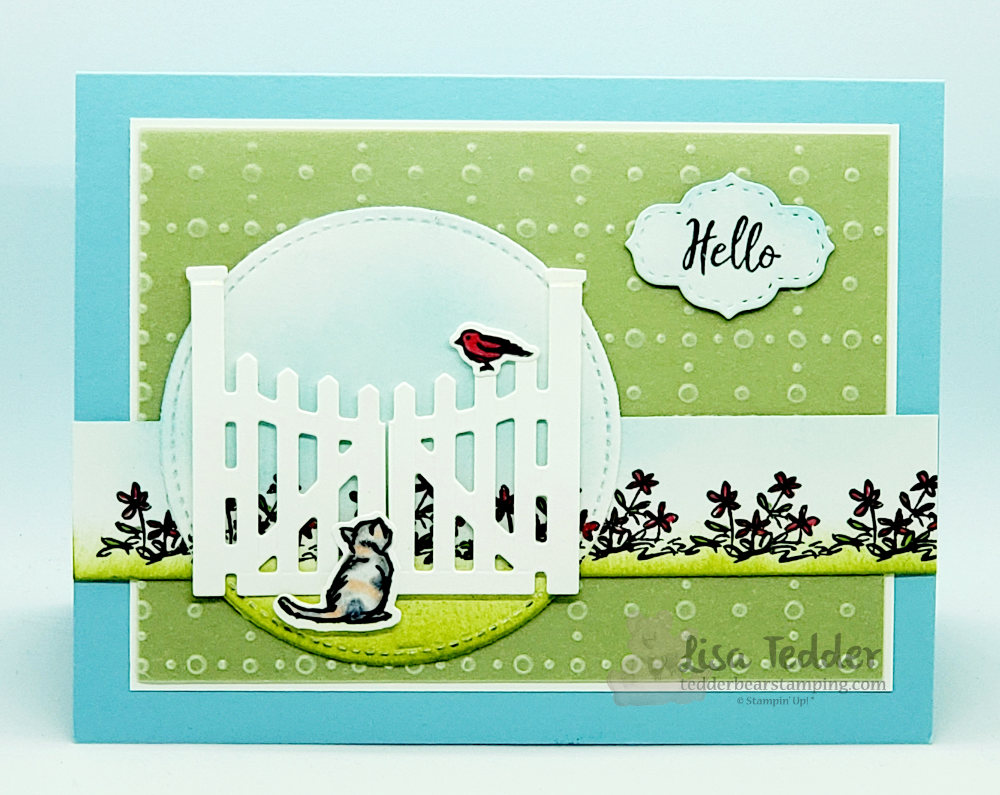
In my last post I showed you a really cute bug card for a kid in your life. Today I am going to show you a card for an older kid using the Stampin’ Up! Bundle Grace’s Garden. Let me tell you this set called to me for MONTHS and I finally broke down and bought it two weeks ago! Normally, I try not to buy too much from the Occasions Catalog, but this time there was just too many things that I fell in love with, so of course I overdid it! The great thing is that this set I can keep forever because it will work great in Scrapbooking!

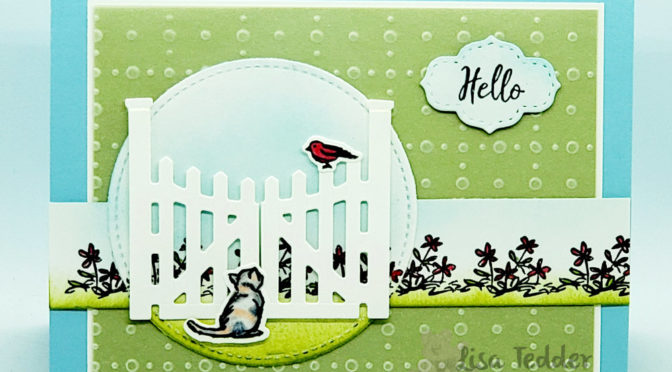
Isn’t this so cute?!! I love the kitty saying ‘hello’ to the bird! I choose to believe that is what he is doing! LOL I have owned a cat that looks like this kitty, her name was Pepper (after my daughter’s imaginary friend when she was little!)

Are you like me? Do you love fencing/gates or anything like it on a card? I think it really adds a lot! This idea came from KB Papercraft on Pinterest. Changing up the background paper to use the really pretty So Very Vellum DSP in the Sale-A-Bration catalog! Vellum is something I absolutely LOVE working with. To make the Vellum stand out even more I layered under it Pear Pizzazz cardstock, this makes it be more vibrant. The sentiment is different on mine too, I love to use Dies to set it off.

Here are the specifics for this card:

Stamps:
Grace’s Garden Bundle

Inks:
Memento Black
Pear Pizzazz
Balmy Blue
Blends: Real Red D, Granny Apple Green L, Calypso Coral L, Smoky Slate D, Basic Black D

Paper:
Balmy Blue 8 1/2″ x 5 1/2″
Whisper White 4 7/8″ x 3 5/8″ (x2), 1″ x 5 1/2″, 3″ for circle, scraps for sentiment, cat, bird and gate
Pear Pizzazz 4 3/4″ x 3 1/2″
So Very Vellum DSP 4 3/4″ x 3 1/2″

Misc:
Mini Dimensionals (cut in half)
Stitched So Sweetly Dies
Stitched Shapes Dies
Sponges

Below you will see the products in Picture form, click on any of them to be taken to my OnLine Store. When you place an order from $35 on up you will be sent 50 + Picture tutorials to make all kinds of projects, for Free! This is my way of saying thank you!

Come back to see me! And leave a comment so I know you came by!

Lisa Tedder
A California girl living in North Carolina

Product List

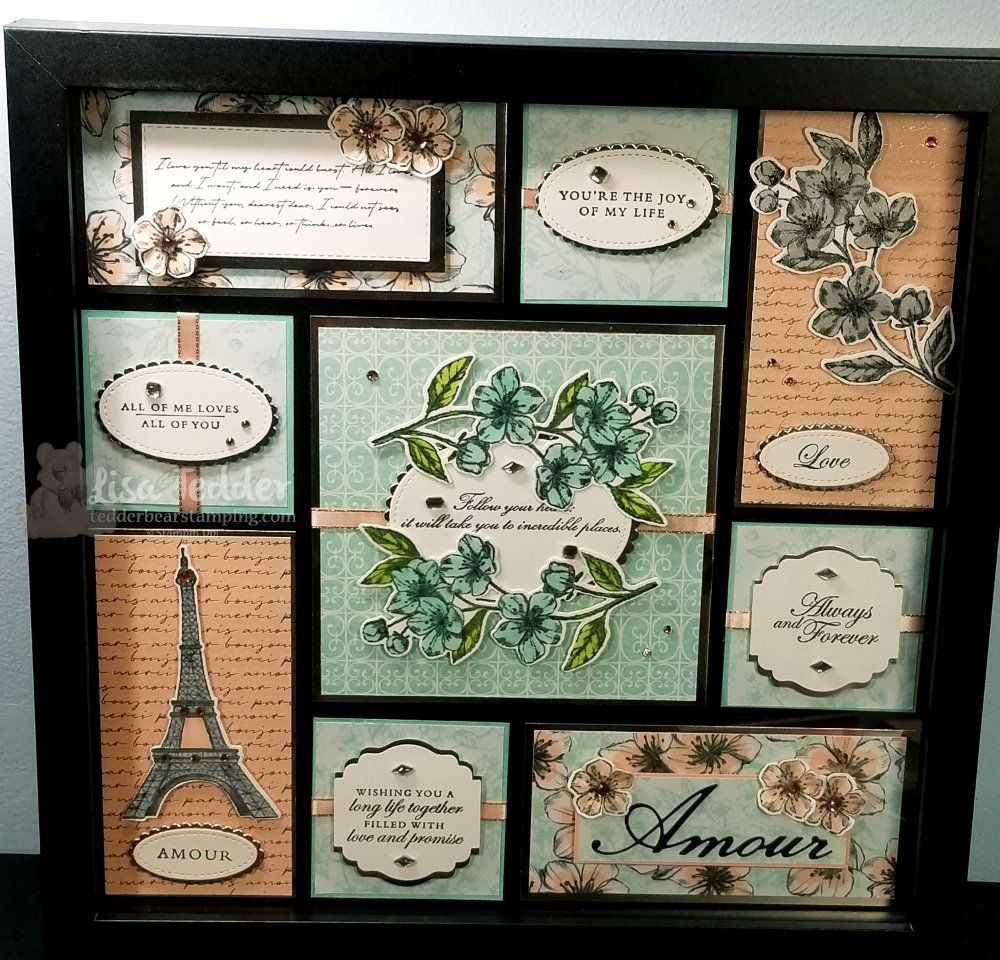
Parisian Framed Sampler Occasions 2020

Hey Guys!

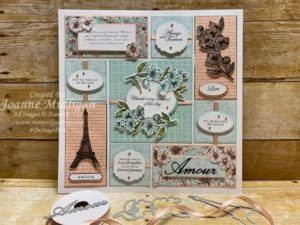
Today, I am sharing with you a Sampler that I found from Joanne Mulligan…..changed it up a LITTLE, but still wanted to give her credit!

Here is her piece:

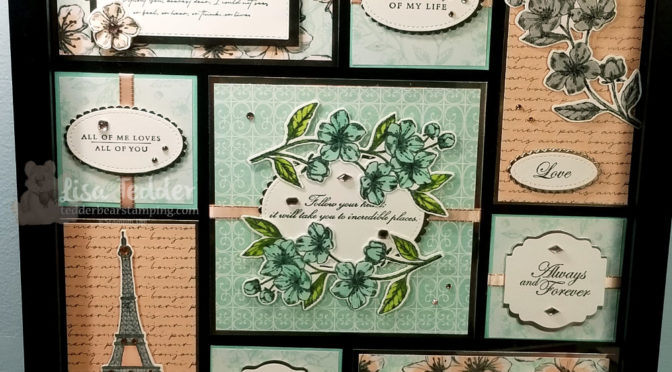
First, I changed the background to black, changed up some of the sentiments, did the flower in right corner and Eiffel Tower different, Then I changed the background layer to some of the pieces.

Secondly, for the Eiffel Tower and the right top corner flower I stamped them on White then colored them with a Smoky Slate Combo Blends. I also added a BUNCH of Petal Pink Rhinestone Gems that I have been hoarding (I’m not the only one that does that, am I?) plus some Champagne Rhinestones……can’t have too much bling, right? MOST of the bottom layer is Champagne Foil for all but the small Blue squares.

To make lining this up MUCH easier, I first put the pieces already done onto a piece of 11 1/2″ sq piece of black cardstock, each outside piece goes to the edge of the black. then this was put onto a piece of 12 x 12 black. It really takes away the guesswork and stress of getting them in the proper position. Stampin’ Up! has retired the Black 12 x 12, thankfully I have some left over.

Measurements for this are: ***
Top left, top right, bottom left, bottom right are 2 3/4″ x 5 1/2″
All square small pieces are 2 3/4″ sq
Middle piece is 5 1/2″ x 5 1/2″
*** this is for the Base pieces only, take off 1/8″ – 1/4″ for layers over the base.

I hope you like my take of Joanne’s great sampler! There will be a Special class either this month, or next month. The cost will be either $30.00 for my team members or $35.00 for those who aren’t. Of course everything will be pre-cut for you to complete this! To be expected, you will be doing your own stamping! What’s a Stampin’ Up! class without stamping?!

Below, you will find all the product that I used for this Sampler, click on any of the images to be taken to my OnLine store! If you shop with me, I will be sending you a file with over 30 tutorials for you to use!

Please come back again!

Lisa Tedder
A California Girl living in North Carolina

Product List