Today I am sharing with you a card that I copied from a card I saw on Pinterest by Lali Peach.
Here is my card:
I love this stamp set and when I added the silver Glimmer paper to the back of the sentiment panel, it really popped!
Here are the specifics of this card:
PROJECT 3: Humming Bird
Stamp Sets
Pg #
Humming Along Occasions
Well Said Bundle
Paper
Thick White 8 1/2″ x 5 1/2″
White 3 1/4″ x 1 3/4″, 3 3/4″ x 5″ (x2)
Pacific Point 5 1/4″ x 4″
Silver Glimmer 3 1/2″ x 2″
Shimmer White Paper 3″ x 4″, Black scrap
Inks
Pacific Point
Smoky Slate
Granny Apple Green
Momento Black
Accessories
Clear EP
Iridescent Sequins/Metallic Sequins/Fine Tip Glue
Wink of Stella
Dimensionals
Aqua Painters
Big Shot
For his eye I used a teeny tiny black sequin. This card was for a handmade card class at my local Senior Center. They loved it! Who doesn’t love sequins!?
Below are the supplies used in picture form. If you click on any of them you will be taken to my OnLine Store. If you purchase from me I will send you a small thank you gift!
Lisa Tedder
A California girl living in North Carolina Product List
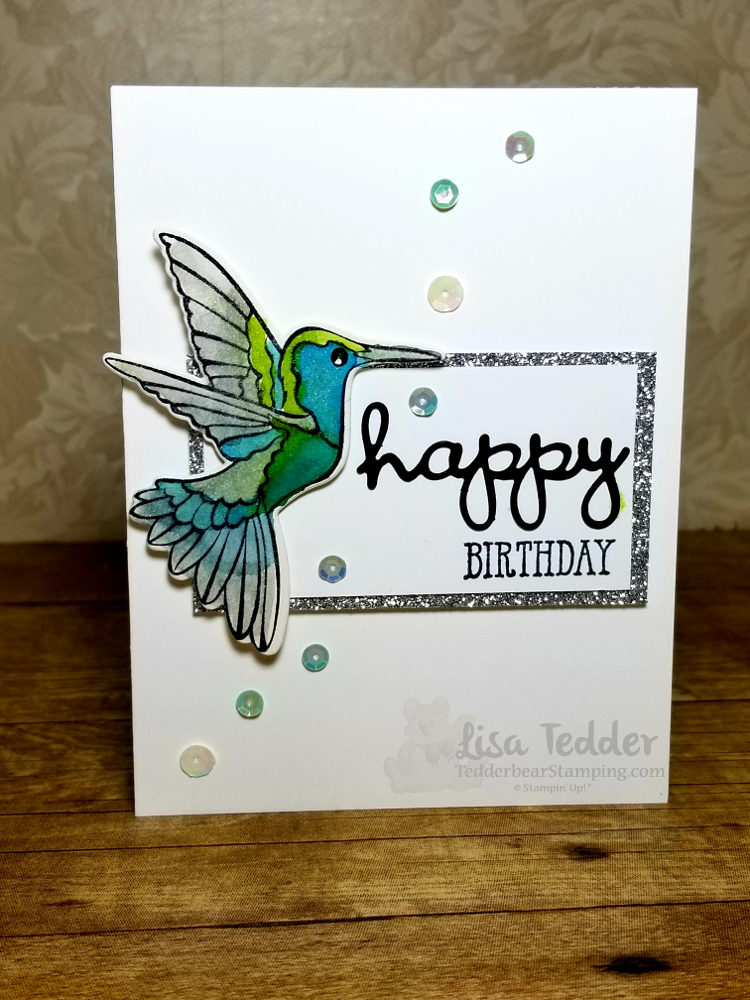
Here is another card that I saw on Pinterest that I decided to CASE.
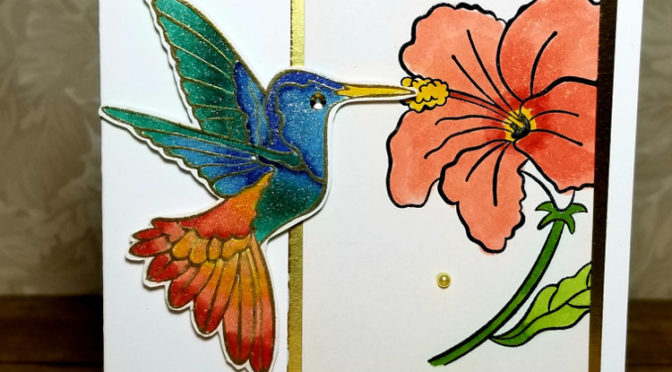
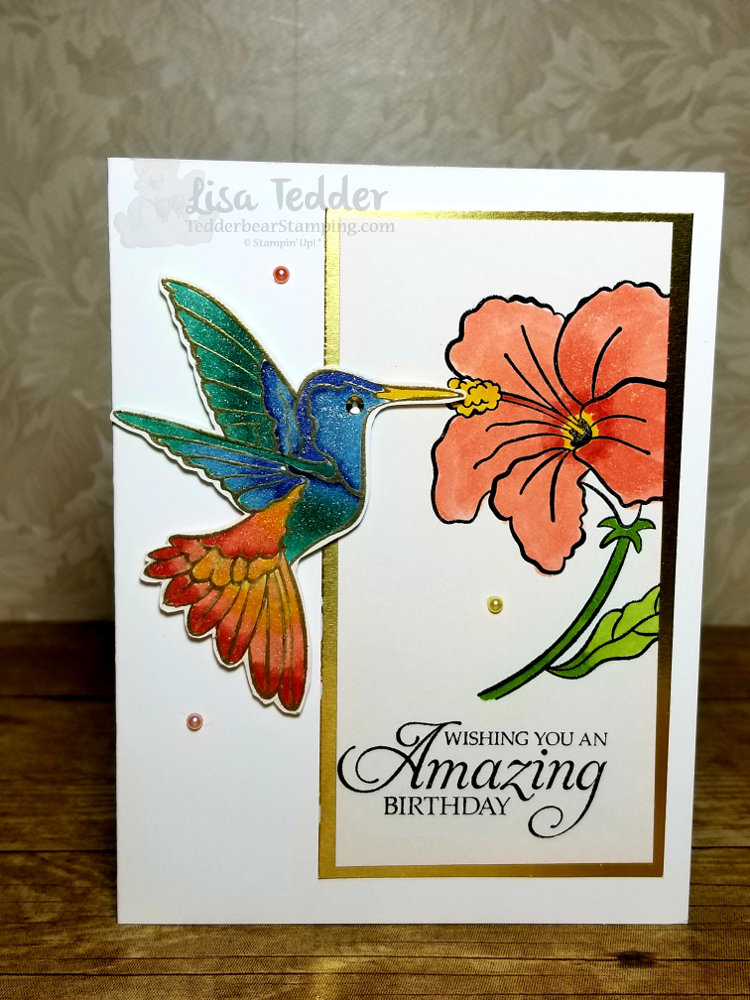
This was done by Mikaela Titheredge, absolutely stunning but I wanted mine to be a standard size. Here is what I came up with:
If you look close, you can see all the glimmer on the bird. I did this with blends and then went over with the Wink of Stella. I LOVE the colors used on this gorgeous hummingbird!
Here are the specifics for this card:
PROJECT 1: Humming Bird
Stamp Sets
Pg #
Humming Along Occasions Bundle
Itty Bitty Birthdays Occasions
Paper
Thick White 8 1/2″ x 5 1/2
White 3 3/4″ x 5″
Shimmer White 2 3/8″ x 4 5/8″, 3″ x 4″
Calypso Coral 5 1/4″ x 4″
Gold Foil 2 5/8″ x 4 7/8″
Inks
Momento Black
Blends: Granny Apple Green, Calypso Coral,
Night of Navy, Bermuda Bay, Dk Daffodil Delight
Accessories
Wink of Stella
Share What you Love Artisan pearls
Dimensionals
Big Shot
I LOVE when I can find a card that other than size I don’t have to change anything!
Below are the supplies in picture form. Click on any of the pictures to be taken to my OnLine Store. If you choose me as your SU! Demo I will send you a small gift as a thank you!
Lisa Tedder
A California Girl living in North Carolina Product List
Today I am sharing with you a mostly CASE’d from Tracy Elsom. I loved her card so much I had to make it, I added more layers but other than that it’s like hers!
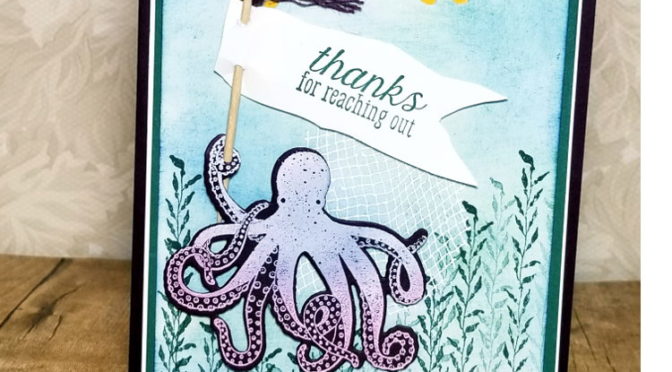
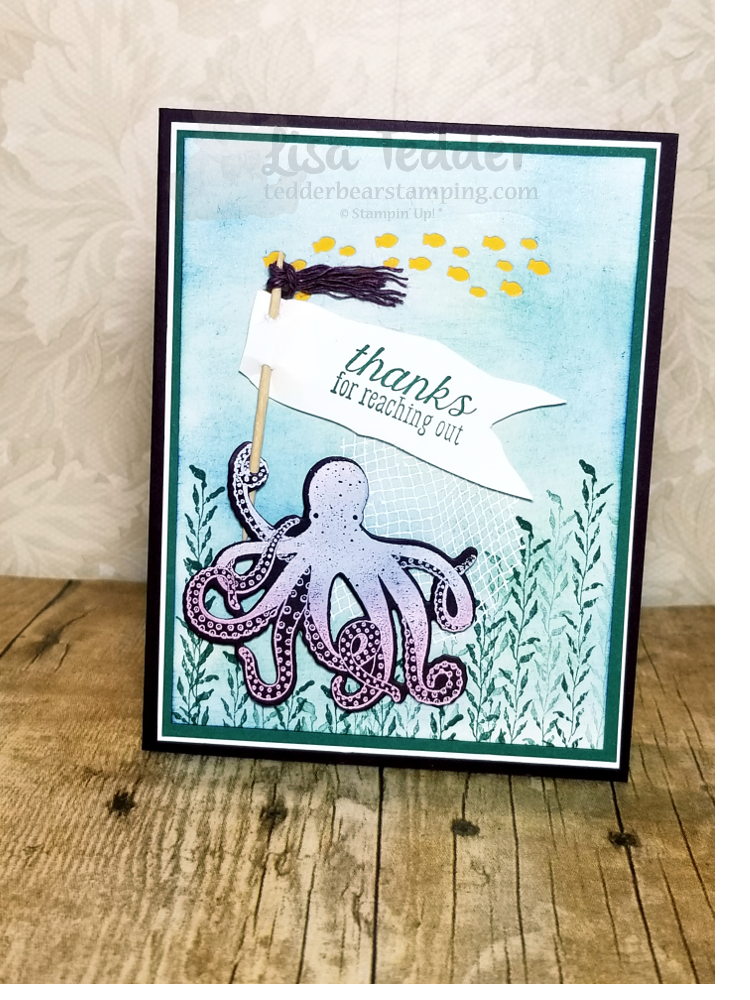
This cute Octopus is just so stinkin’ cute!! I changed up the top of the banner, I had this really pretty Blackberry Bliss twine! You can see her post here.
I popped up the Octopus and sign with Dimensionals so it is super cute in person!
I followed Tracy’s instructions on her blog, I sponged the background with Mint Macaron and then Blueberry Bushel. Stamped the long seaweed in Tranquil Tide, stamping twice to give more dimension. I set this aside, and stamped the octopus on Blackberry Bliss cardstock with Versamark and embossed with White. Sponged OVER the white embossing powder to tint the white. I used Blackberry Bliss on the bottom and Night of Navy at the Top. It’s so cool in person!! After I was sure the base was dry, I stamped the ‘net’ in Versamark and then embossed that with White Embossing Powder. Be sure if you make this that it’s dry and that you use the Embossing Buddy! For some reason White EP loves to stick to EVERYTHING!
Below are the supplies I used to make this card, click on any picture to be taken to my OnLine Store!
Thank you so much for visiting me!
Lisa Tedder
A California girl living in North Carolina
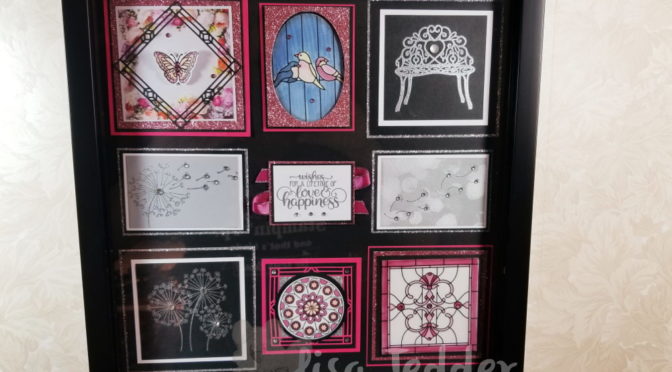
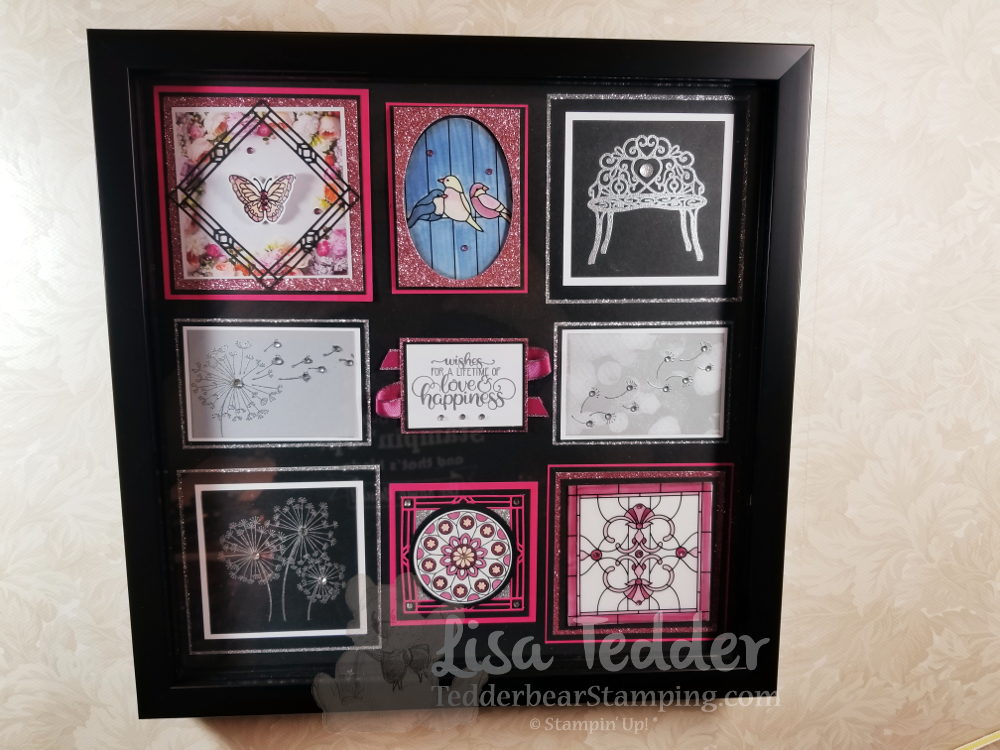
I made a video and at the end I showed this Shadow Box. I promised I would have the measurements here on my blog so if you want to make it you can!! It took a little longer than I promised, but at least I got it done! Here is a picture of the Shadow Box:
Here are all the Measurements:
Shadow Box Instructions:
Top Left:
Melon Mambo 3 7/8”sq, Black 3 5/8” sq, Rose Glimmer 3 ½” sq, DSP Petal Promenade 3 1/8”, black die cut 3” sq, Butterfly die cut colored w/blends add Wink of Stella. Add colored rhinestones.
Top Middle:
Melon Mambo 2 5/8” x 3 9/16”, Black 2 ½” x 3 7/16”, Rose Glimmer 3 ¼” x 2 3/8”, Vellum DSP cut out with oval framelit, colored on back with Blends, Foam adhesive on back of Glimmer.
Top Right:
Silver Glimmer 4” sq, Black 3 ¾” sq, White 3 ¼” sq, Black 2 7/8” sq, stamp bench in Versamark and emboss with Silver EP, add Clear Faceted Gem in heart.
Left Center:
Silver Glimmer 3 5/8” x 2 9/16”, Black 3 1/2” x 2 3/8”, White 3 3/8”, Smoky Slate 3 1/8” x 2 1/8”, Stamp Dandelion in Versamark and emboss with Silver EP. Add Rhinestones
Center:
Rose Glimmer 2 ½” x 1 7/8”, Black 2 3/8” x 1 ¾”, White 2 5/16” x 1 11/16, stamp sentiment with Versamark then emboss with silver, add rhinestones. Under this square crisscross the Berry Burst Metallic Edge Ribbon.
Right Center:
Silver Glimmer 3 5/8” x 2 9/16”, Black 3 1/2” x 2 3/8”, White 3 3/8”, Ink up Bokeh stamp with Smoky Slate, stamp on White. Stamp fly away Dandelions using Versamark emboss with silver. Add Rhinestones
Left Bottom:
Silver Glimmer 3 7/8” sq, Black 3 ¾” sq, White 3 1/4” sq, Black 3” sq. Stamp Dandelions in Versamark emboss with Silver, add rhinestones.
Bottom Center:
Melon Mambo 3” sq, Black 2 ¾” sq, Melon Mambo die cut 3” sq, Silver 1 15/16” sq, Black Circle 2 ¼” punch, White Shimmer 2” circle punch STAMP FIRST, THEN PUNCH OUT!!! Color with Blends, add Rhinestones.
Bottom Right:
Melon Mambo 3 7/8” sq, Black 3 ¾” sq, Rose Glimmer 3 ½” sq, Black 3 ¼” sq, White 3” sq, Vellum DSP 3” sq. Add colored Rhinestones. Color back of Vellum with Blends.
All the Supplies I used are listed below. Click on any of the pictures to be taken to my OnLine Store!
Hope you enjoy this project as much as I do!!
Lisa Tedder
A California Girl living in North Carolina Product List
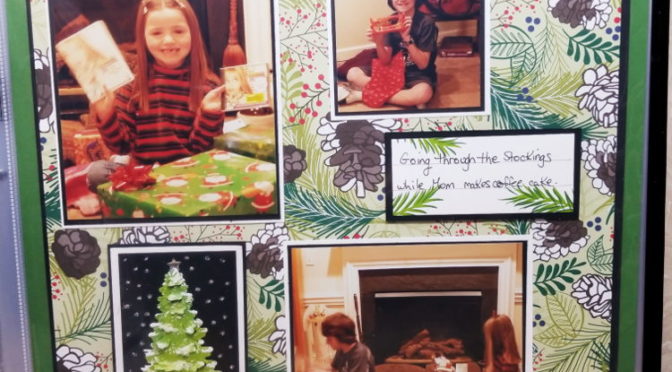
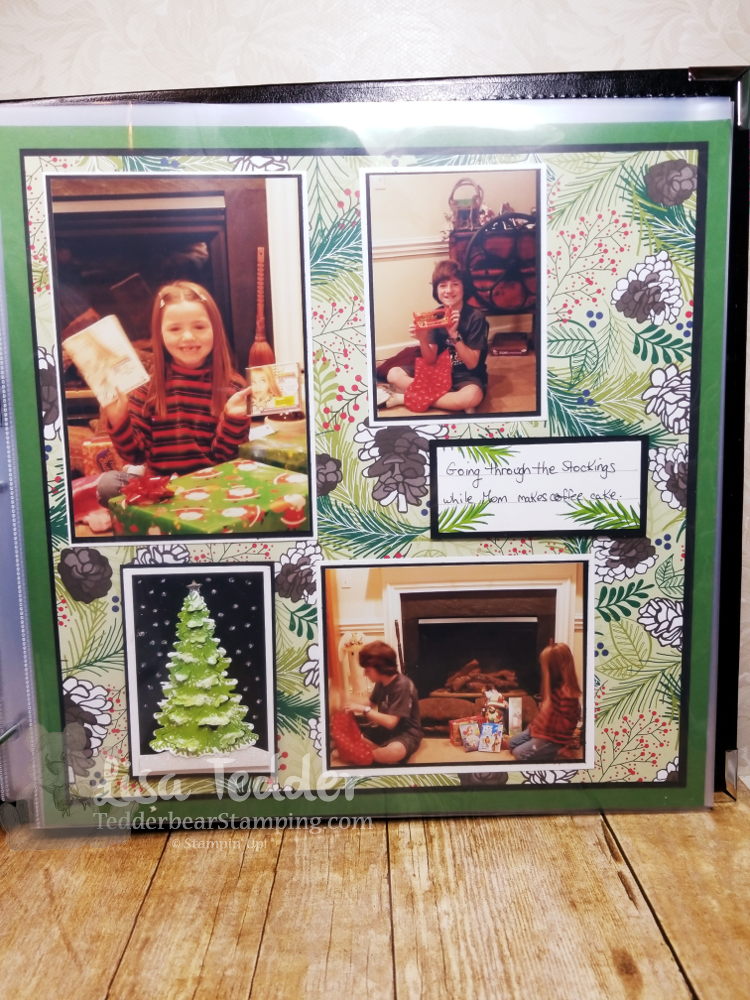
Today I am sharing with you a THREE page spread that I did for my Daughter. Scrapbooking is my First passion, it’s the reason I got involved with rubber stamping! Who knew that I would STILL be doing this 17 years later?!
I’m way behind on my scrapbooking, my daughter just left for college and I’m at Christmas 2006! Just a ‘tad’ behind!
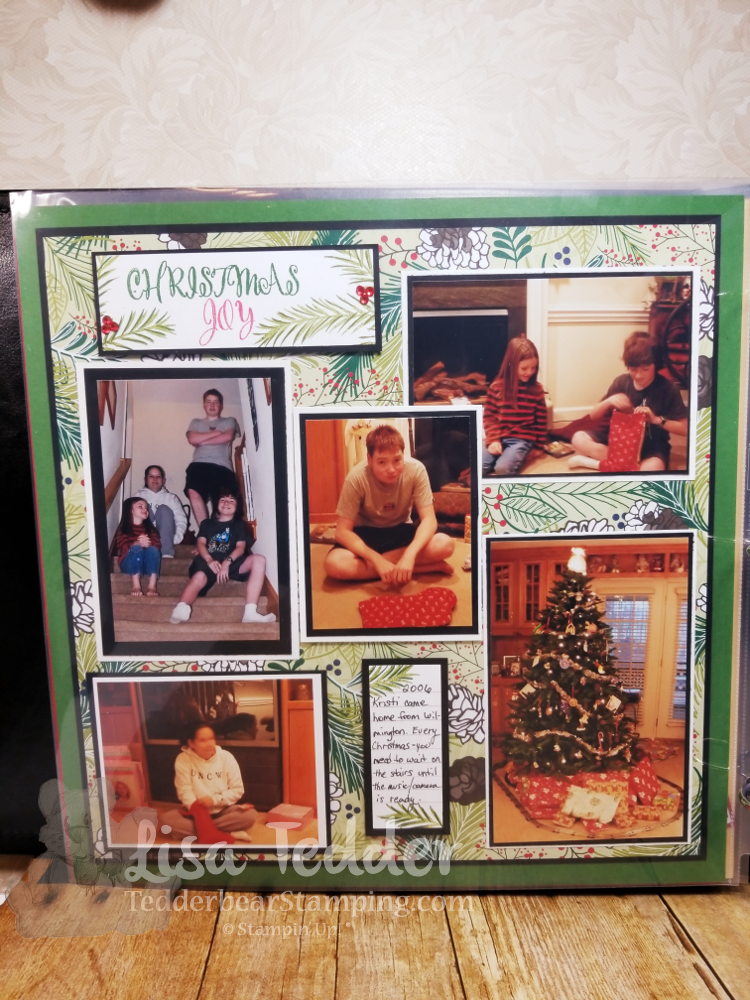
Here are my pages:
Page 2:
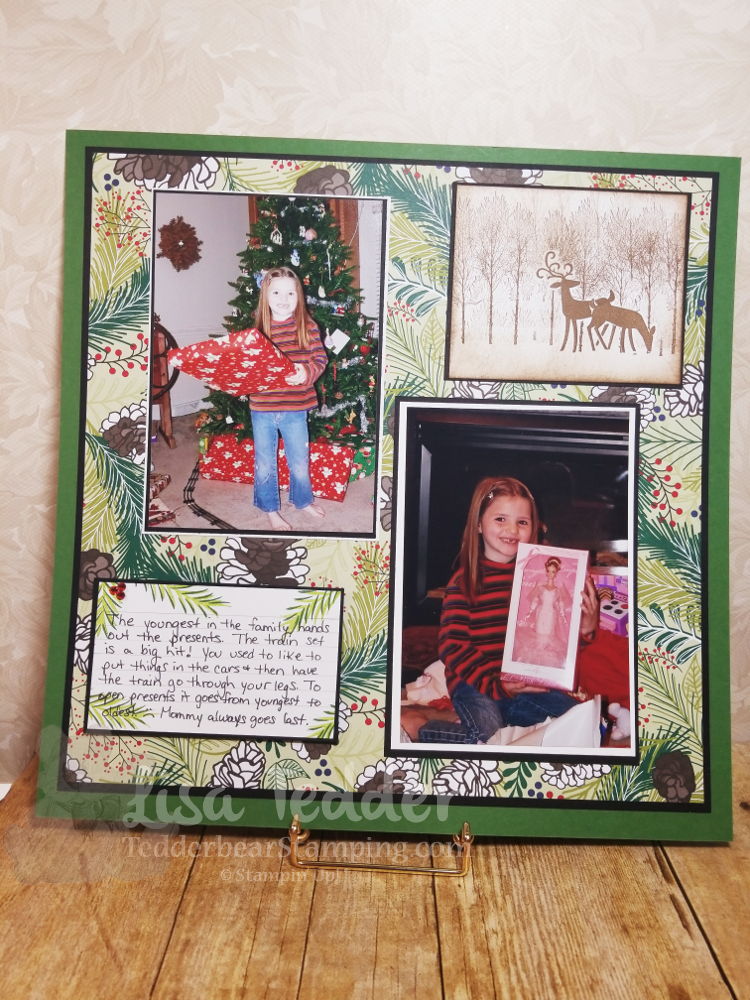
And this is the last page:
I don’t usually use Designer Series paper (DSP) on my scrapbooks, I tend to hoard them. But this came out so well, I will just have to re-think that!
For the Deer and the Trees, I stamped the Deer First and then masked them and then stamped the trees. It makes it look like the deer are in front of the trees!!
The supplies for these pages are listed below, just click on any of the pictures and you will be taken straight to my OnLine Store!!
I’m off to get my fingers even MORE inky than they are already!
Lisa Tedder
A California Girl living in North Carolina Product List
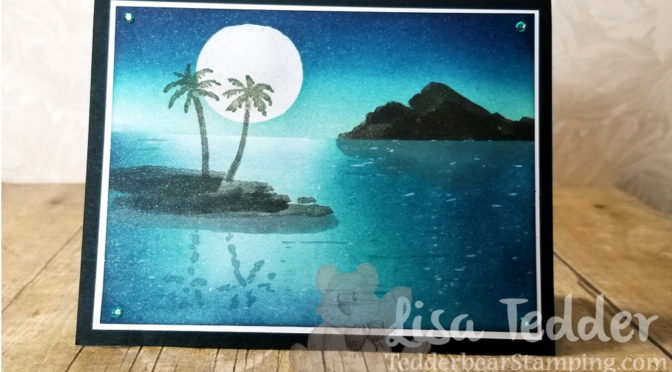
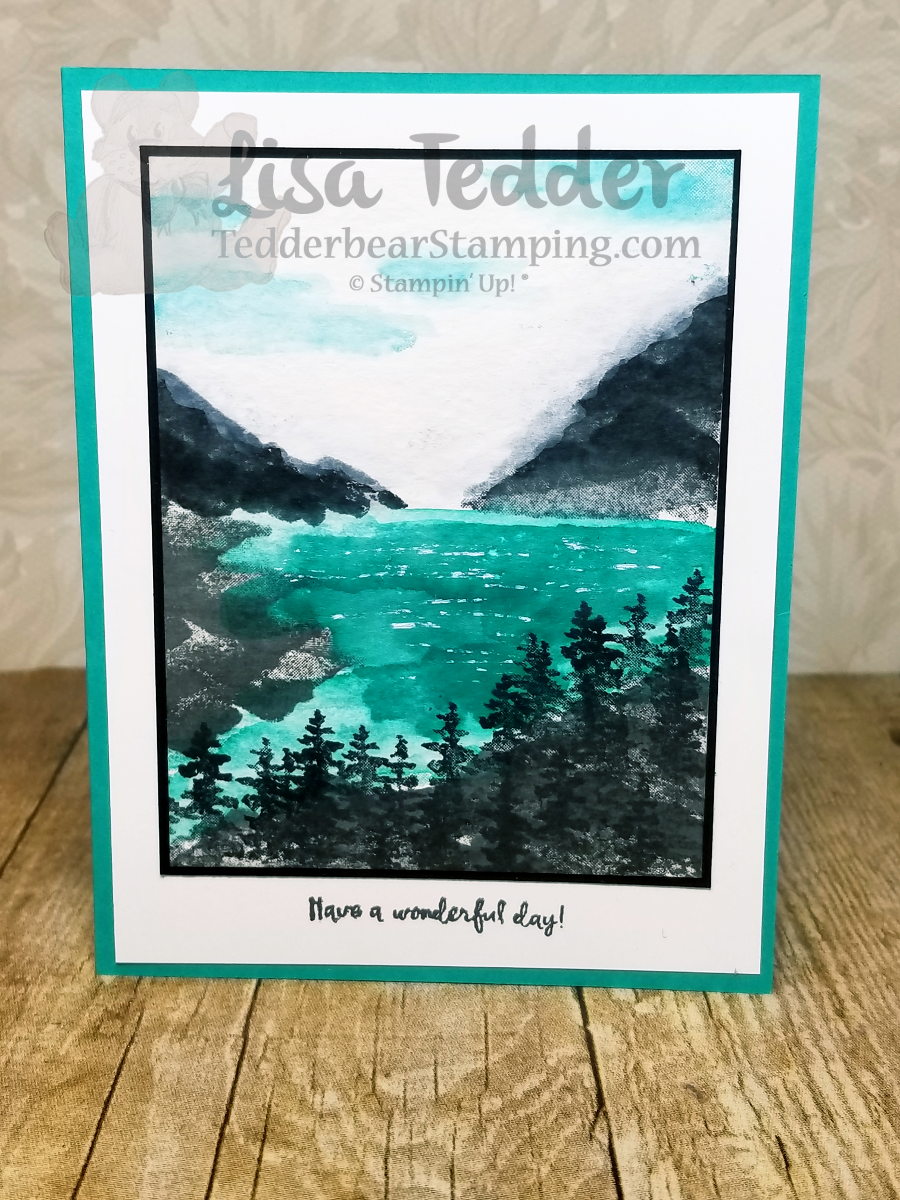
I was so excited on how this card came out! I even tackled doing a reflection!
Here are some of the cards that I show at the end that you might want to see closer!
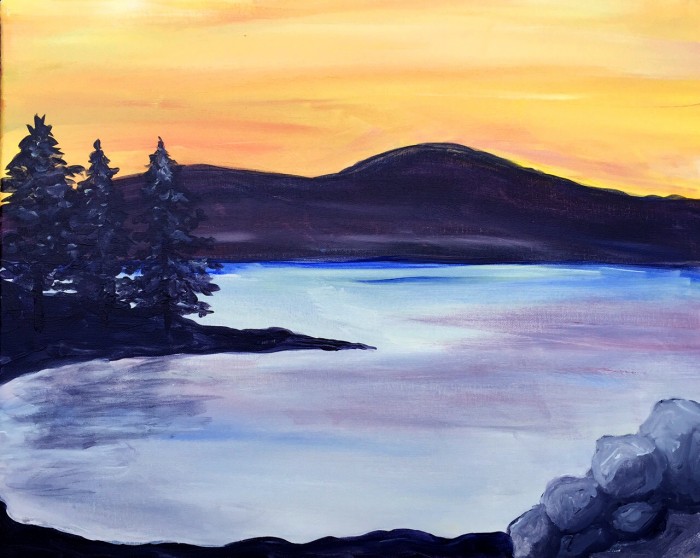
I made this one after looking at this photo i found online:
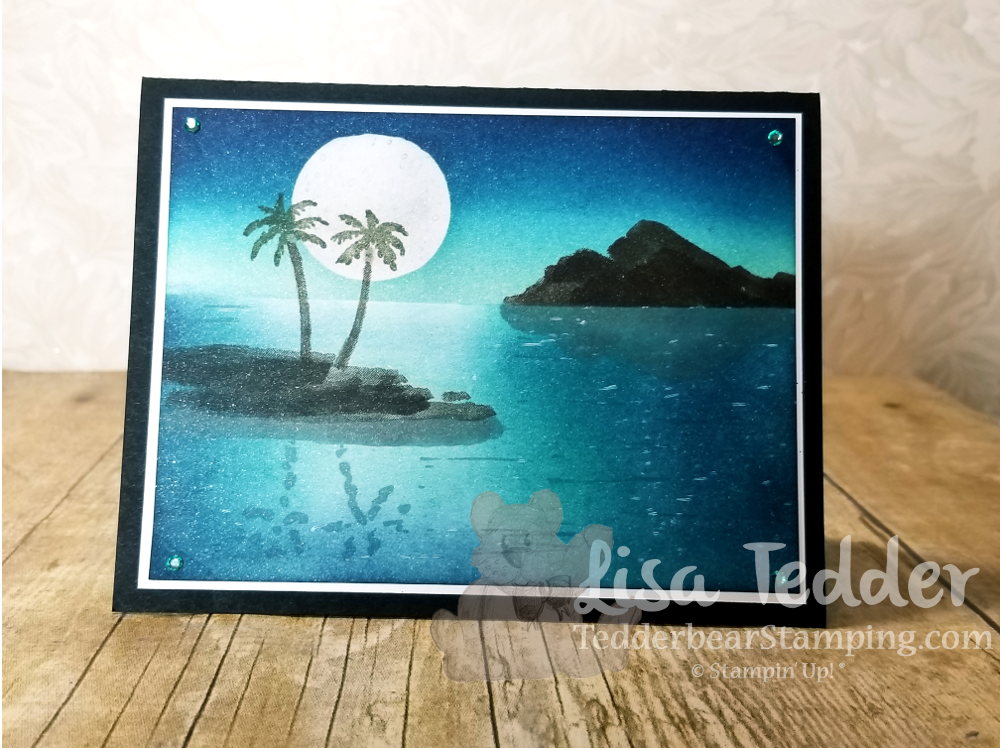
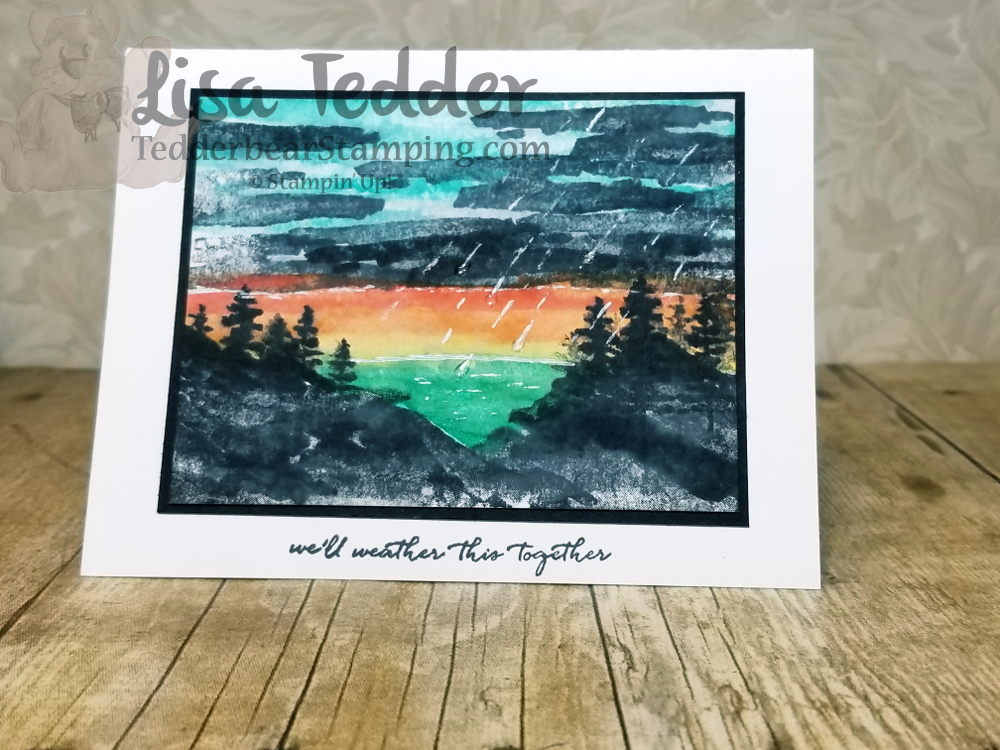
Here’s another card I made:
I saw a card like this online, but couldn’t find it again. I pretty much copied it! I did change a little in the sky, but the rest I kept. If you happen to see this card please let me know so I can give credit. UPDATE: Thank you for everyone that mentioned where I saw this, Kim Jolley at stampinartfully.blogspot.com is the one that I got the idea from. Thank you Kim!!
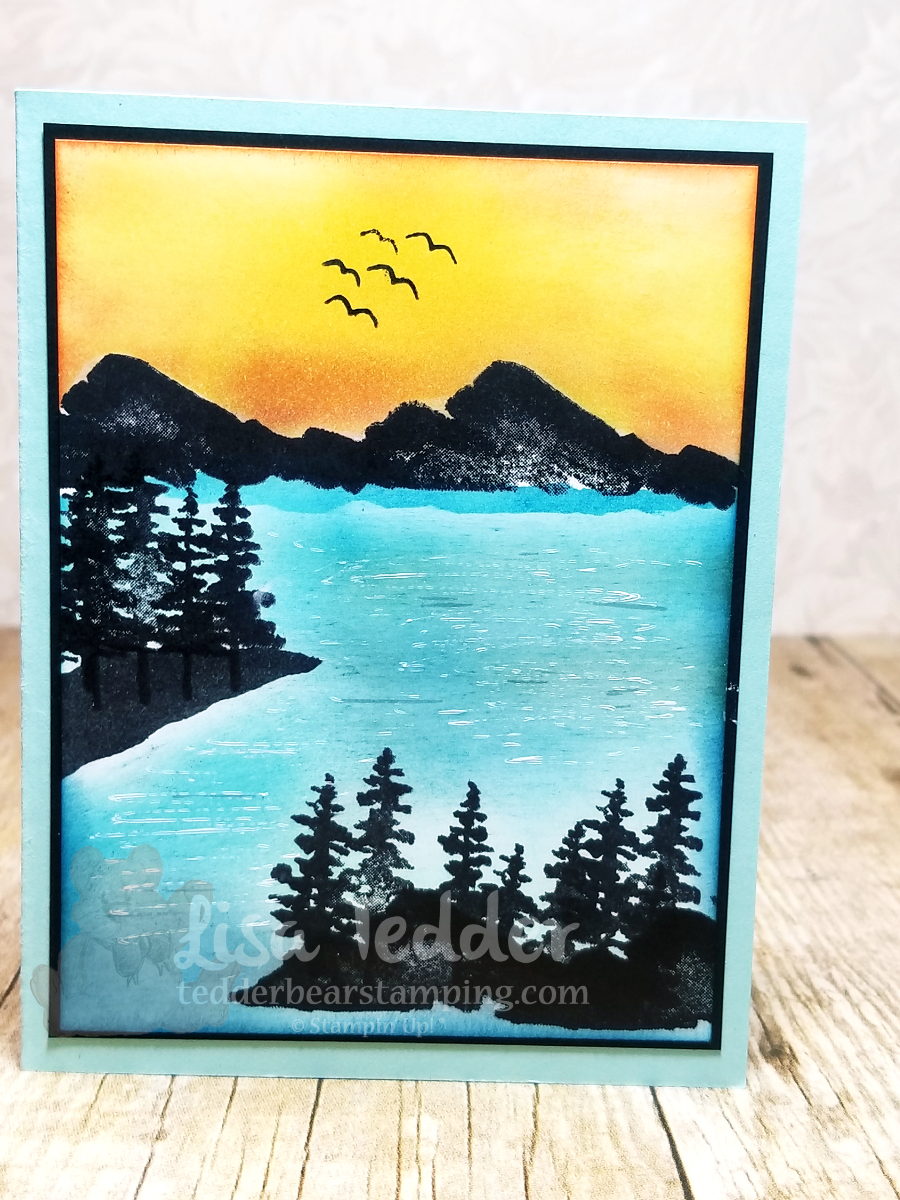
This is also from the same person, this is where I learned HOW to make the Scenes! Again, if you see or know who made the original, please let me know! I did add some Glitter & Clear Epoxy Dots to make the rain look more real!
Hope you like this post. Check back in for my other posts!
Everything listed for my main picture at the top is listed below. Click on any picture to be taken to my OnLine store!
Talk to you soon!
Lisa Tedder
A California Girl living in North Carolina


 Designer Vellum")


 Metallic-Edge Ribbon")


 Circle Punch")


 Cardstock")