Tag Archives: Shimmery White 8-1/2" X 11" Cardstock

Who wants to Jiggle with me?

Hey Guys!

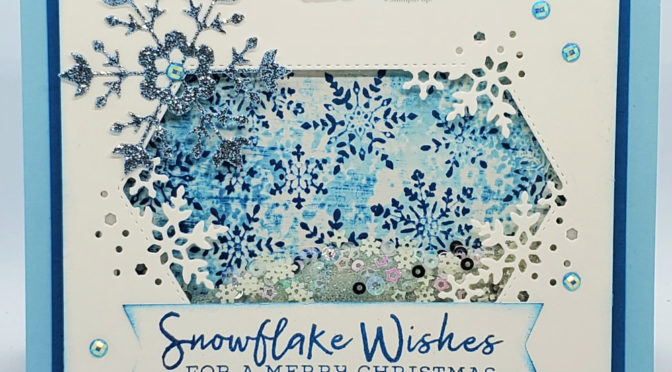
Today I will be sharing with you a Snowflake Shaker Card I made using Snowflake Wishes from the NEW Stampin’ Up! Holiday Catalog!
The NEW Holiday Catalog is out for us Demonstrators with Stampin’ Up! and I made a beautiful card using the stamp set Snowflake Wishes and it’s a Shaker! Amazingly, it is very easy to make, we will be walking through the making of it, but if you want to see it done, I have made a video you can watch! Who wants to jiggle with me?!
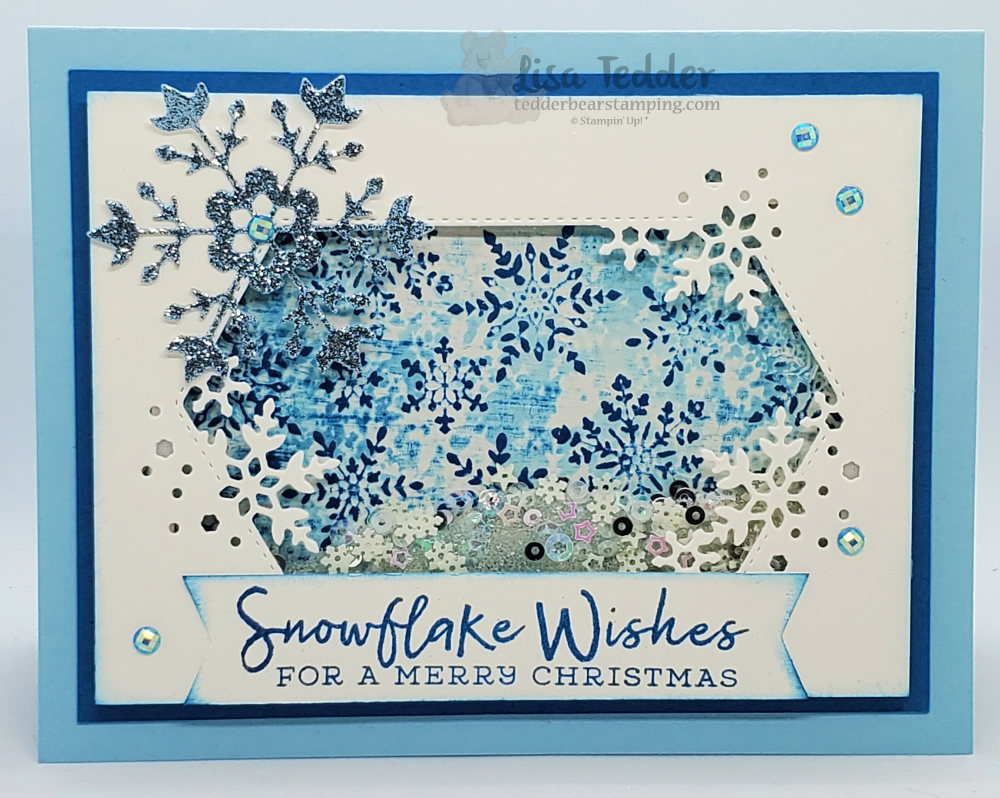
Snowflake Wishes Shaker

First, you will make your background for the shaker.
Go to my video Spot On! to see how that was done & see a version of the background. This time we will be using the Foam Brayer to put the color onto the Folder Winter Snow, then spritz with the Alcohol/Champagne Mist. Second, you will die cut out the window & Snowflakes using the dies that comes from the Snowflake Wishes Bundle. Thirdly, you will stamp your sentiment. And Last you will put them all together to make this awesome shaker card!

Here is a picture of the inside:
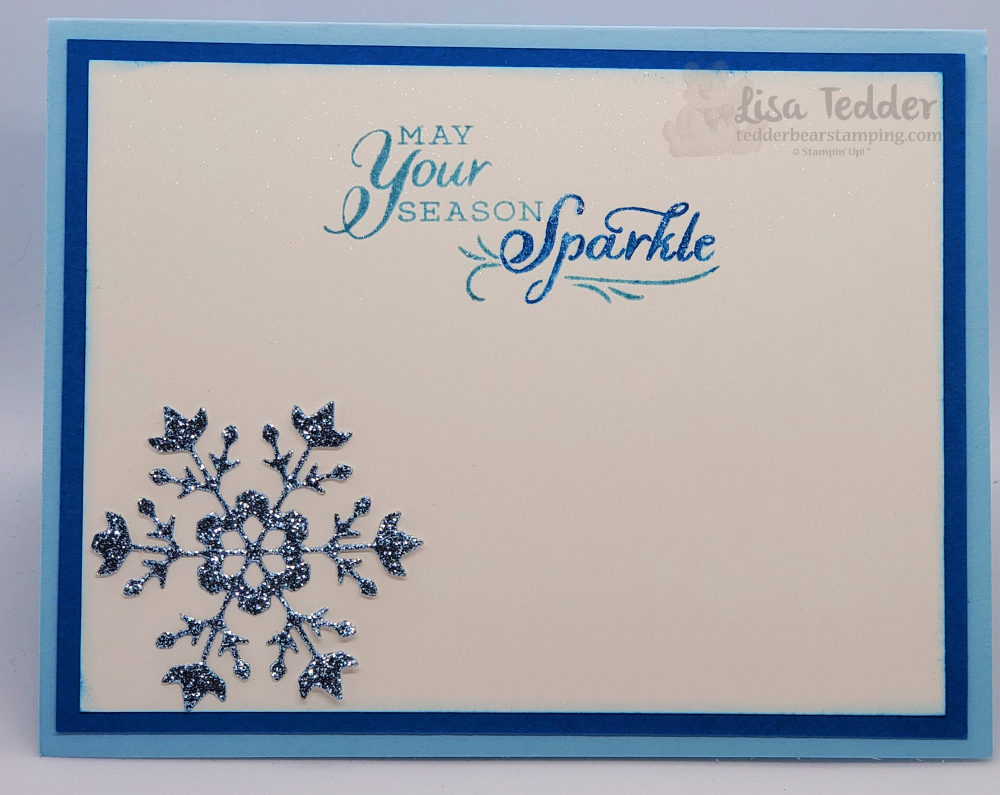
Snowflake Wishes Shaker, inside

As always here are the specifics for this card:
Stamps:
Snowflake Wishes Bundle
Inks:
Balmy Blue
Pacific Point
Paper:
Balmy Blue 8 1/2″ x 5 1/2″
Pacific Point 5″ x 3 3/4″, 5 1/4″ x 4″ (inside)
Shimmer White 4 3/4″ x 3 1/2″ (x2), 5″ x 3 3/4″ (for inside), scrap for sentiment
Balmy Blue Glimmer paper
Window Sheets
Misc:
Champagne Mist Shimmer Paint
Blue Adhesive Backed Gems
Foam Adhesive Strips
Alcohol
Spritzer
Snowflake Sequins & seed beads
Stampin’ Seal +
Winter Snow Embossing Folder
Stamping Sponges
Banners Pick a punch
Sponge Brayer

Below you will see in picture form all the supplies that I used. Click on any of them to be taken to my Online Store. So, any purchase you make with me for $35 or more, you will then be sent a pdf that has 16 projects with step by step instructions and pictures! Therefore, I would love to be your Stampin’ Up! demonstrator if you live in the United States!

Most people can’t resist a shaker card!
Did you enjoy seeing my Snowflake Wishes Shaker? I absolutely love shakers! Here is another Shaker card for you to see if you missed it! Most sit there and have to pick them up and shake them! I know that anyone you send this handmade card to will love it as much as I do! If you would like to get your catalogs/stampin’ supplies early like I do, you should join my team! I called it LETs Stamp! (Lisa Easterday Tedders Stamp group!) You will love it!

Thank you for stopping by! Be sure and Subscribe to my blog/Newsletter so you don’t miss out on anything!

Lisa Tedder
A California girl living in North Carolina

Product List

NEW Technique: Spot On!

Hey Guys!

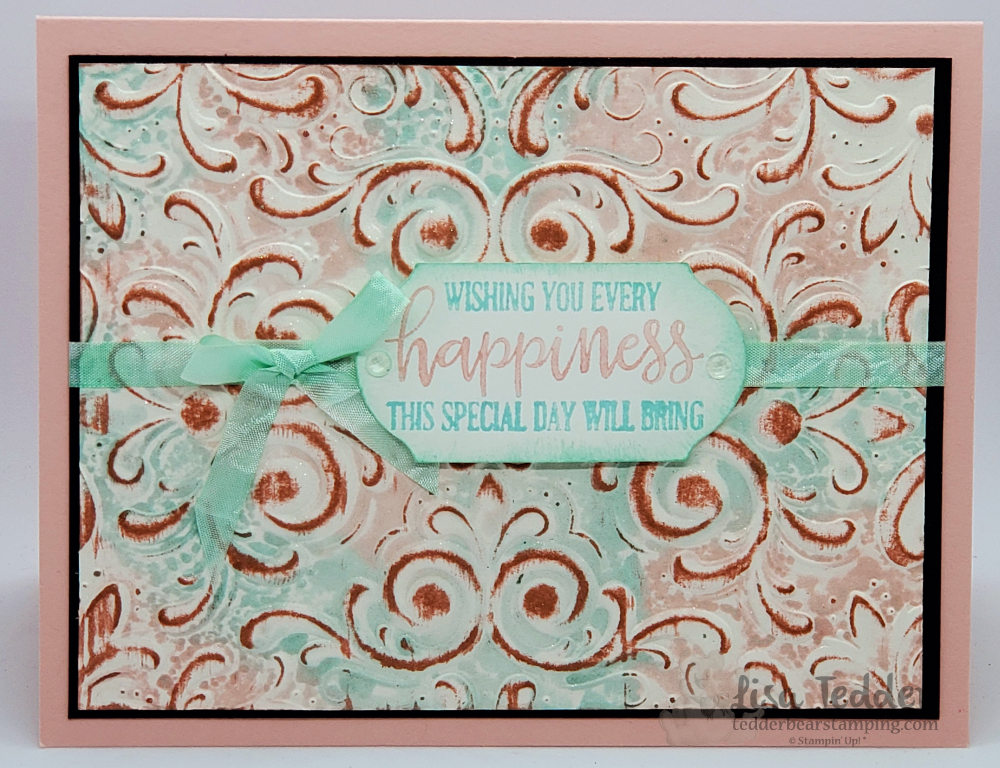
Today I am sharing with you a New technique that I discovered that I am calling Spot On! Have you ever wondered what, if anything you should do with your Stampin’ Spots other than take them on the road? This technique is for you! It’s really easy and really packs a punch (which is why I love it!) Want to see it?

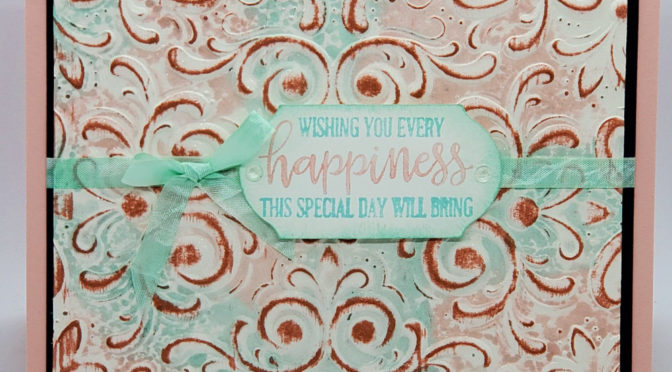
Rub the stampin’ spots onto the Folder spritz and that’s why I called this technique Spot On!

Go see my video if you haven’t seen it yet so you can see how to make this! Every card will be different, and you can make it really bold by changing the color of the spot’s you use! This Technique I am calling Spot On! because the name fits! Take your stamping spots and rub on the side of the folder that is indented, being sure to cover the surface with two – three colors (I only used two for all my samples). I spritzed it with an Rubbing Alcohol/Champagne Mist mixture to give it sparkle and to get the color to spread.

Then I put my cardstock in the folder (I used Shimmer White because it is slightly thicker and can handle the wetness without pilling). Heat set it when you get it out (you can spritz once more to get the color to run a bit more)…..once dry, run one of the colors you used over the raised portion from the Folder to pick up the design. EAsy Peasy! If you would like to see other Techniques click here.

Here are two other ideas I used:

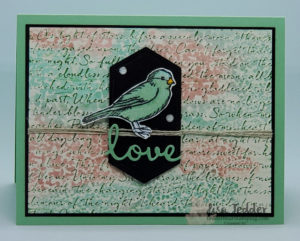
Technique Spot On! Using Free as a Bird and Scripty Folder 3D.

And one more:

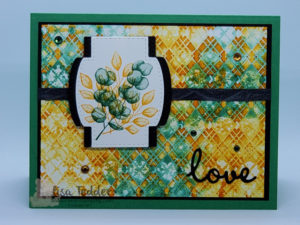
Another Spot On Technique using Absolutely Argyle Folder & Forever Fern Stamp set.

As always here are the specifics for my Main card:

Stamps:
Peaceful Moments

Inks:
Spots: Pool Party & Blushing Bride
Markers: Pool Party & Blushing Bride
Pool Party for sponging
Blend: Pool Party

Paper:
Blushing Bride 8 1/2″ x 5 1/2″
Basic Black 5 1/8″ x 3 7/8″
Shimmery White 5″ x 3 3/4″, scraps for sentiment

Misc:
1/4″ Crinkled Seam Binding
Elegant Faceted Gems
Stampin’ Seal adhesive
Dimensionals
Parisian Flourish 3D folder
Spritzer, you can use Stampin’ Spritzer
Shimmer Paint: Champagne Mist
Alcohol

Below you will find a pictorial list of the supplies used, click on any of them to be taken to my OnLine Store. If you purchase from me $35 or more you will receive from me in your email a pdf with 16 tutorials for projects with pictures! I would love to be your Stampin’ Up! Demonstrator, let me know what I can do to make your crafting life easier!

Lisa Tedder
A California girl living in North Carolina

Product List
Third FREE card for buying the Painted Poppies stamp set!

Hey Guys!

Hopefully, you’ve been following along with my cards that I will do in a free class when you purchase the Painted Poppies Stamp set from Stampin’ Up! And, if you buy the bundle you can make FIVE cards! The last 2 posts I have been showing you the cards that we will be doing.

First off, can I say how much I LOVE this stamp set!? It is super pretty and the way SU! brought so many cool things that coordinate with it make it even that much better! Every time I get on Pinterest, I find something else that I want to do, or am inspired to make.

Secondly, I love that Stampin’ Up! is always encouraging us demonstrators to do well in our business. They gave us a challenge to sell a certain number of this set, and being that it is so cool, I doubt I will have any trouble! It was first on my list to buy and I’ve heard others say the same thing.

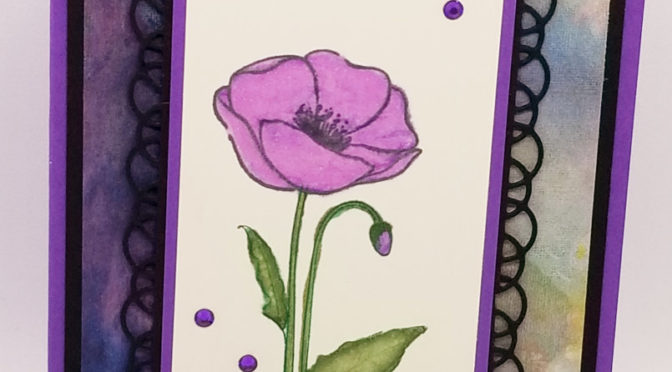
Enough Talk! Here is the 3rd card you can make with me:

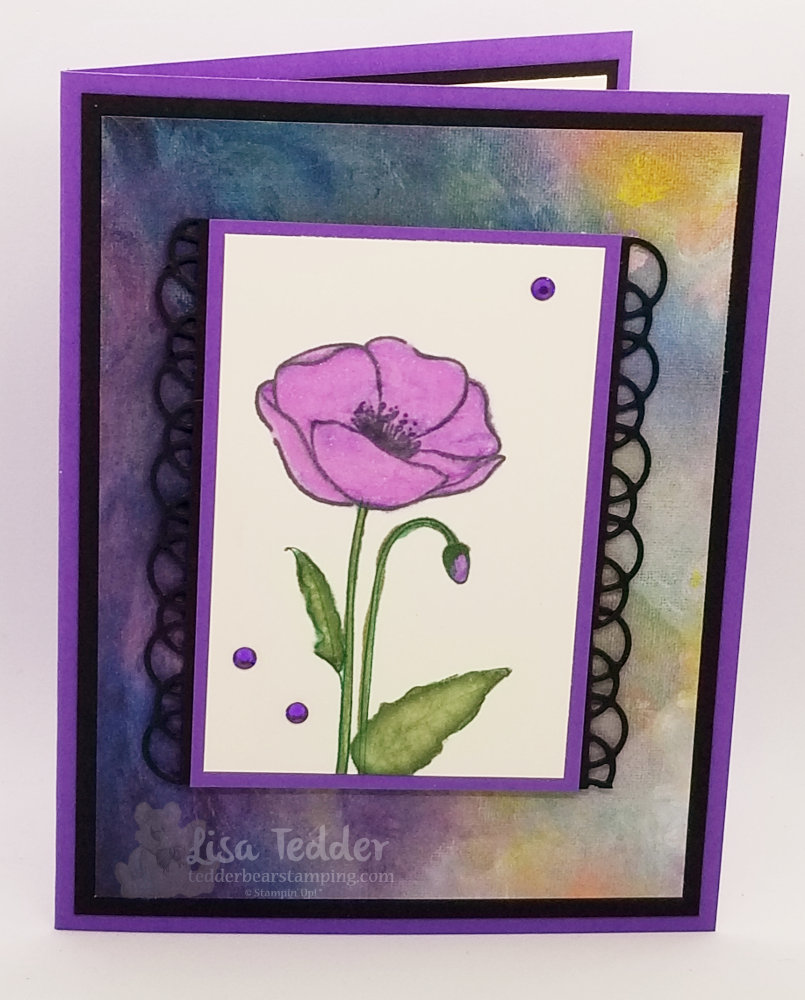
Simple but very elegant, right? I love how the DSP brings out the color of the Poppy.

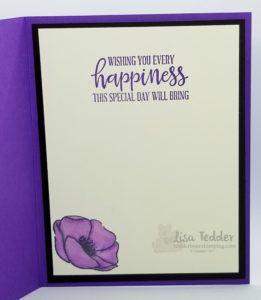
Here is the inside:

As always, here are the specifics for this card:

Stamp sets:
Painted Poppies Bundle
Peaceful Moments

Inks:
Memento Black
Gorgeous Grape
Highland Heather/Mossy Meadow Blends

Paper:
Gorgeous Grape 8 1/2″ x 5 1/2″, 2 1/2″ x 3 5/8″
Basic Black 5 1/4″ x 4″ (x2), scraps for 4 swirlies on sides (from Die)
Perennial Essence DSP 5″ x 3 3/4″
Shimmering White 3 3/8″ x 2 1/4″
Very Vanilla 5″ x 3 3/4″

Misc:
Noble Peacock Rhinestones
Dimensionals
Wink of Stella

As you can see, Elegance doesn’t have to be hard! I love the touches of the black swirls (Die) on the sides, really sets off the flower, don’t you think? Plus the Wink of Stella adds just that POP that this card needs!
Below you will see all the supplies in picture form. If you click on any of the pics you will be taken to my OnLine Store! IF you decide to purchase this set from me, you are invited to my class where you will make either 3 cards OR 5 if you purchase the bundle! Live too far away? No problem, I will send you a pdf of the instructions with pictures!

Also, you will receive from me 40 +/- tutorials that will give you so many ideas! This happens every month, so if you are consistent in purchasing from me, you will be overwhelmed with ideas!!

Thank you for stopping by!

Lisa Tedder
A California Girl living in North Carolina

Product List