I’ve been sharing with you all the Christmas cards I did for my Christmas in July class……hope you have liked them so far!
Today is the Bonus Card where my guests only made 1 of this one. The reason is because I would have had to buy at LEAST 4 – 5 packages just for this one Designer paper since I had 10 people come and if they each did 3, well you do the math!
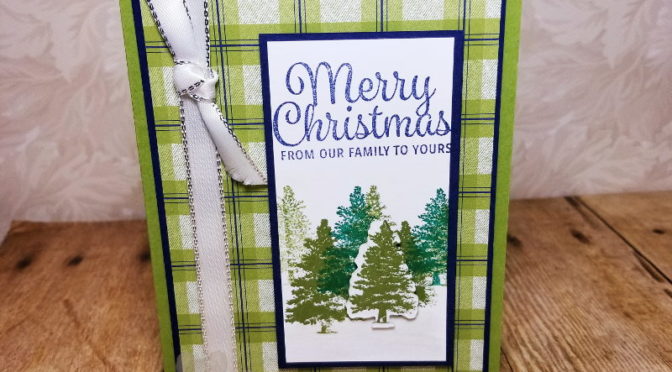
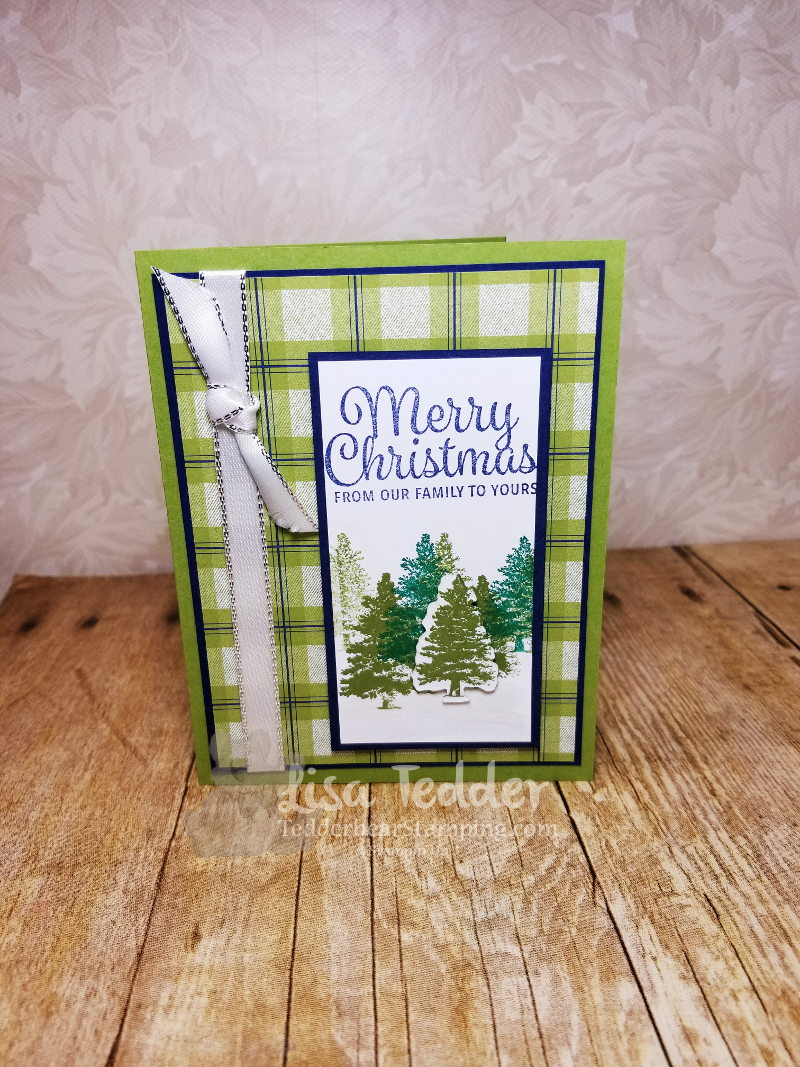
This was one of my favorites that we made. I love plaid and the green with the blue is so pretty! Plus the trees stamped on the front really remind me of picking out Christmas trees! Does it you?
Here is the front of the card:
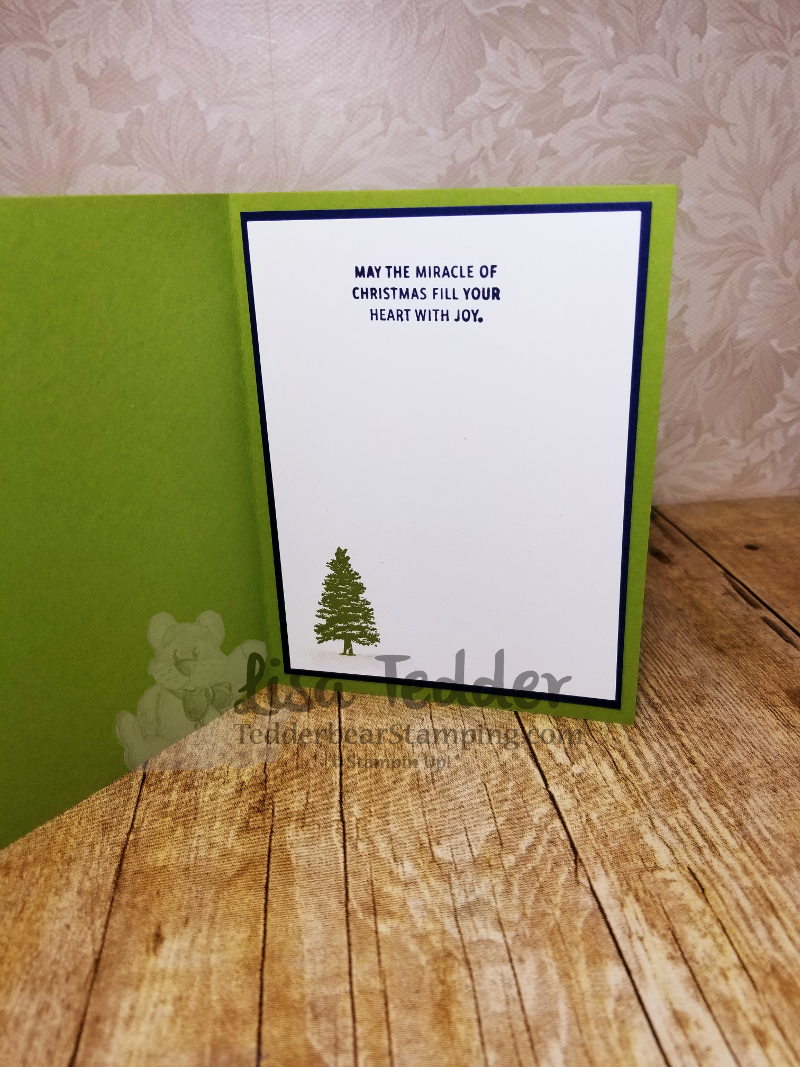
And the inside:
Isn’t this a pretty card!?
I added Wink of Stella under the trees on the front and under the one on the inside to give it the ‘snowy’ feeling. One of the trees is popped up on the front to add dimension.
The supplies are listed below, click on any picture to be taken to my OnLine Store! This is the end of my Christmas cards, be sure to come back to see what I make next time!
Thank you for supporting me!
Lisa Tedder
A California girl living in North Carolina
Today I am sharing with you my Christmas in July card #5. I’ve been sharing, so if you missed it-click on my header and you can find the others.
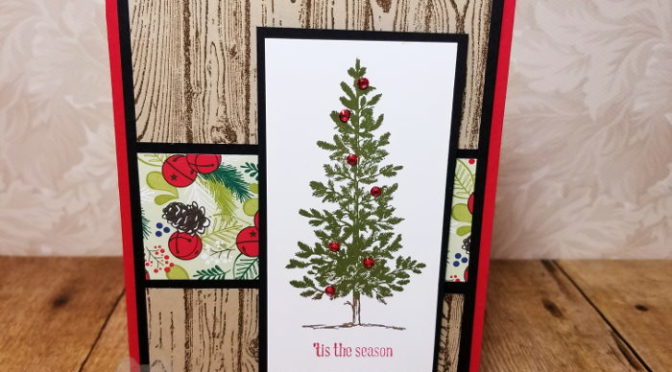
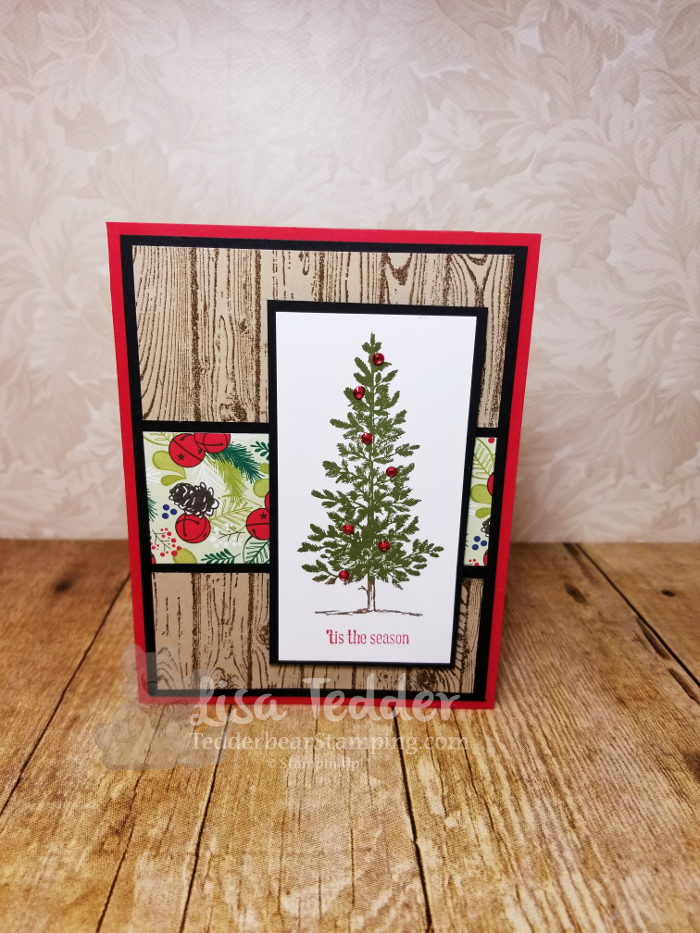
Today’s card uses the Greatest Stamp set, Lovely as a Tree by Stampin’ Up! This stamp has been around for a long time, but it is very beloved! I also used the Hardwood stamp set to get the wood look and some Designer Series Paper. Check out my pictures below for the supplies and click on any picture to be taken to my Online Store.
Here is the card:
Here is the inside:
This is another easy, but fun card!
Come back for #6! This is the one that I used for a ‘Bonus Card’, i didn’t have enough of the DSP to make three each for 10 people!
Thank you for joining me today! I appreciate your support!
Lisa Tedder
A California girl living in North Carolina Product List
I’ve been showing you the 6 Christmas Cards that I have done for my Christmas in July stamp class. We are now on card #4! If you missed any of the ones before, click on my header and you can find them that way.
The card today is using Sheltering Tree from Stampin’ Up!
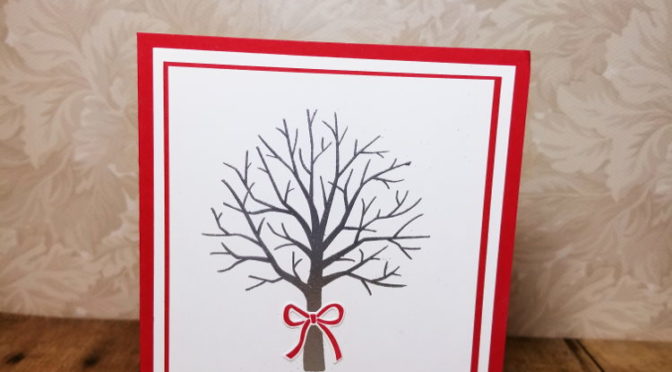
Here is the front of the card:
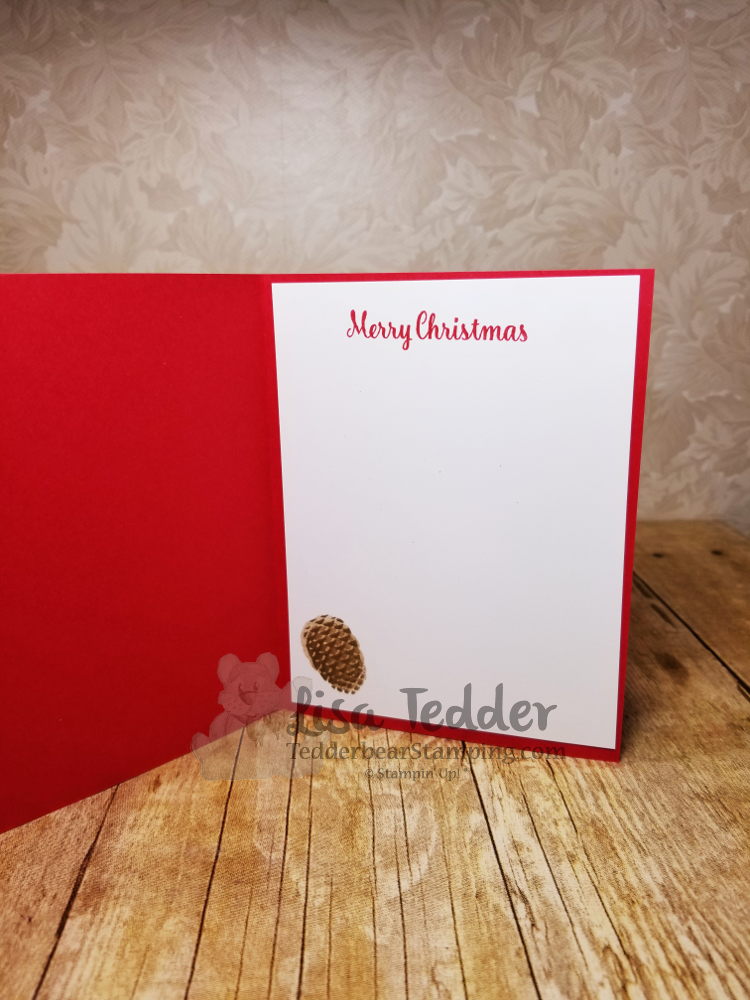
We Stamped the tree in Versamark and then embossed it with Silver Embossing Powder. It’s quite beautiful in person! The bow is from the Stamp set Beautiful Bouquet from SU! as well.
I got this idea on Pinterest by Bibi Cameron, I changed up a little by using a different sentiment and bow, but the idea was hers! Thank you Bibi!
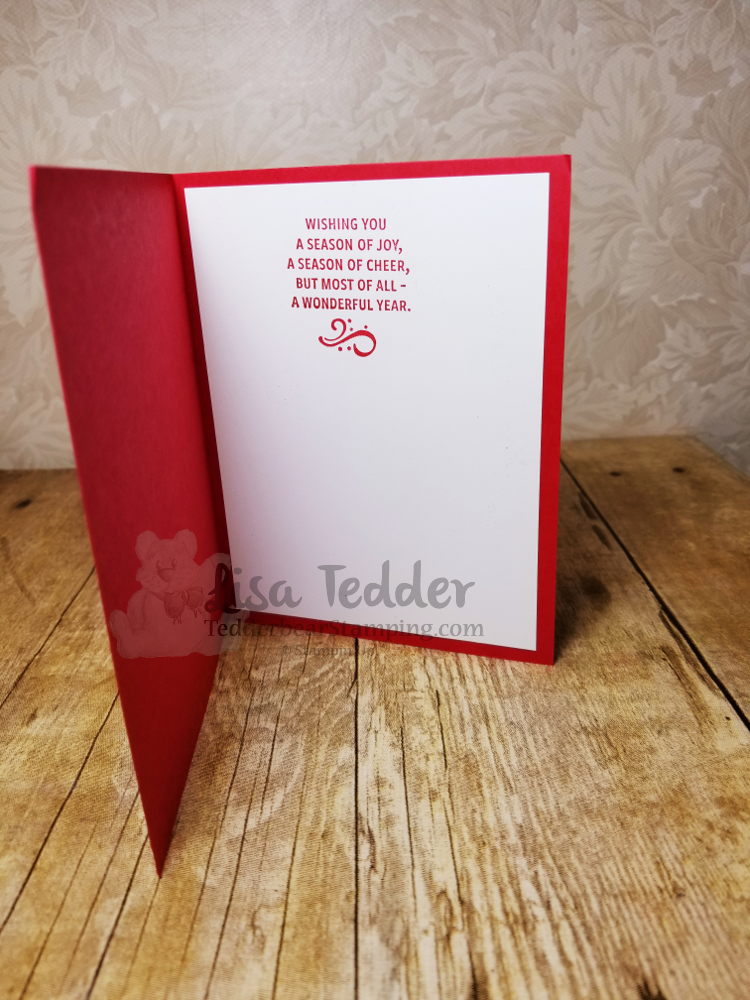
Here is the inside:
VERY easy yet extremely beautiful and elegant! Everyone in class loved this!
The supplies are listed below, click on any picture to be taken to my OnLine Store!
Come back for card # 5! Thanks for stopping by!
Lisa Tedder
A California girl living in North Carolina Product List
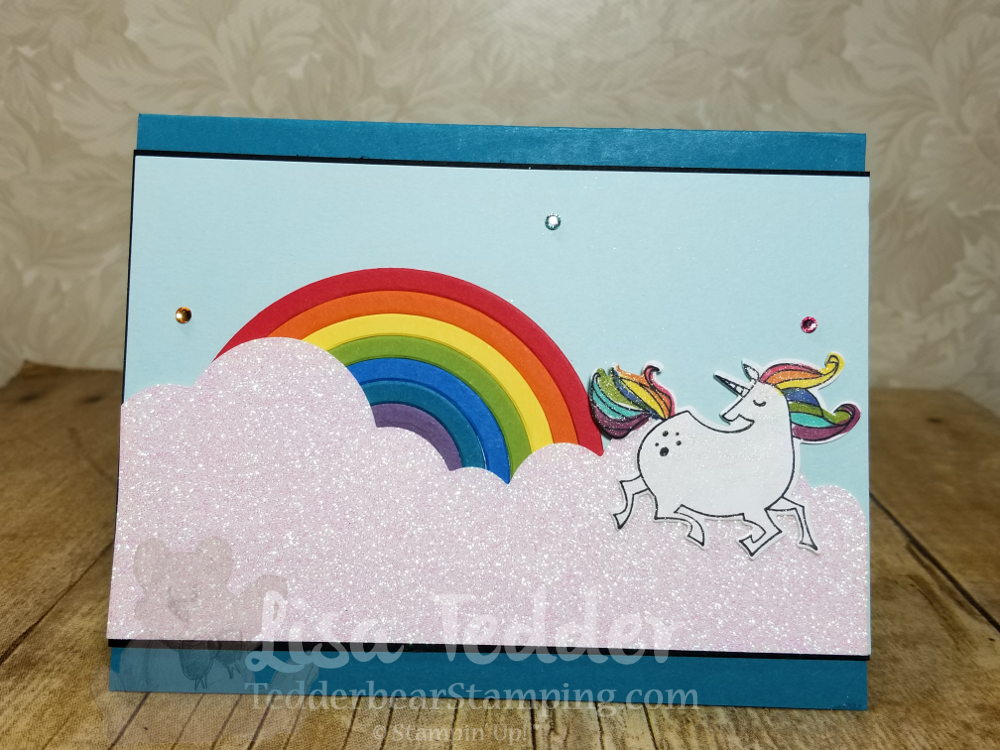
Today I have a really fun and super cute card! I LOVE rainbows, but who doesn’t? I also love Unicorns! So I put them together! I got this idea from Kirsten Aitchenson on Pinterest. I gave the card some black to make the image pop, but otherwise it’s all her. Isn’t it cute?
The Rainbow took a few minutes to cut out each color, but honestly? It didn’t take as long as I thought it would. I LOVE this card!!
TIP!!: Cut a small piece of white cardstock that you will use to mount your rainbow on. The dimensions are 2 3/4″ x 1″. Place adhesive on your white piece, and start your outer colors going down almost to the bottom of the white. This will hold your rainbow together AND let you pop it off the card with dimensionals. Your white will be covered up by the cloud!
The sparkle paper is from the Myths and Magic 6″ x 6″ glimmer paper.
Here are the dimensions for this card:
Island Indigo: 5 1/2″ x 8 1/2″, plus scrap for rainbow
Basic Black: 5 1/2″ x 3 5/8″, 5 1/4″ x 4″ for inside
Soft Sky: 3 1/2″ x 5 1/2″
Whisper White: 5″ x 3 3/4″ inside and scrap for Unicorn
Scraps for Rainbow: Real Red, Pumpkin Pie Daffodil Delight, Old Olive, Pacific Point, Island Indigo, Perfect Plum
I colored the Rhinestones to go with the rainbow and also colored the Mane and Tail using the Blends.
I used Wink of Stella for the Unicorn.
Hope you like this as much as I do!! Please visit my YouTube Channel to see my other creations and see how I make them.
Below are pictures of the supplies I used, click on any picture to be taken to my OnLine Store. For any purchase you make with me you will receive one of my handmade cards!
Thank you for stopping by! Please come back.
Lisa Tedder
A California Girl living in North Carolina Product List
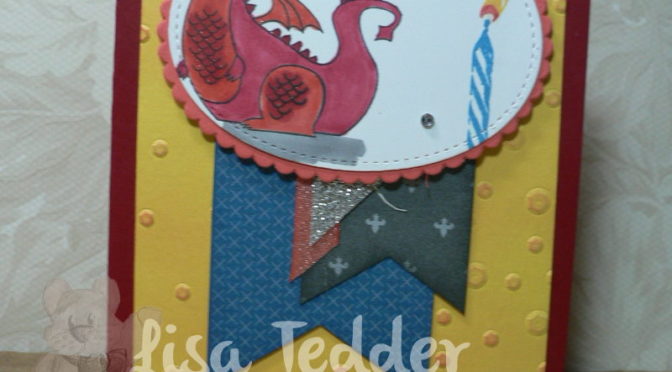
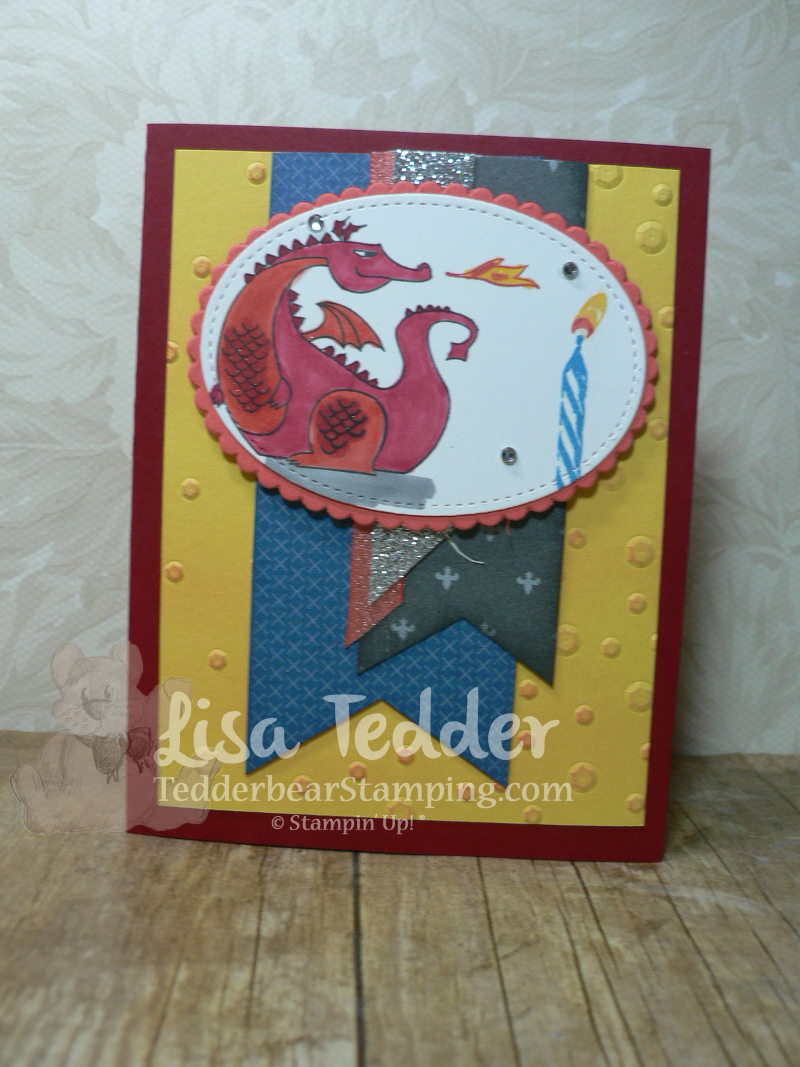
I was perusing Pinterest the other day and saw this really cute card that had the ‘wind’ from the Christmas Stamp set “Star of Light” blowing out a candle. Well, my mind went immediately to the Dragon in the SU! set Magical Day and how cute would it be if he was Lighting a candle!? This is how my mind works sometimes so I went with the idea!
Here is the card:
As I’ve said before ‘I just love this dragon’! I love how I colored him this time using Calypso Coral Blends and Cherry Cobbler Blends. NEVER would I have put these colors together but, again, I saw it done on Pinterest. It really makes him stand out, doesn’t it?
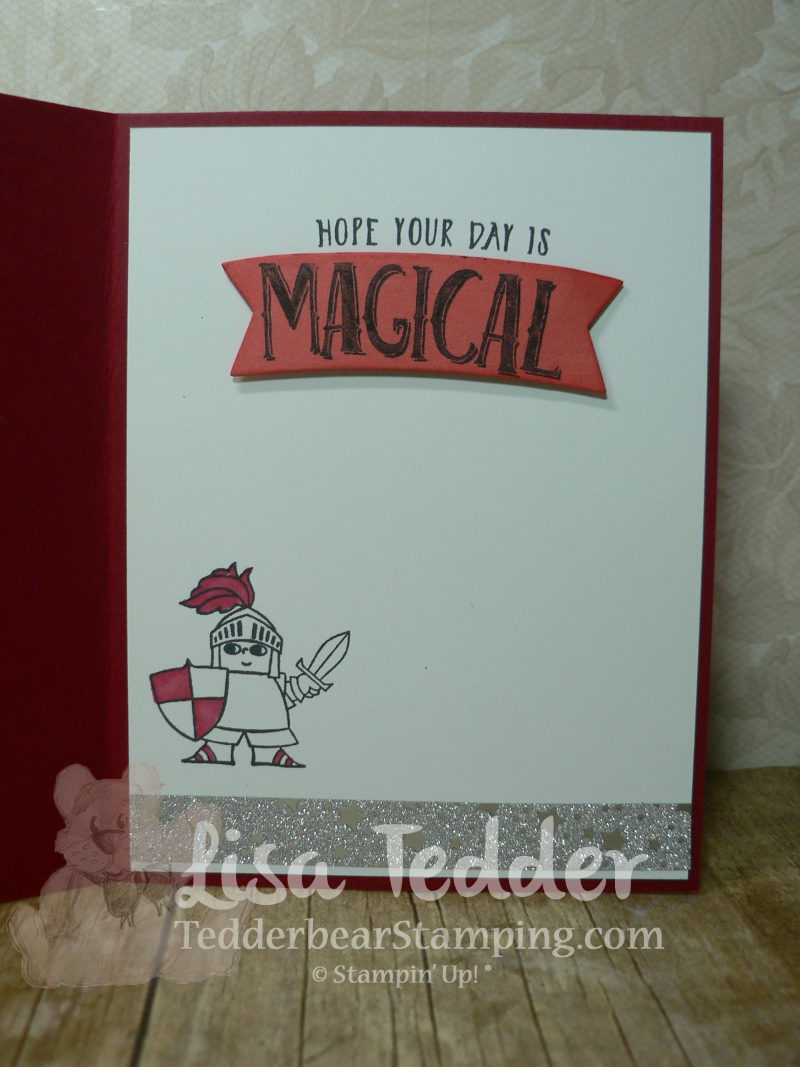
Here is the inside:
This Stamp set from SU! also has thinlits that cut out not only the characters, but the Banner seen above! Waves, that I will be using soon, and lots of other goodies!!
For the flags in the front, I used the Myths & Magic Specialty Designer Series Paper. I sponged the edges with the color that was on the DSP, and also made a banner out of the Silver Glimmer paper and the FREE Shimmer Ribbon pack from the Sale-A-Bration catalog! This ribbon is so pretty!! And it comes in THREE colors and sizes! I also used Rhinestones and the Scattered Sequins Embossing folder.
The Dimensions are as follows:
Cherry Cobbler 8 1/2″ x 5 1/2″
Daffodil Delight 5″ x 3 3/4″
Dapper Denim banner 2″ x 5″
Gray Banner 1 1/2″ x 4 1/4″
Silver Banner 1/2″ x 3 1/2″
Calypso Coral Ribbon 3 3/4″
Scrap of White for Stitched Oval
Scrap of Calypso Coral for Scalloped Oval
Whisper White 4″ x 5 1/4″ (inside)
I really hope that those who received these swaps love them as much as I do!!
The supplies used for this project are listed in pictures below, just click on any picture to be taken to my OnLine Store!
As always! Have a great day/weekend!
Lisa Tedder
A California Girl living in North Carolina Product List
Being a Stampin’ Up! demonstrator is so fulfilling! I get to meet so many great people, learn new techniques AND I get to pre-order product from the NEW Catalog! It’s so much fun to be able to not only SEE new product, but I get to buy it and YES play with it before a lot of people!
THAT is worth the price of admission! LOL I know that is a saying, but to me it is so exciting!!
Not sure I told you this, but it wasn’t until I was introduced to SU! that I found out that I am creative! What?! You could have knocked me over with a feather, to find that out! But, it’s now something that I don’t ever want to live without!
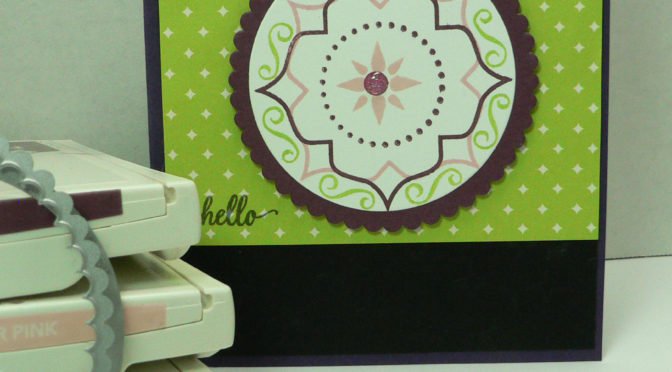
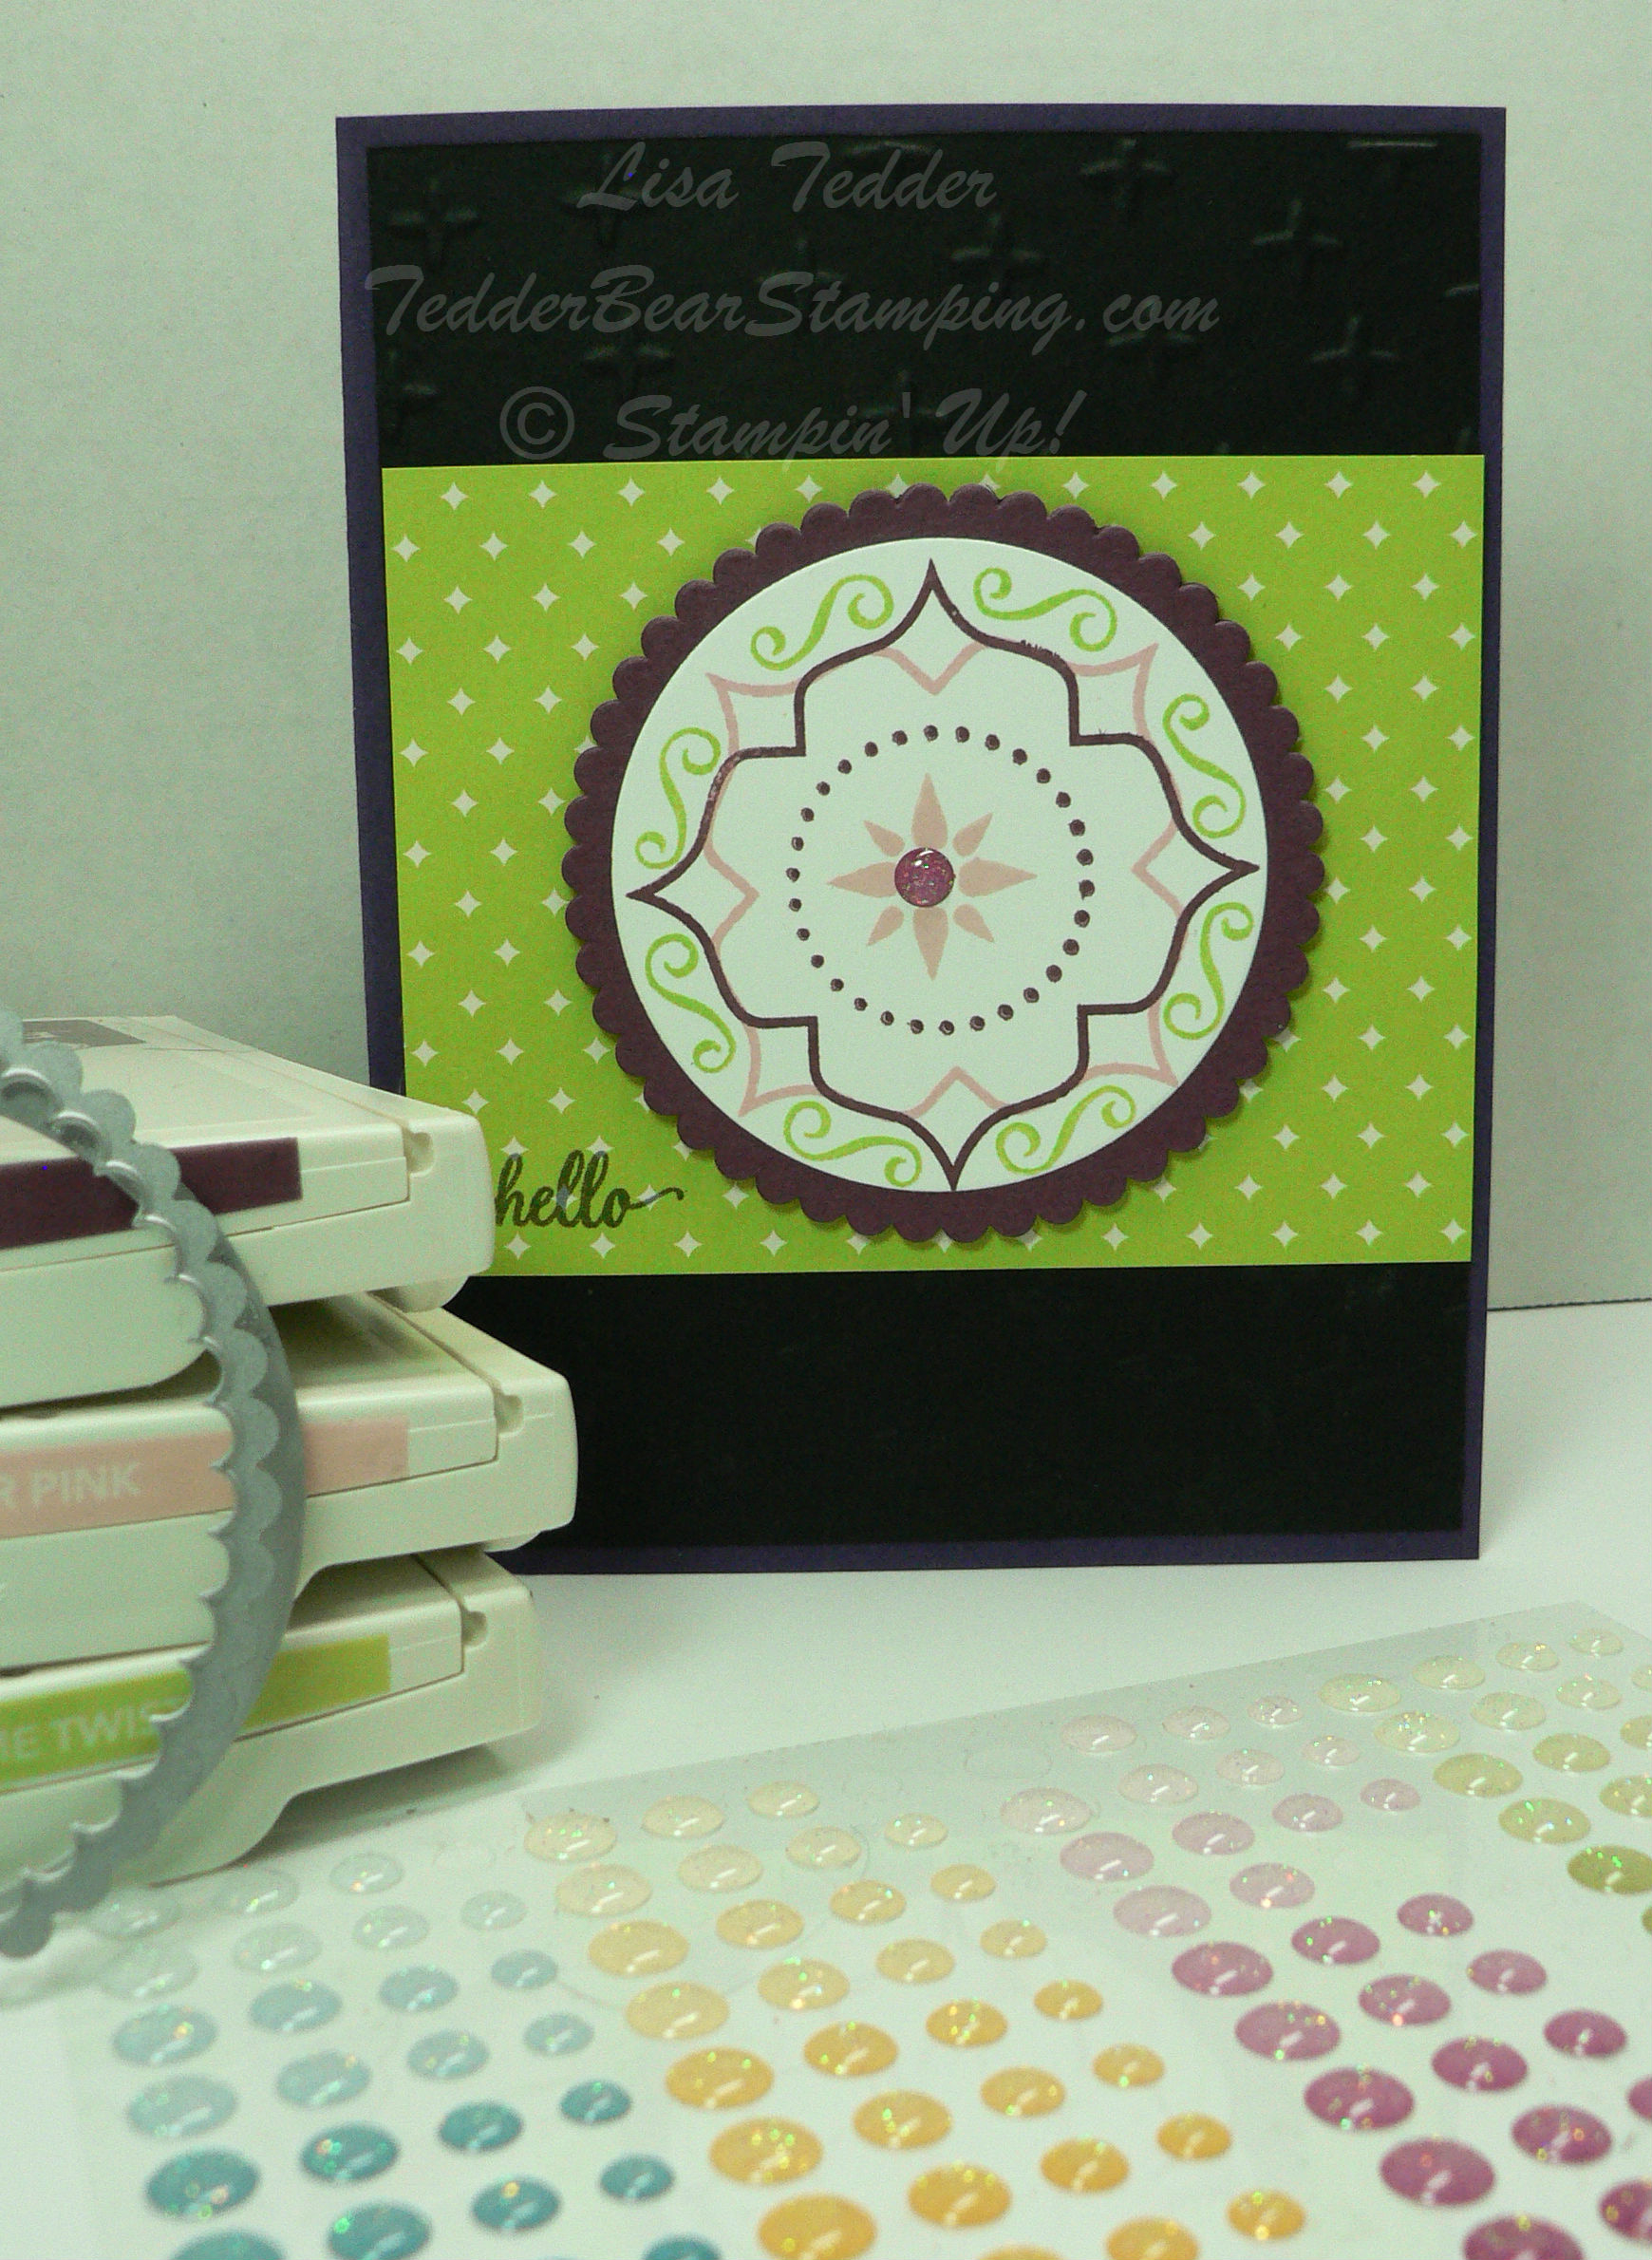
So, now that I have bored you with my reasoning on why I am a Demonstrator with the best company, I will share with you the card I made with the New stamp set Eastern Beauty:
It’s hard to see in this picture but I used the Sparkle Embossing Folder on the Black Cardstock, it matches the Designer Series Paper Eastern Palace perfectly! Stampin’ Up! thinks of everything!
The Designer Paper is that beautiful new In Color Lemon Lime Twist, and did you know that Fresh Fig ink goes great with Lemon Lime Twist AND Eggplant Envy! I also used the Glitter Enamel Dots that go with these colors great!
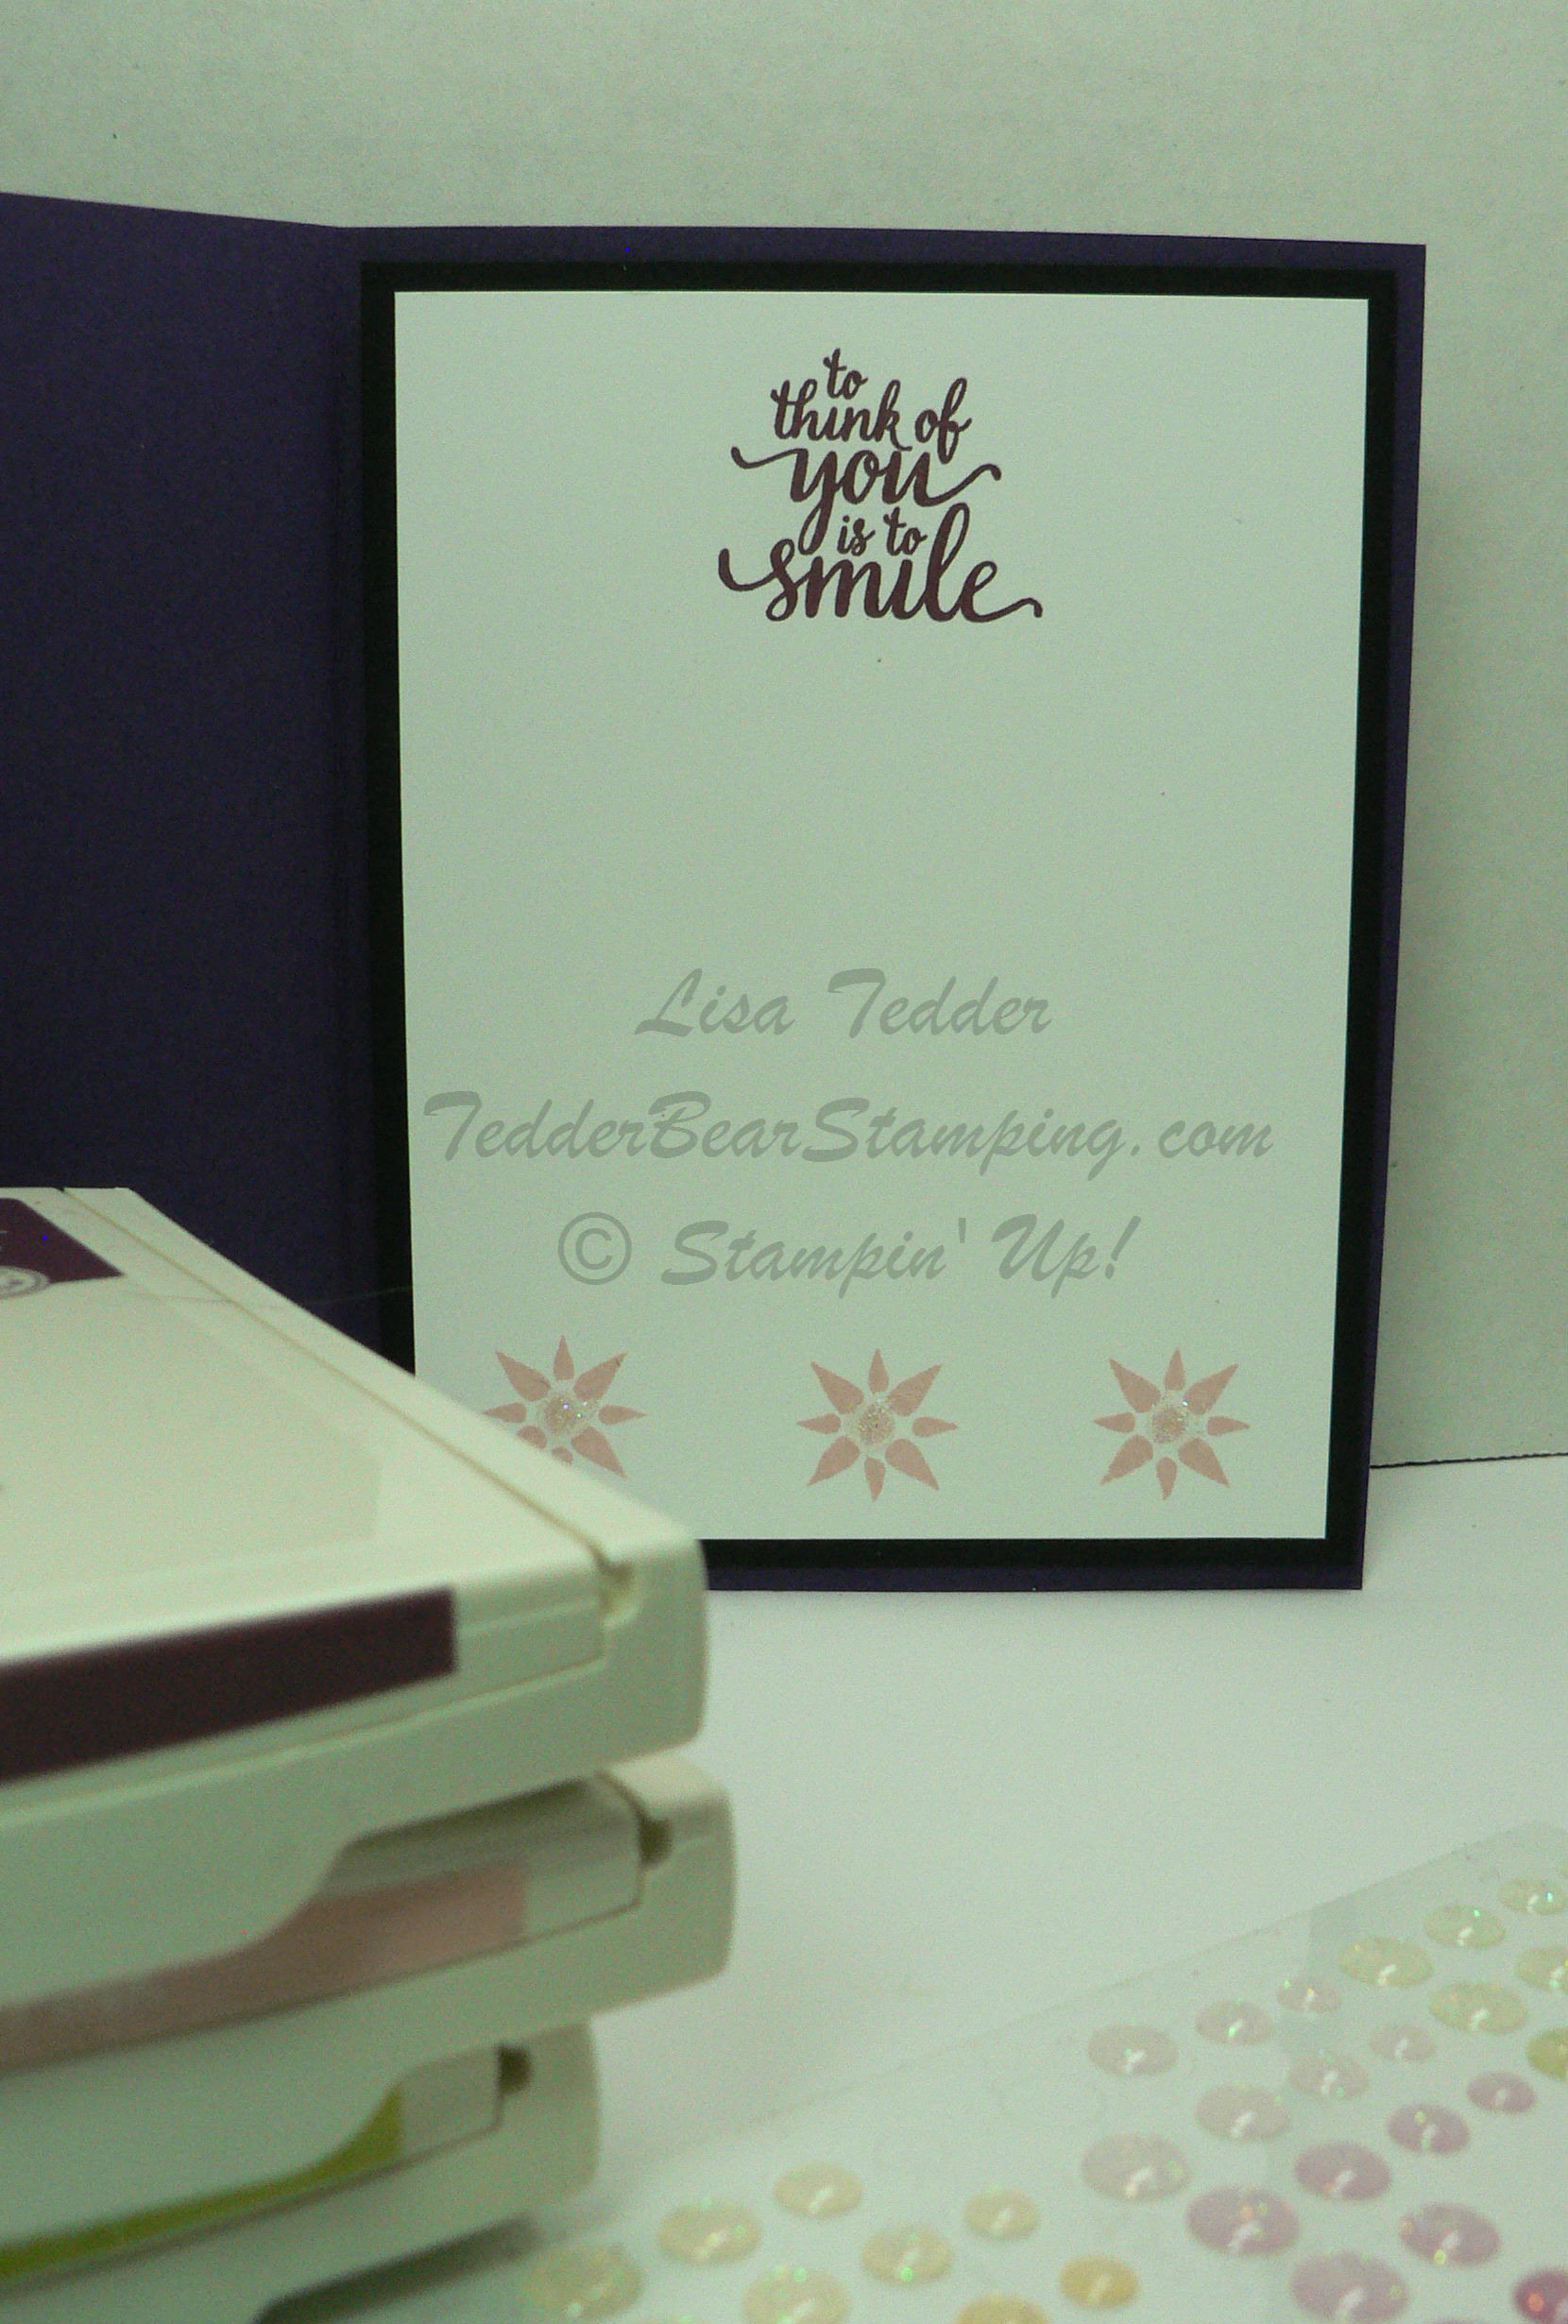
Here is the inside of the card:
Love, Love, Love this set! You also can’t see in the picture, but the small flowers on the bottom have a Glue Dot inside the center and then I pushed Dazzling Diamonds into it, they make the perfect circular accent, AND they are Cheap! lol And because the Dazzling Diamonds are on them, they aren’t sticky anymore on top!
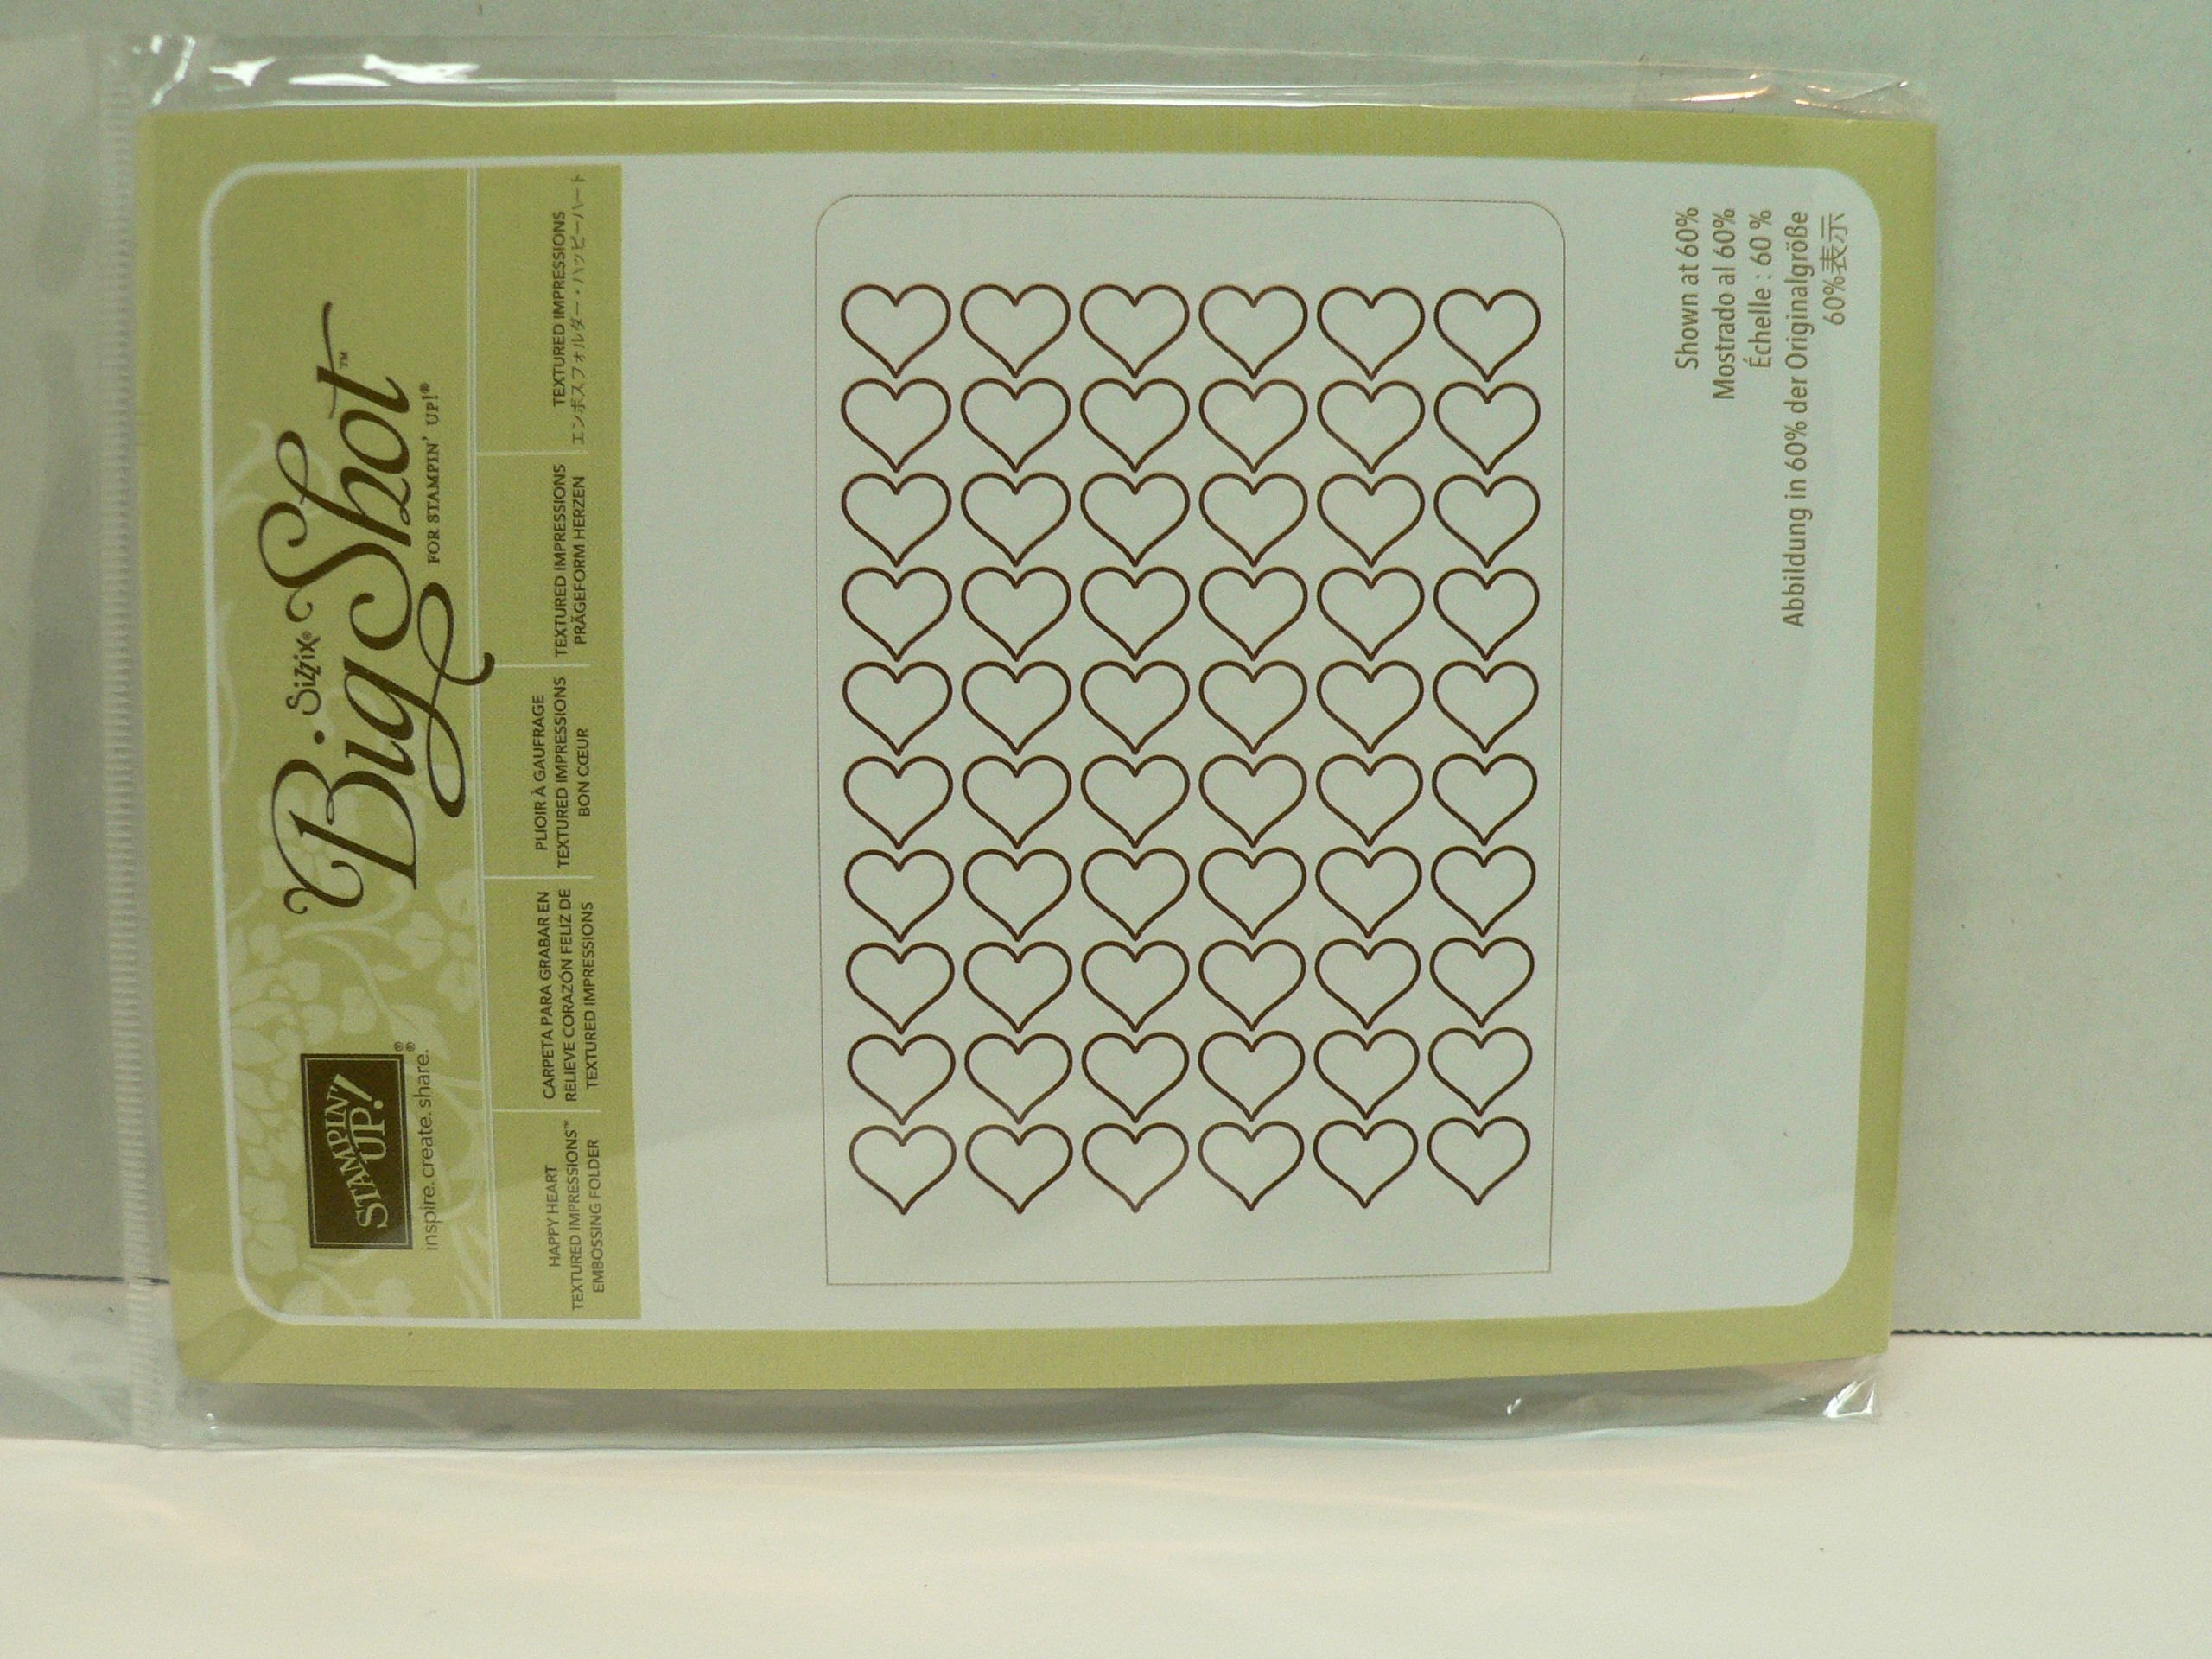
Again, don’t forget about the Blog Candy that I am offering!
May 15 is the date that I will have the drawing where you may be able to get it for FREE! I love embossing folders, them give you the best texture and it just makes you want to touch the card! You get into the drawing, just by commenting on any post here on my blog or on my Facebook Page between now and the 15th! And there isn’t any limit on how many times you want to comment! Go back as far as you want on this blog, and comment away! 🙂
I hope, once again, that you have enjoyed my post! Subscribe to my blog to not miss out on any posts!
Lisa Tedder
TedderBearStamping
A California Girl living in North Carolina!
Today I TRIED to do a Facebook Live, and it came out ok, but I REALLY need to practice more! hahahaha
I wanted to share with you today TWO/Three NEW sets from SU! that is coming out in June! The reason I say Two/Three is because I am showcasing a set that has a Thinlit that works with it. Not sure you would say they are separate sets, but they could be used apart.
The one I am sooooo excited about it Eastern Beauty and Eastern Medallions! This set is so Versatile! You can use the stamp set to make ALL kinds of great designs! I have to still work on seeing what it does, so for now I will be sharing the card I made using the Eastern Medallion thinlits and a few of the stamps!!
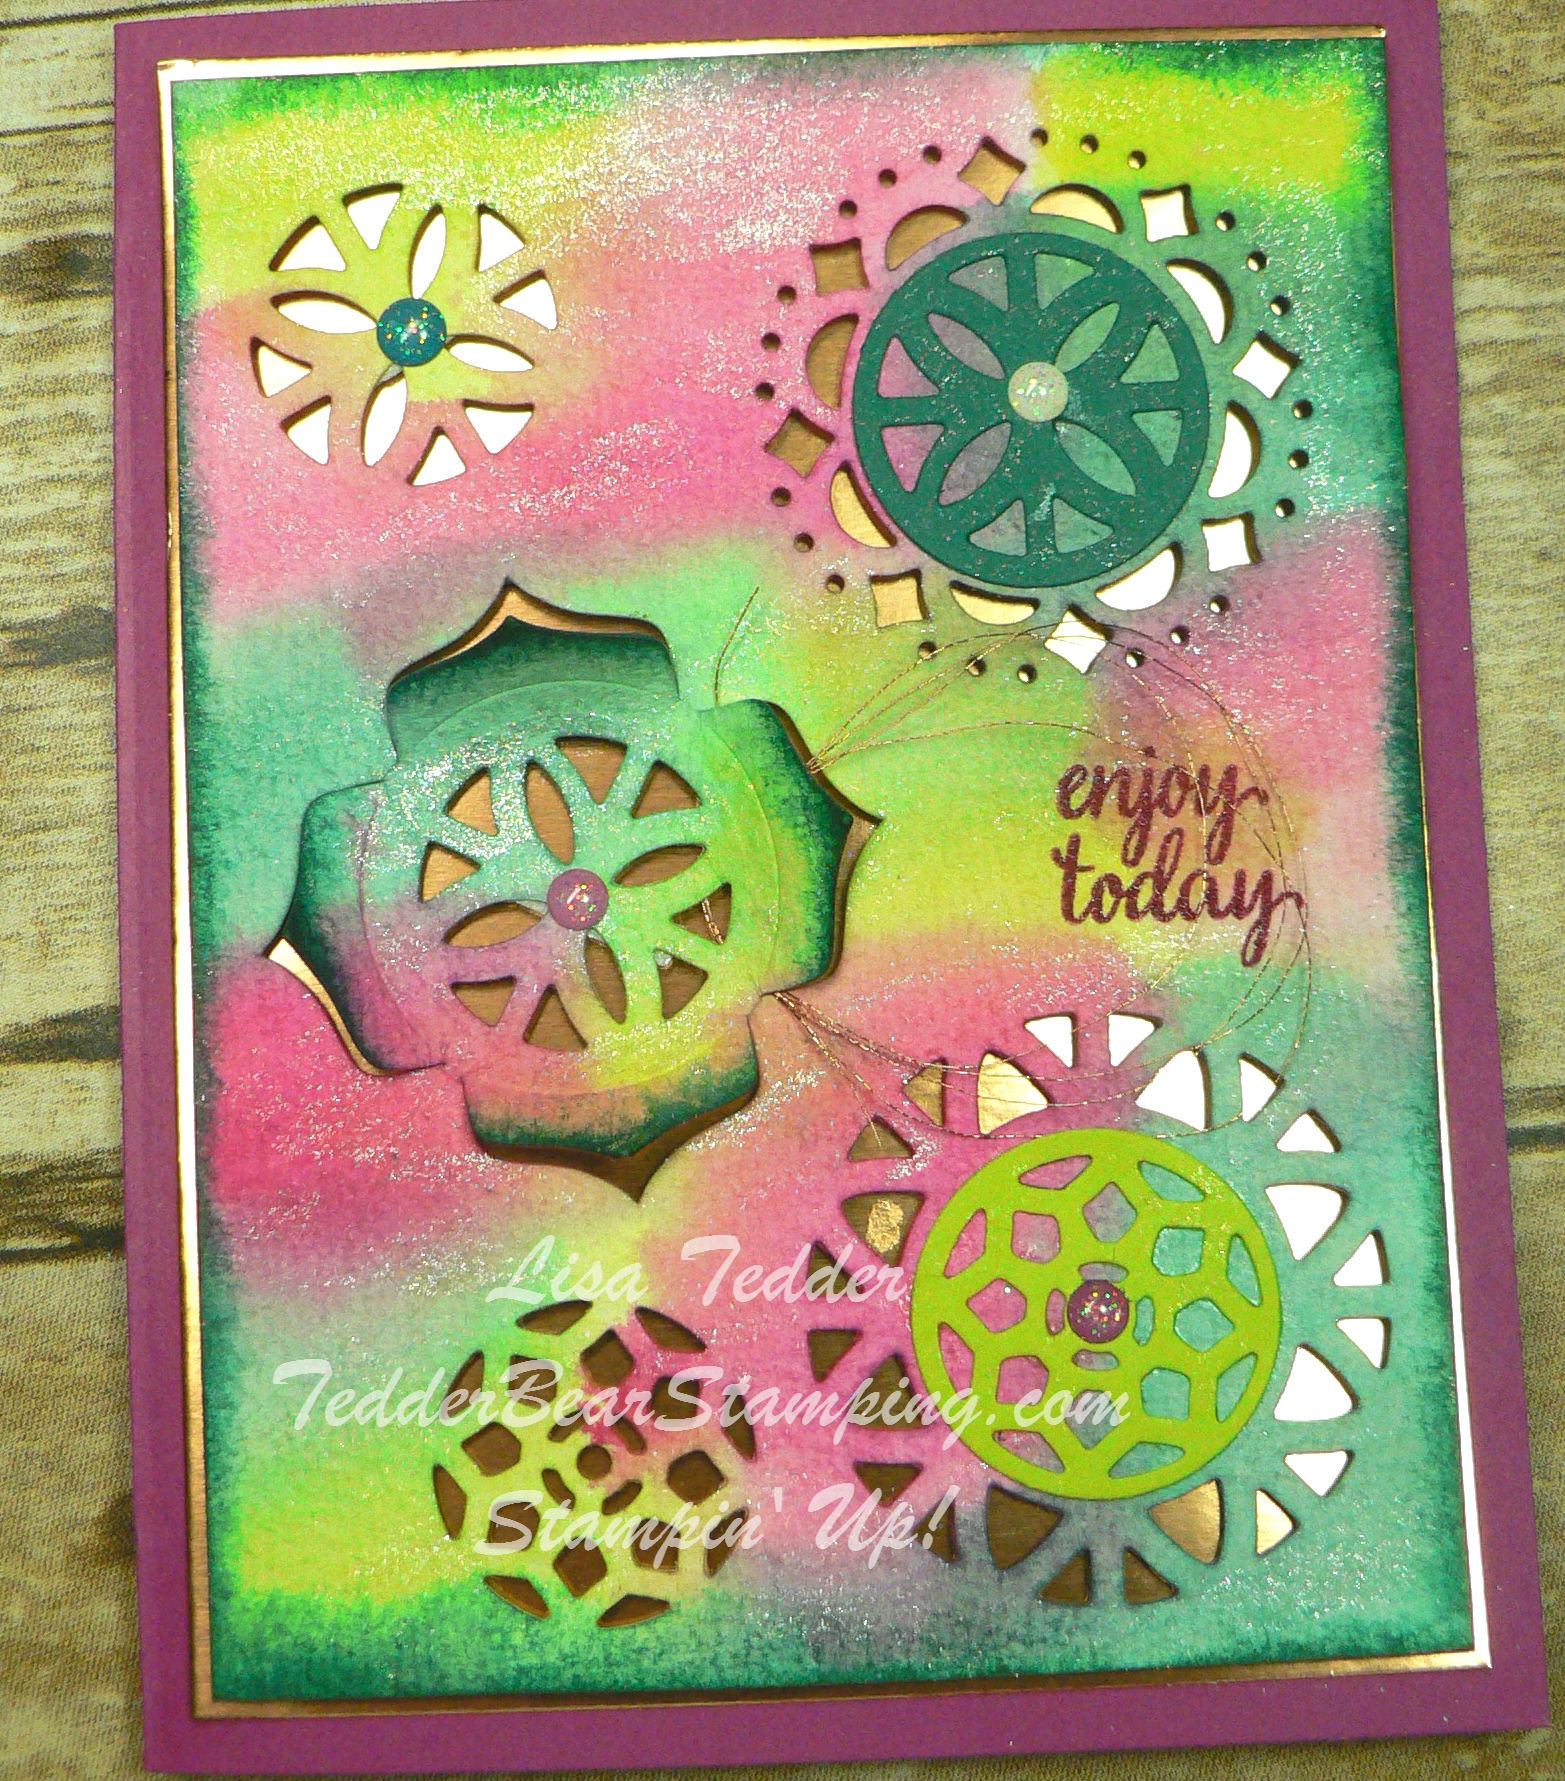
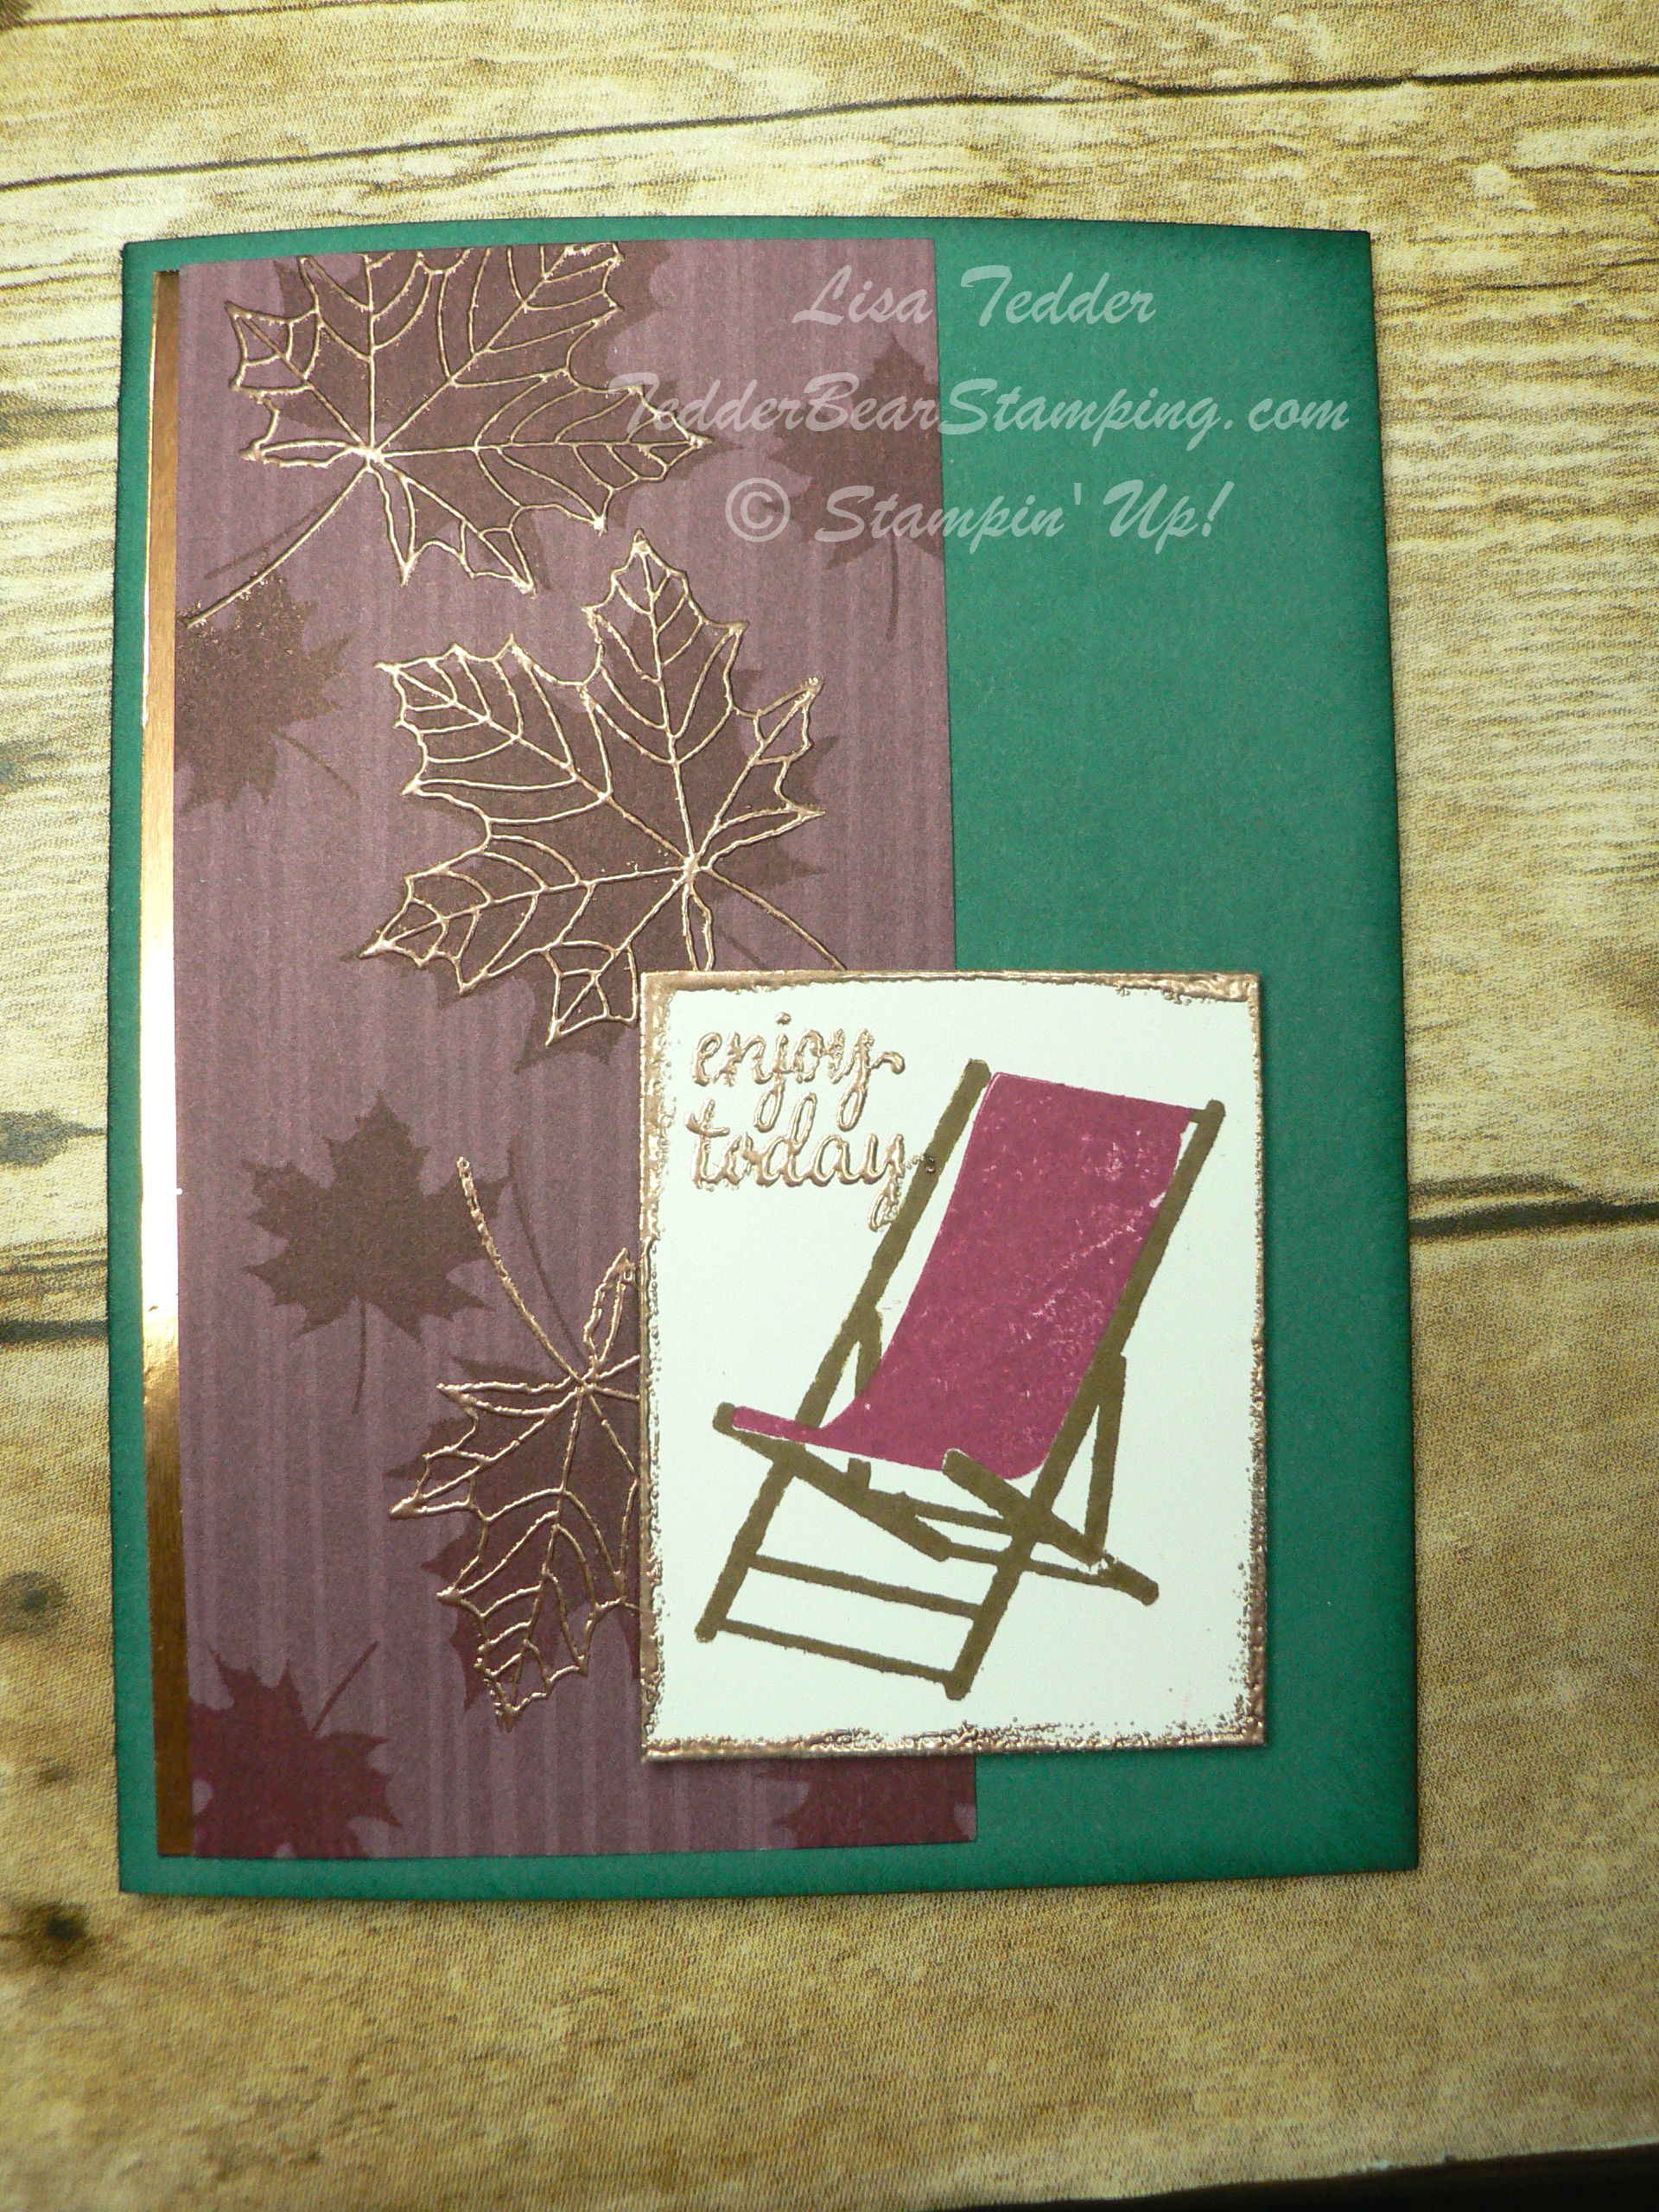
Here is the card:
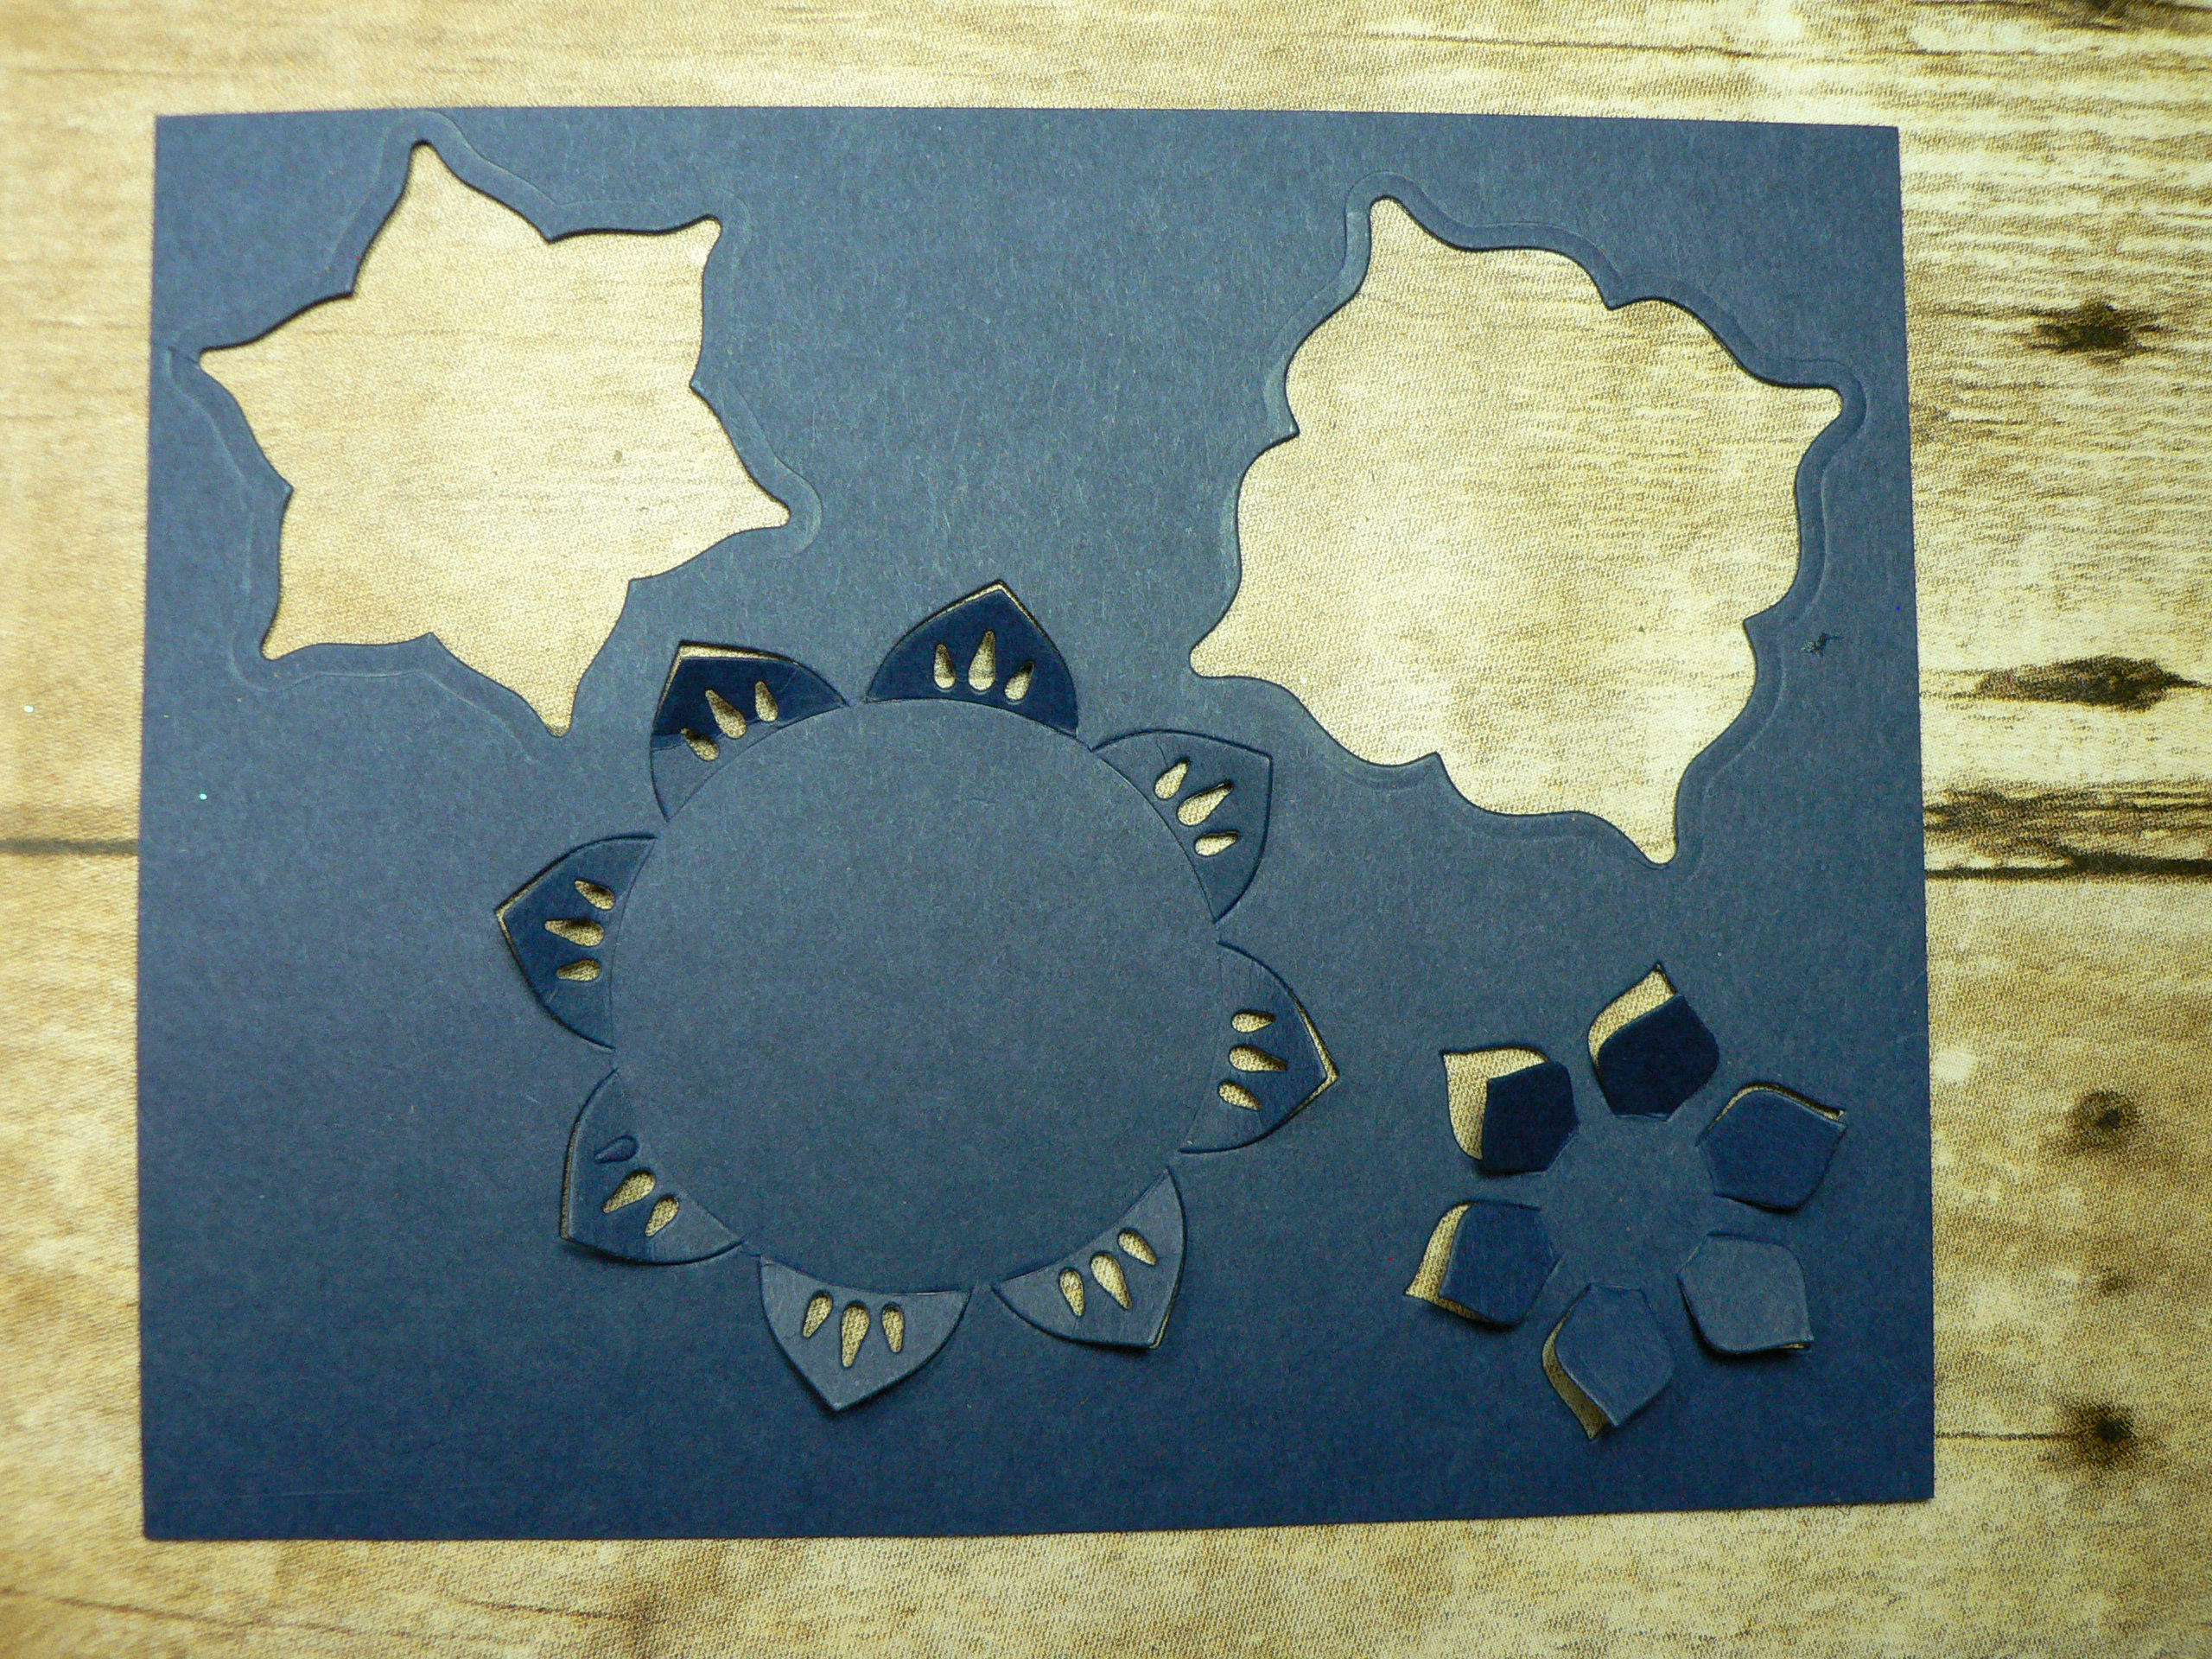
VERY pretty colors, right? This is made with a lot of the framelits. The cool thing is that you can mix and match them! The one on the card that has the popped up part, is usually solid in the middle. I used one of the other thinlits and placed it in the middle and made it so you can see through it! Here is a sheet showing the one still attached to the cardstock and the other framelits in the set:
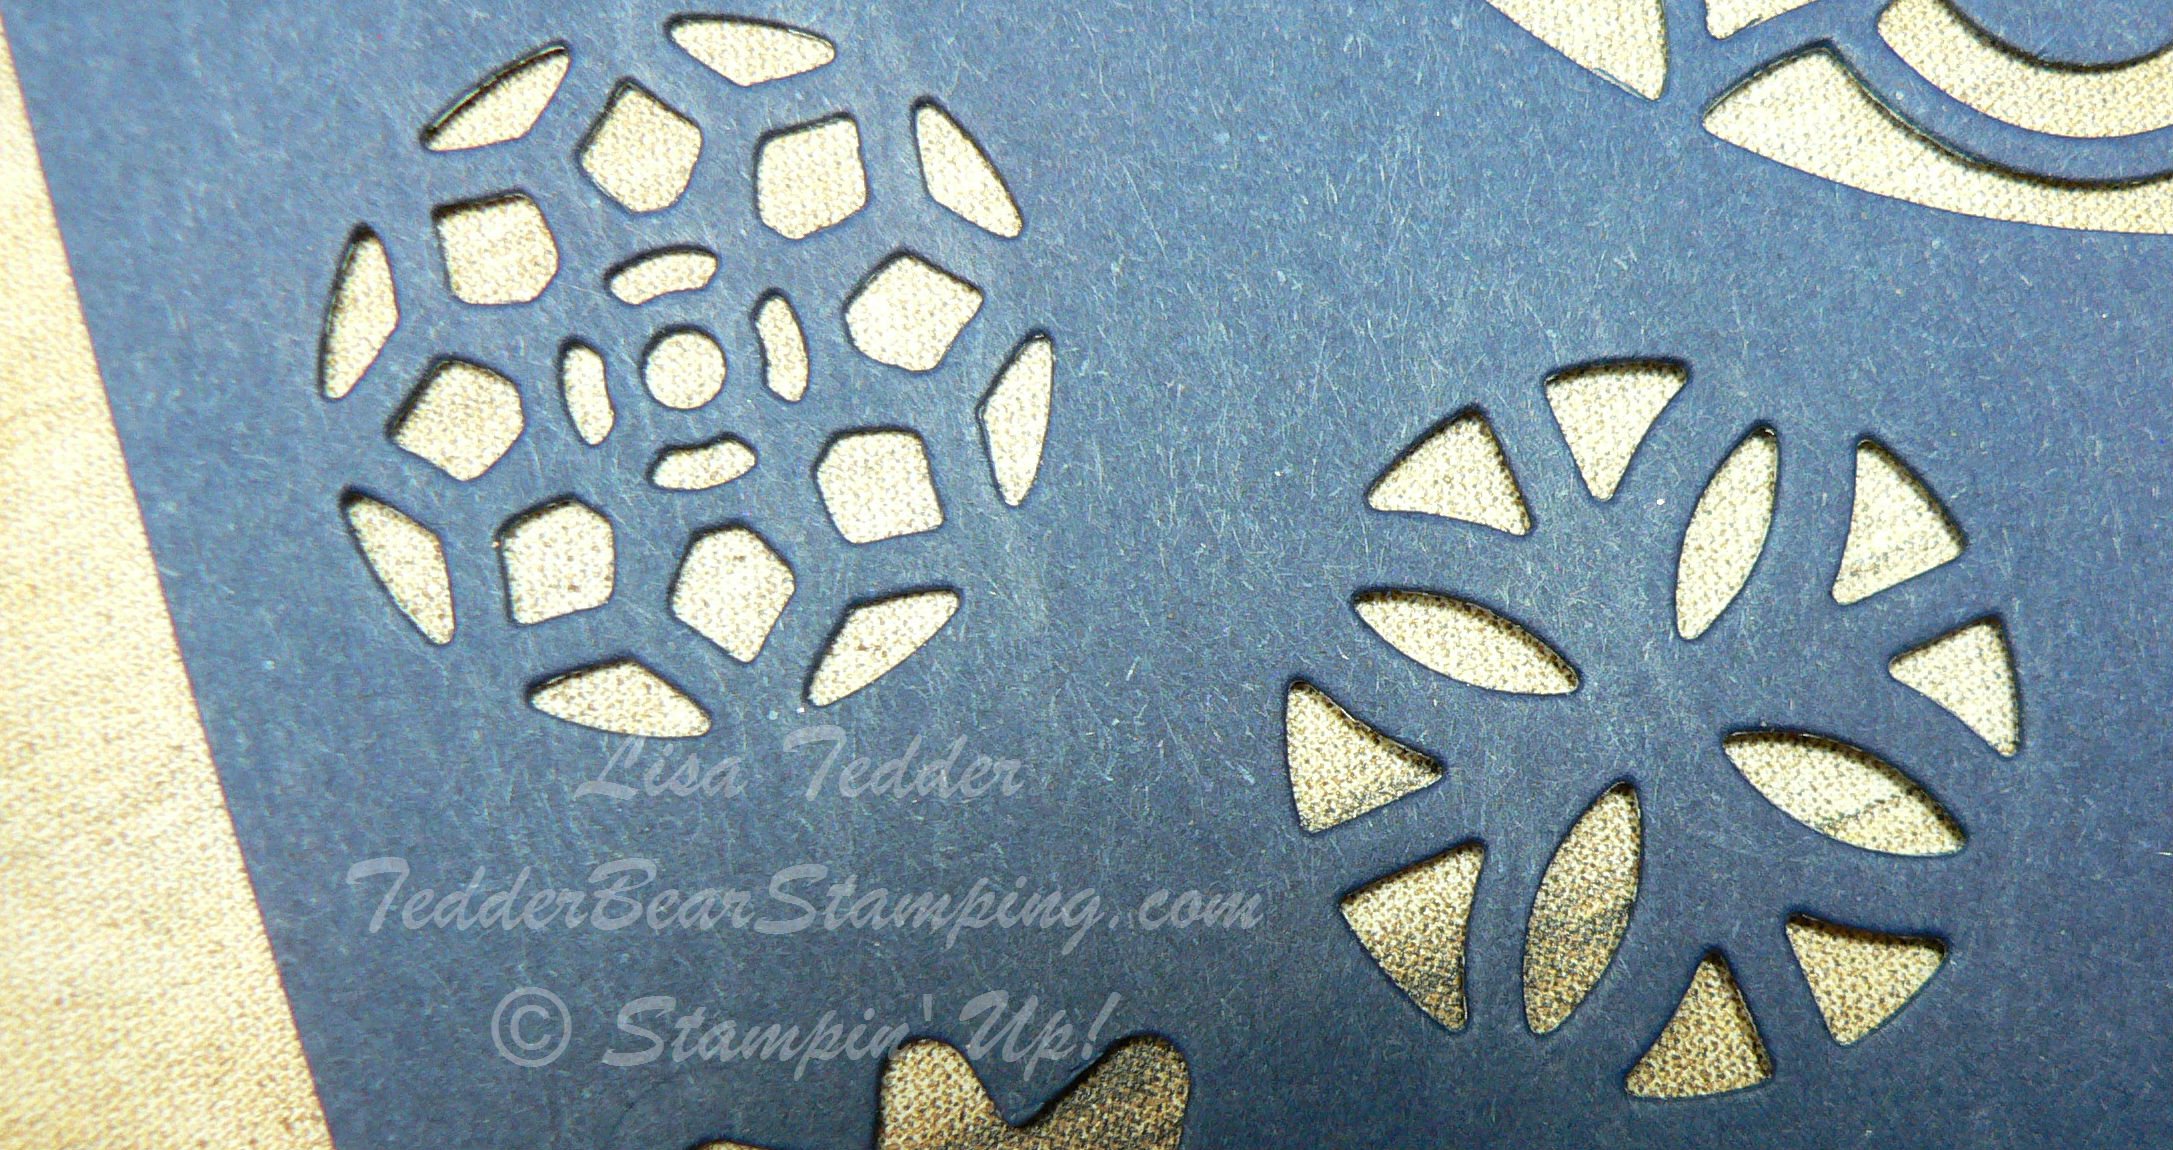
If you want to cut out an image to either put in the center. or cut out a center, you can see this piece leaves just the cutouts that you see:
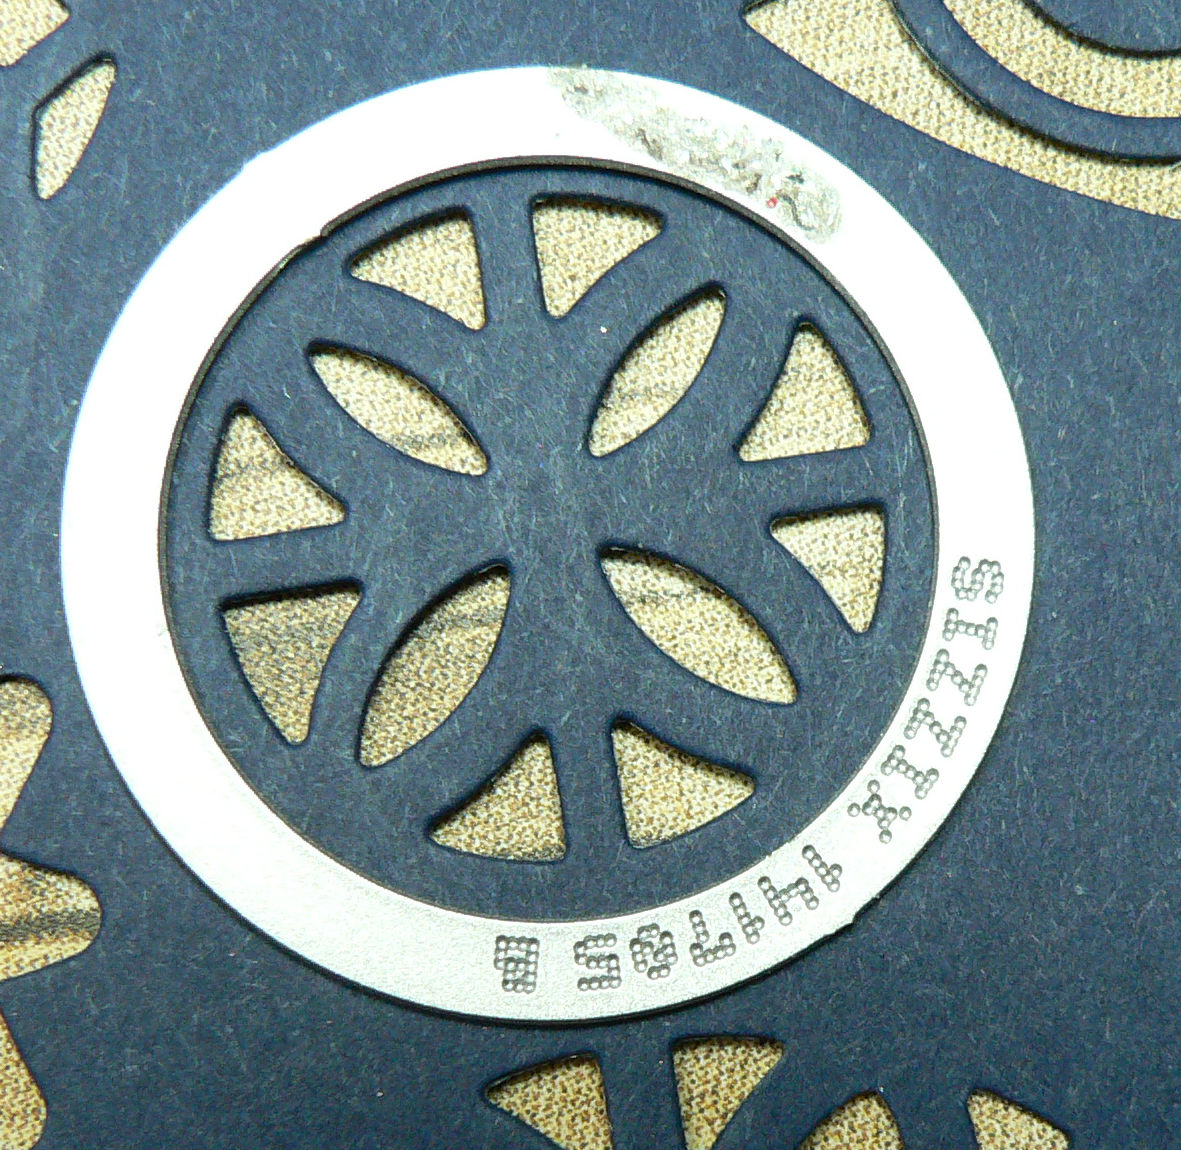
OR if you want to cut out the image, use the smallest circle from the Layering Circles #141705 and t cuts it out perfectly!
Doesn’t Stampin’ Up! think of everything! 🙂
I started with a 3 3/4″ x 5″ piece of Watercolor Paper and placed a lot of the Thinlits on the Watercolor paper, then added to them, to get the look I wanted. I then got my Aqua Painter and colored some of the new pretty In Colors on the top of the Water Color Paper, making it as bright and pretty as I could!
I used Wink of Stella to make the paper sparkle and then popped up the piece in the center left by making the edges pull up (the piece doesn’t pop out all the way, just the petal edges). I placed Dimensionals on the bottom of the entire Piece of Paper and then placed it on 5 1/8″ x 3 7/8″ piece of Copper Foil. It looks so pretty in person, with the copper peeking out!
I stamped the saying from Eastern Beauty “enjoy today” on the right center and then used clear Embossing powder on it to make it more textural (I LOVE that our inks are wet enough to do this!!)
I used the brand new Glitter Enamel Dots that I got from attending OnStage in Savannah GA!! If you are a demonstrator one of the MANY perks is that you get to see product before anyone else! AND if you attend OnStage (which is all over the world!) you can pre-buy certain product before other demos that didn’t attend! Of course I HAVE to go, so I can see/touch and order new goodies……as I’ve said MULTIPLE times, I am NOT a patient person! LOL
For the added touch before putting it onto the Berry Burst Cardstock I wrapped some Copper Thread so it peeks out of the side of the lifted petal and goes around the sentiment!
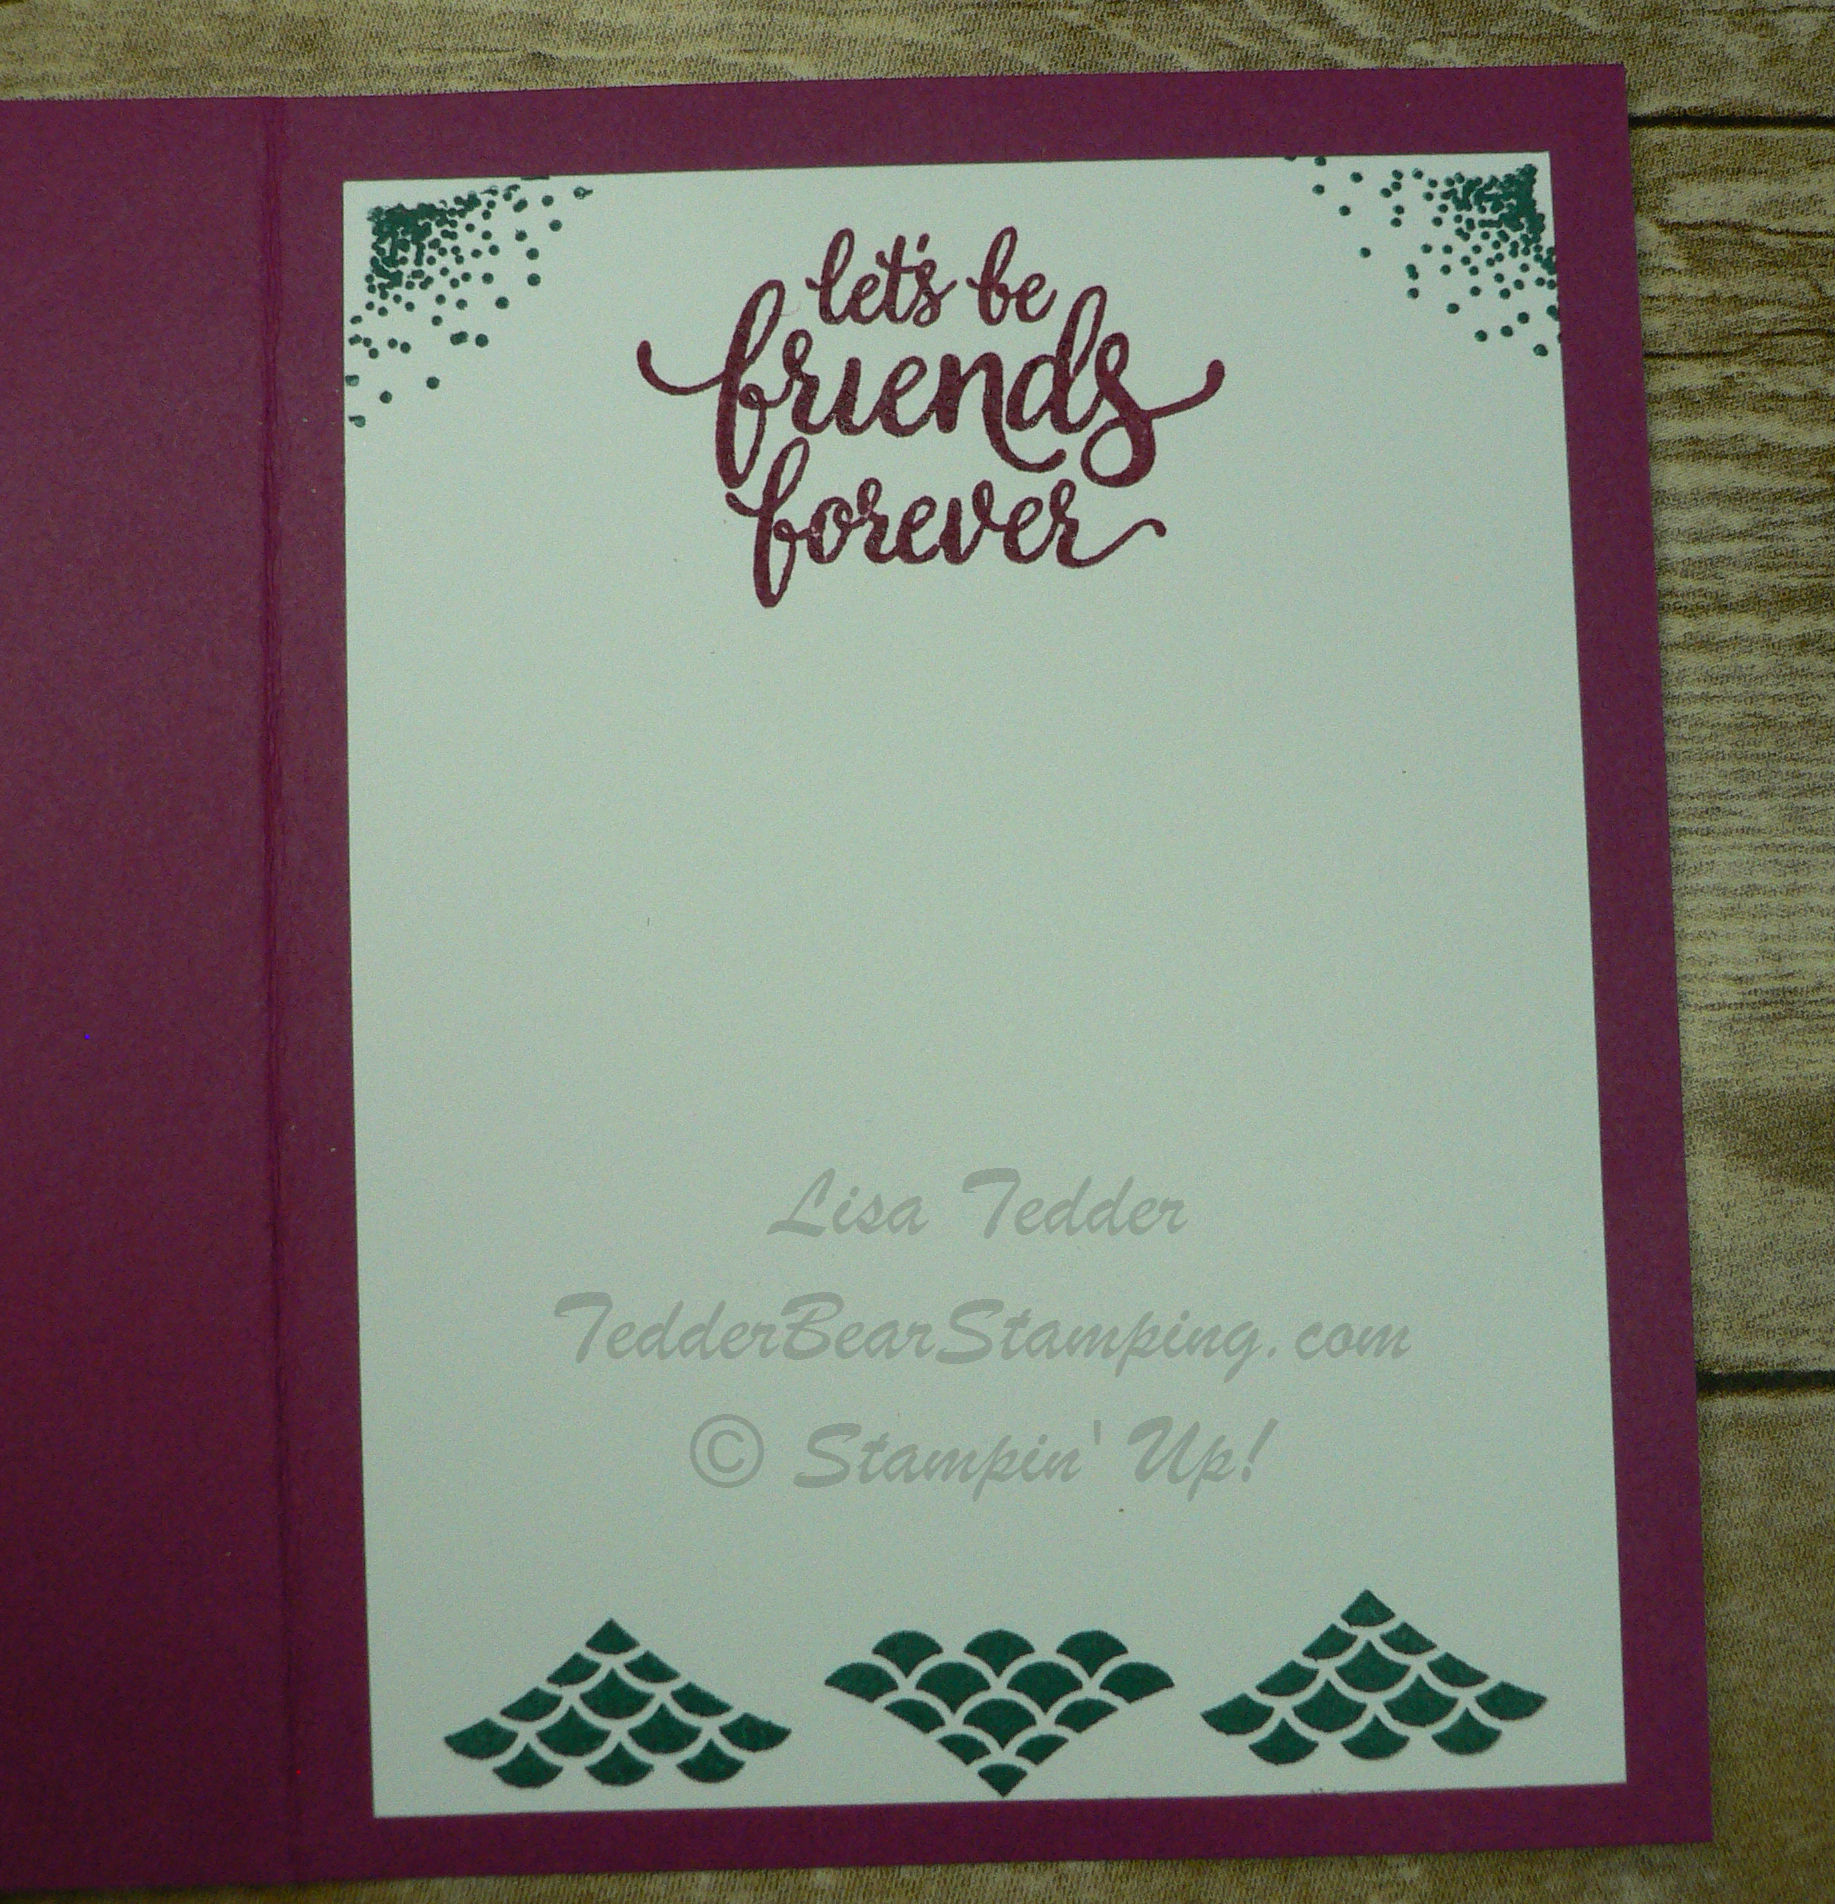
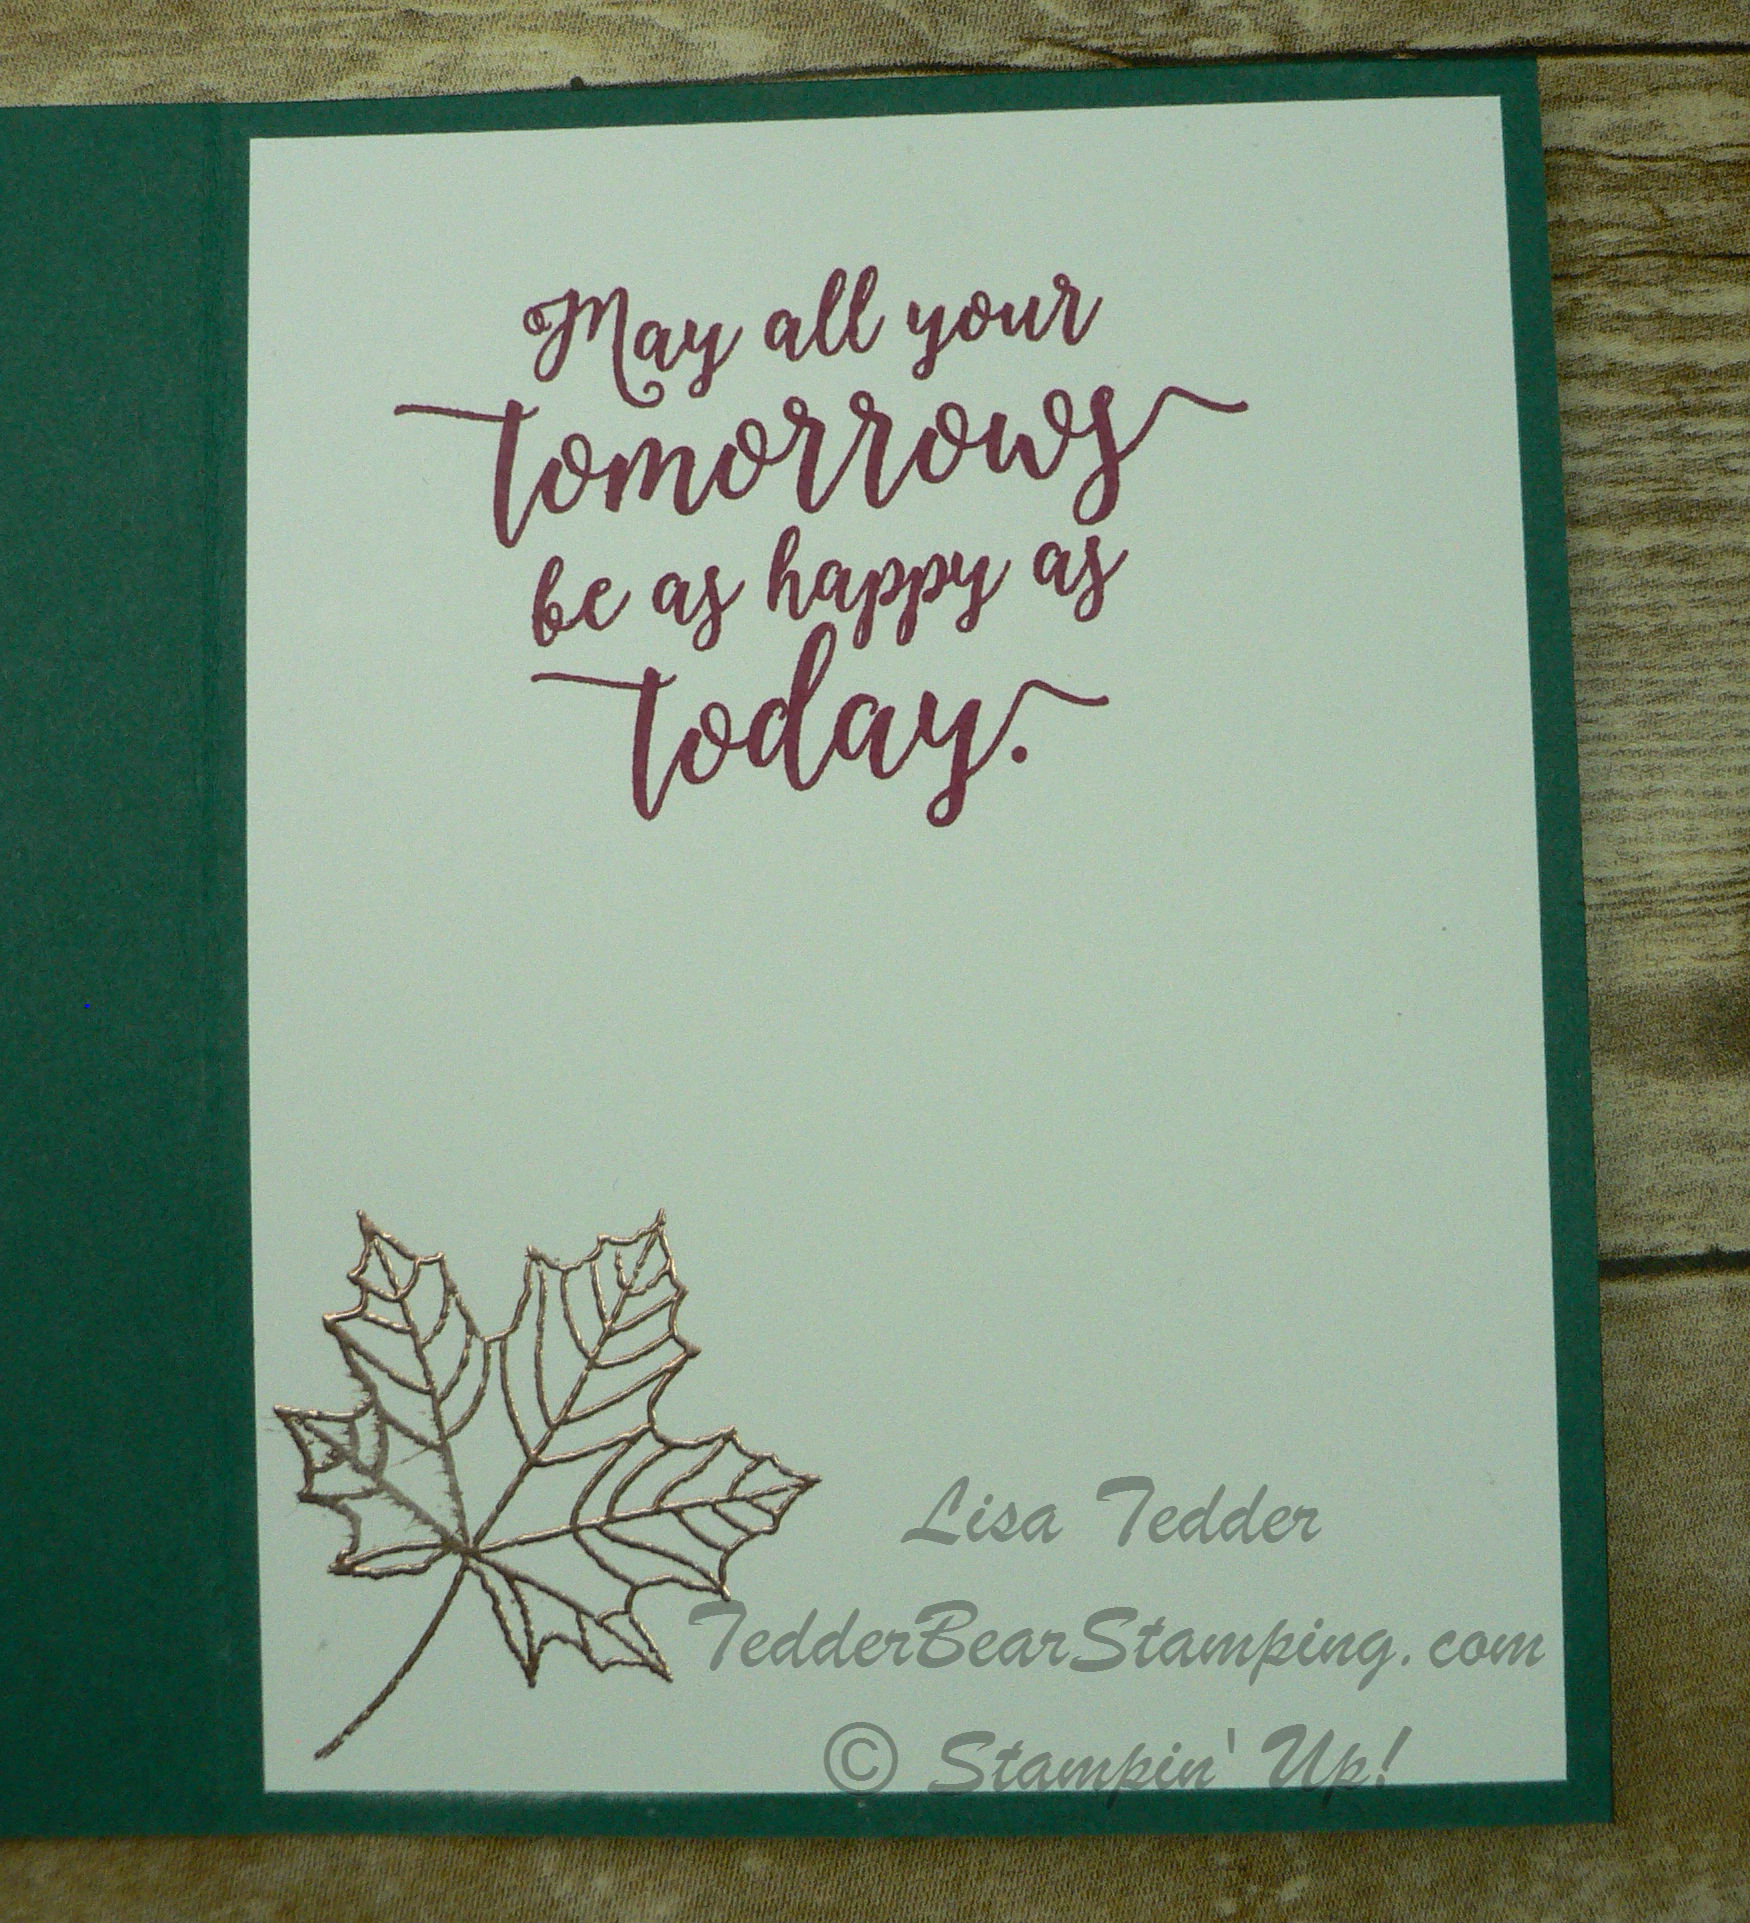
Here is the inside of the card!
Again, I used the stamps from the Eastern Beauty to adorn the inside! Well? Do you like it?
On my Facebook Live Video New Sneak Peek Stamp sets I also showed another card. I showed how this one was made, so I will show you the picture and if you want to see it made, go see the video…..just ignore how silly I look/sound/act……..this is what happens when you are not super experienced at it! HAHAHAHA
I won’t show you the one I tried to make better on the video, because in the long run, I liked this one better!
Here is the inside:
I really love the Copper on the Designer Series Paper (DSP), don’t you?! And the leaf in Copper looks so pretty on the inside!
If you live in the USA, I would LOVE to have you be a part of my Team! You can sign up under me, get a discount, get to attend SU! functions, order product early and get to meet the BEST people! What can be better than getting paid to do what you love to do!?
Check back in with me, I’ll be posting more retiring ideas AND new product! Subscribe both to my blog and to my Newsletter and you won’t miss anything!
Lisa Tedder
TedderBearStamping
A California Girl living in North Carolina
Learn how to make cards that won't end up in the trash!


")


 Shimmer Ribbon Pack")