Tag Archives: Rhinestone Basic Jewels

Sneak Peek!! Amazing Life

Hey Guys!

Sorry it’s been a couple weeks, ok maybe longer…… I went to Orlando to attend the Stampin’ Up! ON Stage get together that SU! Demo’s attend.  I had such a great time! It was great rooming with my ‘SU! Besties’ (my girl friends and I only meet up at SU! functions) and learning/seeing all the new things coming out in January!!  I then spent a week with my Husband in Orlando for our 30th Anniversary!  The bummer is that I got sick the day after he got there. 🙁  I am STILL sick, and it’s been a MONTH!  Hence the reason why I haven’t been posting!

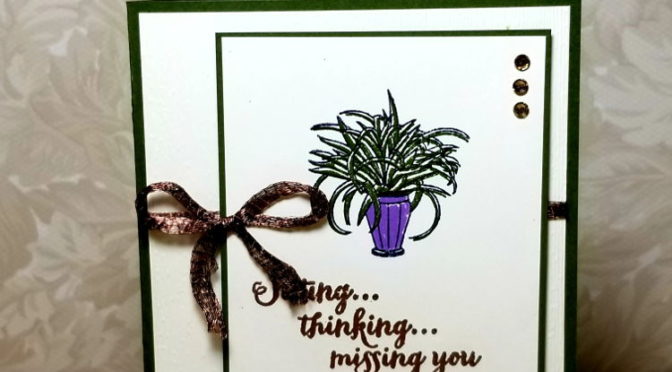
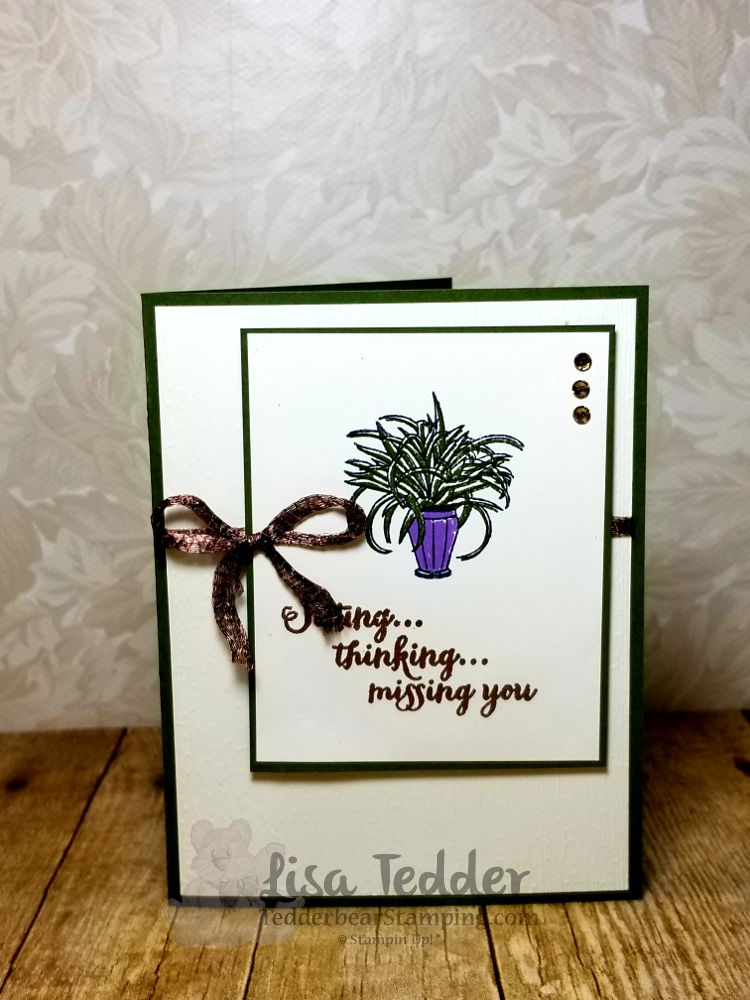
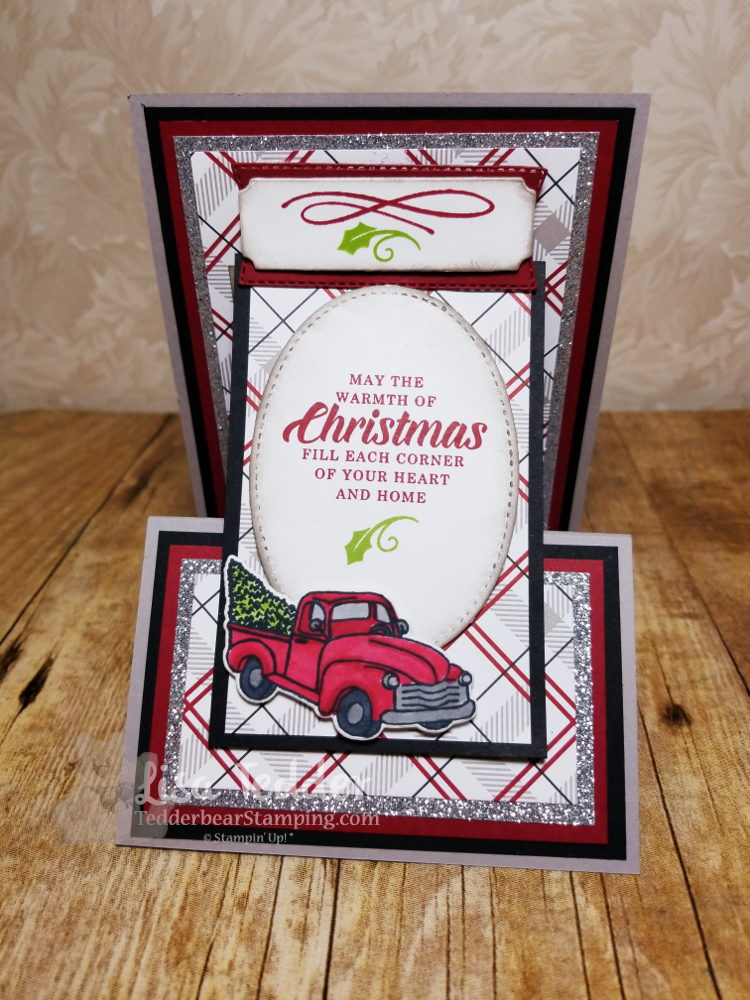
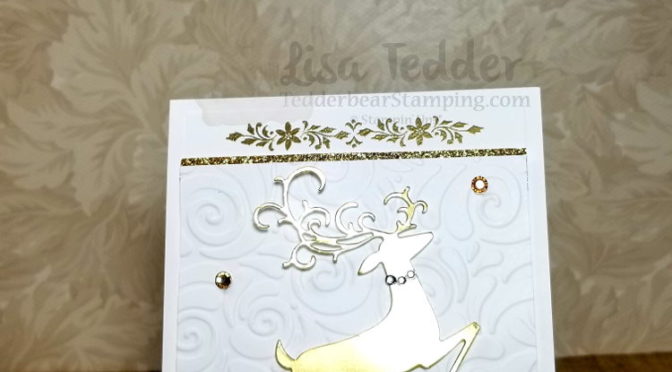
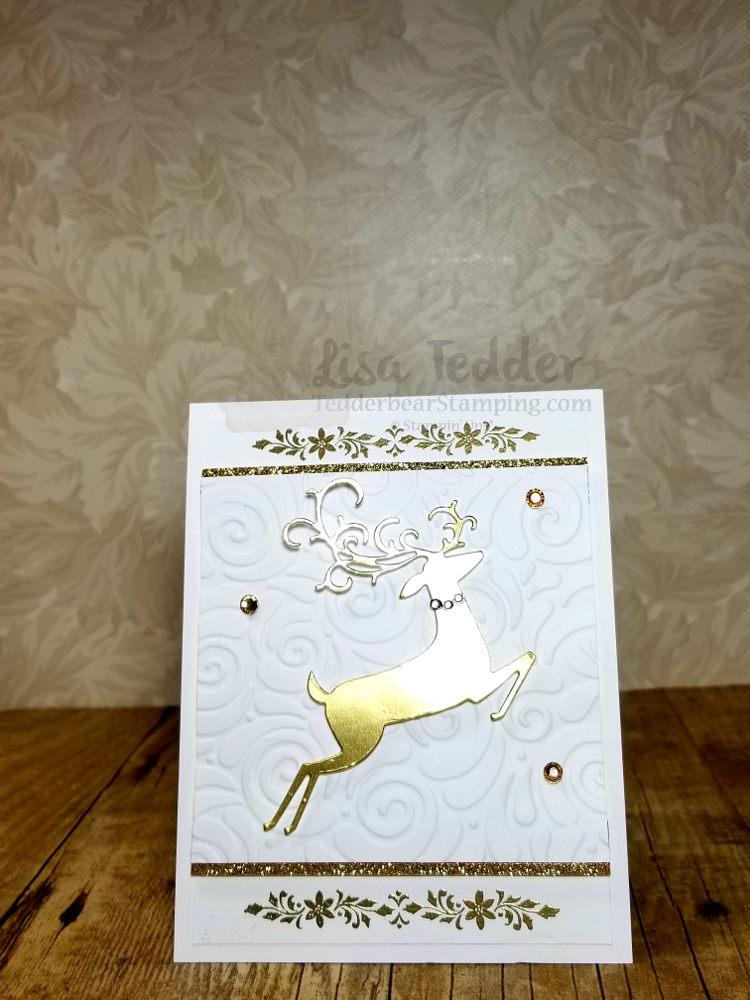
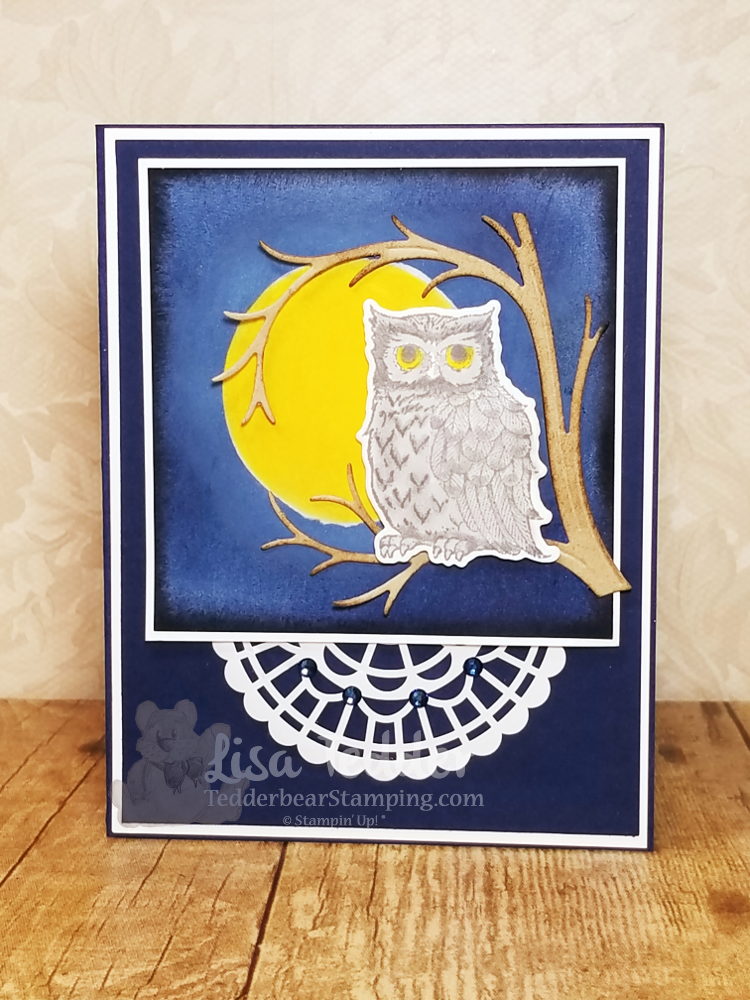
The card I am sharing with you today is from a stamp (Amazing Life) that we got for FREE while at OnStage!   I came up with this all on my own!!  I LOVE making my own designs, but time allowances don’t always make it to where I can do it.

I used this stamp from the set:

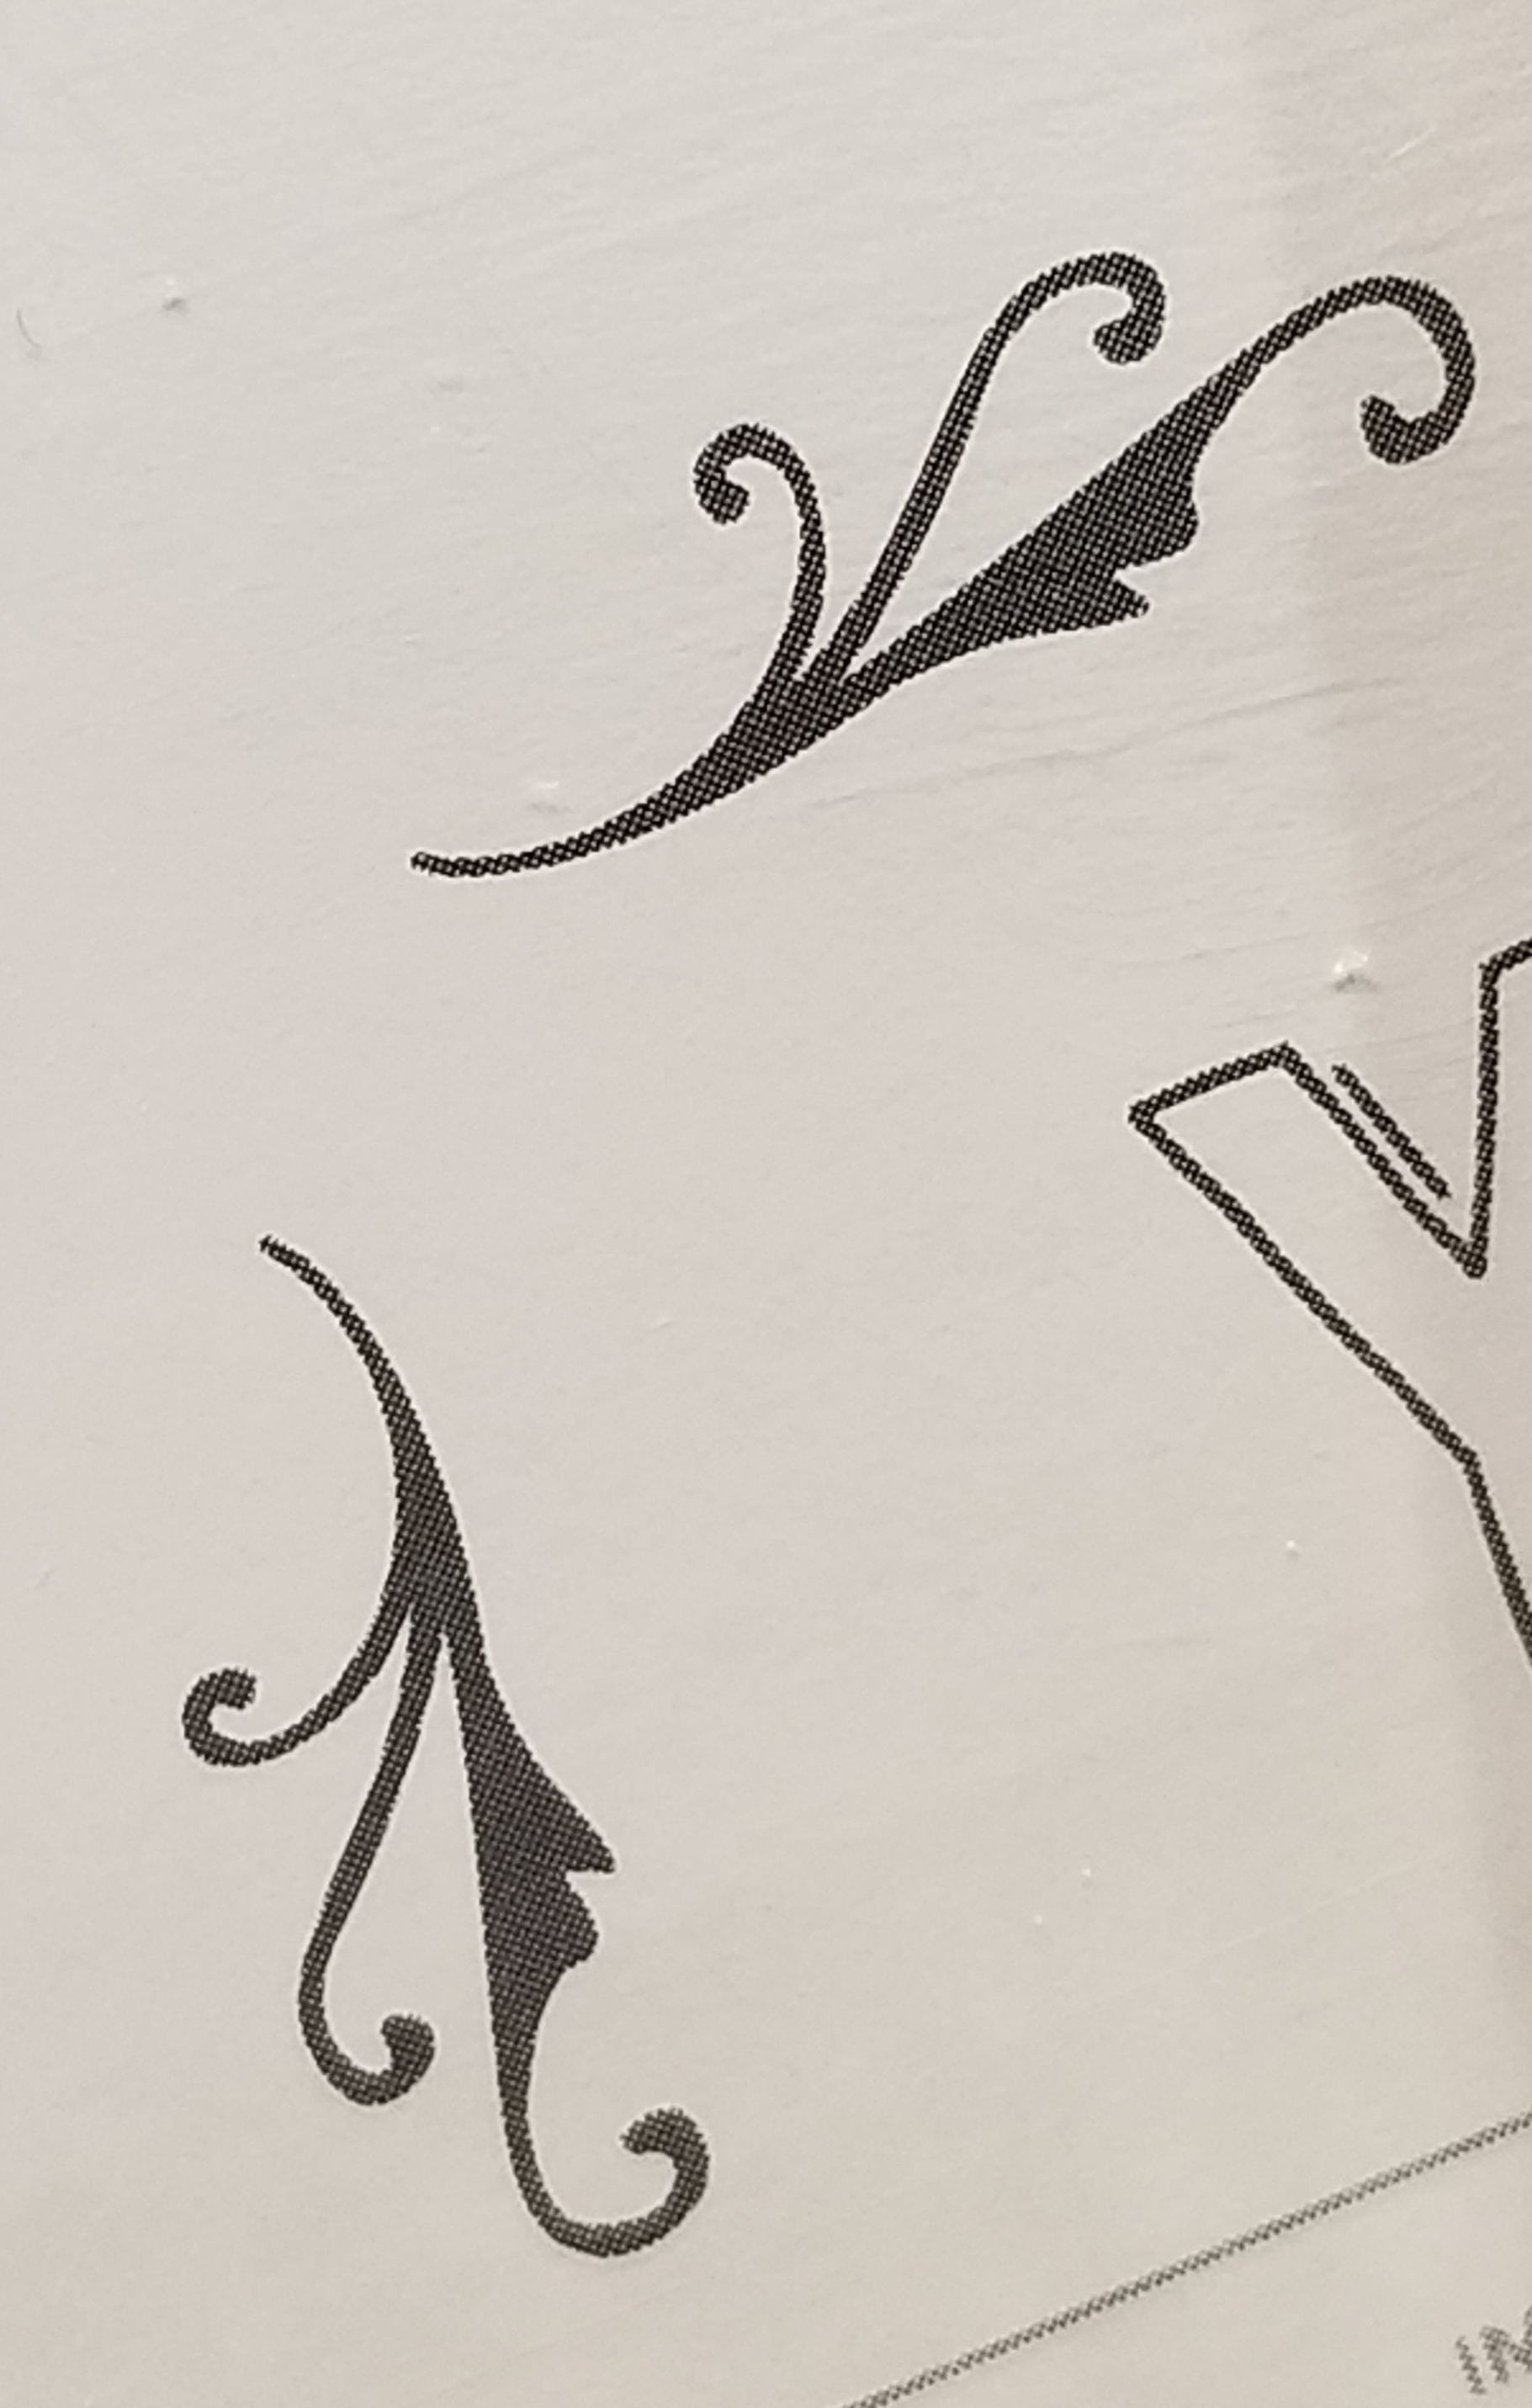
Doesn’t look like much right?

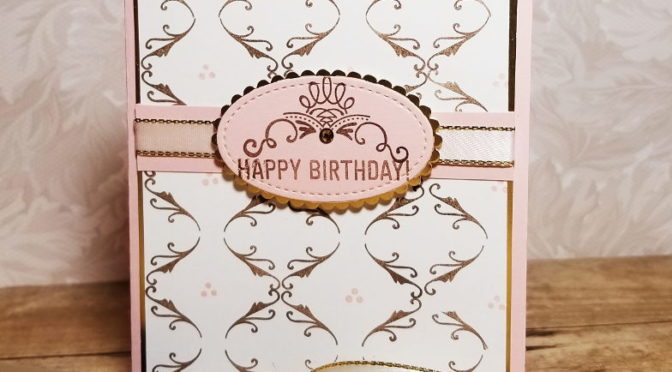
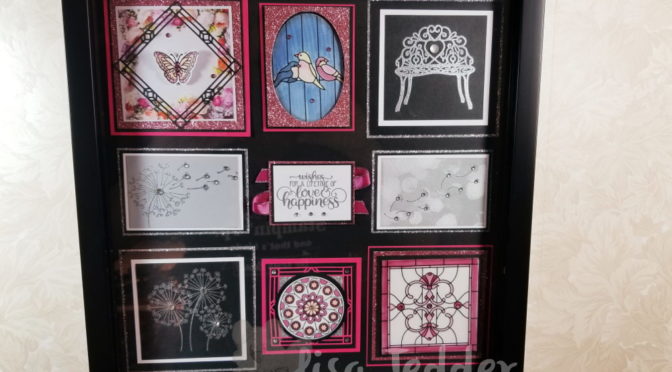
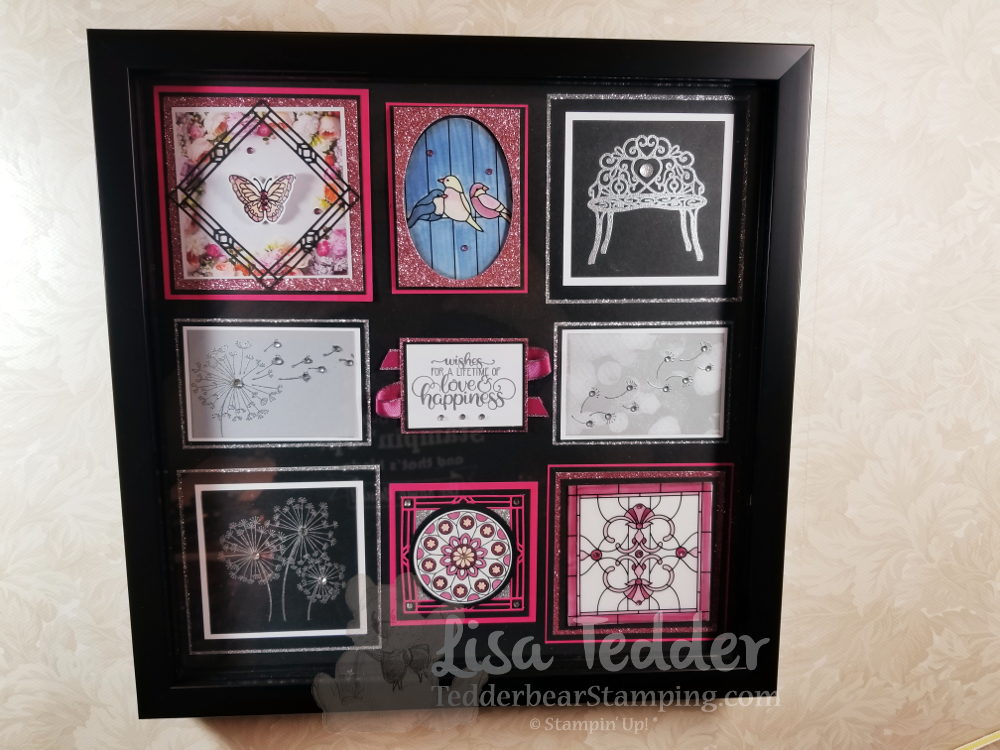
Well, I stamped it along the bottom with the two swirls going down, in Soft Suede ink. Repeated it along the bottom, lining up the swirls so they touched, then flipped the stamp over and lined up the two lines that are in the middle of the stamp.  I repeated this on top of the ones I stamped along the bottom and then flipped the stamp so the swirls were on the bottom again, and started all over to make a pattern!

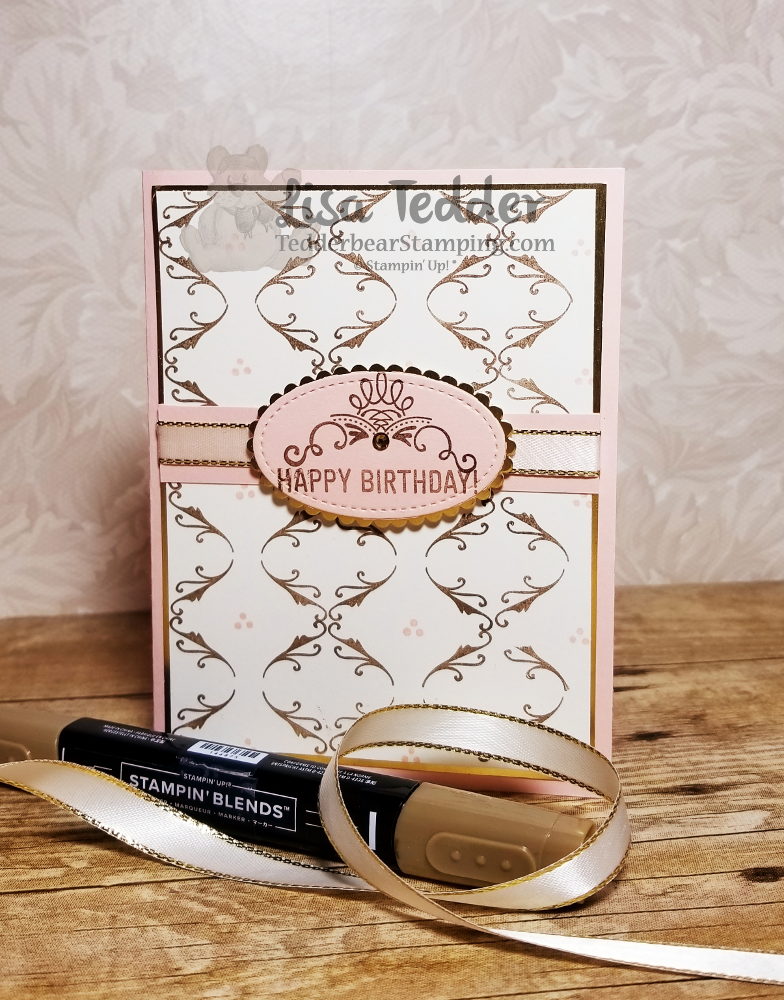
After making the pattern, I stamped the 3 dot stamp in Petal Pink between the stamped pattern.  Don’t you LOVE how it came out!?  I was so tickled to see the beautiful pattern that this stamp made!!  If you watch the video I made you can see how It was done, if this doesn’t make sense.  I used other stamps for other designs, so be sure and check it out!

Here are the particulars for this card:

Paper
Petal Pink 8 1/2″ x 5 1/2″, 3/4″ x 3 7/8″, scrap
Gold Foil 4″ x 5 1/4″ (x2), scrap
Vanilla 5 1/8″ x 3 7/8″ (x2)
Inks
Soft Suede
Petal Pink
Versamark
Blend: Soft Suede dk, Petal Pink light
Accessories
Big Shot
Layering Ovals
Stitched Shapes
3/8″ Gold edged ribbon
Rhinestones
Gold EP/ embossing buddy/heat tool

If you live in the US and are in need of a Demonstrator with Stampin’ Up! I would love to be yours!  If you are looking into joining SU!, join my team!  We have a lot of fun and I would love to have you be part of my SU! family!

I hope you enjoyed this post, please leave me a comment below and let me know what you thought!

Check back, now that I am getting better I will be posting more!

Below are pictures of everything I used in the card, click on any of the pictures and you will be taken to my OnLine Store!

Lisa Tedder
A California Girl living in North Carolina

Product List

Sympathy card using Bokeh stamp

Hey Guys!

I love the Bokeh stamp from Stampin’ Up!  When I stamp with it, just looking at it makes me smile.  It is very subtle and makes me relax for some reason.  For this card I inked the image using So Saffron on one side and Soft Sea Foam on the other, then I huffed on it and stamped it in the middle of a piece of Very Vanilla.  I then stamped ‘With Sympathy’ from Flourishing Phrases in Black in the middle.

I will be teaching this in a class at our Local Senior Center in Kernersville on Wednesday.  The Gold Foil paper surrounding the Very Vanilla sets off not only the stamp but the black background.

Hope you like this card!!  All the supplies used for this card are listed below, click on any picture to be taken to my OnLine Store! I would love if you would choose me as your Stampin’ Up! Demonstrator if you live in the US!

Thanks for stopping by!

Lisa Tedder
A California Girl living in North Carolina
Product List

Christmas Card #14 Upright Z fold with Farmhouse Christmas

Hey Guys!

#14 is one I did a video on, you can find my YouTube video here.  This was a fun card, and I love how it can stand up on it’s own!

Side look:

And showing the inside:

All the supplies are:

Stamp Sets: Farmhouse Christmas Bundle, Timeless Tidings, Merry Christmas to All
Cardstock: Gray Granite 4 ¼” x 11” scored at 2 ¾” & 5 ½”, 2 ¾” x 3 ½”, Basic Black 5 ¼” x 4”, 2 ½” x 4”, 4 ¼” x 2 ¾”, Cherry Cobbler 5” x 3 ¾”, 2 ½” x 4”, 3 ¾” x 2 3/8”, scrap 1” x 3”, Silver Glimmer 5” x 3 ½”, 2 3/8” x 3 3/8”, 2 1/8” x 3 ½”
DSP Festive Farmhouse 3 ¼” x 1 ¾”, 2 ½” x 4”, 4 ½” x 3 ¼”, Whisper White 3 ¼” x 2 ½”, 1 ¼” x 3”, 2 ¼” x 3 ¾”, 2 ¾’ X 3 ¾”, 2 ¾” X 1 ½” (For car)
Inks: Momento Black, Cherry Cobbler, Granny Apple Green, Gray Granite
Blends: Cherry Cobbler combo, Granny Apple Green Dk, Black lt, Smoky Slate combo, Mango Melody Lt
Misc: Rhinestones, Dimensionals, Foam Adhesive Strips, sponges, Glue Dots, Big Shot, Stitched Framelits

All of the supplies are listed below in picture form.  Click on any picture to be taken to my OnLine Store.  I would love to be your Stampin’ Up! Demonstrator if you live in the US.

Thank you for stopping by! Check back in to see what I’m up to!

Lisa Tedder
A California Girl living in North Carolina
Product List

Christmas Card #12 Alpine Adventure with Lovely as a Tree

Hey Guys!

I had my 2nd Christmas Card class on Saturday with 12 people attending.  I THINK they loved it, at least they told me they did!

Are you ready to see my next Christmas Card?  This one is one I REALLY love!!  It uses Stampin’ Up!’s stamp set Alpine Adventure and Lovely as a Tree.  Lovely as a tree is a staple for every stamp room!  And Alpine Adventure has those cool winter designs that can be used for Christmas.

Here is my card:

Isn’t this the cutest?!    I added Wink of Stella to the Sprig on the Sled. This gives it a great sparkly look.  You can’t see it in the picture, but it is really pretty in person.

Here are the particulars for this card:

Stamp sets: Alpine Adventure Bundle, Merry Christmas to All bundle, Lovely as a Tree
Cardstock: Tranquil Tide 5 ½” x 8 ½”, scrap, Copper Foil 51/4” x 4”, White 3 ¾” x 5”, 4” x 5 ¼”, 5” x 1”, 1 ½” x 3 ¾”, Real Red 3 ¼” x 1 ¾”
Inks: Tranquil Tide, White craft, Crumb Cake, Momento Black, Real Red, Cajun Craze Blend Dk
Misc: Wink of Stella, Linen Thread, Big Shot, Sprig Punch, Rhinestones, Glue Dots, Fine Tip Glue pen, 2 Way glue pen, Dazzling Diamonds

Below are the supplies used for this card, click on any picture and you will be taken to my OnLine Store!  If you live in the US and would like to add me as your Demonstrator I would be thrilled!  Or if you would like to join my team ‘LETs Stamp!’ I would welcome you with open arms!

Thanks for stopping by!  Check back in to see my other Christmas cards and projects.

Lisa Tedder
A California Girl living in North Carolina
Product List

Christmas Card #11 Homemade Kindness

Hey Guys!

I hope you are enjoying my posts on my Christmas Cards that I will be doing in classes!  I love showing my girls these cards and hearing their oooh’s and aaaaah’s!  It totally makes my day!

I looked on Pinterest to get some ideas for this stamp set and there aren’t any out there!  So, here is my idea for a christmas card!

I love this Stamp set!  I’ve already started a scrapbook page using this set!

I am not a great colorer (is that a word?) but with the Stampin’ Up! Blends it is really easy!  Here are the particulars for this card:

Stamps: Homemade Kindness
Cardstock: Real Red 4 ¼” x 11”,5 1/8” x 3 7/8”,  Silver Foil 5 ¼” x 4”,  Whisper White 5 ¼” x 4” (inside), 5” x 3 ¾”
Inks: Memento Black, Call Me Clover & Basic Black markers, Blends: Real Red combo, Call Me Clover combo, Crumb Cake Combo, Smoky Slate combo, Color Lifter
Misc: Rhinestones

Below are pictures of what I used to make this card. Click on any picture to be taken to my OnLine Store!  If you live in the US and don’t have a Stampin’ Up! Demonstrator I would love it if you would choose me!

Thank you for stopping by!

Lisa Tedder
A California girl living in North Carolina
Product List


Christmas Card #8 Dashing Deer Holiday Catalog

Hey Guys!,

When I got the Holiday Catalog by Stampin’ Up!, the first card I wanted to do was this one!  It is soooooo pretty!!

I used once again the Embossing Folder Swirls & Curls.  I didn’t think I wanted this folder, but once I saw it, I HAD to have it!  This folder is one that does the deeper impressions, and it is stunning!

I’m not sure if you know this, but SU! Blends color our Rhinestones and you can have your jewels match your project now!

Here are the specifics for this card:

Stamp sets: Dashing Deer
Ink: Versamark
Cardstock: Whisper White Thick 4 ¼” x 11, 3 7/8” x 3 ¾”,
3 7/8” x 5 1/8” (x2), Gold Glimmer ½” x 3 7/8” (x2)
Misc: Gold Embossing Powder, Embossing Buddy, Heat tool, Rhinestones, Bronze Blend, Dimensionals, Swirls & Curls Embossing Folder

Below are pictures of the supplies used, click on any picture and you will be taken to my Online Store!  I would love to be your SU! Demonstrator if you live in the US!

Lisa Tedder
A California girl living in North Carolina
Product List


Christmas Card #5 Dashing Deer meets Joyous Noel

Hey Guys!

Here is another CASE’d card.  I got the idea from Deborah Smart.  You can go see her card here.   I didn’t do the black behind the deer, but that’s all I changed.  Funny thing is that I TRIED to change it up, but kept coming back to her design.  So here it is:

The Designer Paper is absolutely GORGEOUS!  The Deer framelit is small enough that it still showcases this paper!!

Here are the particulars:

Stamp sets: Dashing Deer Bundle, Alpine Adventure
Cardstock: Merry Merlot 5 ½” x 8 ½”, Copper Foil 5 ¼” x 4”, Black 2 5/16” x 3 ¼”, 2 5/16” x 1 5/8”,1 5/16” x 7/16”,1 5/8” x 1 ½”, 7/8” x 2 5/8”, Joyous Noel DSP 2 3/16” x 3 1/8”, 1 ½” x 2 3/16”, 1 5/16” x 3 ¼”, 1 5/16” x 1 3/8, White 5 ¼” x 4”, 2 ½” x ¾”, Copper 2 ¾” x 3 ¾”,
Ink: Merry Merlot, Dk Cherry Cobbler Blend
Misc: Rhinestones, Dimensionals mini/reg., snips, big shot

I know that my girls in my Stamp class are going to love this one!

Below are pictures showing what I used for this card, click on any picture and you will be taken to my OnLine store!  I would love to be your demonstrator if you live in the US!

Lisa Tedder
A California girl living in North Carolina
Product List

Moonlit Owl using NEW Occasions catalog!

Hey Guys!

Today I am showing you a card using the new stamp set Still Night.  It’s from the Occasions Catalog from Stampin’ Up!  I love owls, and this one called to me!  I was in bed last night and this design came to me.

This was so much fun to make!  And very easy too.  I did a video walking you through making this card, you can catch it here.

I love sponging and using the brayer.  It adds that extra oooomph!  LOL  Couldn’t think of another word that fit better!

The supplies used for this card are listed below.  Click on any pic and you will taken to OnLine Store!

I hope you like this card as much as I do!

Lisa Tedder
A California Girl living in North Carolina


Shadow Box using NEW 2018 Annual Catalog

Hey Guys!,

I made a video  and at the end I showed this Shadow Box. I promised I would have the measurements here on my blog so if you want to make it you can!!  It took a little longer than I promised, but at least I got it done!  Here is a picture of the Shadow Box:

Here are all the Measurements:

Shadow Box Instructions:

Top Left:

Melon Mambo 3 7/8”sq, Black 3 5/8” sq, Rose Glimmer 3 ½” sq, DSP Petal Promenade 3 1/8”, black die cut 3” sq, Butterfly die cut colored w/blends add Wink of Stella. Add colored rhinestones.

Top Middle:

Melon Mambo 2 5/8” x 3 9/16”, Black 2 ½” x 3 7/16”, Rose Glimmer 3 ¼” x 2 3/8”, Vellum DSP cut out with oval framelit, colored on back with Blends, Foam adhesive on back of Glimmer.

Top Right:

Silver Glimmer 4” sq, Black 3 ¾” sq, White 3 ¼” sq, Black 2 7/8” sq, stamp bench in Versamark and emboss with Silver EP, add Clear Faceted Gem in heart.

Left Center:

Silver Glimmer 3 5/8” x 2 9/16”, Black 3 1/2” x 2 3/8”, White 3 3/8”, Smoky Slate 3 1/8” x 2 1/8”, Stamp Dandelion in Versamark and emboss with Silver EP. Add Rhinestones

Center:

Rose Glimmer 2 ½” x 1 7/8”, Black 2 3/8” x 1 ¾”, White 2 5/16” x 1 11/16, stamp sentiment with Versamark then emboss with silver, add rhinestones.  Under this square crisscross the Berry Burst Metallic Edge Ribbon.

Right Center:

Silver Glimmer 3 5/8” x 2 9/16”, Black 3 1/2” x 2 3/8”, White 3 3/8”, Ink up Bokeh stamp with Smoky Slate, stamp on White. Stamp fly away Dandelions using Versamark emboss with silver.  Add Rhinestones

Left Bottom:

Silver Glimmer 3 7/8” sq, Black 3 ¾” sq, White 3 1/4” sq, Black 3” sq.  Stamp Dandelions in Versamark emboss with Silver, add rhinestones.

Bottom Center:

Melon Mambo 3” sq, Black 2 ¾” sq, Melon Mambo die cut 3” sq, Silver 1 15/16” sq, Black Circle 2 ¼” punch, White Shimmer 2” circle punch STAMP FIRST, THEN PUNCH OUT!!!  Color with Blends, add Rhinestones.

Bottom Right:

Melon Mambo 3 7/8” sq, Black 3 ¾” sq, Rose Glimmer 3 ½” sq, Black 3 ¼” sq, White 3” sq, Vellum DSP 3” sq.  Add colored Rhinestones.  Color back of Vellum with Blends.

All the Supplies I used are listed below.  Click on any of the pictures  to be taken to my OnLine Store!

Hope you enjoy this project as much as I do!!

Lisa Tedder
A California Girl living in North Carolina
Product List

Sitting Pretty

Hey Guys,

Today I am sharing you another CASE’d card (Copy and share everything), I got this idea from Nicolle Belisimo on Pinterest.  It’s almost exactly like hers!  Thanks Nicolle!

My vase is a different color, and I embossed the words in Copper.

I love the copper ribbon!

I used the Stamparatus to line the stamps up, boy does that make it nice!!

The supplies for this project are listed below, click on any picture to be taken to my OnLine Store!

Thanks for stopping by!

Lisa Tedder
A California girl living in North Carolina