Today I made a greeting card from a Retiring stamp set from Stampin’ Up! called Love & Affection. I forgot how much I love this set! I’ll be sorry to see it go!
I used some of the Designer Series Paper called Affectionately Yours that I have HOARDED! Yes, I can admit it, I hoard paper! Sigh……
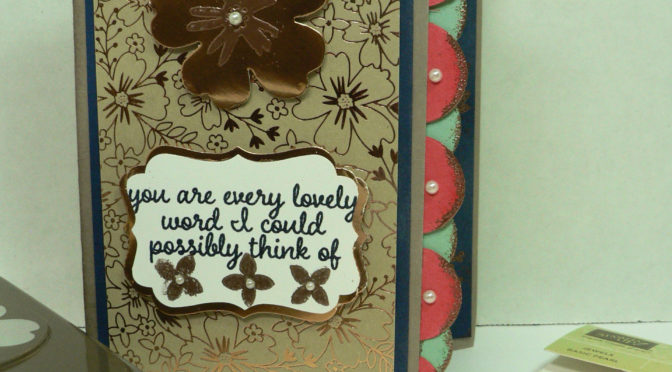
This isn’t just any Designer paper, oh no! It has Copper embossed in it! Yes! It’s true! Now do you see why I hoarded it? This card today is made up by me……I don’t do this very often. I have been wanting to use the Framelit from the Fiesta Time stamp set! And that’s how my card started! Ha! Funny how that worked! I cut out two of the strips that are the half circles that are attached together to make a banner, I cut out one from Watermelon Wonder (retiring) and Mint Macaron (also retiring). This is where I started, I thought these colors looked good with Night of Navy, so that is what the center cardstock will be, since those will be resting on that cardstock.

Pretty together, right? The colors I used are listed below with a link to my Online Store. The Hostess Code for this month is: 69EGW4G2 If you purchase from me, I will send you a VERY pretty handmade card!
Here are the measurements of my card if you want to try it!
Tip Top Taupe 5 1/2″ X 7 1/2″ scored at 4 1/4″ landscape
Night of Navy (inside) 4″ x 5 1/4″, (front) 3″ x 5 1/4″
Affectionately Yours Specialty Designer Series Paper (DSP) 2 – 3/4″X 5″
Whisper White Inside: 3″ x 5 1/8″, scraps for sentiment
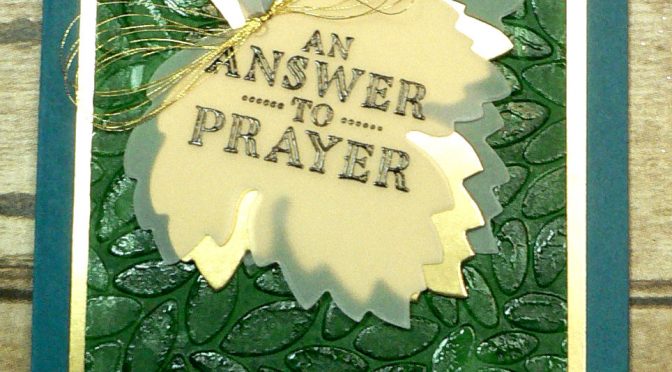
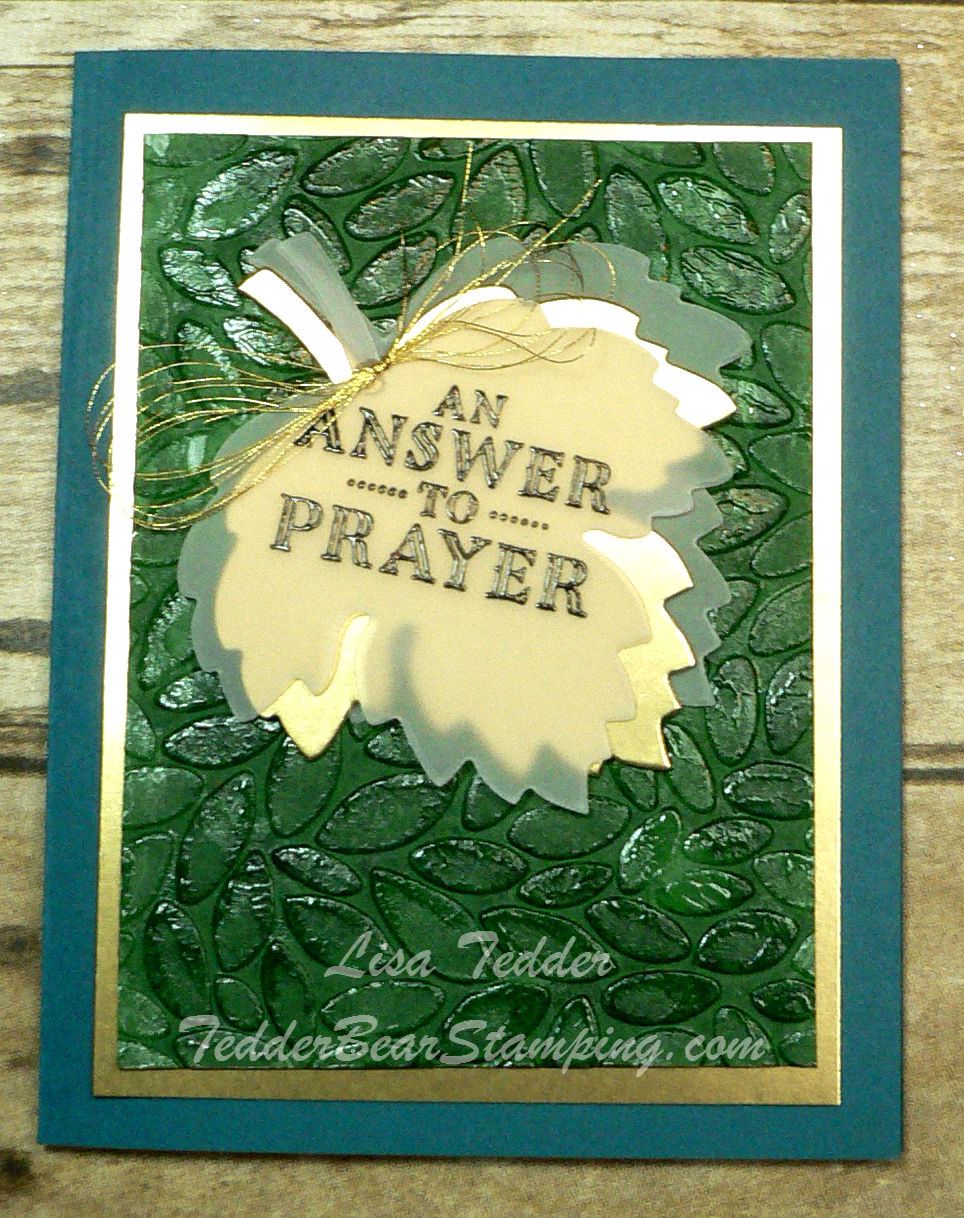
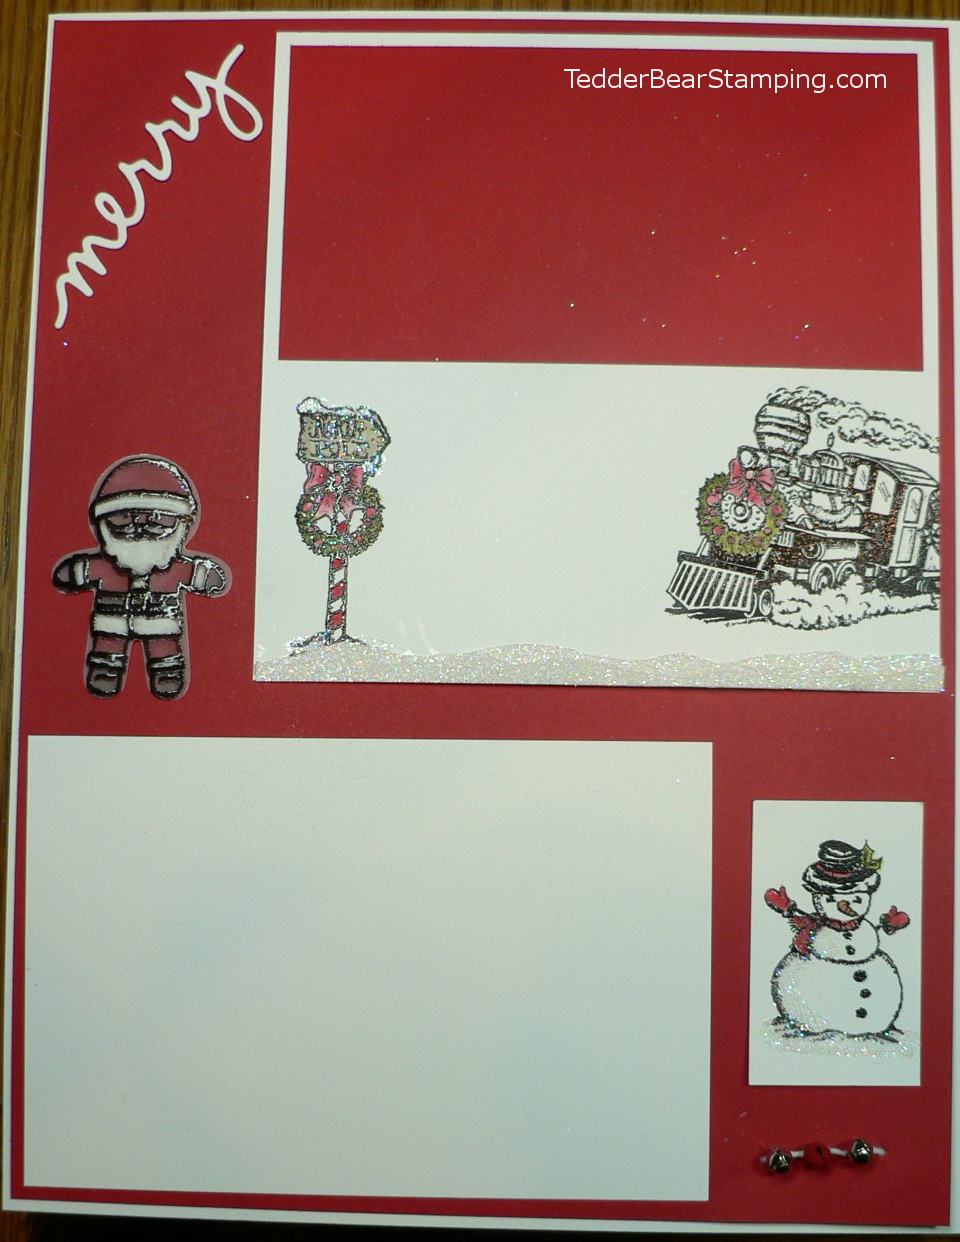
Here is the card in all it’s Beauty!
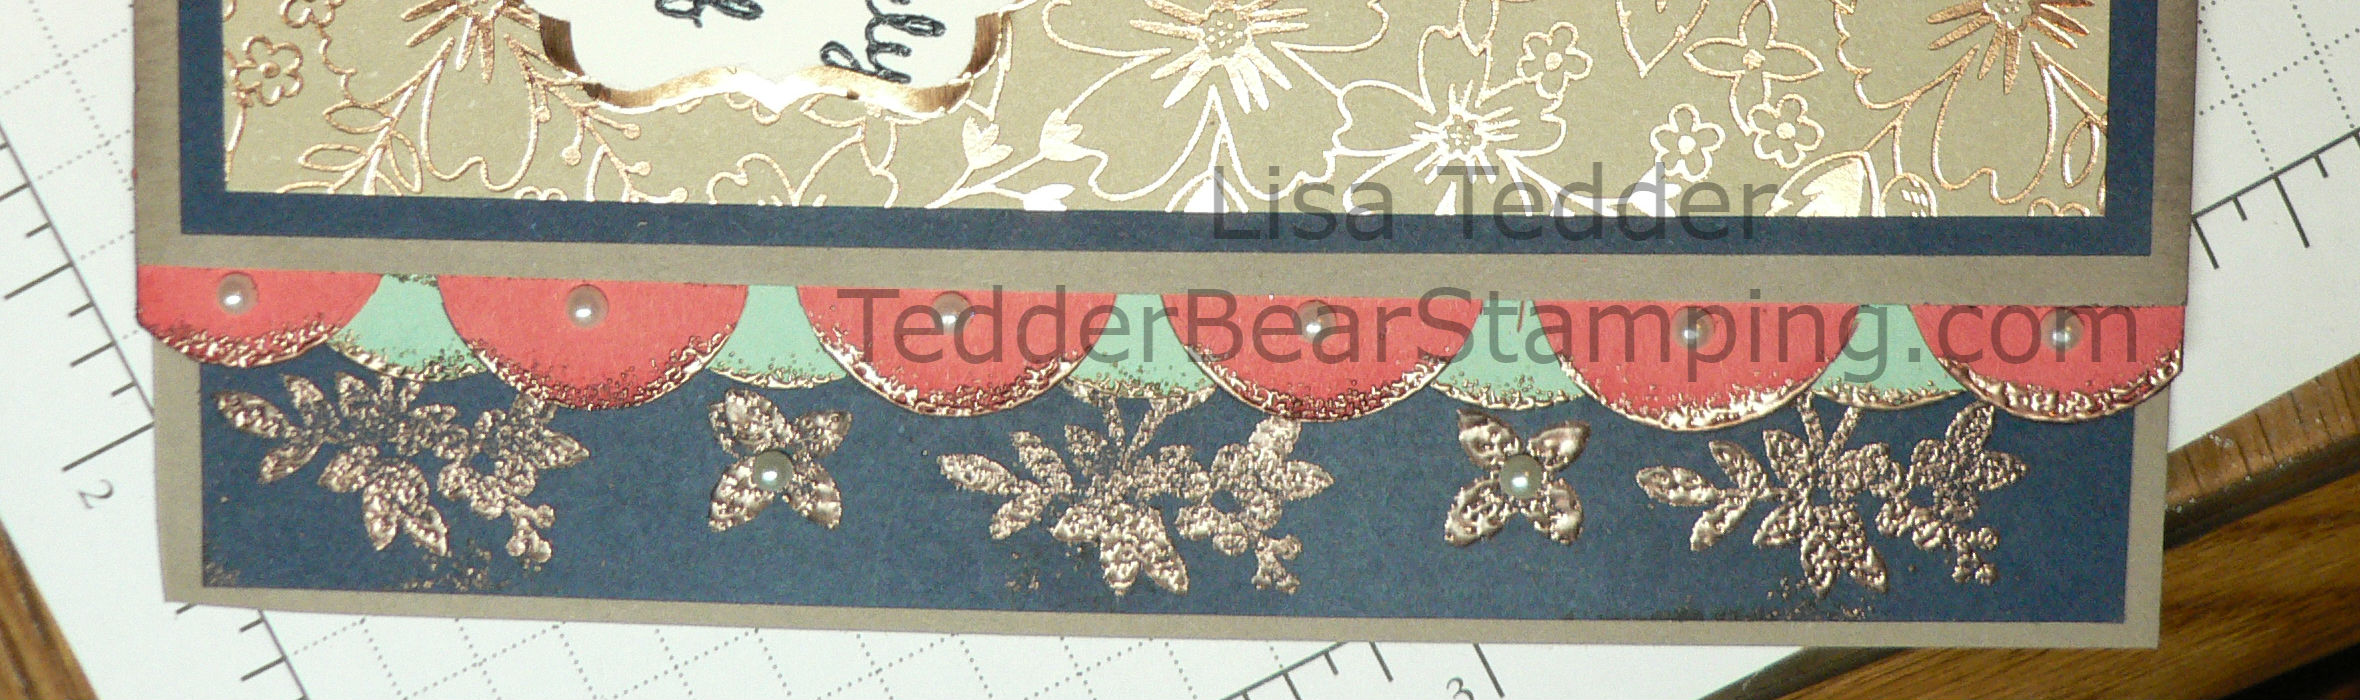
I used the Petite Petals punch (retiring) to make a focal flower on the front in Copper Foil. And cut out the sentiment using the Decorative Label punch (also retiring), I cut out another two of the Decorative Label from the Copper Foil to give a border around the sentiment. You cut each piece in half and then layer them on the back!
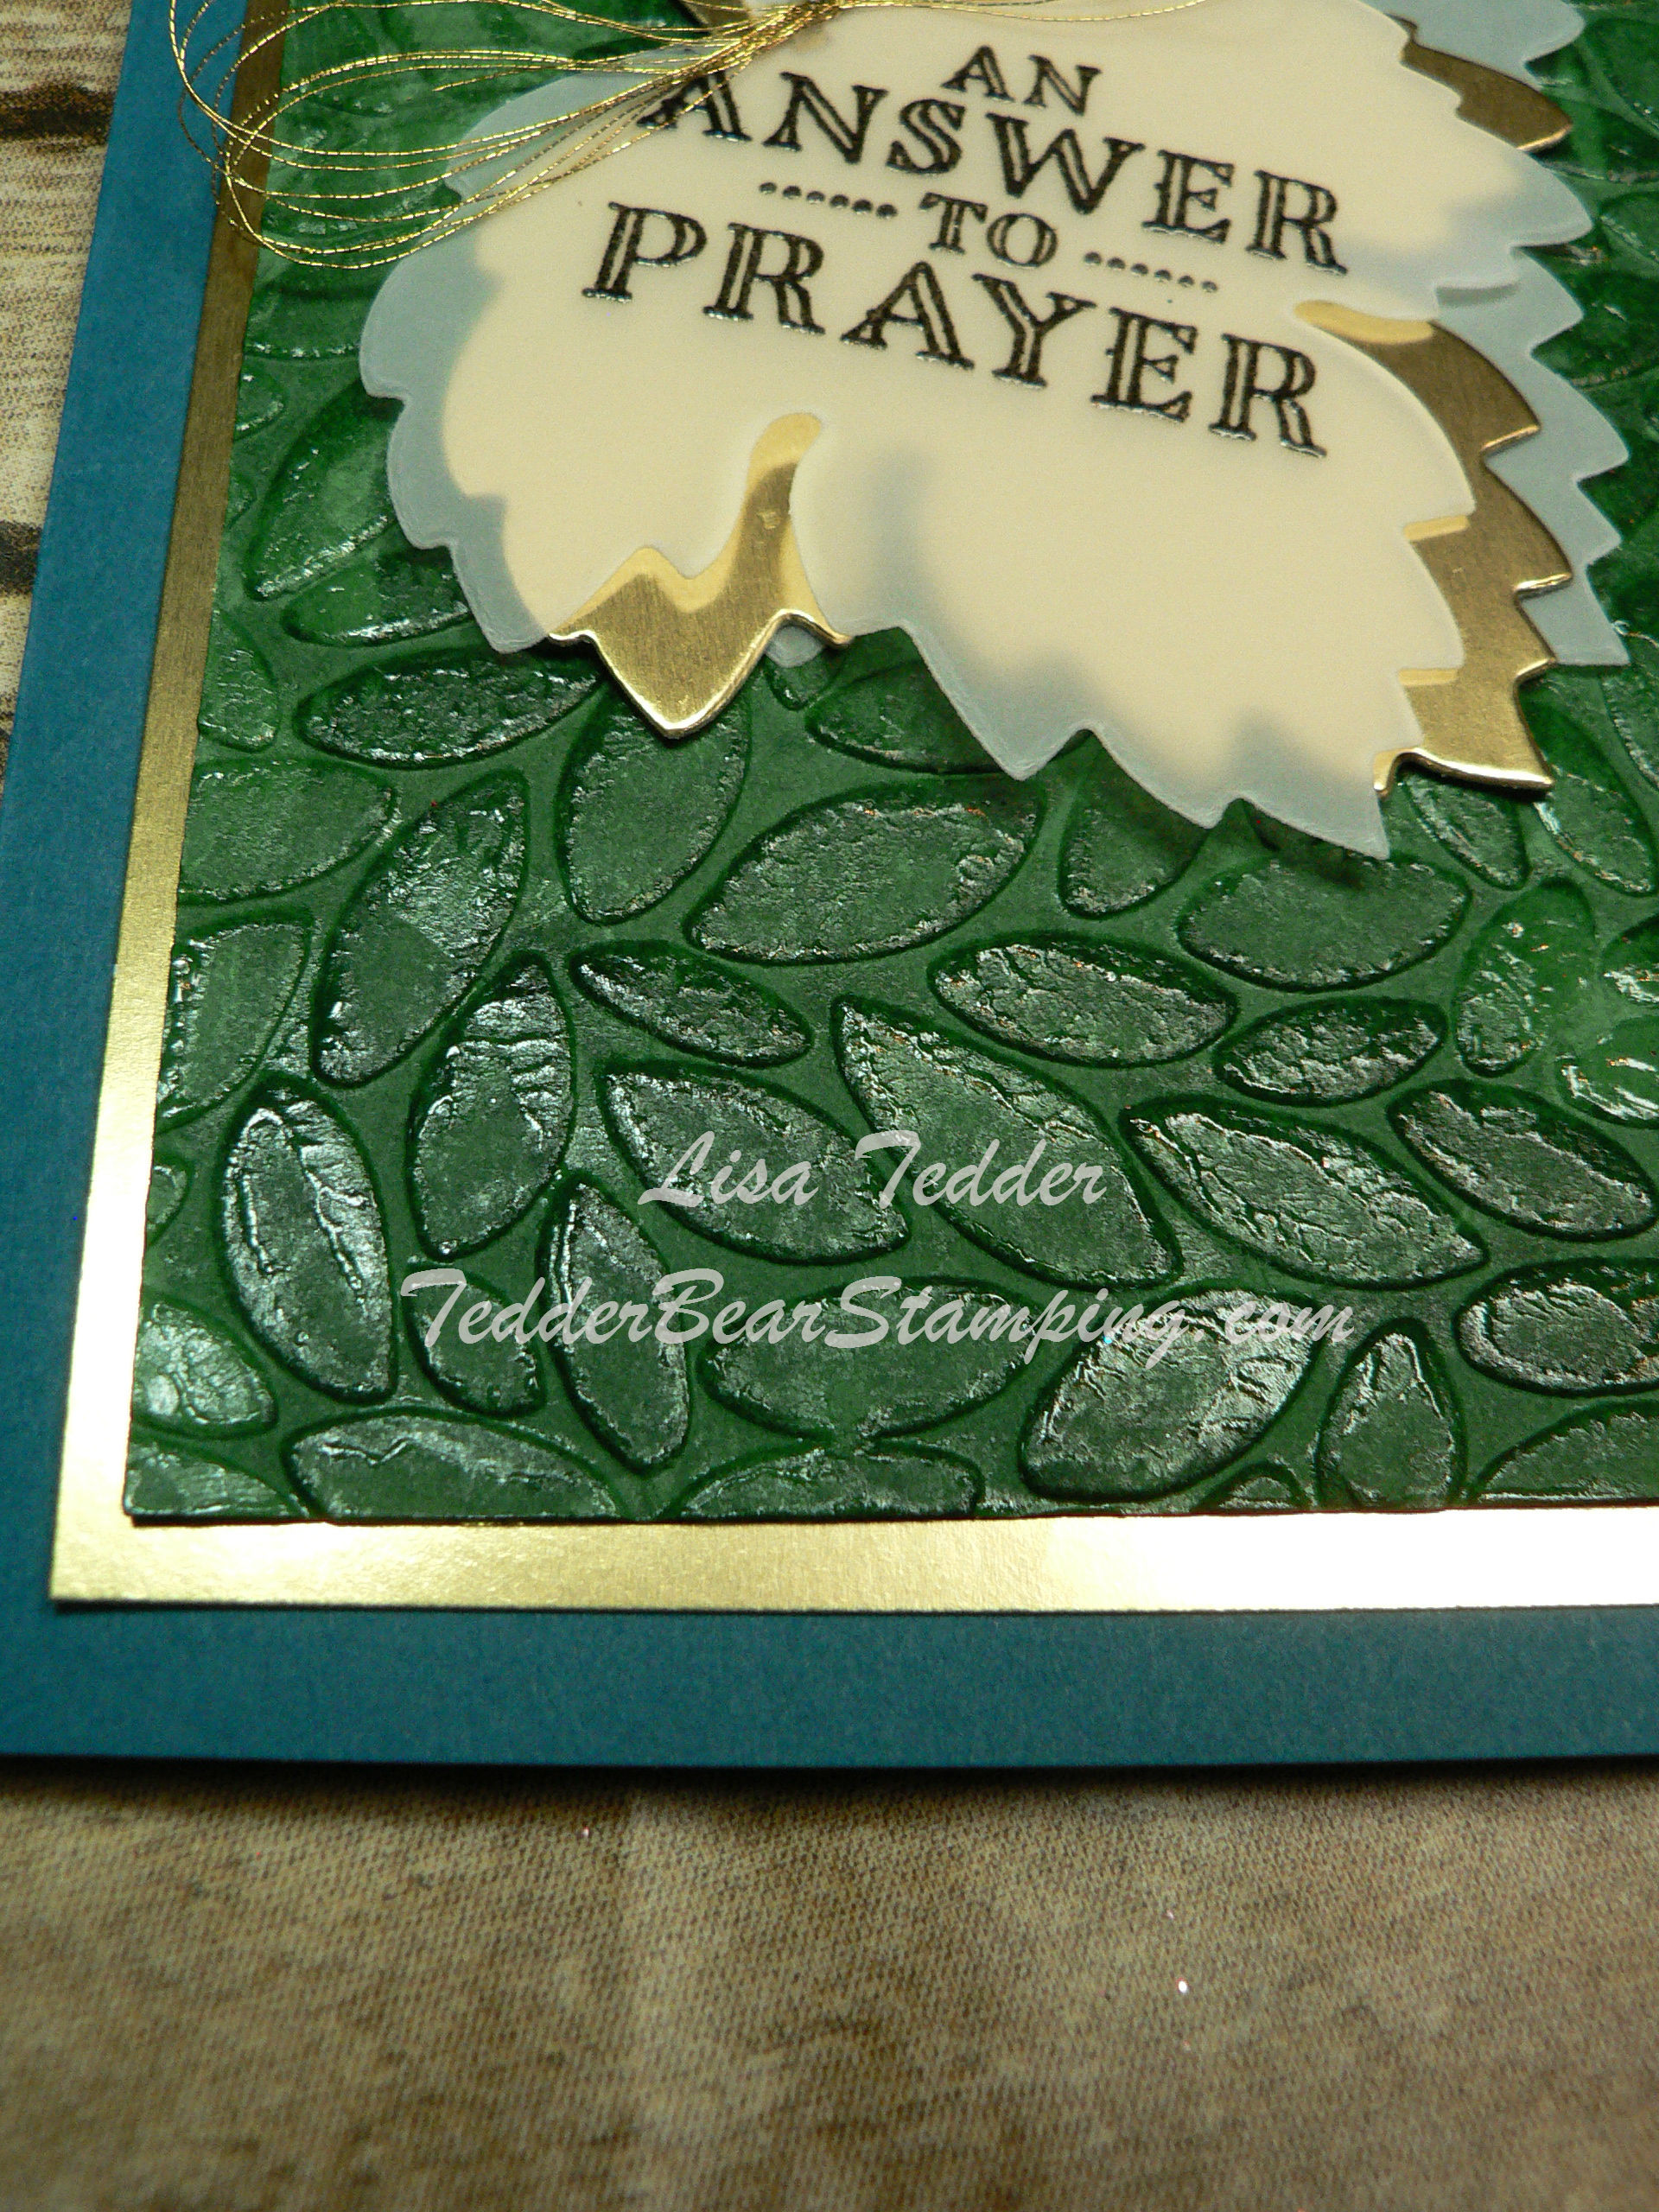
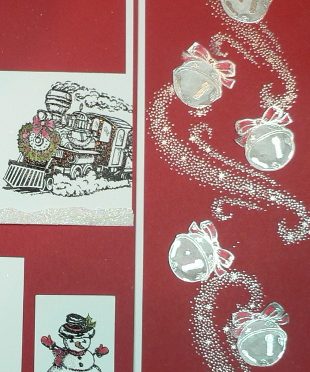
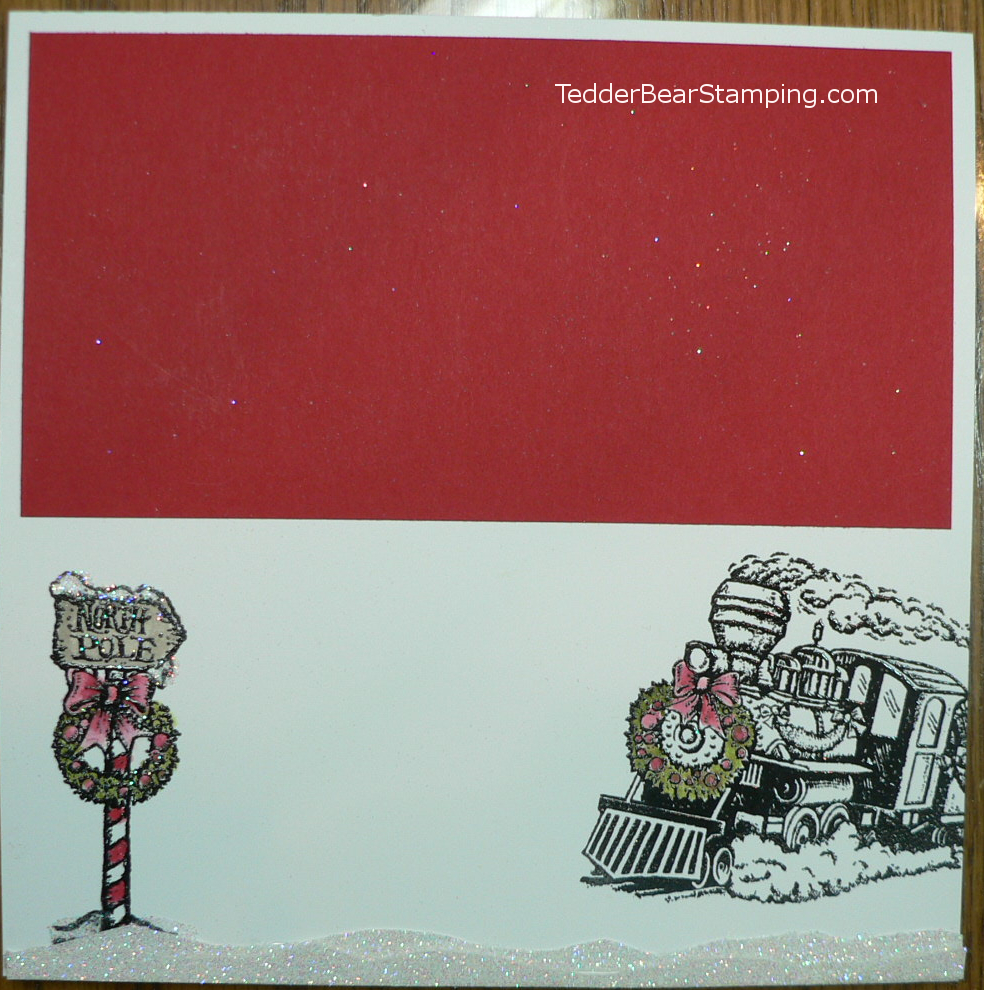
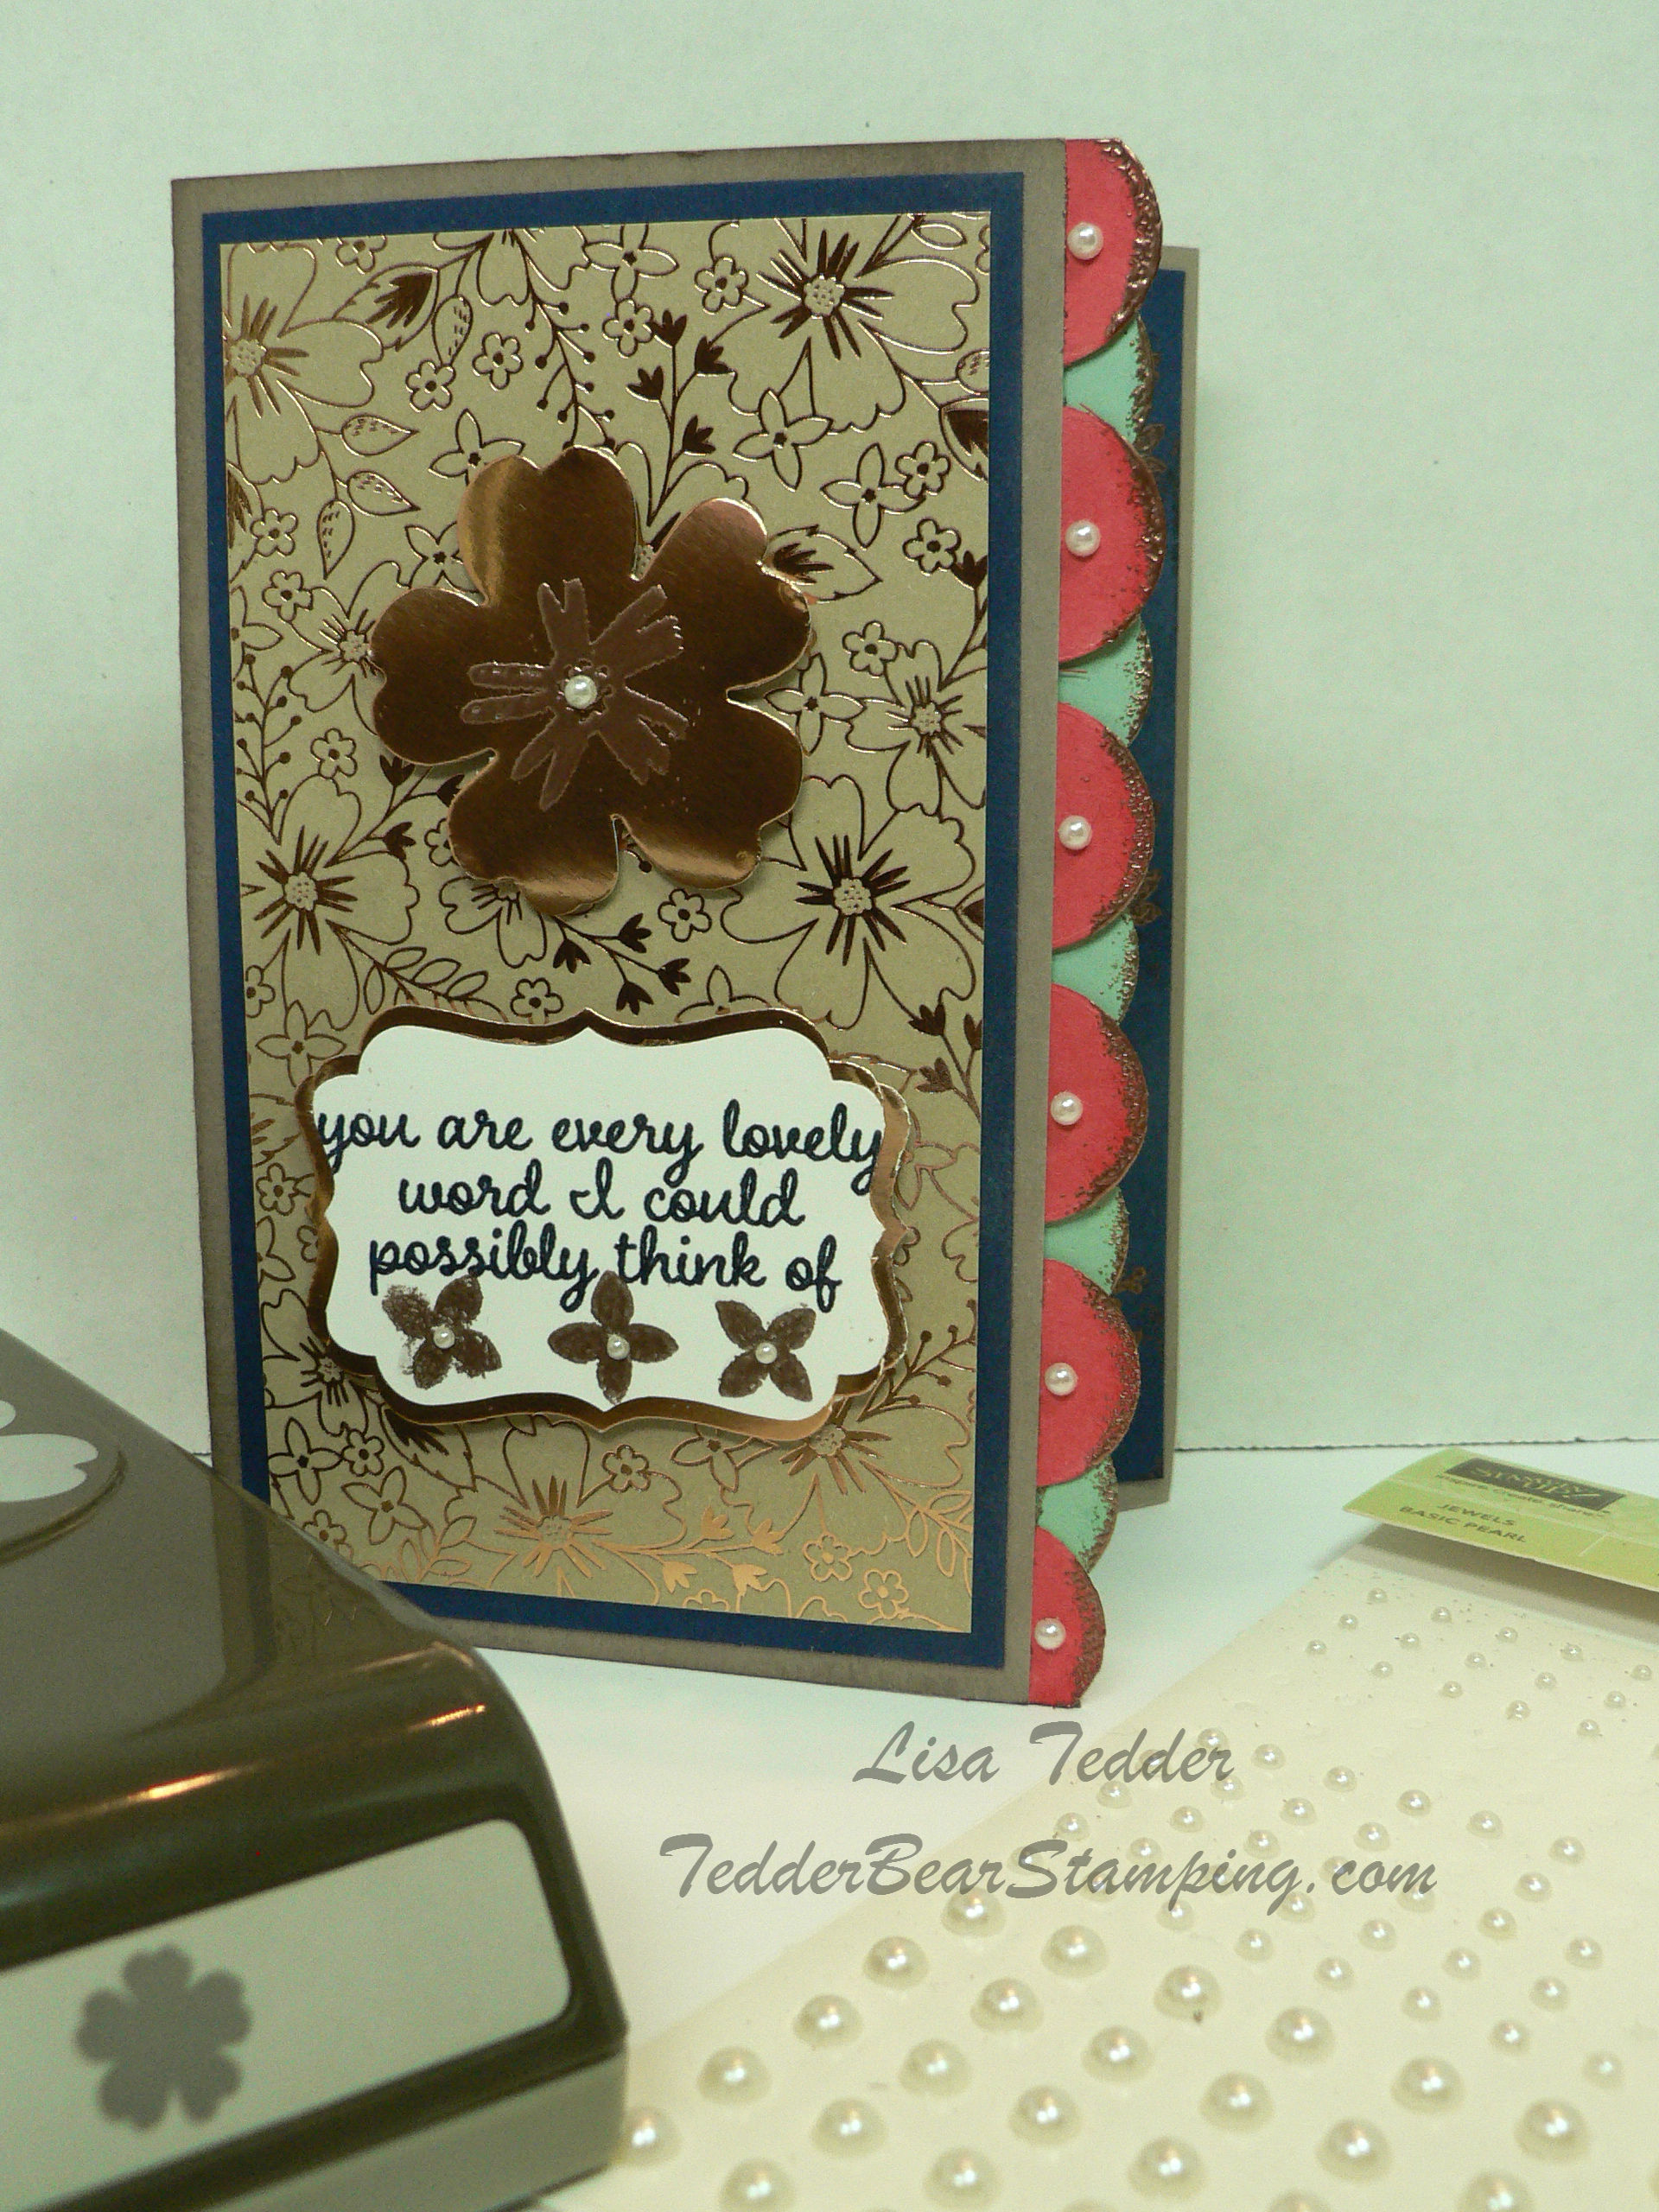
I sponged VersaMark on the edges of the Fiesta Time Framelits to give a little Copper edging to it! Also along the edge of the Night of Navy I stamped in VersaMark the flowers from the Stamp set and embossed with Copper! Added some pearls to each half circle on top, and to the small flowers on the inside flap.
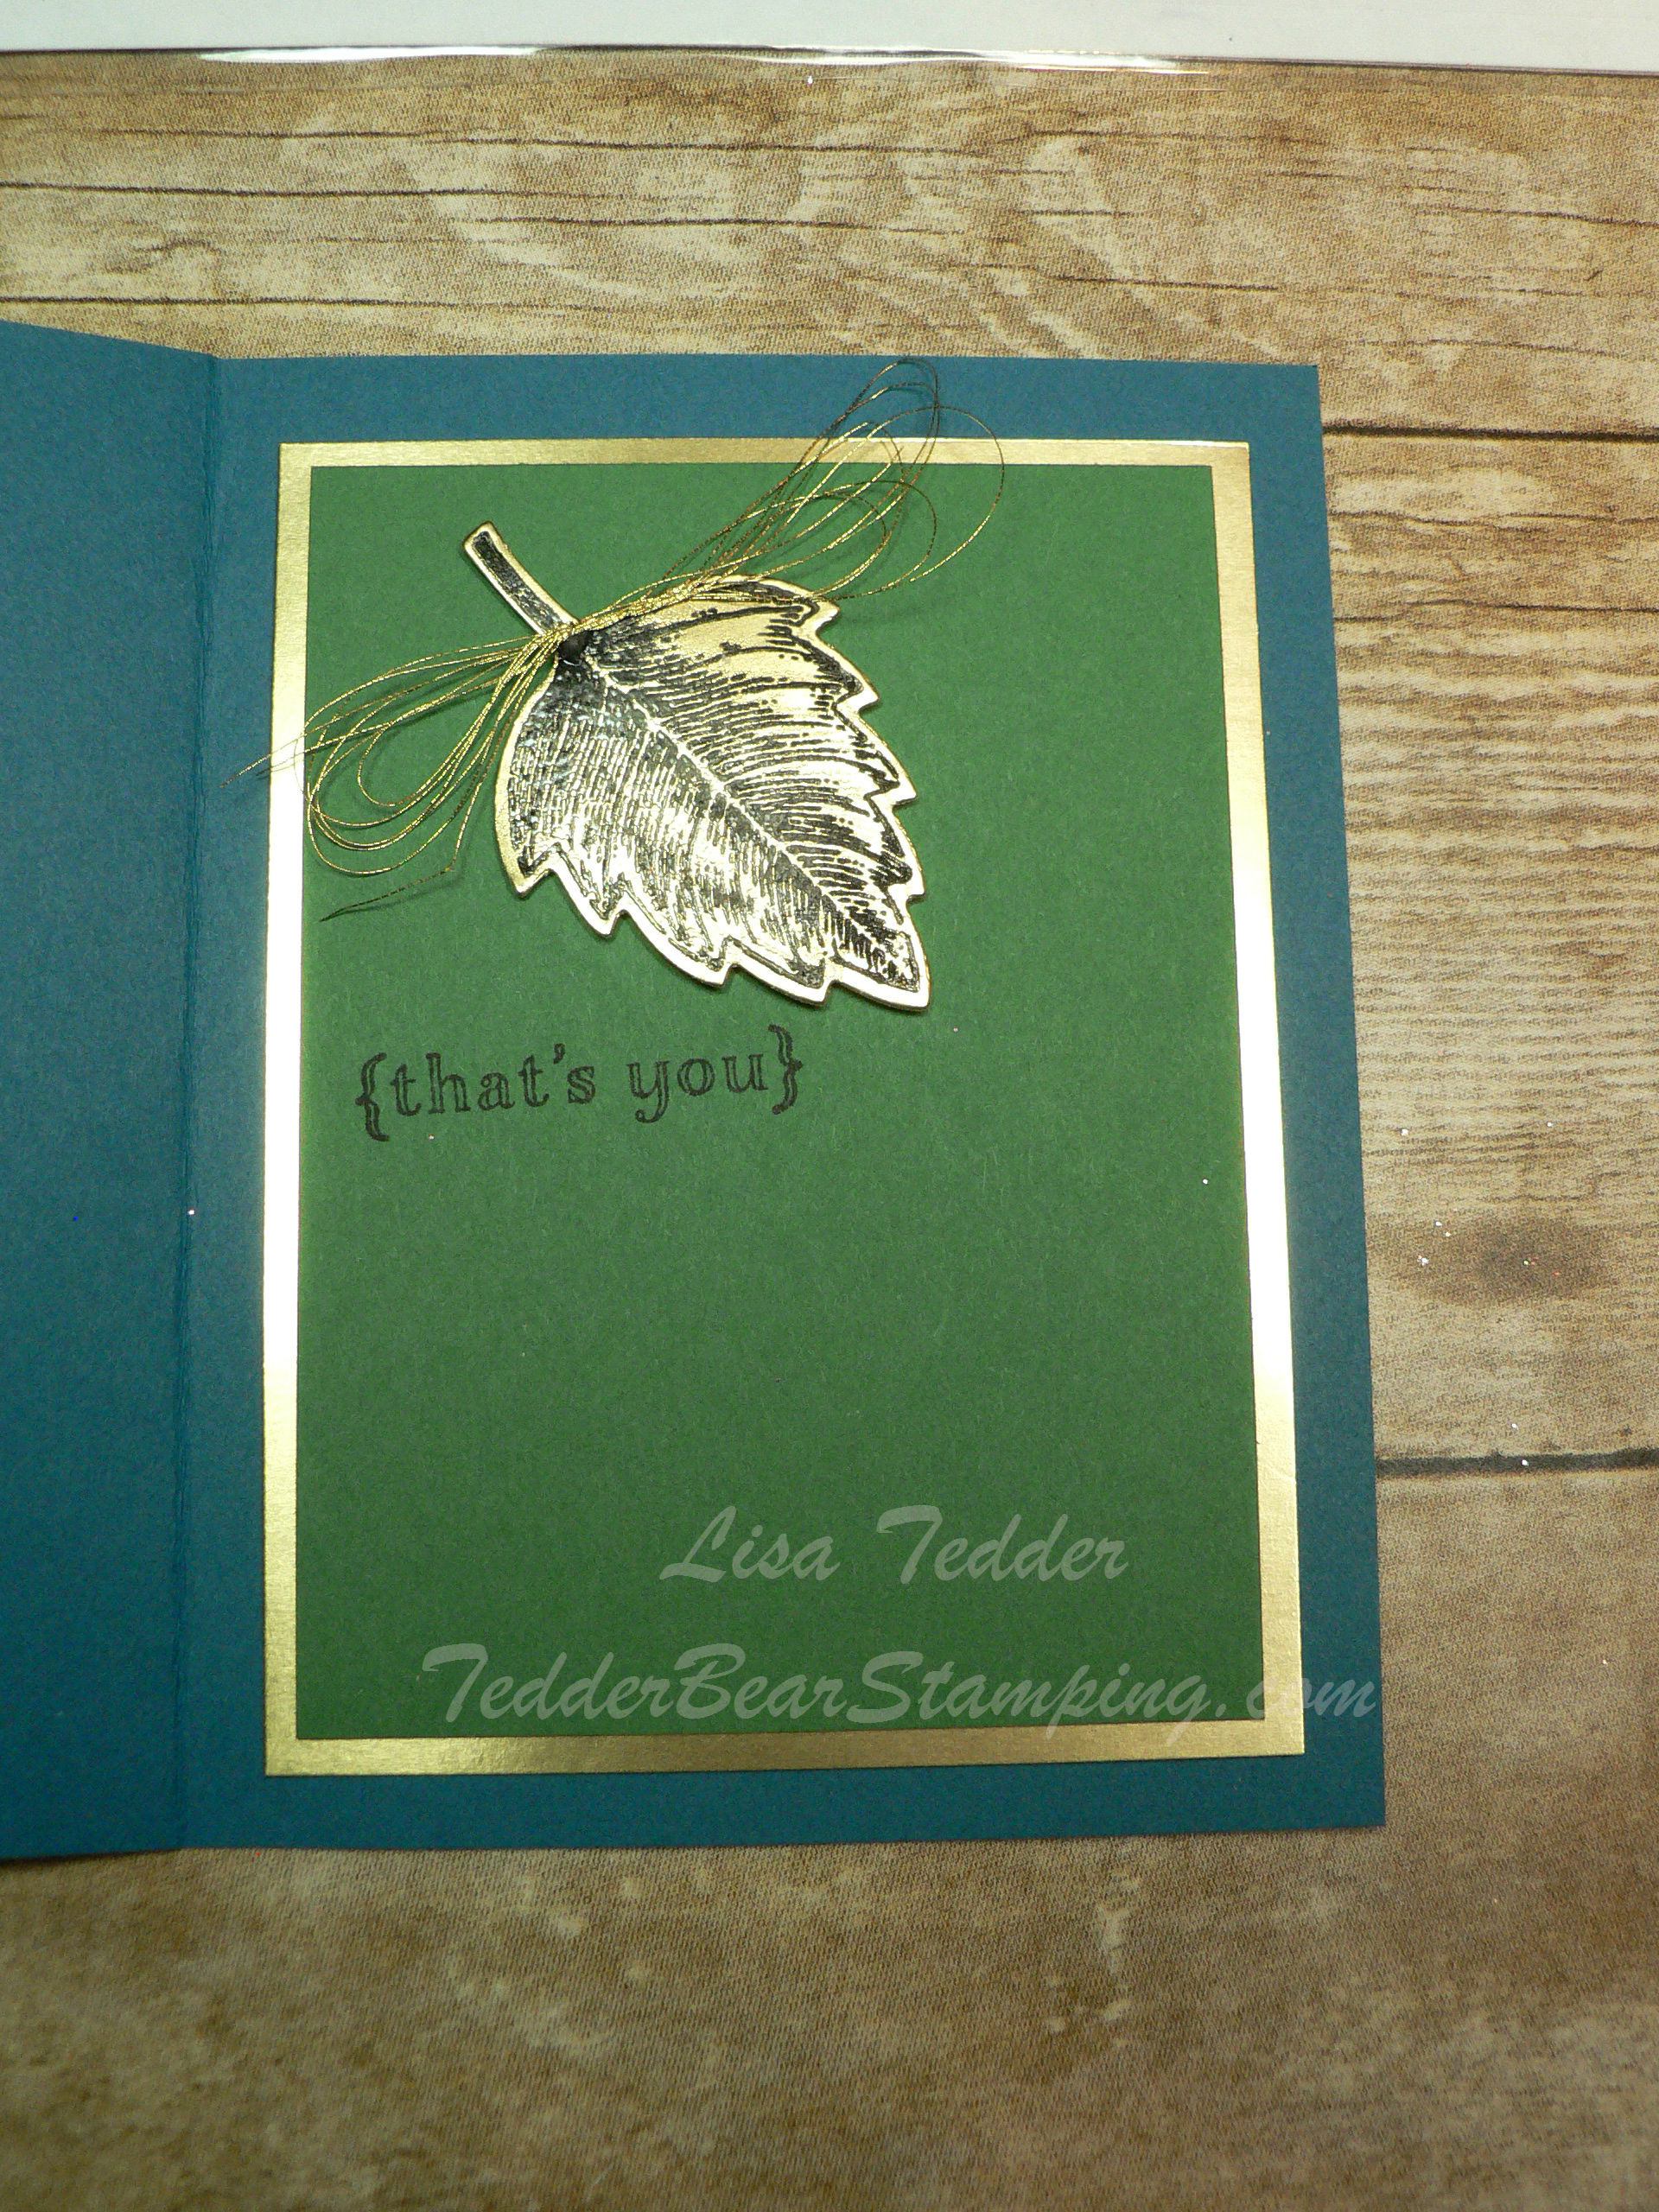
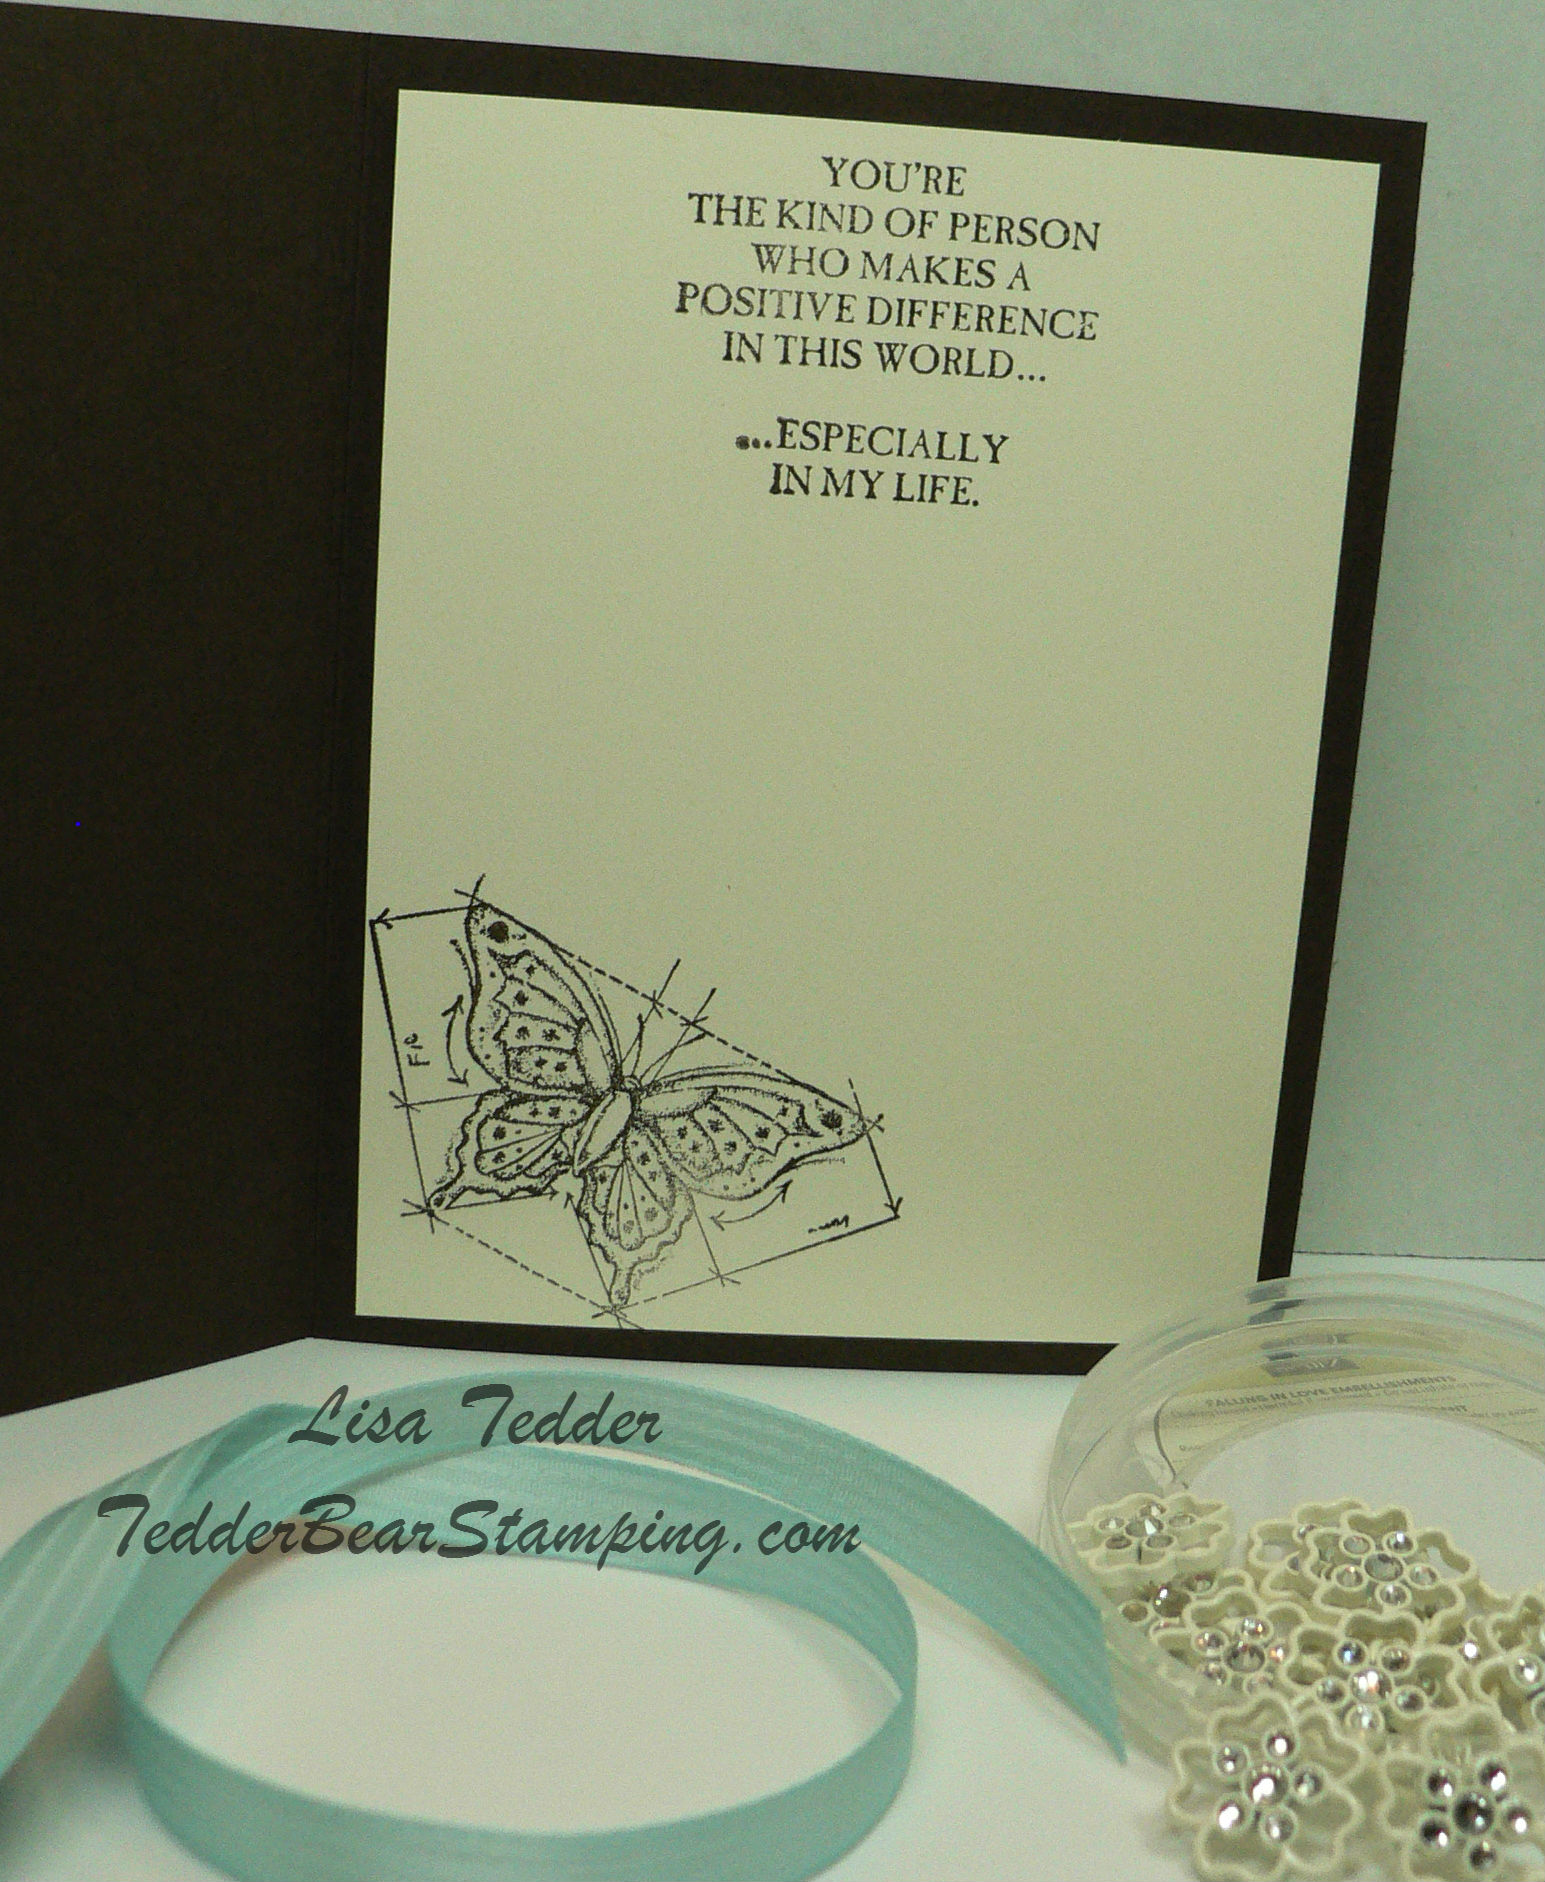
Here is a picture of the inside!
I love how elegant this card is!! So, STOP hoarding your DSP and use it! Before you know it you’ll be getting new DSP and will forget all about the ones you’ve been hanging onto for a special day! The day is NOW!
The side of the inside is peeking out on the front,
I am proud of myself! It’s a little scary to just go with an idea and not know how it will turn out! Sometimes it doesn’t, but that’s where you learn! Remember, it’s just paper! I tell myself that when I am really scared! heehee Are you scared when you try something without any idea on where it is headed? You might just surprise yourself (like I did!) when you give it a try!
I hope you enjoyed your visit here today! I would love to hear from you, I will be having another Blog Candy drawing soon, I have to figure out what to give away! What would you rather…….stamp sets, ribbon, accessories, paper? I want to give out what YOU want!! Let me know!
Lisa Tedder
TedderBearStamping
A California Girl living in North Carolina!
Product List


 Burlap Ribbon")
 Stitched Satin Ribbon")