Hey guys!,
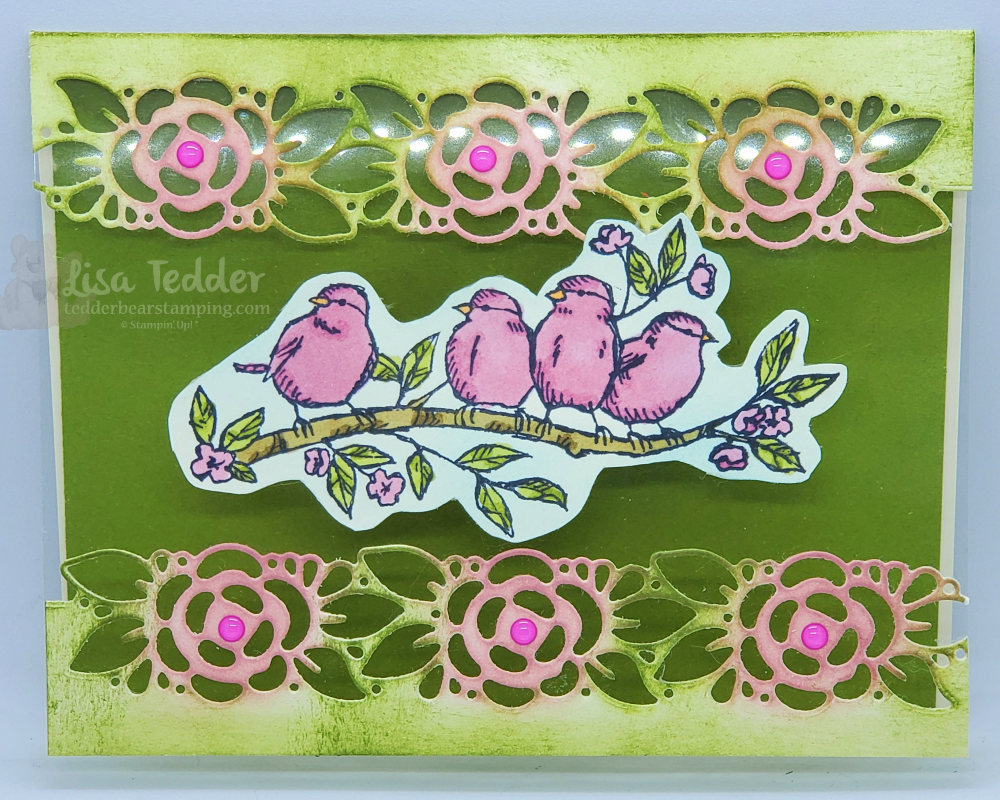
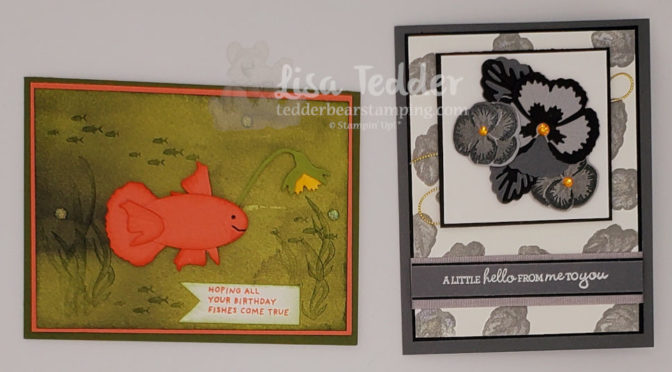
The NEW catalog is almost LIVE, today I am sharing with you Punch Art using Pansy Patch! Plus another pretty card! Above all, I love when I see a stamp set/Die and something pops out at me that isn’t the norm. Hence, I saw the dies first and immediately saw fish fins and then I saw the Lure Fish tentacle. Of course I had to make it! Conversely, I had no idea if it would work out, but I’m so pleased it did! Here is that card:
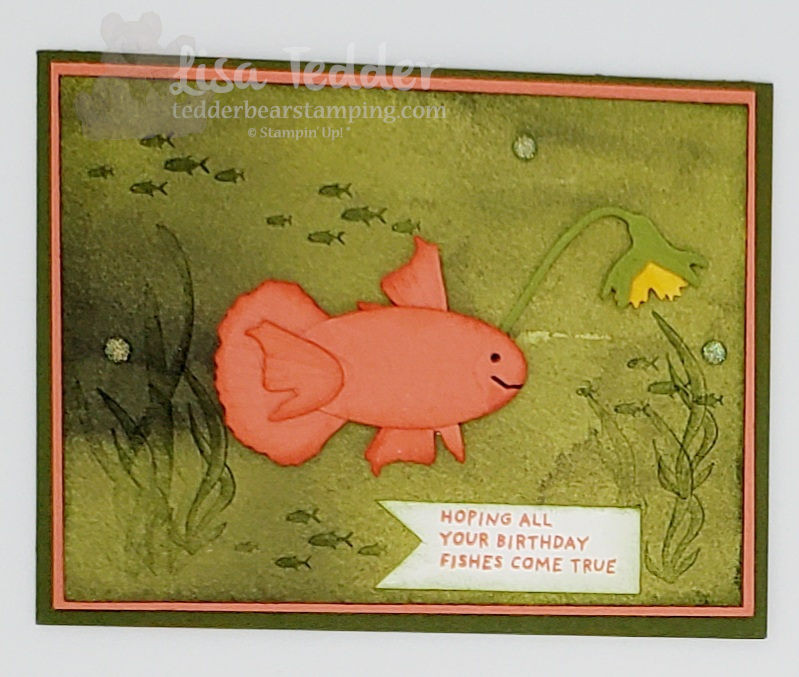
So, that was the first card that I did in my Live YouTube today, if you missed it you can watch it here! As a result of doing these Lives every Thursday at 4:00 (eastern), I have had so much fun sharing with you the cards I make, especially the Punch art using Pansy Patch!
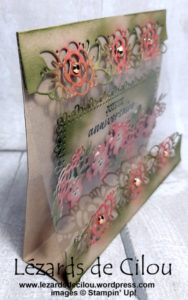
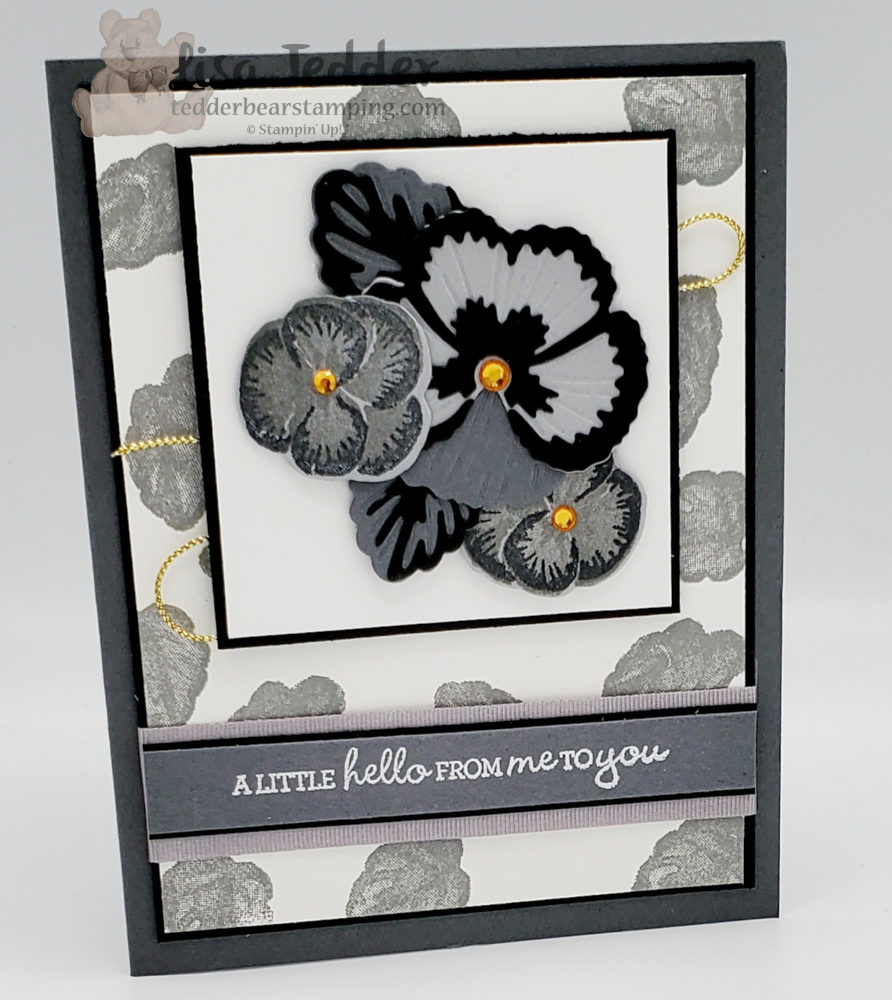
Next, I am sharing with you the 2nd card I made with my Live! In this case, I used the stamp set as it was designed and made a gorgeous monochromatic card with just a tiny splash of color! Here it is:
As always, here is the list of the dimensions and supplies used for both of my cards:
- Stamp sets:
- Pansy Patch Bundle
- Whale Done
- Inks:
- Basic Gray
- Memento Black
- Versamark
- Calypso Coral
- Mossy Meadow
- Paper:
- Card 1:
- Mossy Meadow 4 1/4″ x 11″
- Calypso Coral 4″ x 5 1/4″ (x2), scraps for ‘fish’
- Beauty of the Earth Designer Series Paper (3 3/4″ x 5″)
- Basic White 3 3/4″ x 5″, scrap for sentiment
- Old Olive scrap for Lure
- Daffodil Delight scrap for Lure
- Card 2:
- Basic Gray 5 1/2″ x 8 1/2″, 1/2″ x 3 7/8″, scraps for flowers
- Basic Black 3 7/8″ x 5 1/8″ (x2), 2 7/8″ sq., 5/8″ x 3 7/8″, scraps for flowers
- Smoky Slate scraps for flowers
- Basic White 3 3/4″ x 5″ (x2), 2 3/4″ sq.
- Misc:
- Simply Elegant Trim
- Holiday Rhinestones
- Dimensionals
- White Embossing Powder
- Heat tool
- Smoky Slate 7/8″ ribbon
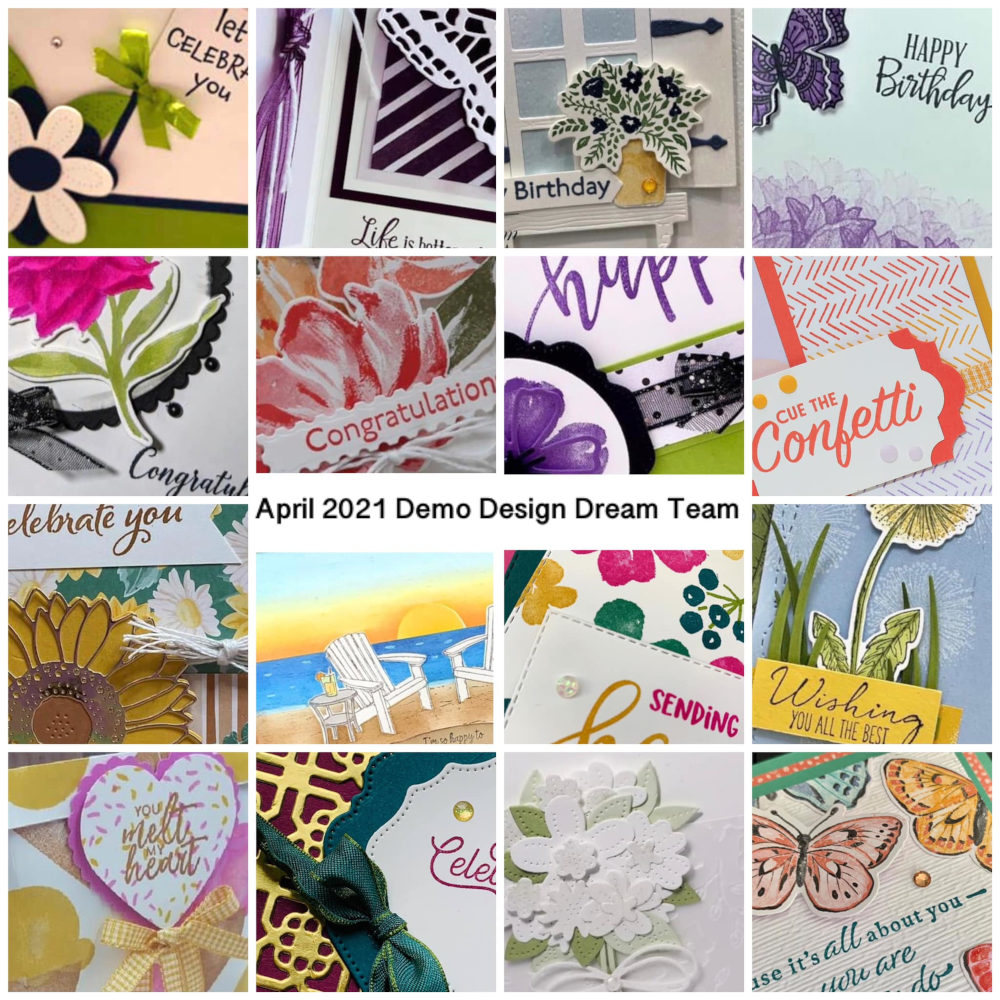
Lastly, I want to let you know that if you purchase a Qualifying order of $35 or more you will get the card packet for this class (as long as you order before Wednesday May 5th). Otherwise you will get the latest class I did! Also, if you put in a qualifying order you will get a pdf of 16 projects where each project has pictures and step by step instructions. For Example, here is a snippet of what you will get:
Above all I want you to join the Besties Club where we meet each month and have fun making 6 projects made by Me and my Besties Carol Hickman (Arizona) and Hetty Jones (Canada), yes….we are International! You can check out all the specifics here! You will love being a Bestie!
Thank you for stopping by! I appreciate that you support me and my small business. Stop by next week to see what my YouTube video project is!
Lisa Tedder
A former California girl living in North Carolina
Product List
")


")