Hey Guys!
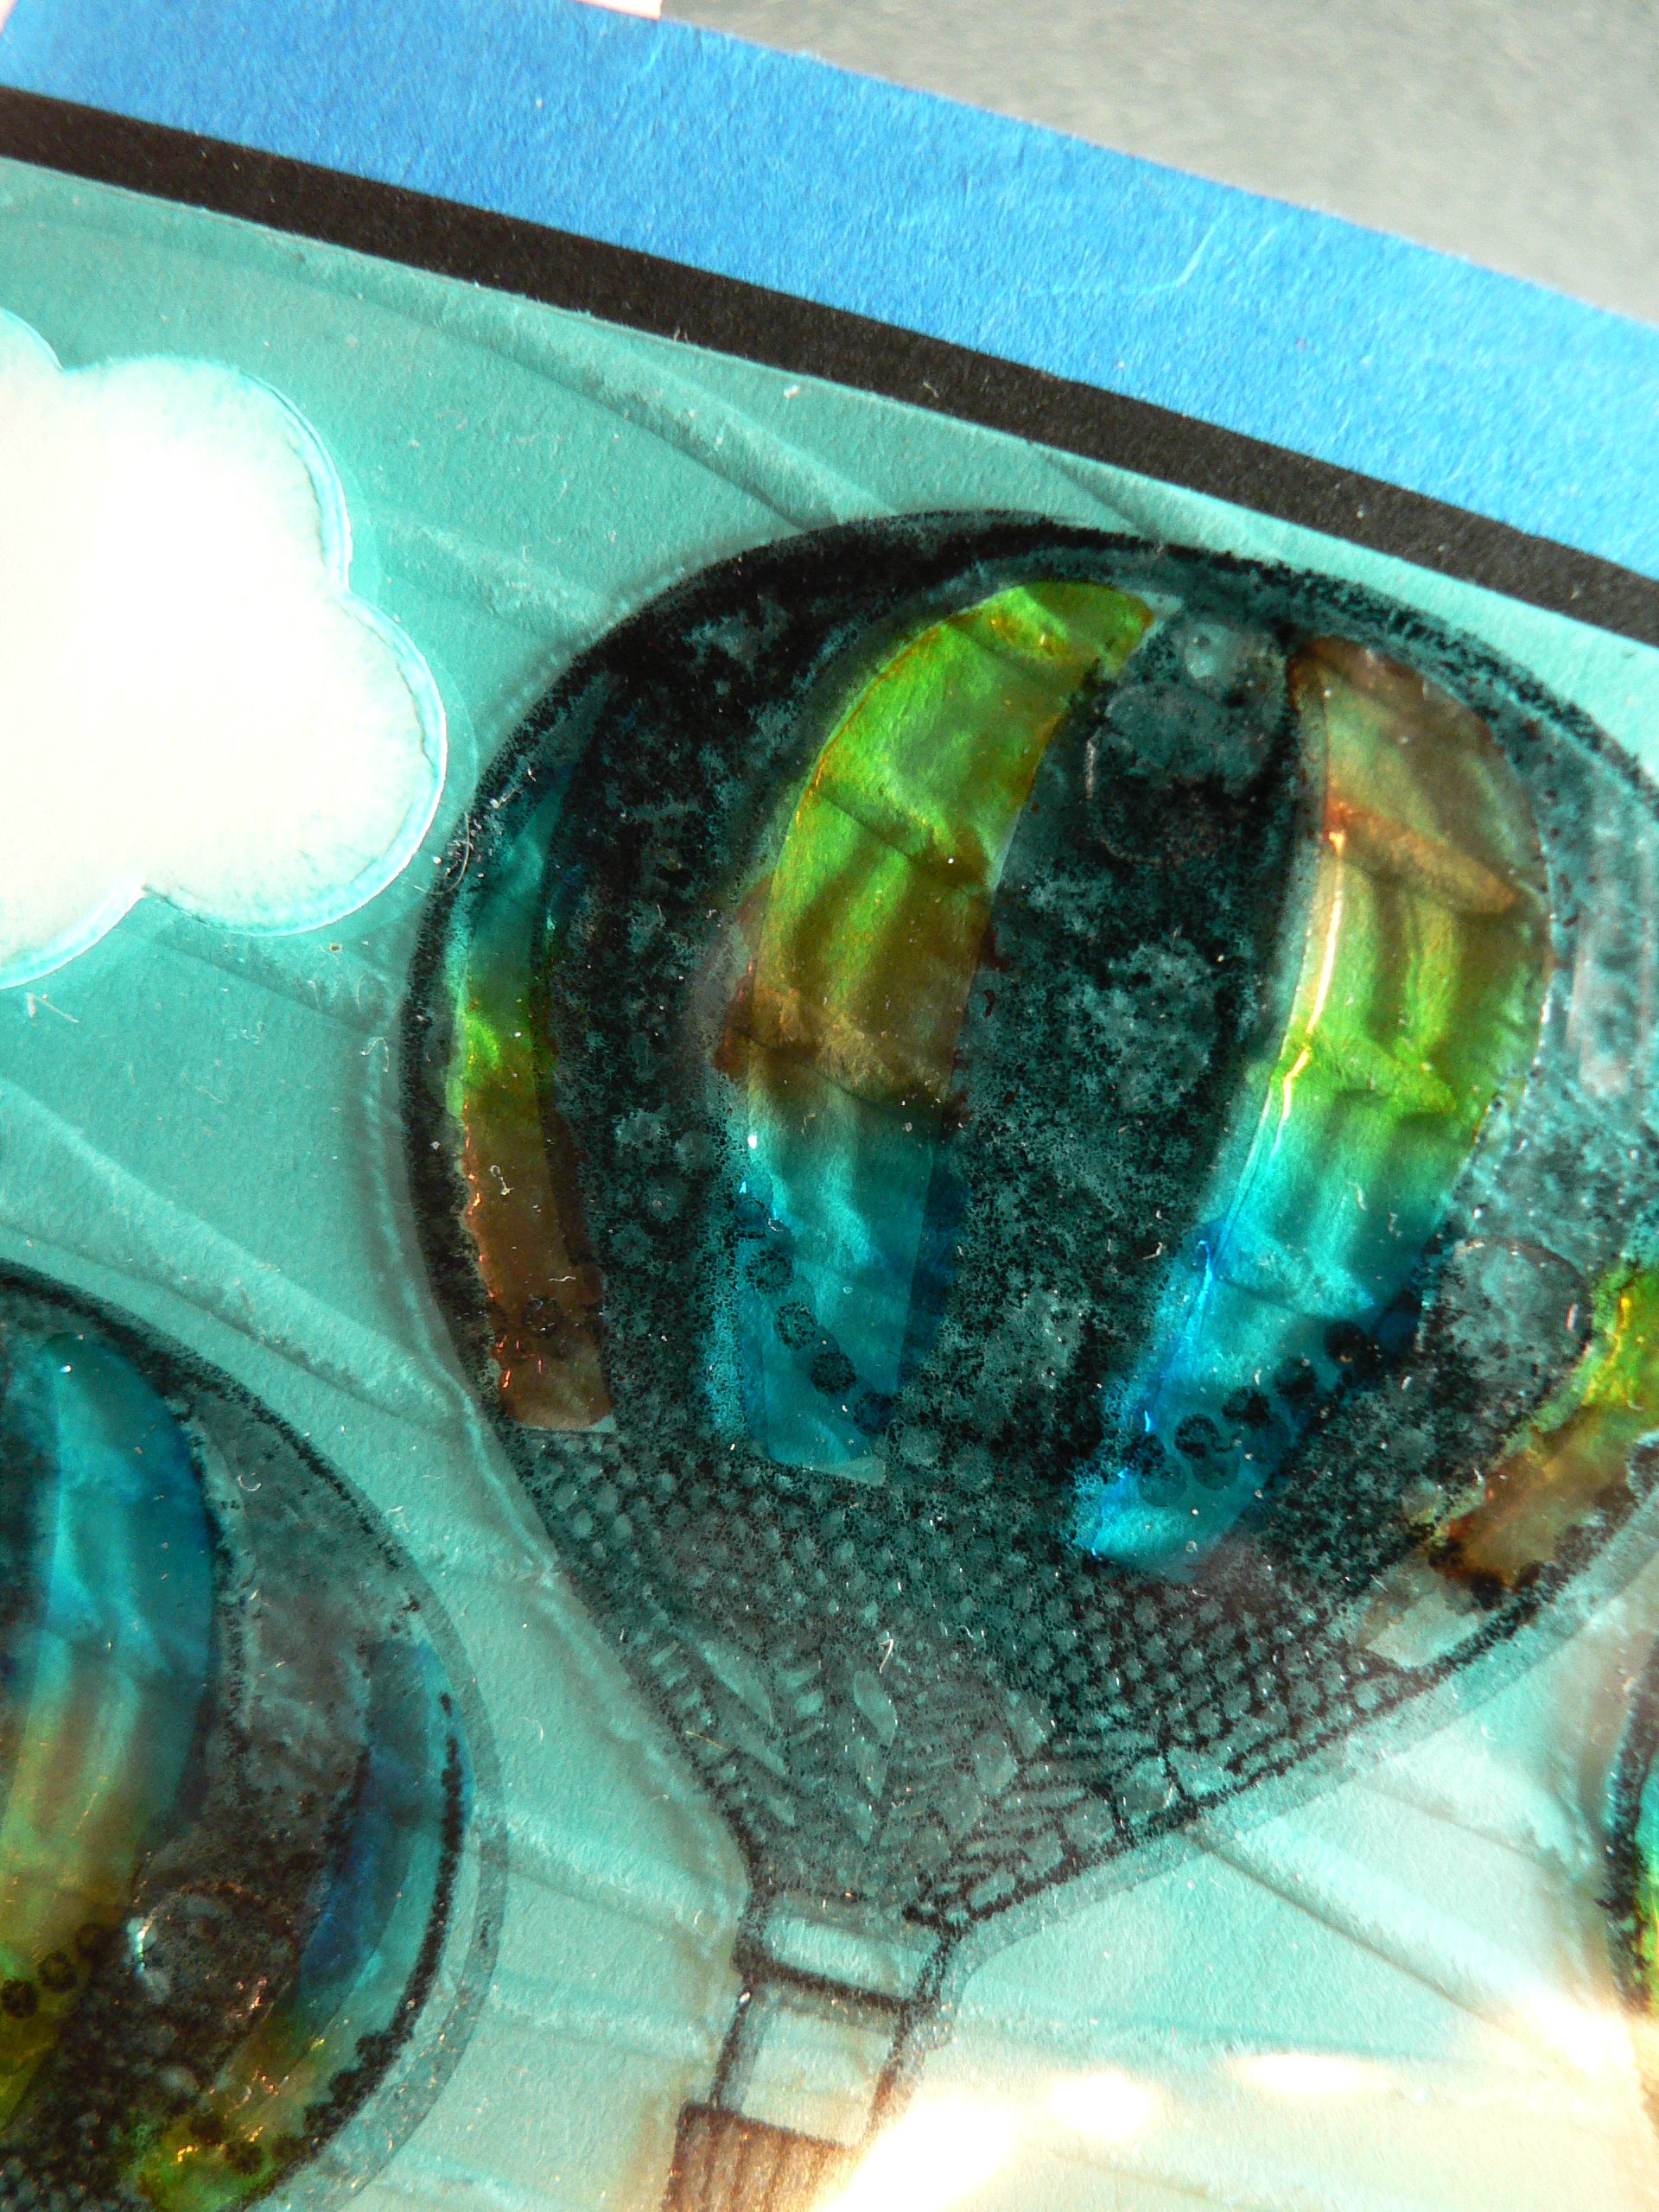
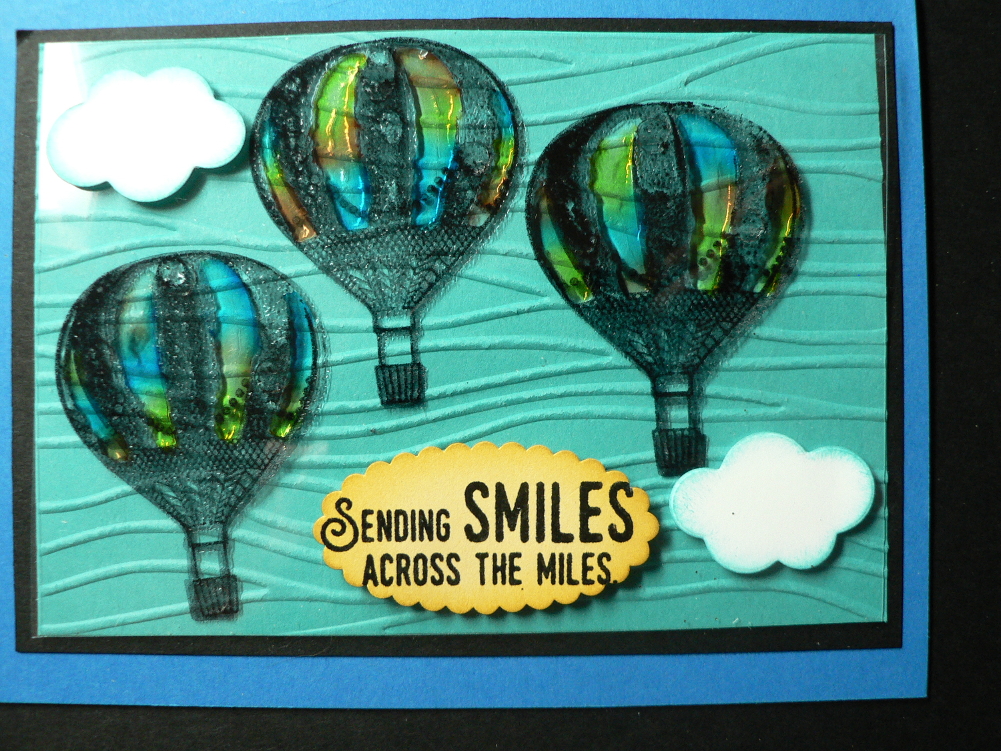
Today I am sharing with you a New (to me) way to color, I have really never liked to color using Markers, it always seemed too…….much. I love to color straight onto my stamp sets using markers, but not to actually color an image once stamped. Stampin’ Blends are my go-to for coloring because they are easy. Moreover, they let you shadow really well, the only problem with Blends is when you use Embossing Powder on your project. For some reason they get muddy when they touch the embossed part. Even though I try to NOT touch the embossed part, inevitably I always do. Here is my card so you can see why I had problems with Blends.
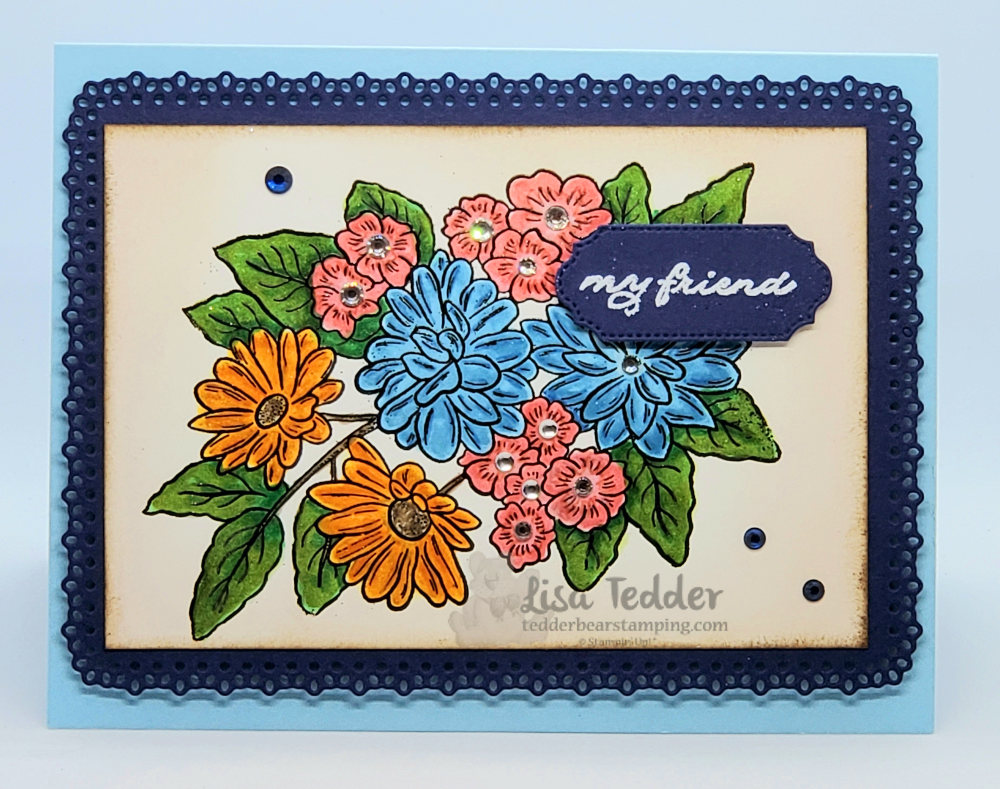
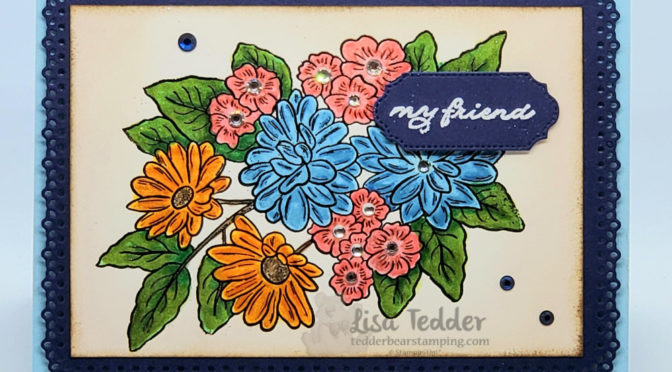
As you can see, this is a pretty busy stamp, It’s called Ornate Style, the embossed parts are close together. Now, I could have stamped and not embossed, but I love the way the embossing is shiny and really lets the image stand out. Furthermore, I never thought of blending with markers! So, I used two different colors to make it look like it did when I used Blends. It came out MUCH better than I thought it would, in fact I love it! Now I will have to do this more often! I then sponged the white cardstock with Crumb Cake and then the edges were sponged with Early Espresso.
Also, I used other items from the Suite in the upcoming 2020-2021 Annual Catalog from Stampin’ Up! The dies I used are called Ornate Layers and the other stamp set is called Ornate Thanks & I am in love! Doesn’t everyone like playing with new goodies?! The great thing about this Suite is that you can get it now, (some of the dies are on backorder) and it will be good until the end of the Upcoming catty and possible longer! For those of you who like getting the discount when you order bundles, I will honor the bundle price and give you 10% off your dies when you can order them. Since it will be around a long time, there will be lots of time to create projects using it! Plus, there are a TON of project ideas on Pinterest, you will be kept busy for sure!!
As usual, here are the specifics for this card:
Stamps:
Ornate Style
Ornate Thanks
Inks:
Versamark
Crumb Cake/Early Espresso for sponging edges
Markers: Balmy Blue/Pacific Point, Mango Melody/Pumpkin Pie, Calypso Coral/Flirty Flamingo, Old Olive/Mossy Meadow & Soft Suede for stems
Paper:
Balmy Blue 8 1/2″ x 5 1/2″
Night of Navy 5 1/2″ x 4″, scrap for sentiment
Whisper White 4 3/4″ x 3 1/4″
Misc:
Embossing Buddy
Heat tool
Black Embossing Powder
White Embossing Powder
Ornate Layers Dies
Ornate Frames Dies
Noble Peacock Rhinestones
Basic Rhinestones
Wink of Stella
Dimensionals
Stampin’ Sponges
Also, you will find the same supplies listed below in picture form, click on any of them to be taken to my OnLine Store! Purchase $35 or more from me and you will Receive not one but TWO sets of project files with over 50 (combined) tutorials with pictures! Here is a sneak peek of just one set:
I really hope you are taking this ‘down time’ at home and are playing with your stamps. When I woke up this morning I felt down…….I told myself to go down to my office and make something pretty, THAT always makes me happy. I hope that you are taking care of yourselves and making pretty things too!
Please stay safe, do something creative and send some Happy Mail! Come back soon!
Lisa Tedder
A California girl living in North Carolina
Product List

")


")