Hey Guys!
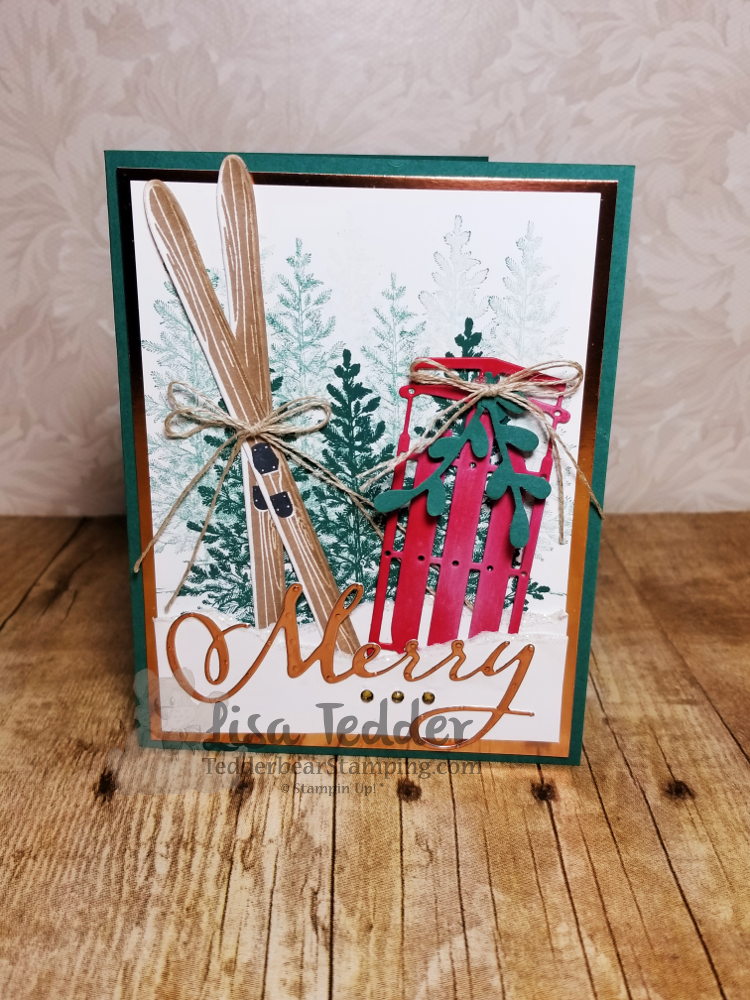
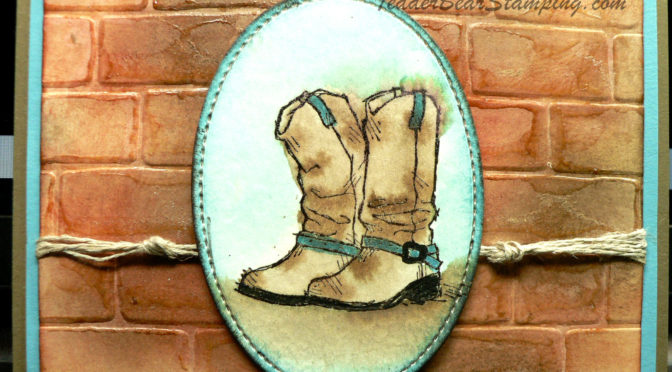
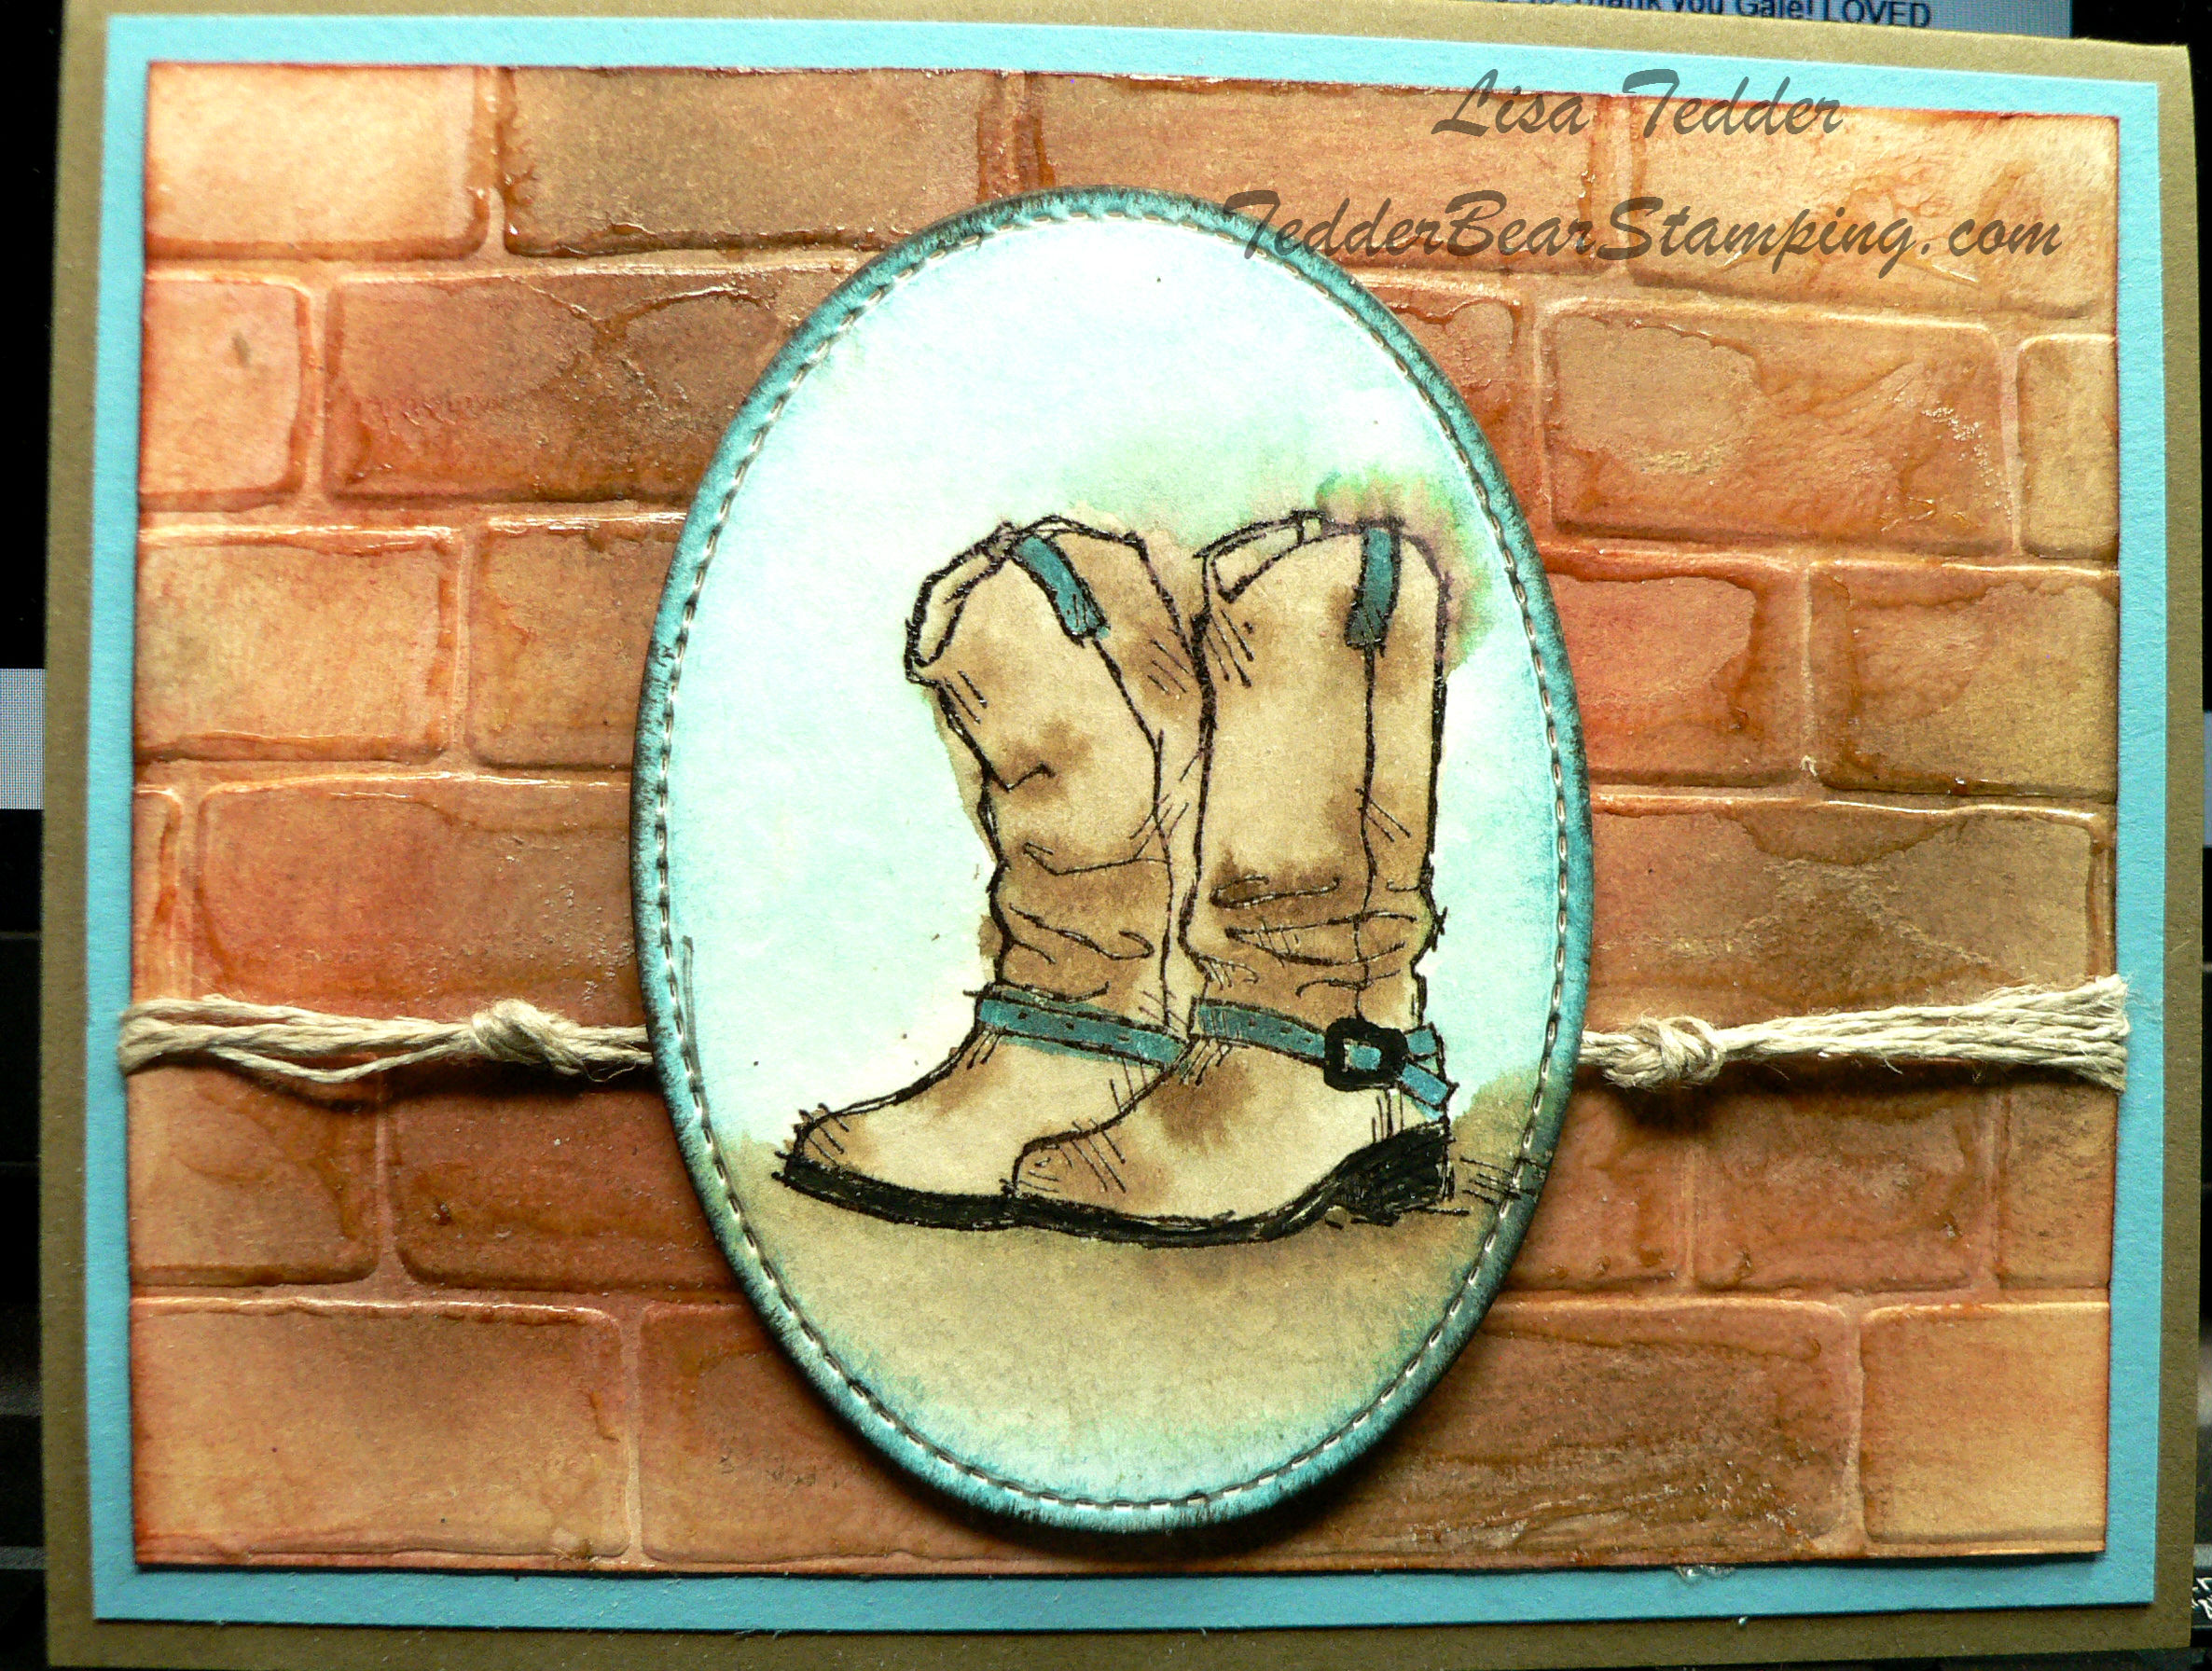
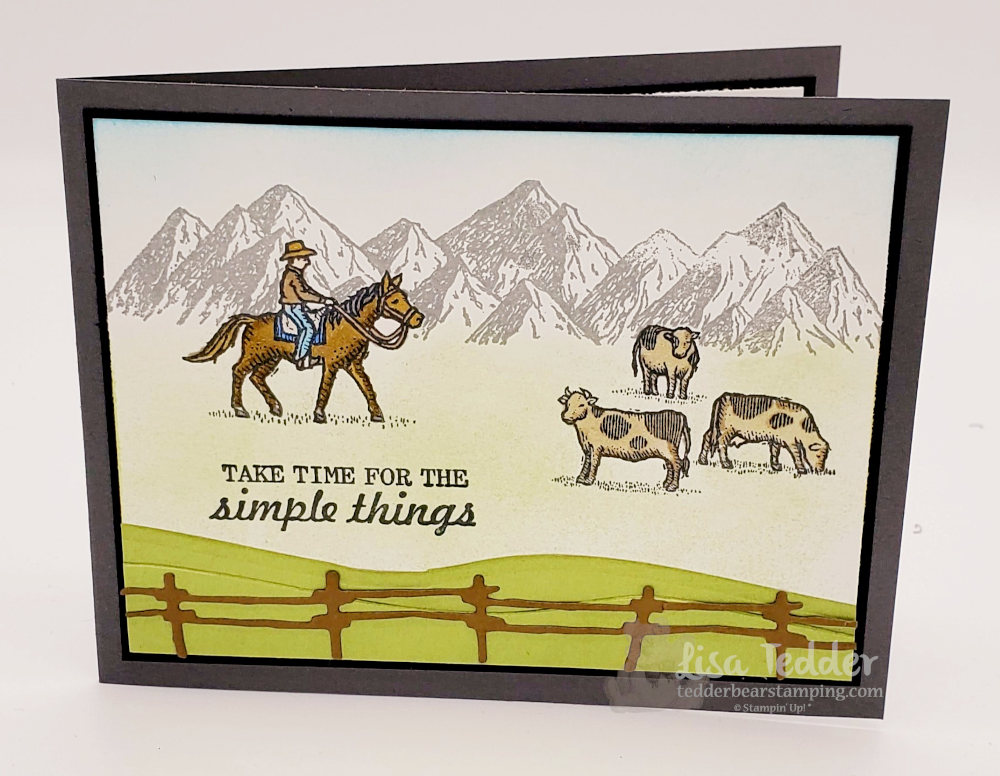
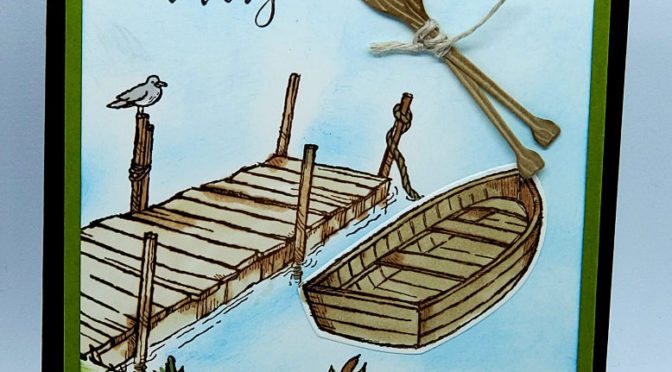
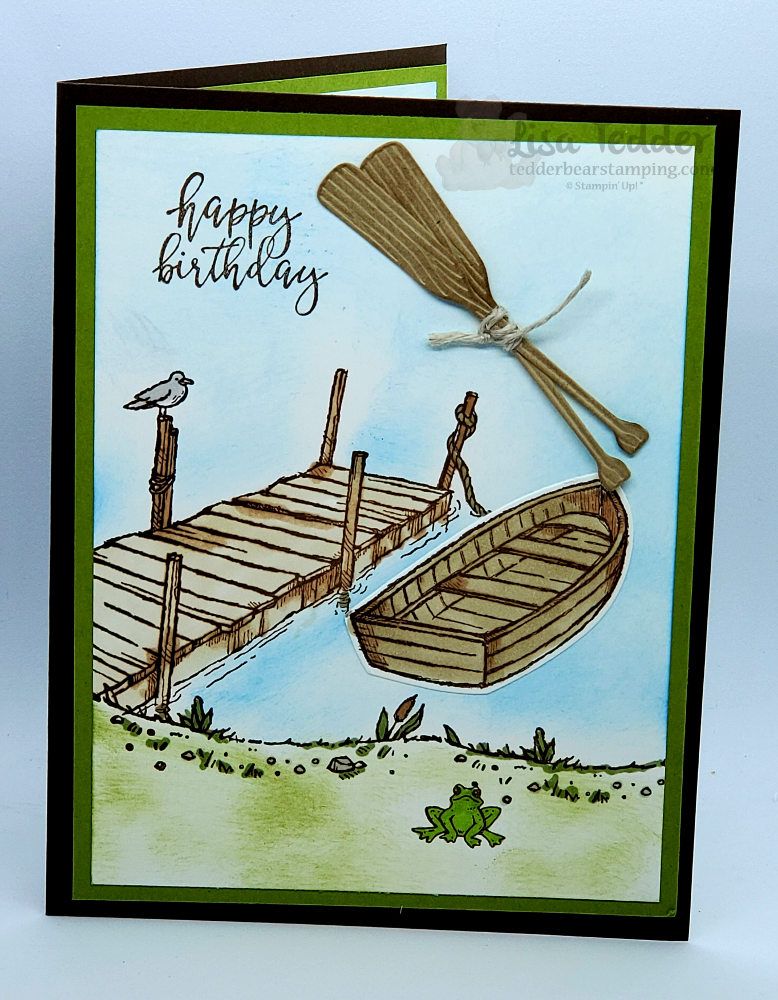
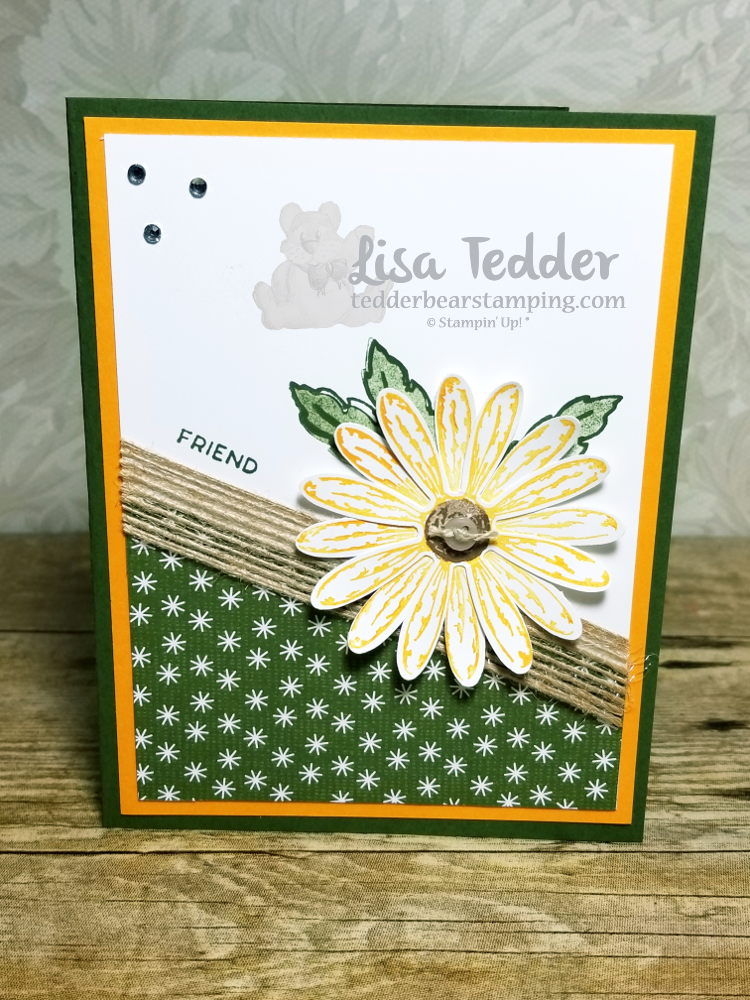
Guess what today is…..it’s my YouTube Live day! For my stamps today I am going to use Stampin’ Up!’s Ride the Range and Mountain Air. I am always looking for something for a guy or a non girly girl. If you enjoy my cards I would love it if you would join me for one of my LIVE videos! Every time I do a Live if you are there with me, all you need to do is comment and you will be put in a drawing to win one of the cards I make! Of course, you can access all of my videos at my YouTube channel!
Lately, I make sure that not only do I make a video for my classes, but I also do a post giving all the measurements and links to what I used. If you missed my post from last week, you can catch it here!
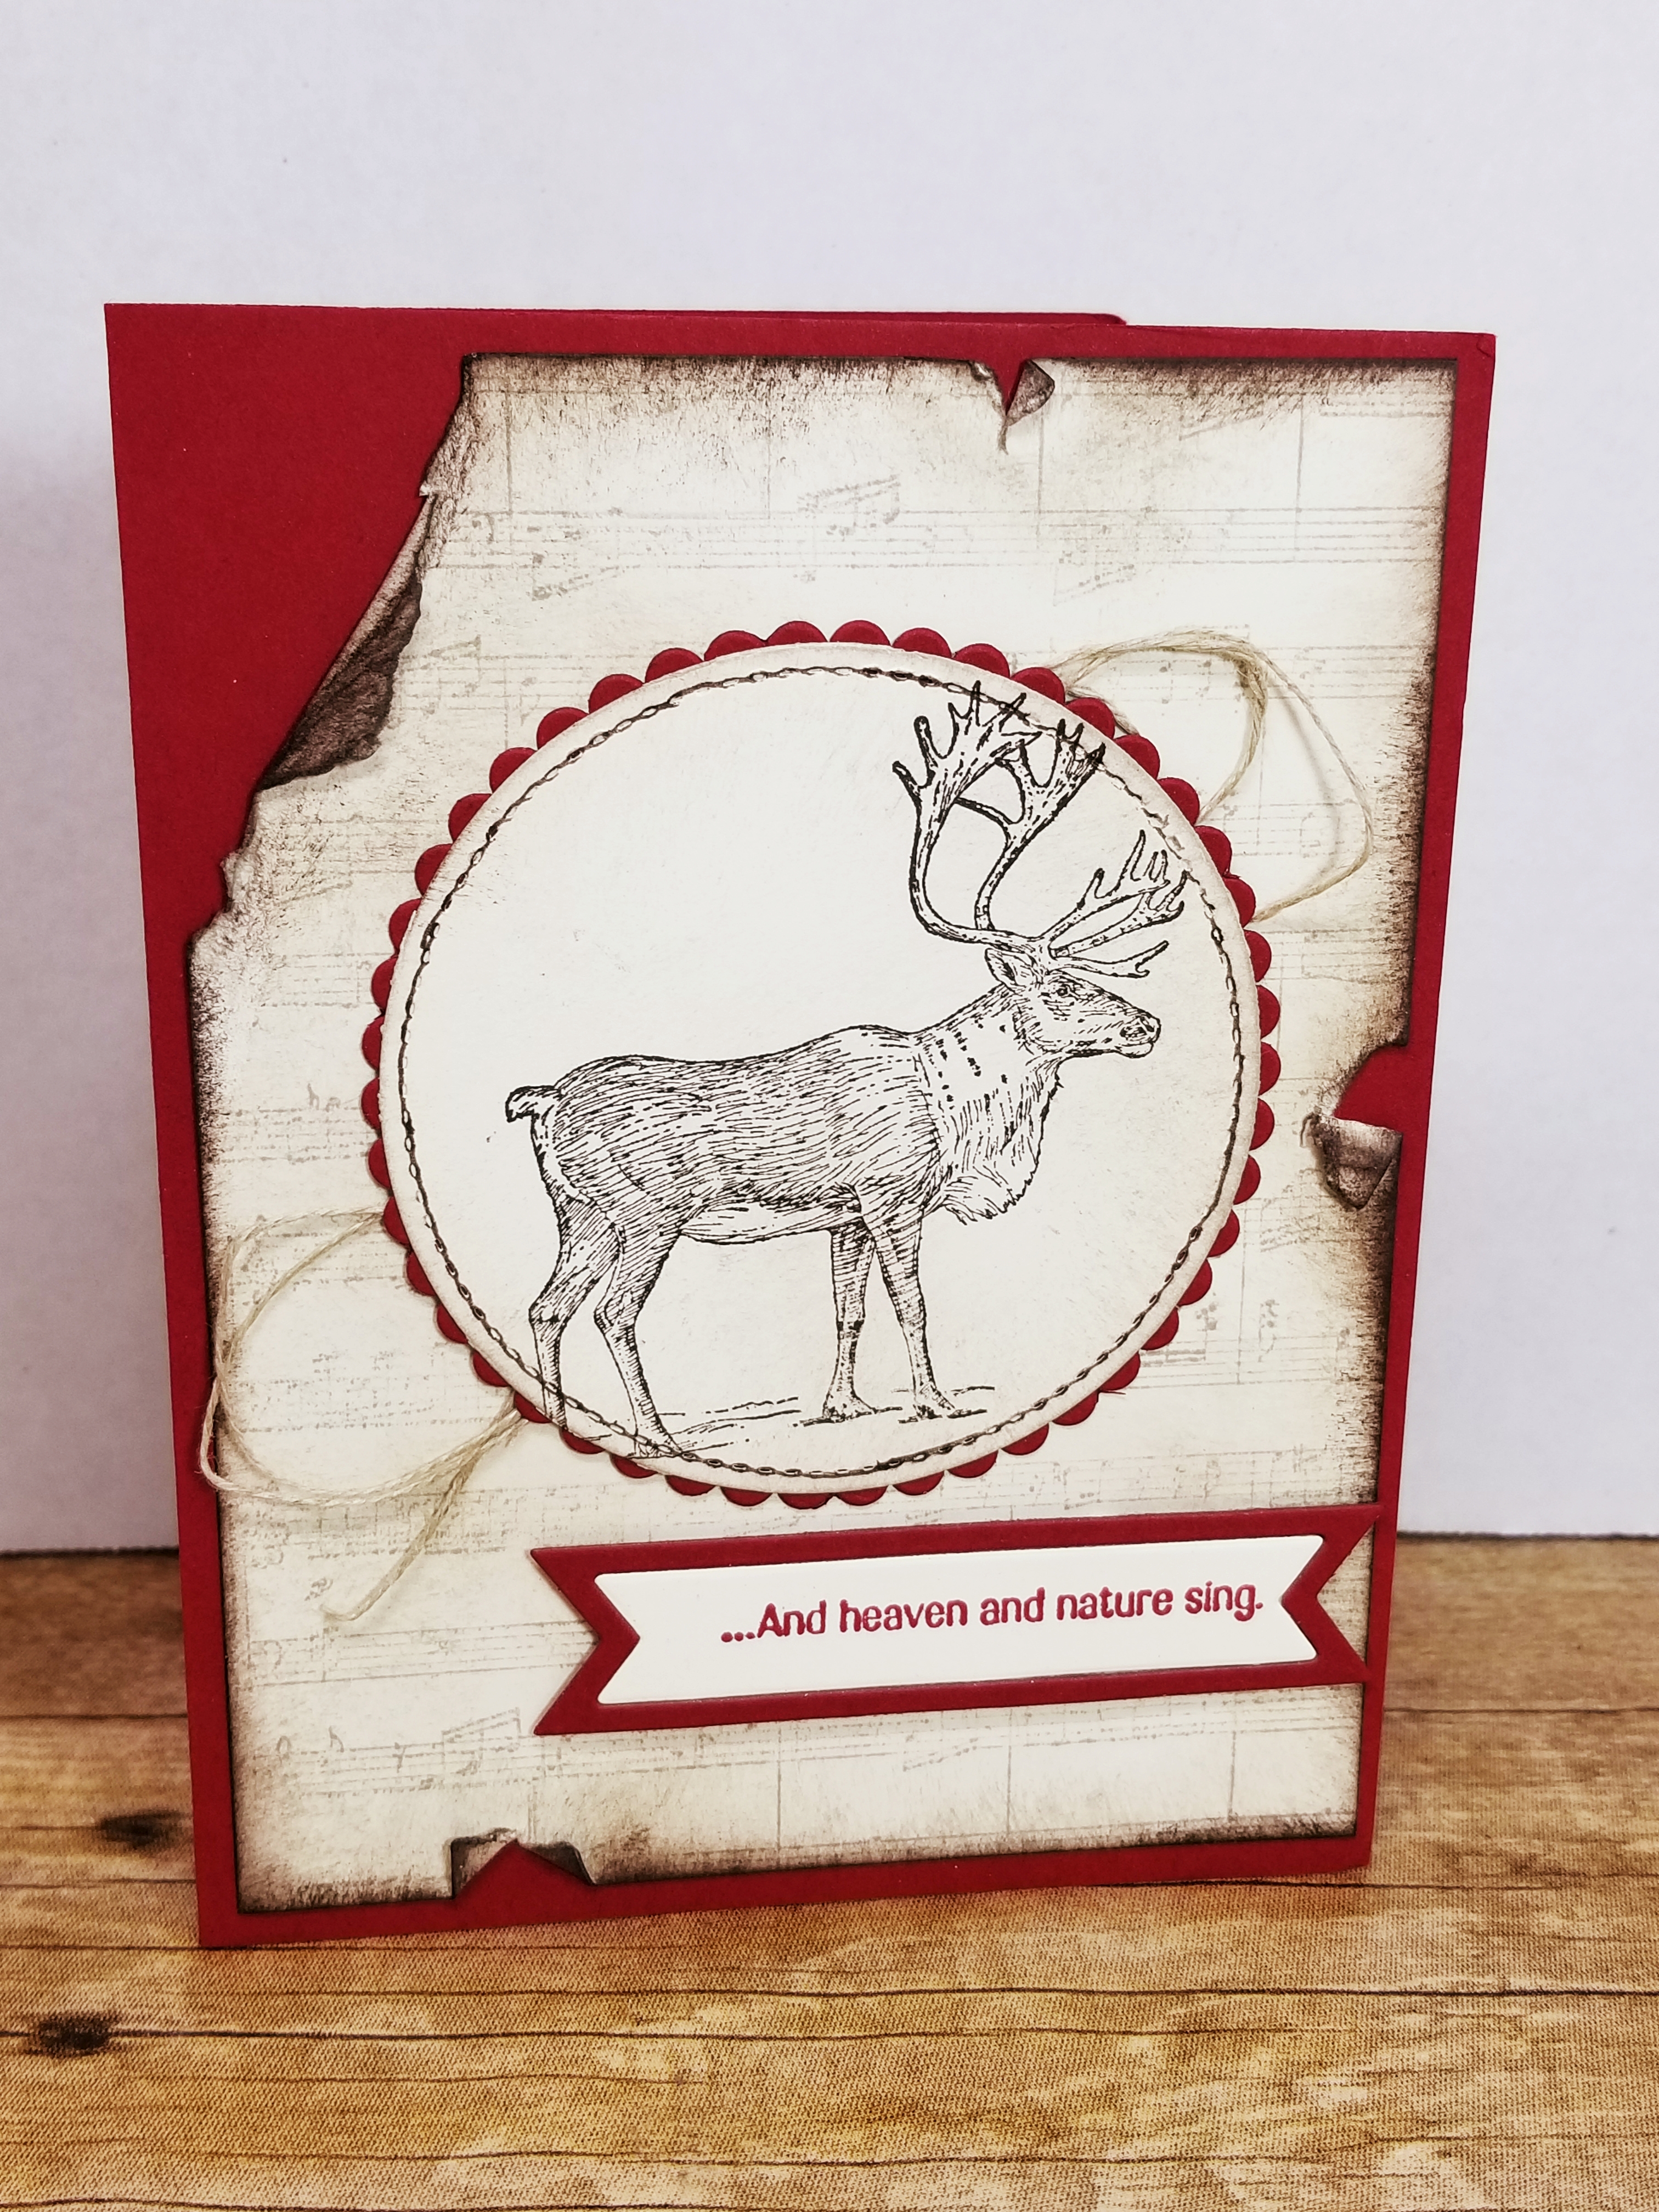
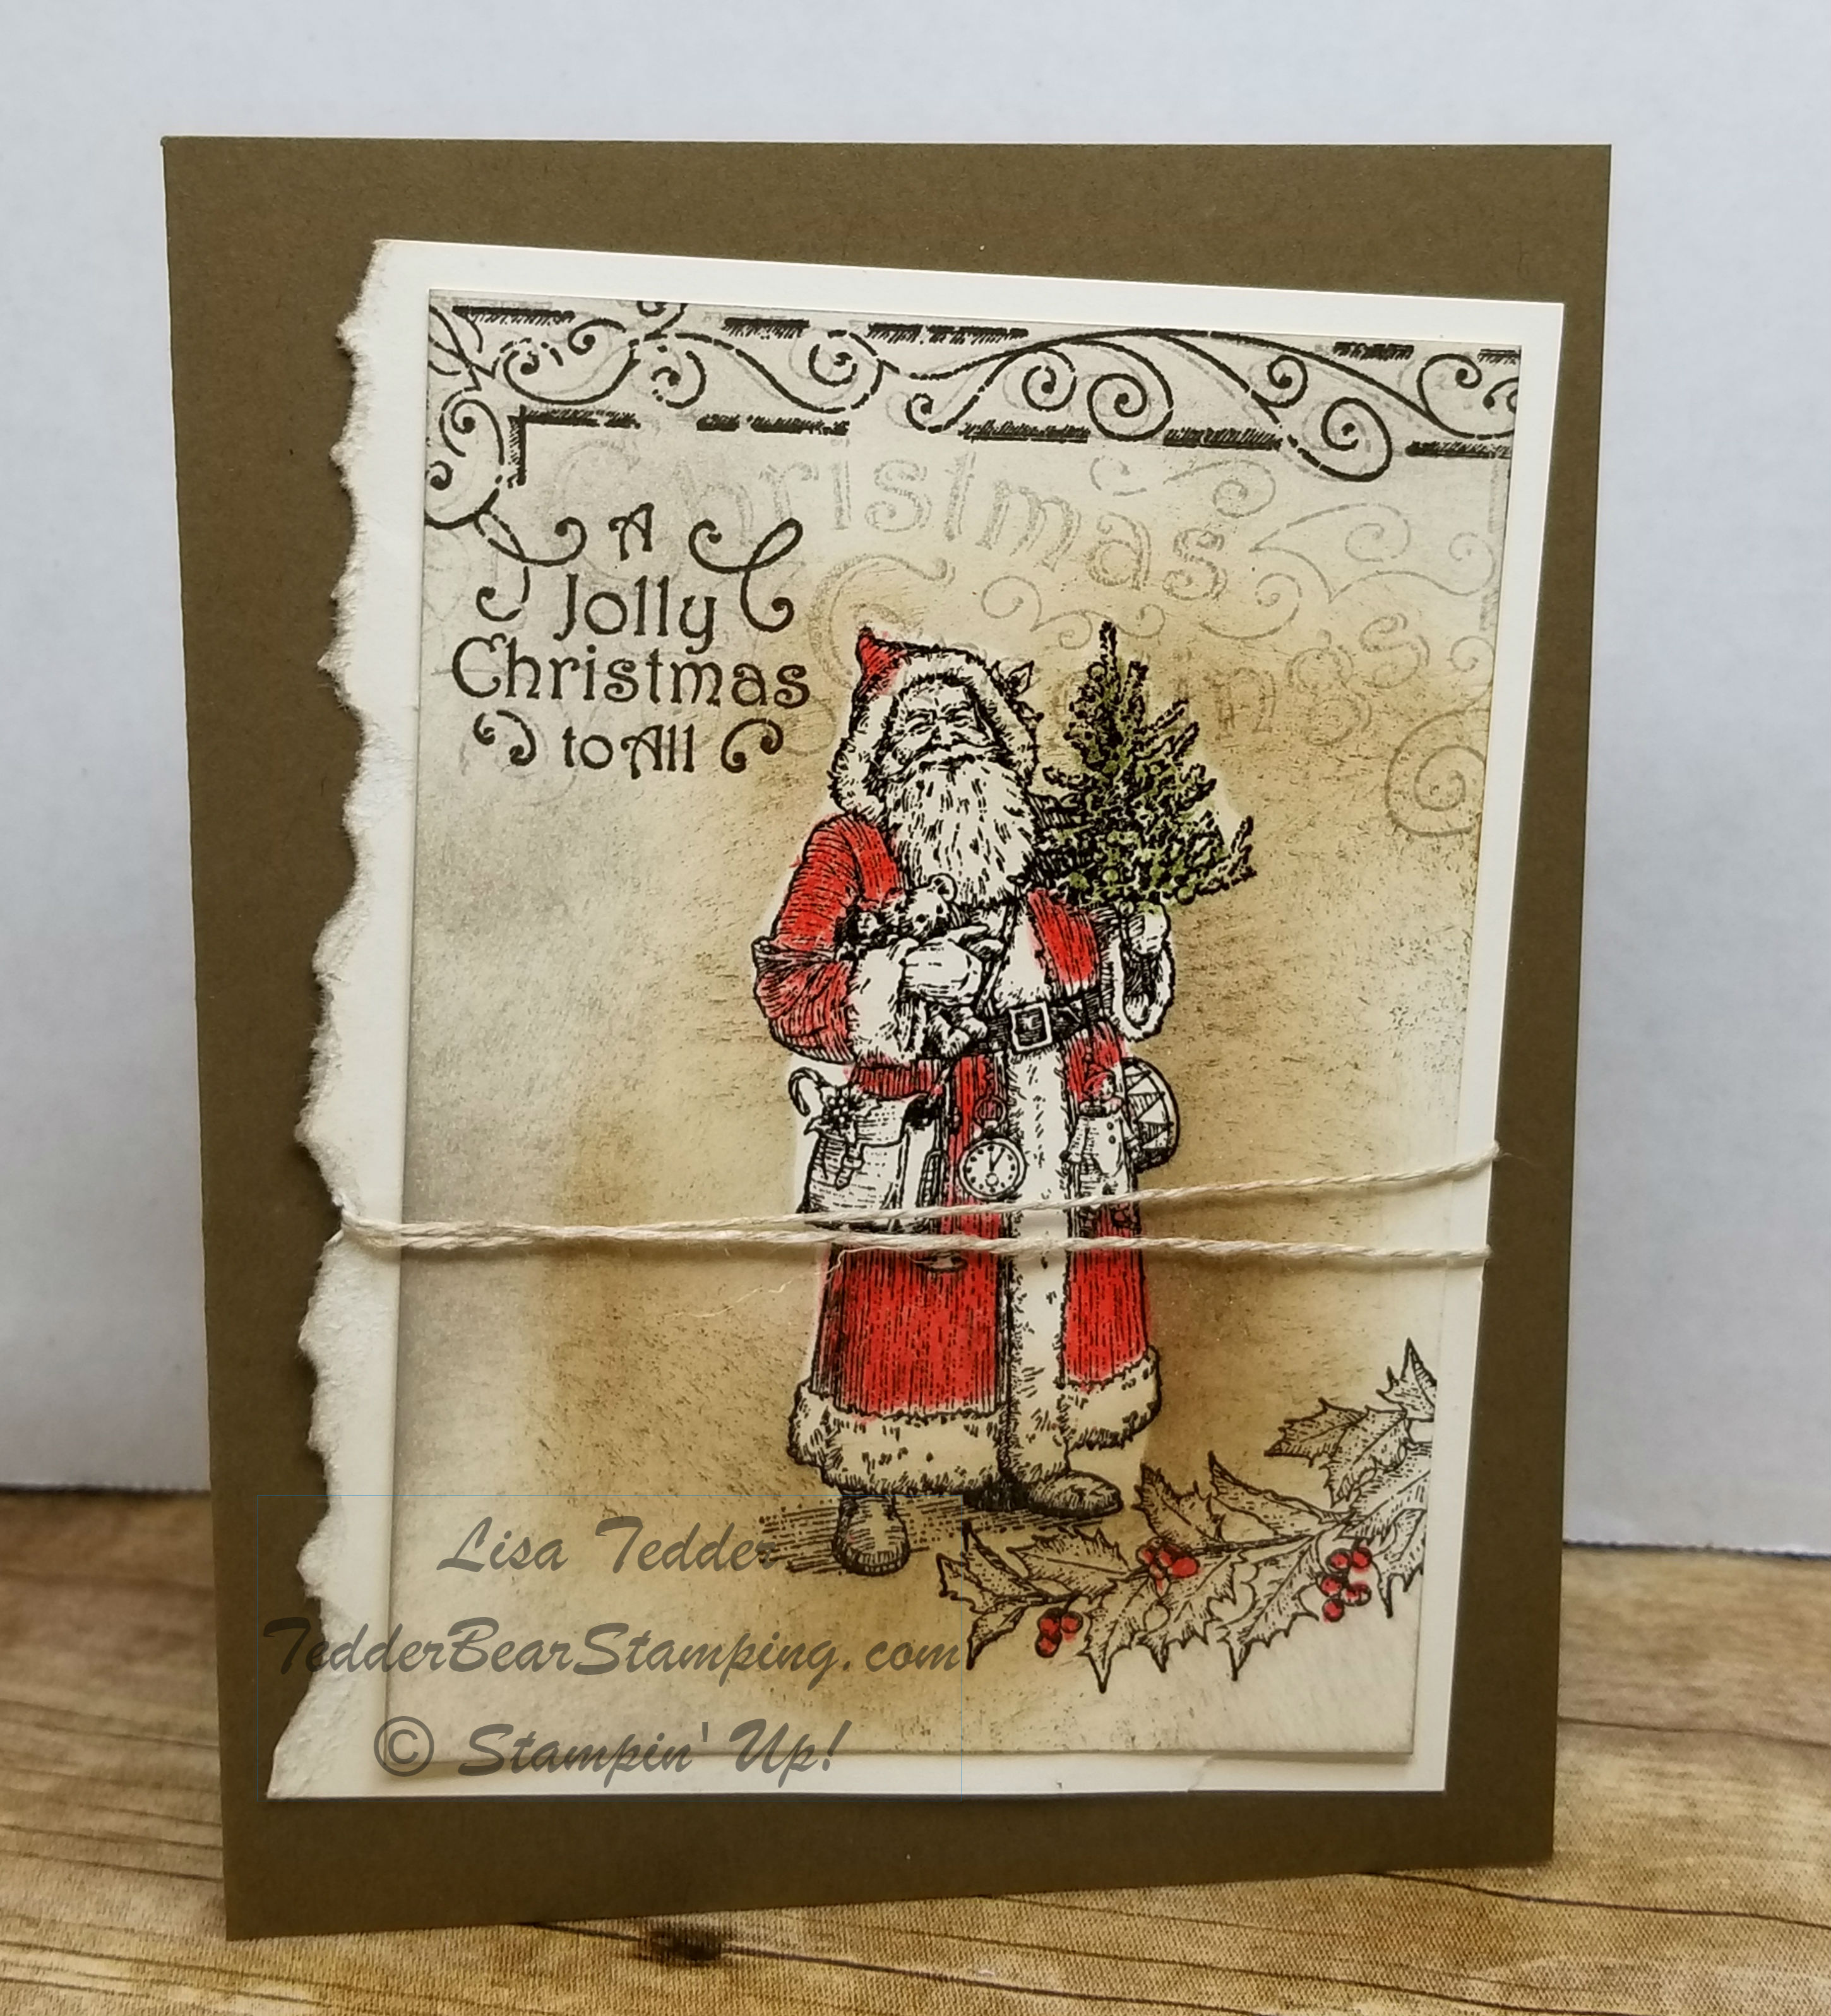
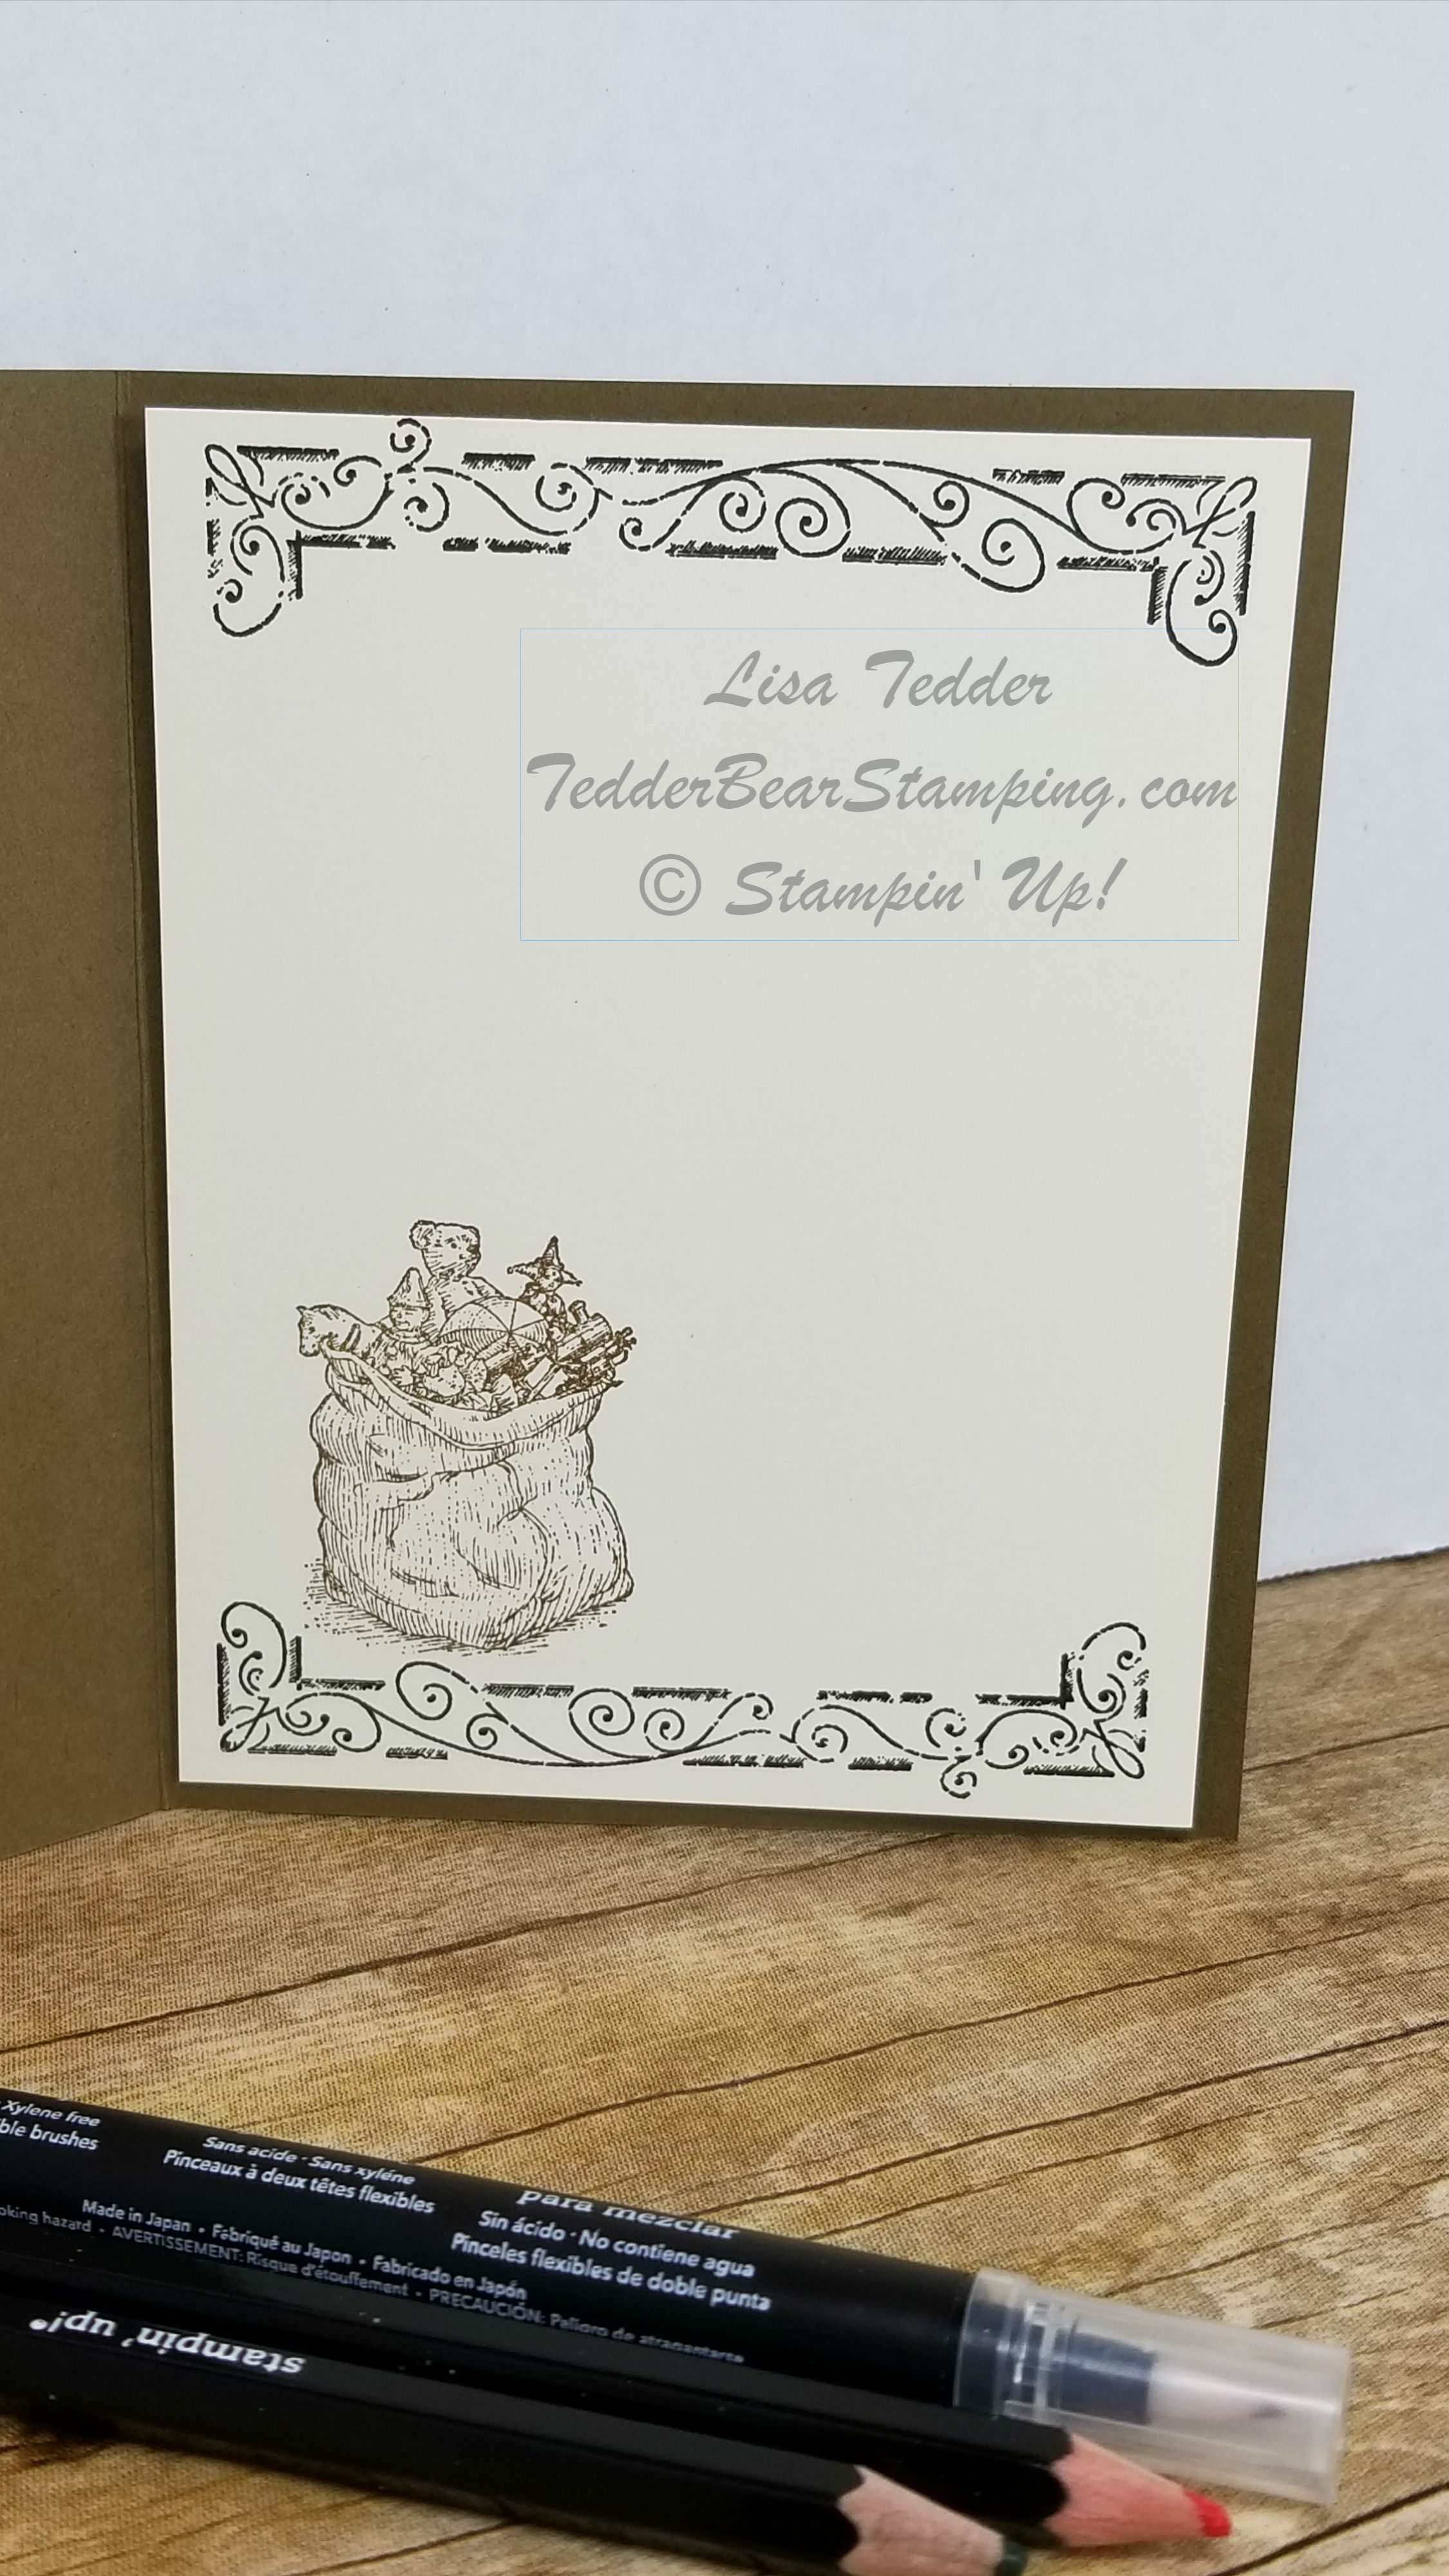
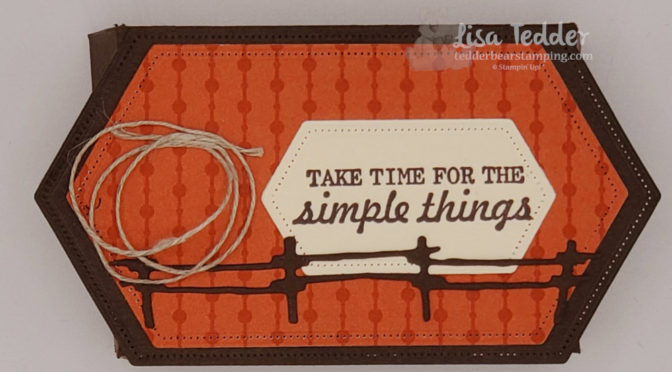
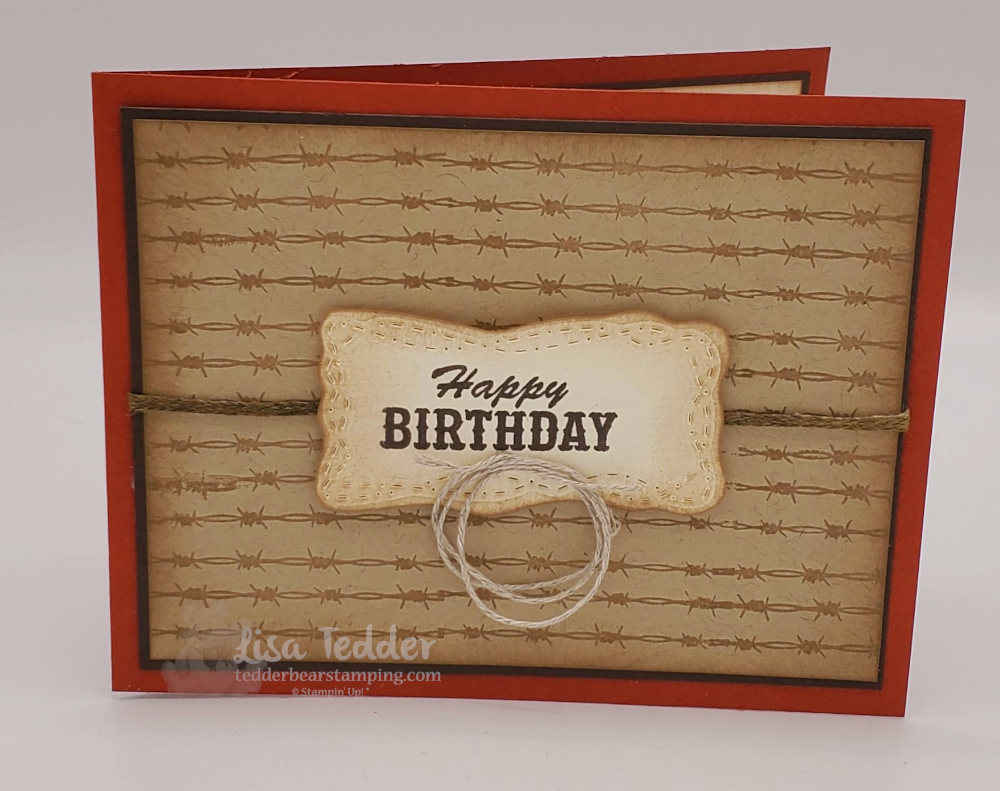
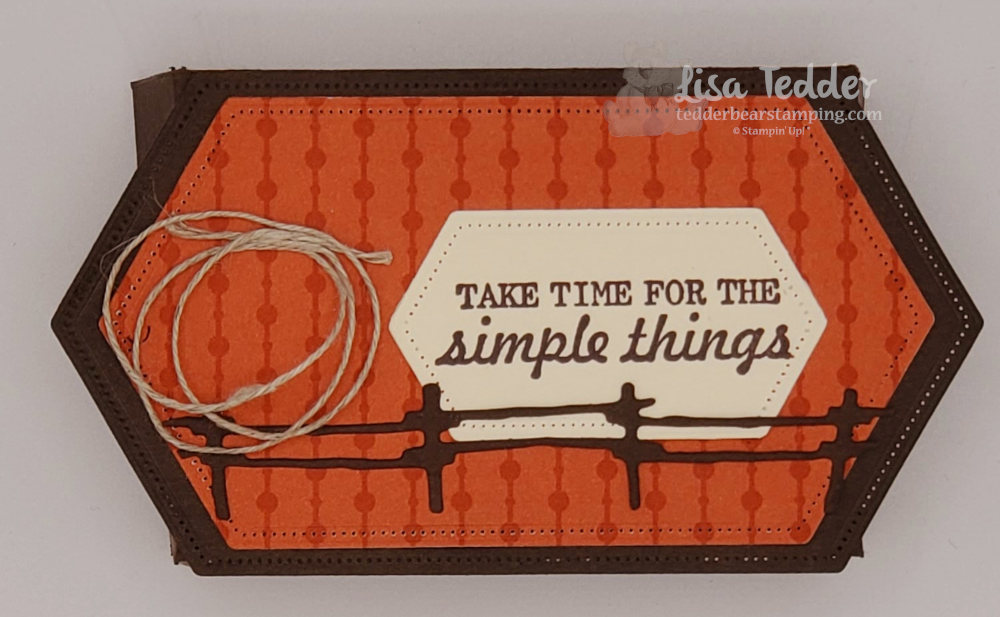
Here is my first card:
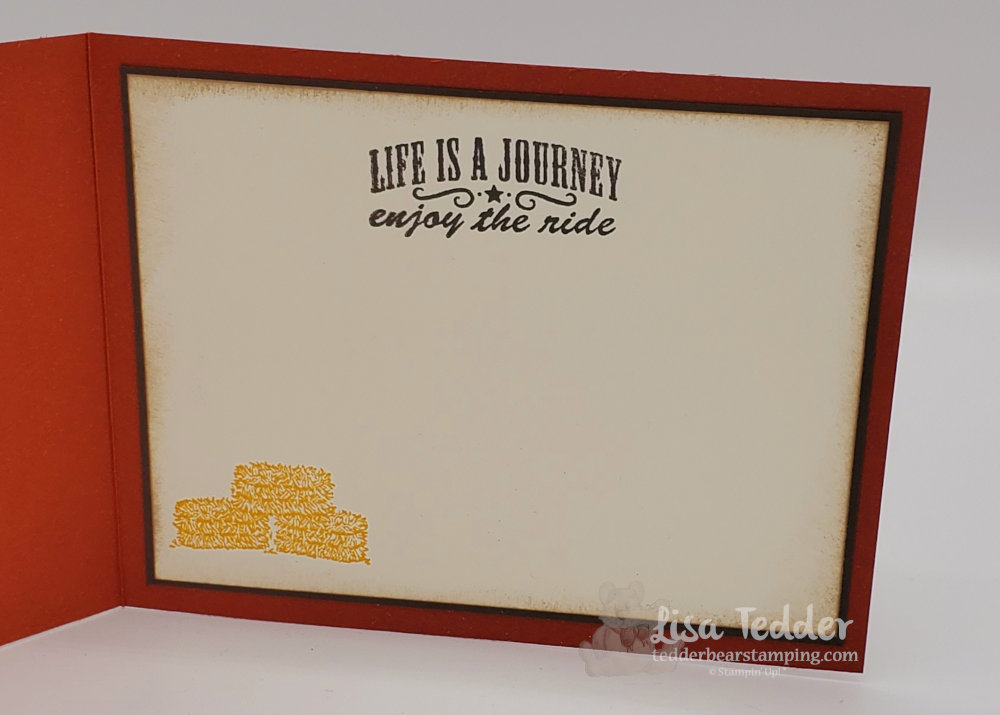
As always, here are the specifics for these cards:
- Stamps:
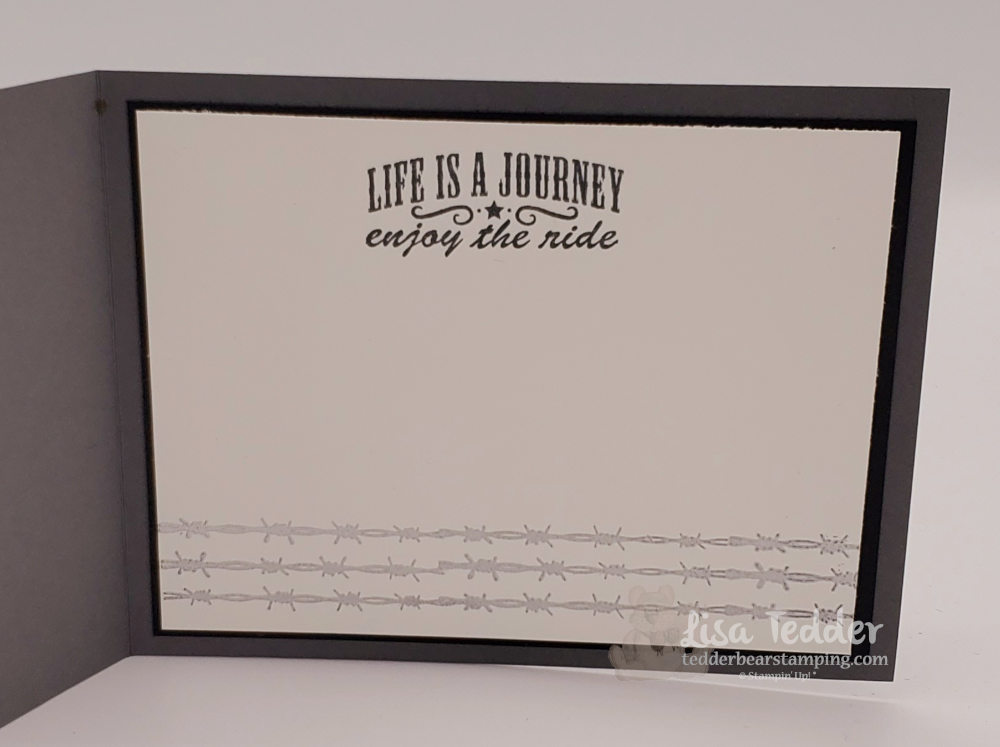
- Ride the Range
- Mountain Air
- Inks:
- Early Espresso
- Memento Black
- Crumb Cake
- Crushed Curry
- Balmy Blue
- Smoky Slate
- Pear Pizzazz for sponging
- Versamark
- Blends:
- Soft Suede
- Balmy Blue
- Crumb Cake
- Smoky Slate
- Cinnamon Cider
- Paper:
- Cajun Craze 11″ x 4 1/4″, scored @ 5 1/2″
- Early Espresso 5 1/8″ x 3 7/8″ (x2)
- Crumb Cake 5″ x 3 3/4″
- Very Vanilla 5″ x 3 3/4″, scrap for sentiment
- Basic Gray 11″ x 4 1/4″ scored @ 5 1/2″
- Basic Black 5 1/8″ x 3 7/8″ (x2)
- Basic White 5″ x 3 3/4″ (x2)
- Soft Suede scrap for fence
- Pear Pizzazz scrap for grass
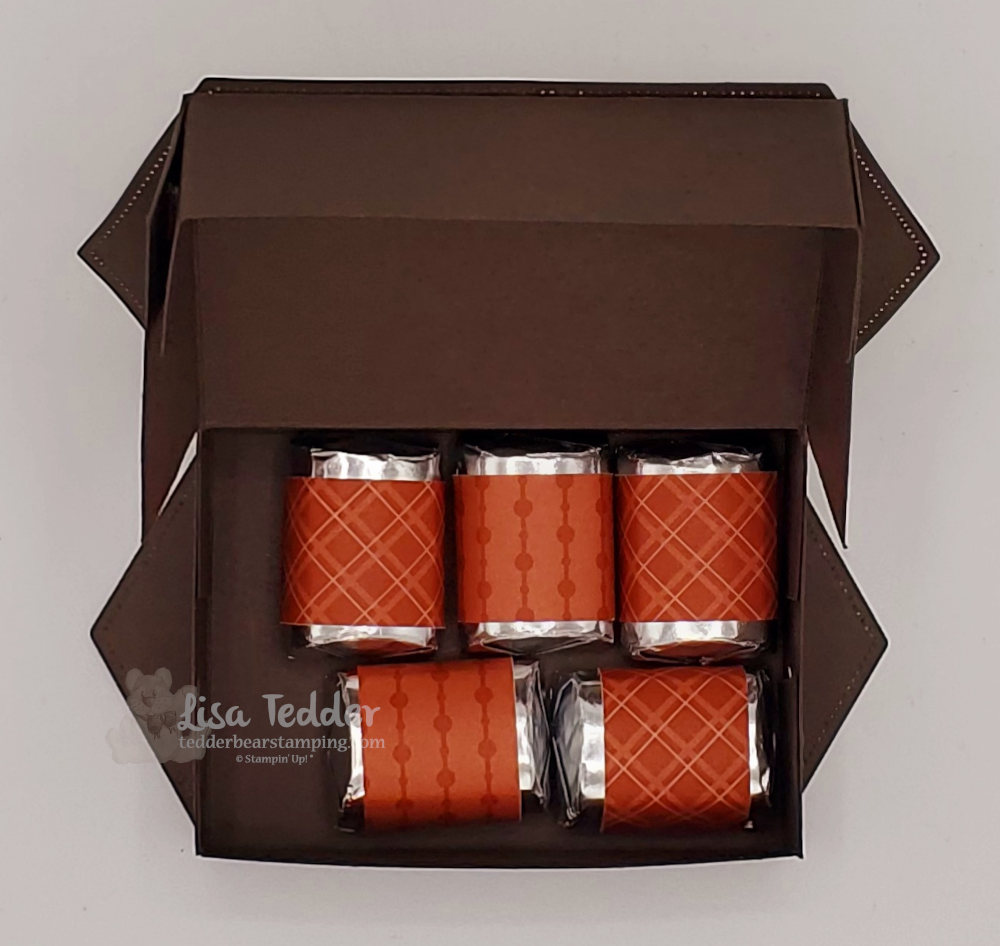
- Misc:
- Linen Thread
- Braided Linen Thread
- Stamping Sponges
- Dimensionals
- Stitched with Whimsy
- Paper snips
- Liquid Glue
Again, I will let you know that everything listed above will be in picture form below, click on any of them to be taken to my OnLine Store. I would love to have you choose my small business to buy your stamping supplies. For every $35 or more you will earn a PDF that has 16 projects with pictures! Below you can get a sneak peek of the projects. But, that isn’t all you get for supporting me, I will send you the ‘fixin’s’ for these cards if you order before Wed of the following week, you will need to spend $35 or more for that too, but you will get BOTH for the $35!
EVERY Thursday I am Live on YouTube showing you another class for certain stamp sets, that you can earn that week’s card class fixin’s. If you would like to see a stamp set used, send me an email or post your comment here and I will try and do that for you!!
If you need to see how I made the cards, be sure and check out my video!!
Thank you so much for stopping by!! Please come back!
Lisa Tedder
A former California girl living in North Carolina
Product List


 Braided Linen Trim")


")


 Burlap Ribbon")
 Designer Series Paper")