Tag Archives: Layering Circles Dies

Mini Class – Enjoy the Moment

Hey Guys!

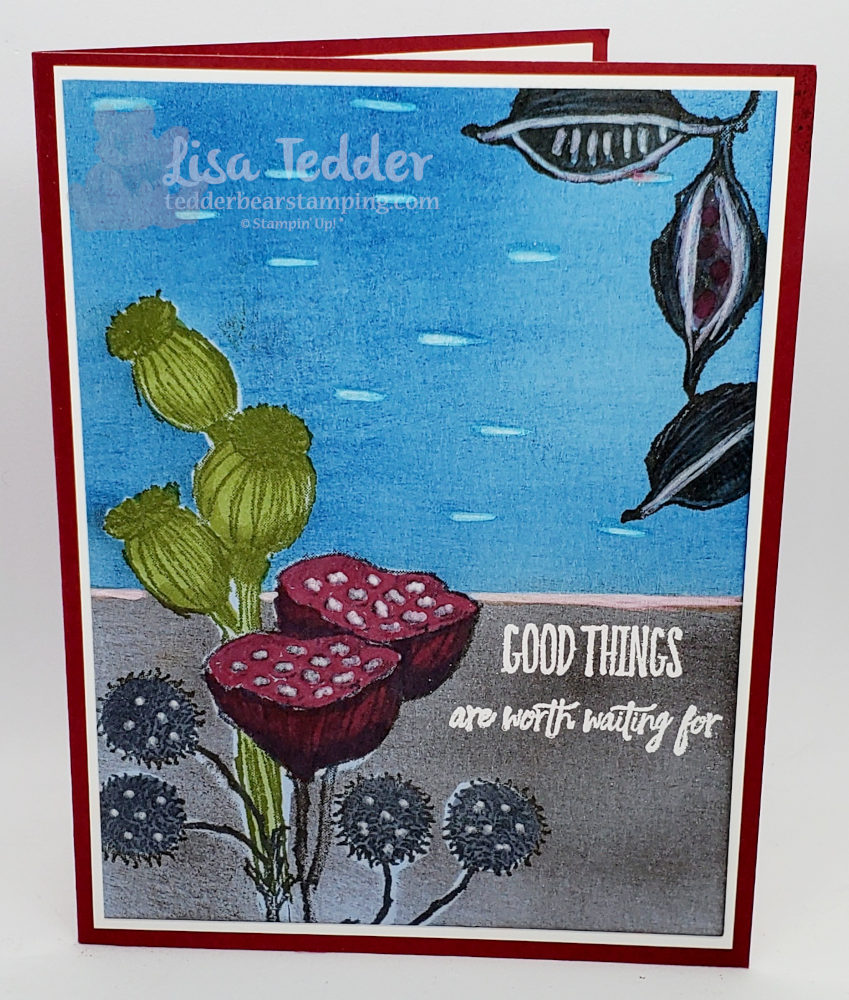
Today I am sharing with you my Mini Class – Enjoy the Moment stamp set from Stampin’ Up! If you were a demonstrator and signed up for the ‘convention’ from SU! you would have received this stamp for FREE! I LOVE being a demo, the perks are so awesome, not only do I get 25% off whatever I buy, but when I go to the get togethers that are done throughout the year, I get freebies! Also, I get to order a month before any catalog goes Live! The best part of all is all the people I have met through Stampin’ Up! If you have any questions about joining my team, let me know! I would love to have you as part of my SU! family!

So, today I am sharing two cards I did with this stamp set! If you missed my Live video, you can catch the repeat here. These cards were a lot of fun! Here is the first one:
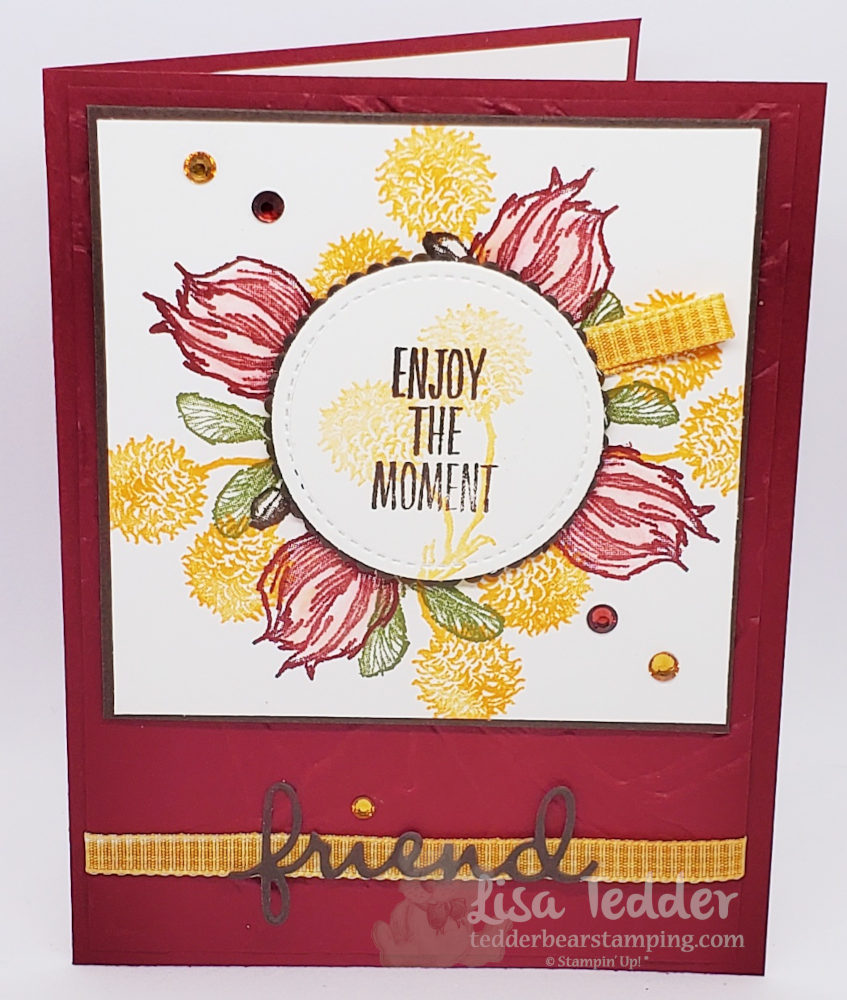
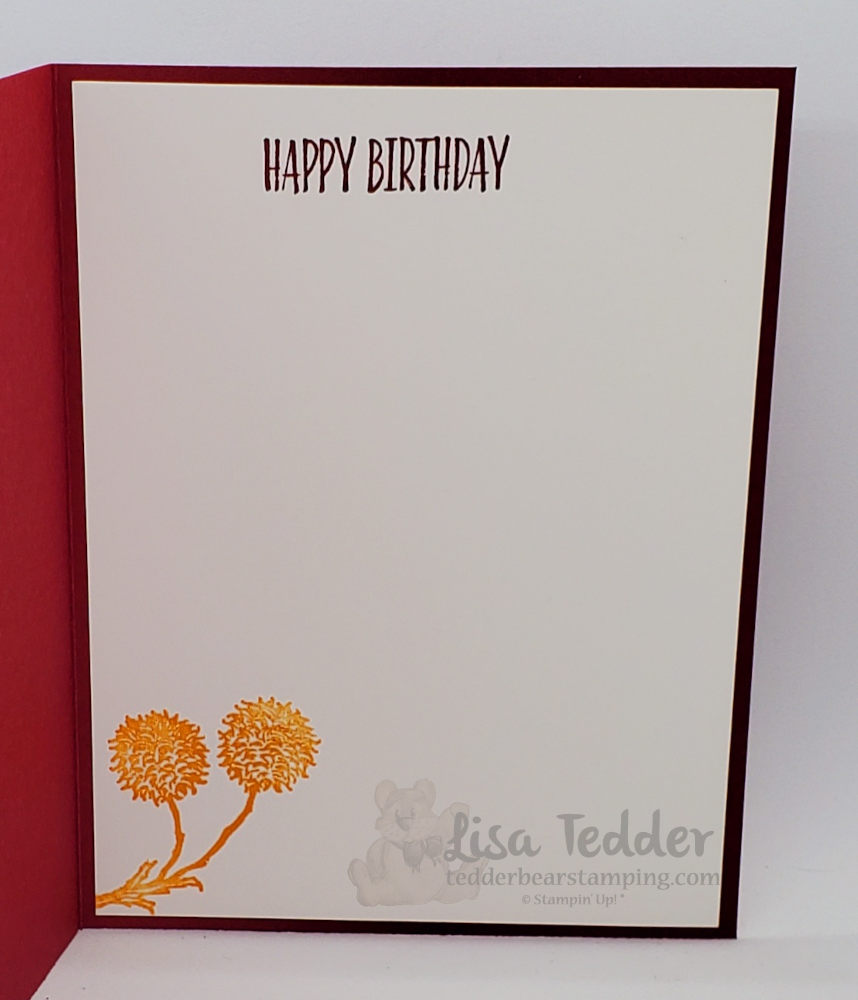
Mini Class Enjoy the Moment-Inspired by Narello Fasulo
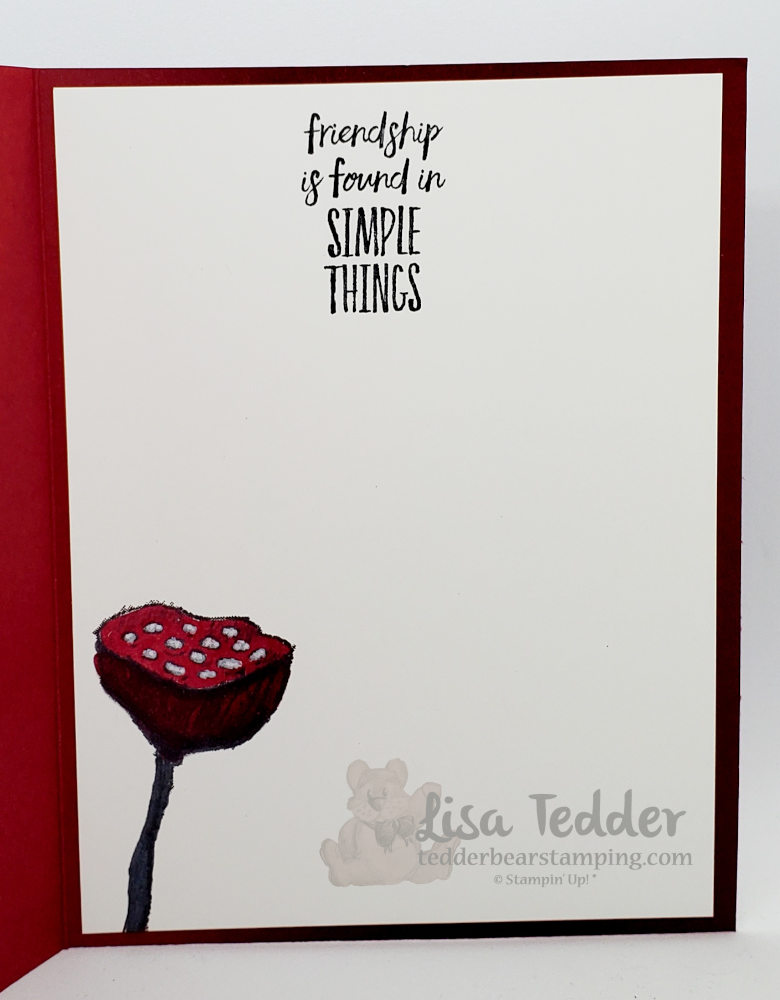
Mini Class Enjoy the Moment inside
Mini class Enjoy the Moment-Inspired by Cheryl Miller
Enjoy the Moment inside

As Always, I am listing the supplies used for both of these cards below, they will also be listed in picture form at the bottom, click on any of the pictures to be taken to my online store! When shopping with me, if you order $35 or more you will receive the card kit for that week plus a pillow gift!! And you will also get a pdf of 16 cards with step by step instructions with pictures!

  • Stamps:
  • Enjoy the Moment
  • Inks:
  • Old Olive
  • Mango Melody
  • Cherry Cobbler
  • Pacific Point
  • Memento Black
  • Versamark
  • Blends:
  • Mango Melody
  • Old Olive
  • Cherry Cobbler
  • Basic Black
  • Paper:
  • Basic Black 3 3/4″ sq ( 2nd card), scrap for ‘friend’, and scrap for scalloped circle behind sentiment on card 1
  • Cherry Cobbler 8 1/2″ x 5 1/2″ (for both cards), 5 1/4″ x 4″ (card 1)
  • Basic White 5 1/4″ x 4″ (x2) for card 2, 5 1/4″ x 4″ for card 2, 5″ x 3 3/4″ (card 2), 3 5/8″ sq (card 1), scrap for sentiment on card 1
  • Misc:
  • Dimensionals
  • White embossing powder
  • heat tool
  • Stitched shapes dies
  • Layering circles dies
  • Stamparatus
  • Wink of Stella
  • White Chalk Marker
  • Holiday Rhinestones
  • Well Written dies (for ‘friend’)
  • Painted Texture Folder
  • Bumblebee Gingham ribbon

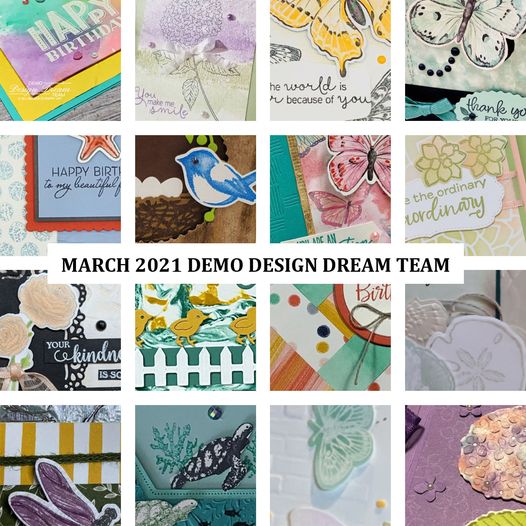
Here is a sneak peek of the pdf that you will get when you spend $35 or more:
I hope you enjoyed the cards today! If you missed last weeks video/class you can catch it here. I have been really loving my weekly mini classes, I hope you have been too! Come back next week to see the two cards I make!

Lisa Tedder
A former California girl living in North Carolina

Product List

Donkey Fancy Fold

Hey Guys!

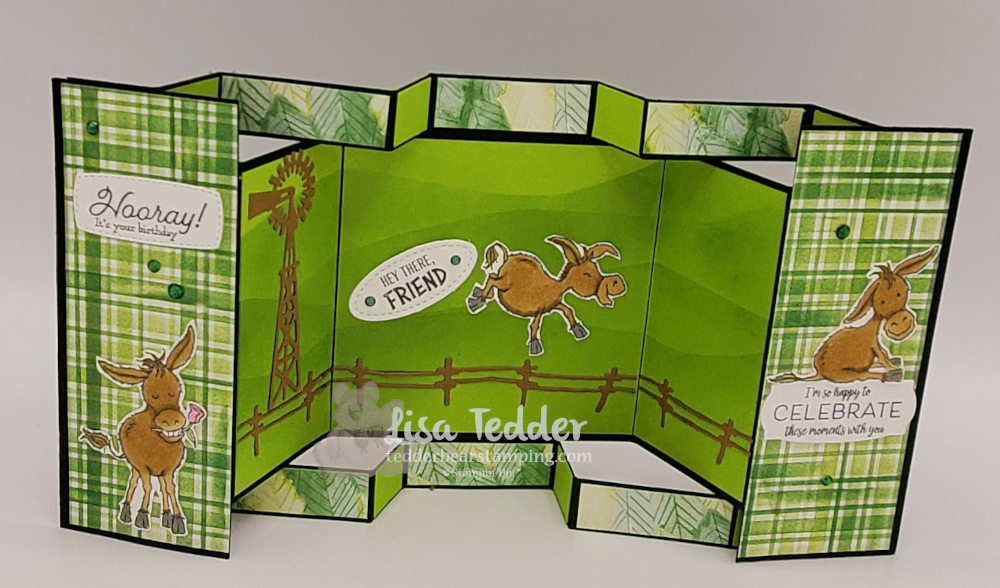
Yesterday I posted a Live YouTube video doing a Fancy Fold using the Darling Donkey stamp set! You can get this set FREE with a $50 purchase! Love, Love, Love this set!! I have been using it a lot ’cause I love it so much! If you missed my last Live you can catch it here! Also, I did a Blog post and that can be found here!

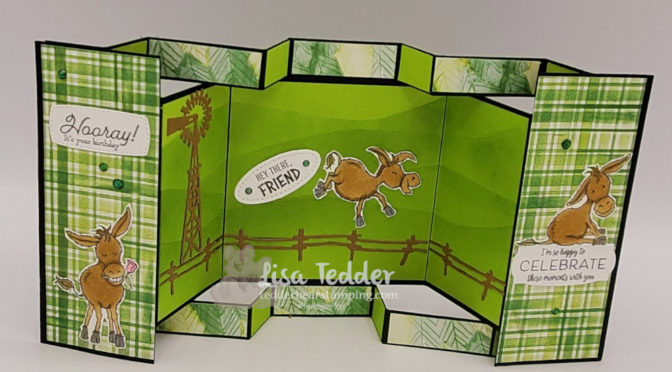
Free Donkey set Fancy Fold!

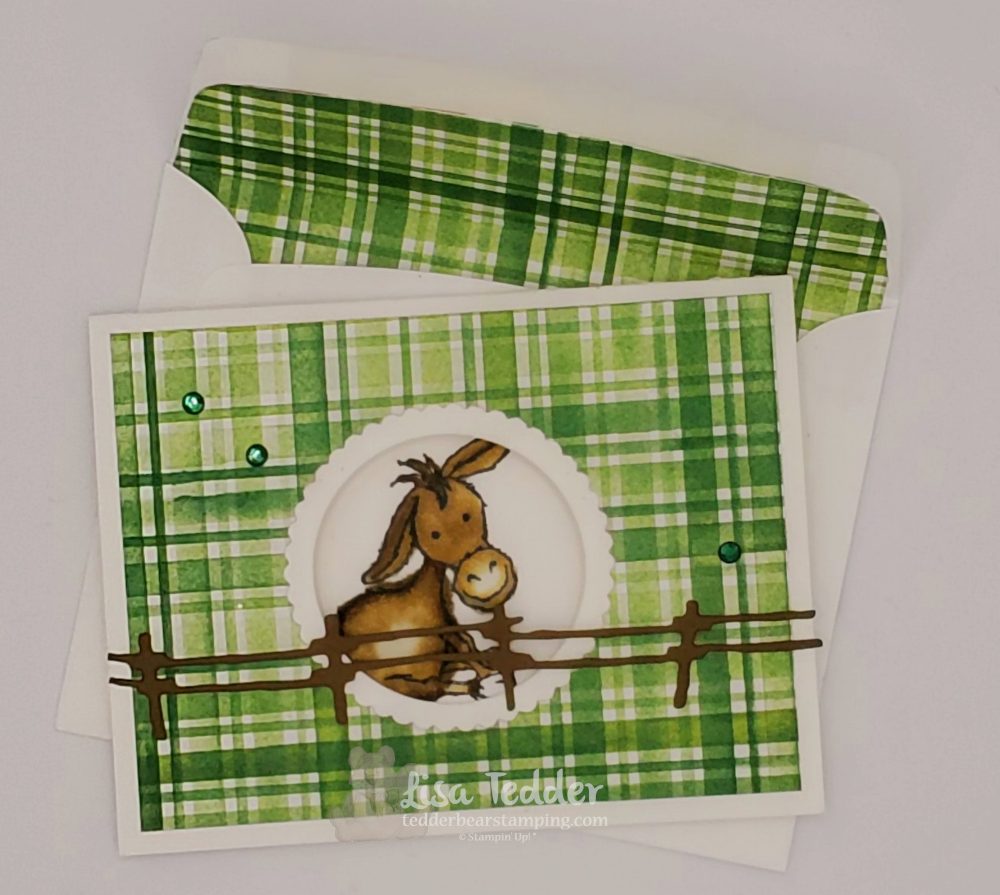
Of course I did a SECOND card for my Mini Class! And I also used the Free Donkey set!

Free Donkey stamp set on Memories & More gift card

First off, I wanted to tell you that I also used, along with the Donkey, the dies from the Bundle Ride the Range. I will be using this bundle for my next YouTube Live on Thursday January 14th! I hope you can join me. Also, I used some Free Designer Series Paper that comes in the Sale-a-Bration catalog as a bundle itself called Berry Blessings Stamp set + Berry Delightful Stamp set.

Secondly, as usual I am providing all the details needed to make BOTH projects:

  • Stamp sets:
  • Darling Donkeys
  • Many Messages
  • Inks:
  • Memento Black
  • Garden Green
  • Granny Apple Green
  • Blends:
  • Soft Suede
  • Smoky Slate
  • Color Lifter
  • Paper:
  • Basic Black: 12″ x 5 1/2″ (base), 5 1/2″ x 2 18″ (for panels) For Base you will lay it on your cutter/trimmer portrait and place the edge along the 3/4″ line and cut from the 1″ to 5″, pick up cutter and cut from 7″ to 11″, repeat for other side. Then place on trimmer Landscape and you will SCORE only on the outside edge (between the cut and edge), score on 1″, 5″, 7″ & 11″. Keep in Landscape and score ALL THE WAY across on 2″, 4″ 8″ & 10″. You will fold them on the outside edges mountain, valley, mountain valley (this is the same on both sides working towards the middle) Do both top and bottom. Inside flap gets folded mountain, valley, valley, mountain.
  • Granny Apple Green: 3 7/8″ sq. (back panel), 8″ x 3 7/8″ for middle scene, 5/8″ x 7/8″ (x8) for bottom and top small edges, 4 1/8″ x 3 1/8″ (for gift card)
  • Berry Delightful Designer Series Paper: cut 4″ x 5 3/8″ (turn and cut @ 2″ in half so they will line up), 4″ x 5 3/8″ for front panels when card is closed. 5/8″ x 1 7/8″ for adding to the tip and bottom small panels. And 4 1/4″ x 2″ for envelope flap
  • Memories & More Cards & Envelopes: I used a gift card/Envelope for small Donkey card.
  • White: 4″ x 3″ inside the Gift card
  • Misc:
  • Open Range Dies
  • Many Messages Dies
  • Layering Circle Dies
  • Stitched Shapes Dies (for sentiment donkey is kicking)
  • Holiday Rhinestones
  • Liquid Glue
  • Paper Trimmer

As you already know if you follow me and my blog, all the supplies will be listed below, click on any of the pictures and you will be taken to my OnLine Store! For any purchase of $35 or more you will receive from me the class packet for the class I am detailing today, which will include all the cardstock, die cuts (not the sentiments since that is not allowed per SU!) but I can send you the one die cut for the sentiment that the donkey is kicking since that is stamped with the stamp set and not the Many Messages. Also, you will get the Rhinestones and I will pre cut/score for the main card and die cut the circle for the gift card! The one thing I can not do is stamp anything.

BUT the great thing is it’s Sale-a-Bration now and you can get MORE than you would normally! Spend $50 and you can pick out that CUTE Darling Donkey set for FREE! This is while supplies last, so don’t wait! Furthermore, you will get the 16 project ideas in a PDF that has step by step instructions and pictures….hint, my Home decor item is what I made!! So you will have the measurements for that too!

Thank you for all your support! I so appreciate you joining me on my Live classes and for those who can’t watch live I appreciate you watching it later!

If you are in need of a catalog, let me know and I will get one right out to you!

Love ya!

Lisa Tedder
Formerly a CA girl now living in North Carolina

Product List
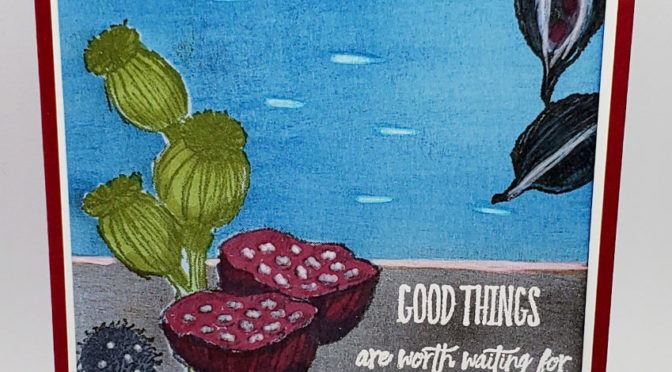
Star Wars Birthday card-Punch Art

Hey Guys!

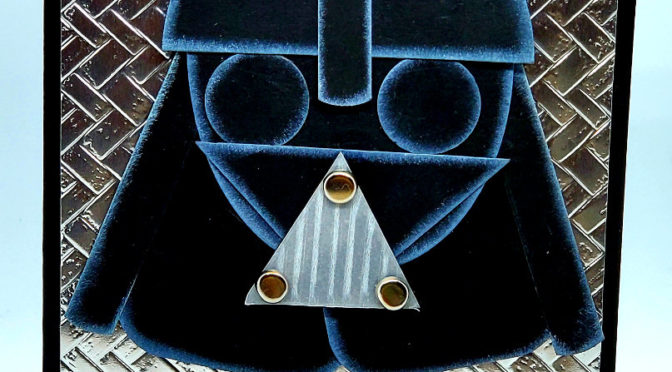
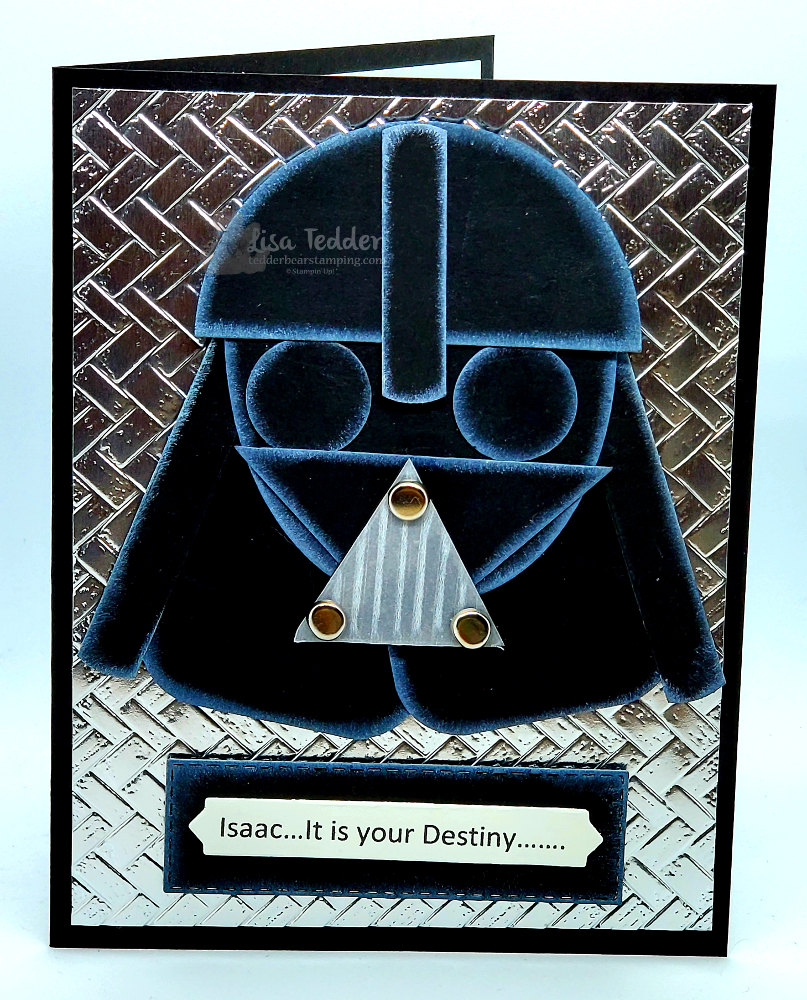
Ever year I make a Star Wars Themed Birthday card, you can see one here, here and here. So, after MUCH thought and stress……(I am NOT a Star War fan myself) this is the card I made this year:

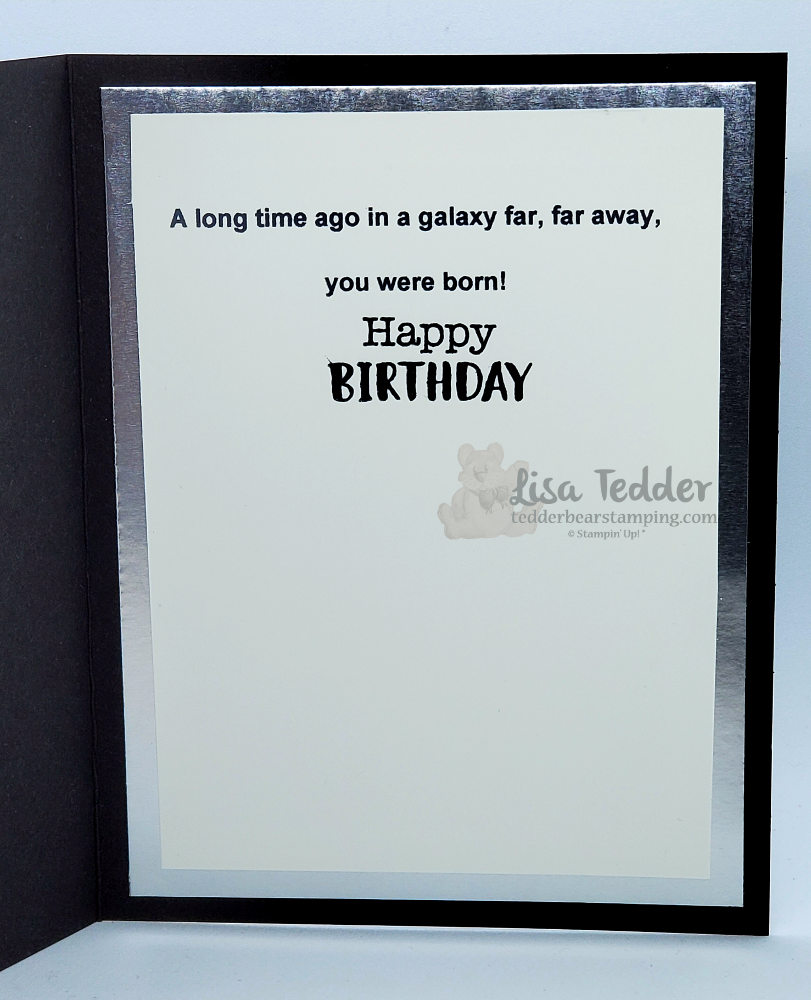
And the inside:

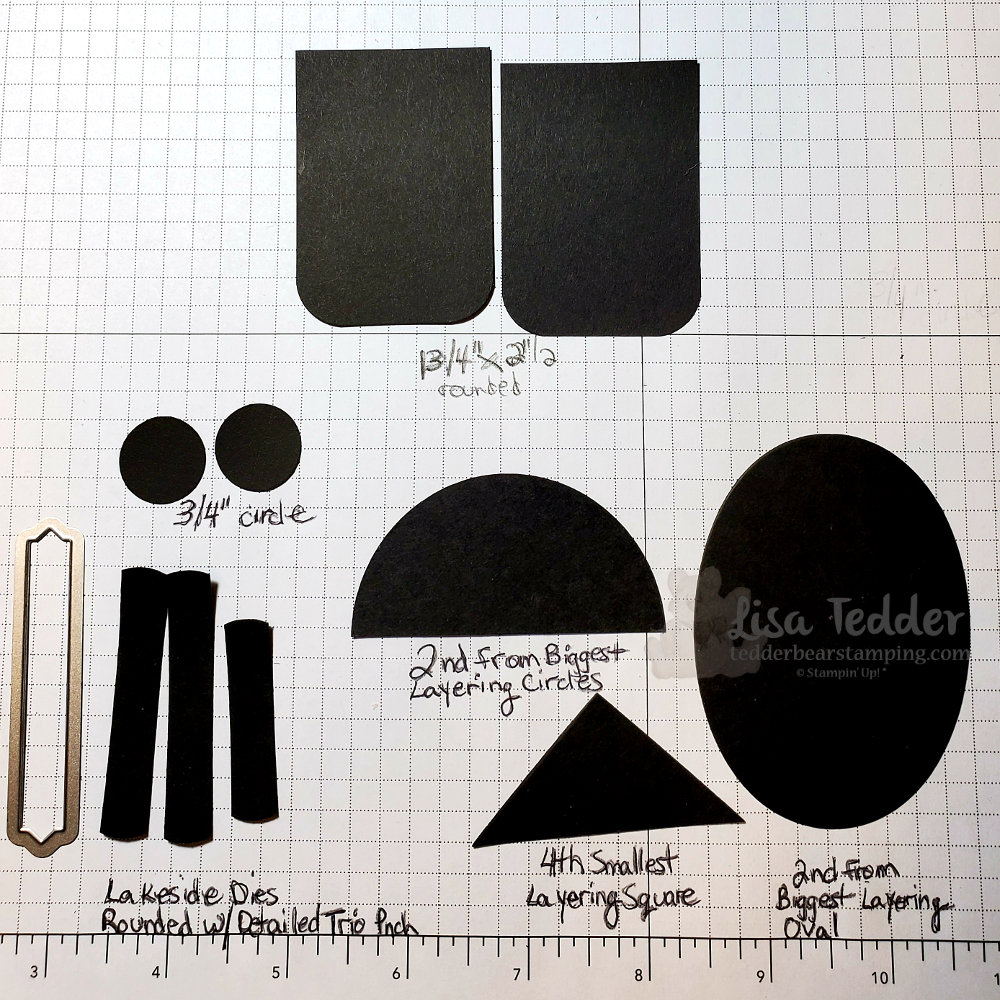
To make this card I used only current supplies from Stampin’ Up!, I took a picture of all the dies all ready to go (except for one triangle that I had to fussy cut to get it the right way).


Funny how this goes each and every year……
I think for MONTHS trying to think which Character I can make, then it gets down to the wire. So, after a lot of research, I finally pick which one I’ll do. It’s trial and error, but it ends up a labor of love. My daughter is going to frame all of them at some point, so I want them to be worthy!
Of course, when Isaac goes to open the card, he BARELY pays attention to the card at all! He is just too excited about the $5.00 I always put inside. Then, my daughter calls him back after he runs off with the cash, and makes him look at the card! hahahaha Eventually, I figure that he will appreciate the effort taken for the cards, but for now I know that MY baby girl loves them! 🙂
Any ideas for me for NEXT year? It’s never too early to start planning!

As usual, here are the specifics for this card:

Stamps:
Wiggle Worm (for Happy Birthday)

Inks:
Memento Black
White Craft

Paper:
Basic Black 8 1/2″ x 5 1/2″, scraps for all the pieces
Silver Foil 5 1/4″ x 4″, 5 1/8″ x 3 7/8″
Vellum scrap for lined piece on face (black behind it)
Whisper White scraps (I printed the sayings), 3 1/2″ x 4 3/4″

Misc:
Layering Circle Dies – 2nd from Biggest
Layering Square Dies – 4th smallest
Layering Oval Dies – 2nd from Biggest
Lakeside Dies
3/4″ circle punch
Detailed Trio Punch
Coastal Weave 3D Embossing Folder
Metallic Brads
Dimensionals
Sponges

Below you will see these same supplies in picture form, click on any of them and you will be taken to my OnLine Store. IF you purchase $35 or more from me, you will get a special treat from me!! Not only will I mail you a handmade card, BUT you will get not 1 but 2 sets of Tutorials for making over 60 cards!! Can’t beat a deal like that!! Every month is the same deal, the tutorials change every month! Here is a sneak peek of just ONE of the tutorials:

16 Tutorials!

I really hope you are staying healthy and safe! Sheltering in place is a great opportunity to get your crafting in! Also, if you want me to send you a NEW Catalog from Stampin’ Up! come June, please let me know! I would love to help you find your creative outlet!

Lisa Tedder
A California girl living in North Carolina

Product List

Happy, Happy, Happy Meer Kats!

Hey Guys!

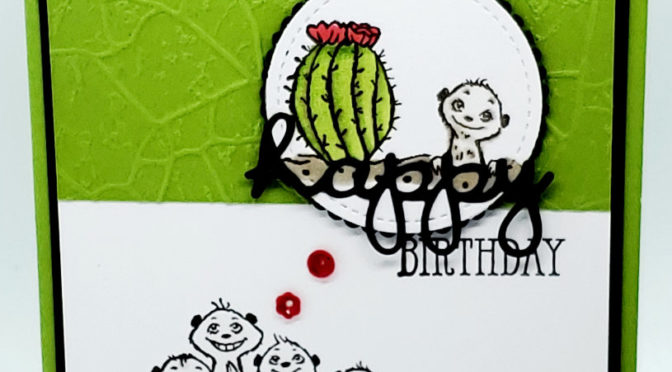
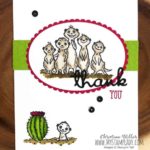
I’m sure I am not the only one who loves the Stampin’ Up! stamp set The Gang’s All Meer! This stamp set makes me smile. It’s easy to create a card using these happy little guys. Saw this card on Pinterest and decided to jump off from Christine’s card, here is her card:

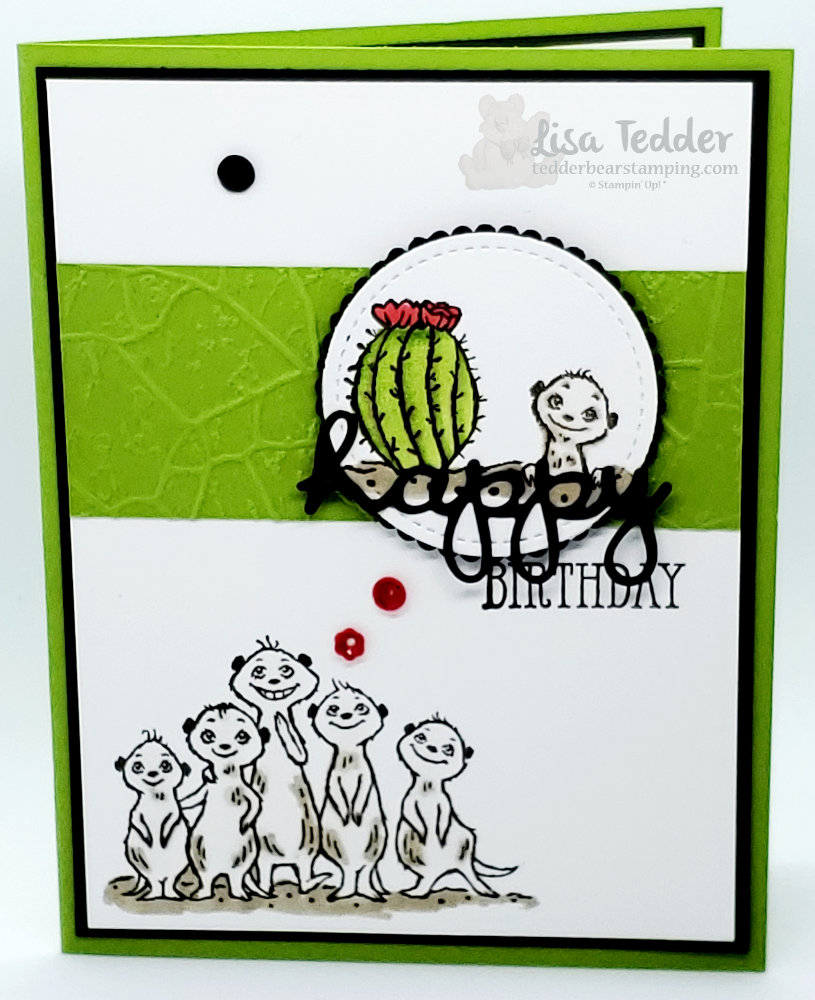
To make it mine, I decided to change it up a bit:

I love layers, almost every card I make has at least one layer, most have more! Do you find it as hard as I do to NOT have layers? Or to even make a card without doodads all over it…….that’s me in a nutshell!

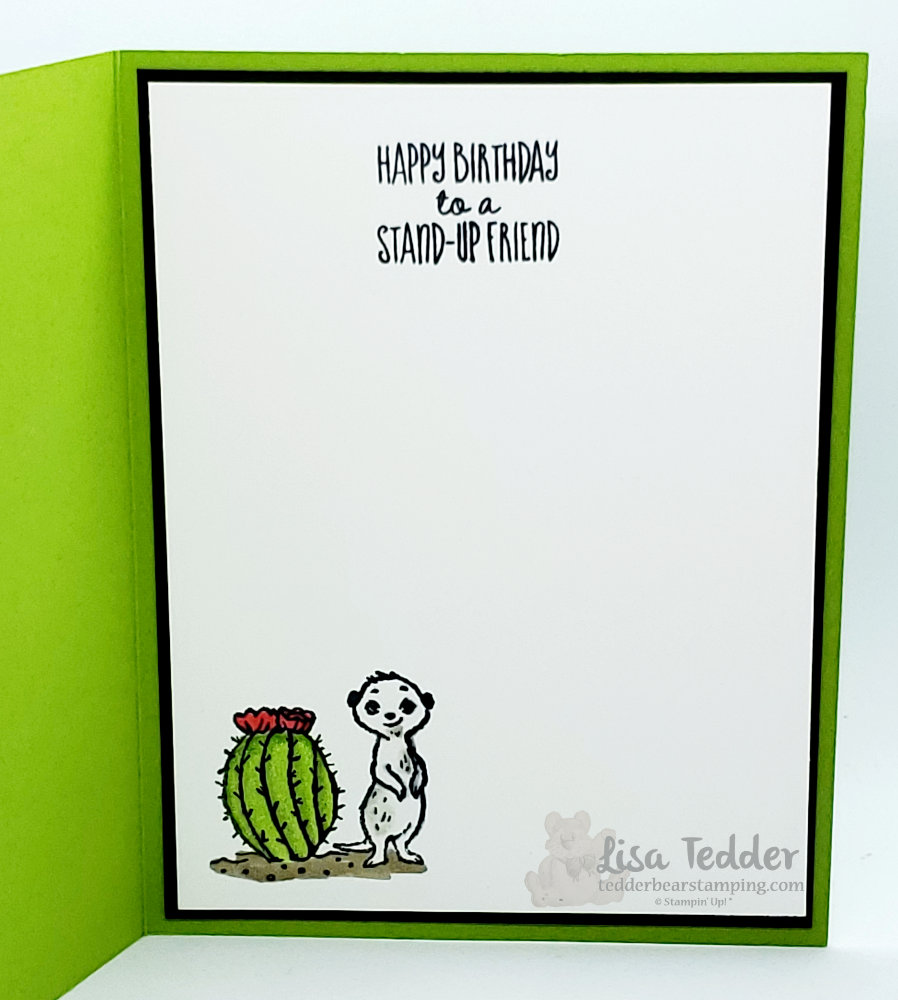
The inside of the card is super cute too!

Look at that smirk! Too cute!!

As usual, here is all the info you need for this card:

Stamps:
The Gang’s All Meer
Well Said Bundle

Inks:
Memento Black
Blends: Crumb Cake C, Poppy Parade C

Paper:
Granny Apple Green 8 1/2″ x 5 1/2″, 1 1/2″ x 4″
Basic Black 5 1/4″ x 4″ (x2), scraps
White 5 1/8″ x 3 7/8″ (x2), scraps

Misc:
Layering Circle Dies
Stitched Shapes Dies
Peaceful Poppies Sequins
Liquid Glue
Stone 3D folder

Below all of these supplies are in picture form, click on any of them to be taken to my OnLine Store. Any purchase you make of $35 or more you will receive from me a file FULL of over 50 tutorials for projects, with pictures! I would love to be your SU! Demo, if there is anything I can do for you, please let me know!

Lisa Tedder
A California girl living in North Carolina

Product List