Tag Archives: Holiday Rhinestone Basic Jewels

Punch Art using Pansy Patch

Hey guys!,

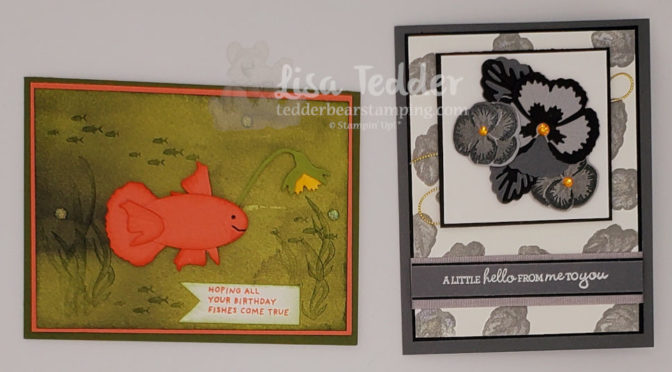
The NEW catalog is almost LIVE, today I am sharing with you Punch Art using Pansy Patch! Plus another pretty card! Above all, I love when I see a stamp set/Die and something pops out at me that isn’t the norm. Hence, I saw the dies first and immediately saw fish fins and then I saw the Lure Fish tentacle. Of course I had to make it! Conversely, I had no idea if it would work out, but I’m so pleased it did! Here is that card:
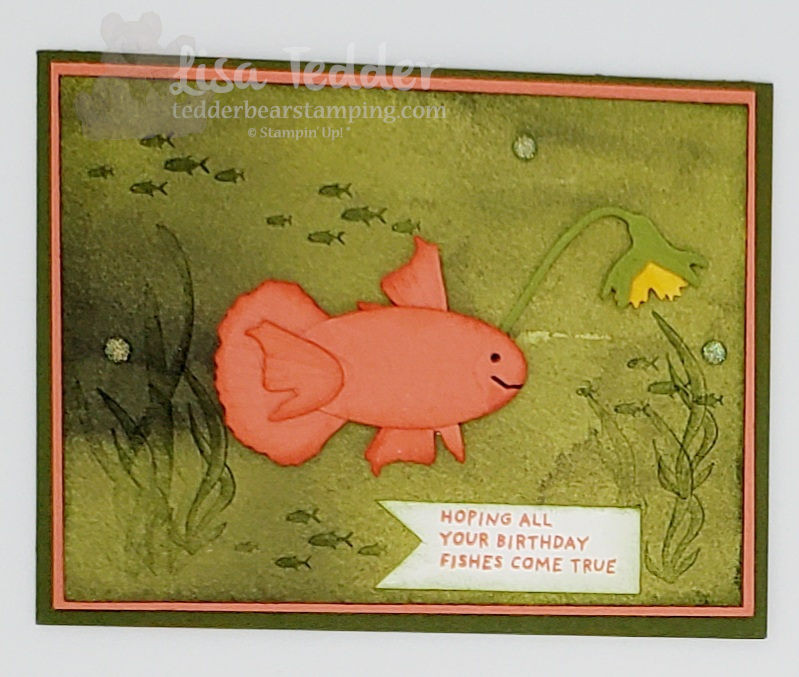
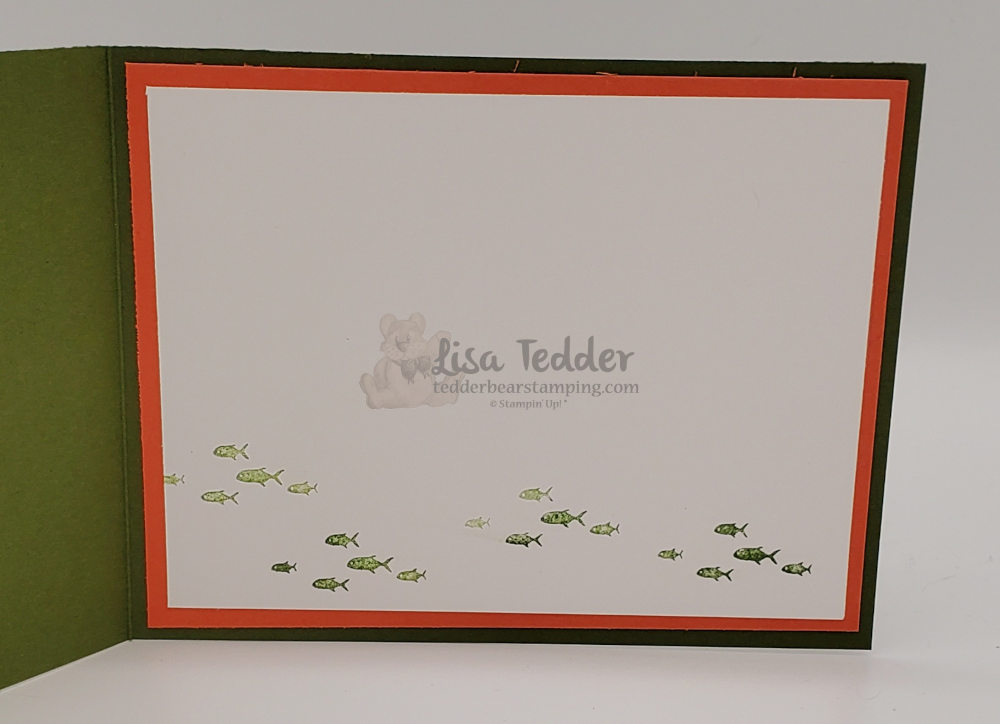
Punch art using Pansy Patch

So, that was the first card that I did in my Live YouTube today, if you missed it you can watch it here! As a result of doing these Lives every Thursday at 4:00 (eastern), I have had so much fun sharing with you the cards I make, especially the Punch art using Pansy Patch!

Next, I am sharing with you the 2nd card I made with my Live! In this case, I used the stamp set as it was designed and made a gorgeous monochromatic card with just a tiny splash of color! Here it is:
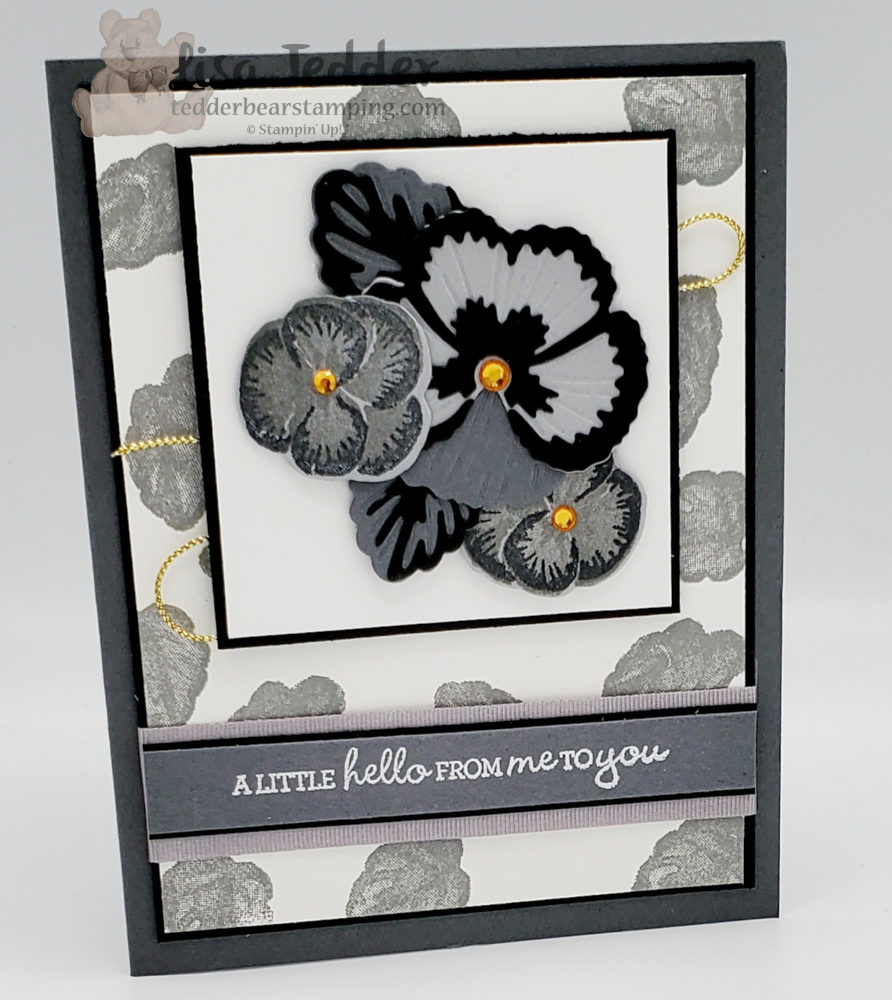
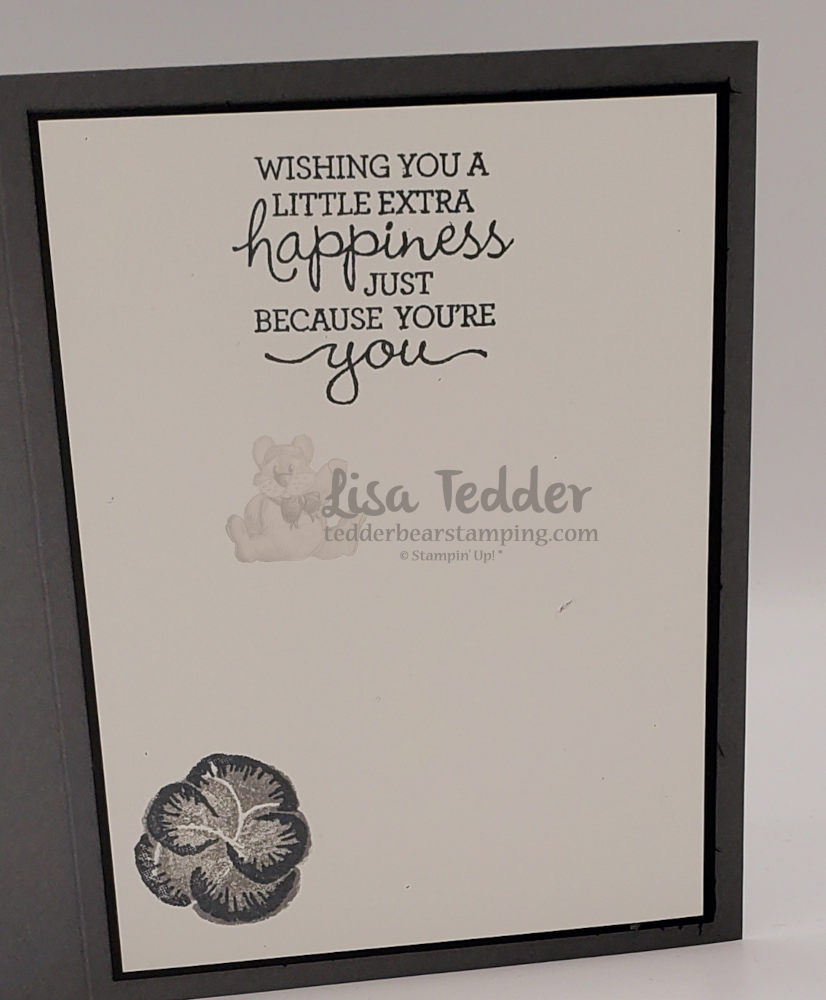
Inside

As always, here is the list of the dimensions and supplies used for both of my cards:

  • Stamp sets:
  • Pansy Patch Bundle
  • Whale Done
  • Inks:
  • Basic Gray
  • Memento Black
  • Versamark
  • Calypso Coral
  • Mossy Meadow
  • Paper:
  • Card 1:
  • Mossy Meadow 4 1/4″ x 11″
  • Calypso Coral 4″ x 5 1/4″ (x2), scraps for ‘fish’
  • Beauty of the Earth Designer Series Paper (3 3/4″ x 5″)
  • Basic White 3 3/4″ x 5″, scrap for sentiment
  • Old Olive scrap for Lure
  • Daffodil Delight scrap for Lure
  • Card 2:
  • Basic Gray 5 1/2″ x 8 1/2″, 1/2″ x 3 7/8″, scraps for flowers
  • Basic Black 3 7/8″ x 5 1/8″ (x2), 2 7/8″ sq., 5/8″ x 3 7/8″, scraps for flowers
  • Smoky Slate scraps for flowers
  • Basic White 3 3/4″ x 5″ (x2), 2 3/4″ sq.
  • Misc:
  • Simply Elegant Trim
  • Holiday Rhinestones
  • Dimensionals
  • White Embossing Powder
  • Heat tool
  • Smoky Slate 7/8″ ribbon

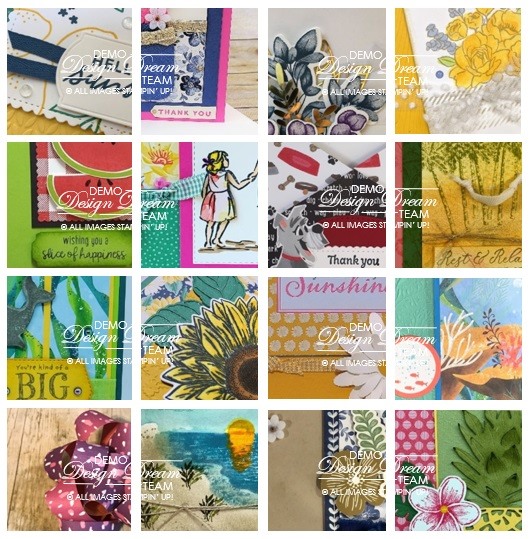
Lastly, I want to let you know that if you purchase a Qualifying order of $35 or more you will get the card packet for this class (as long as you order before Wednesday May 5th). Otherwise you will get the latest class I did! Also, if you put in a qualifying order you will get a pdf of 16 projects where each project has pictures and step by step instructions. For Example, here is a snippet of what you will get:
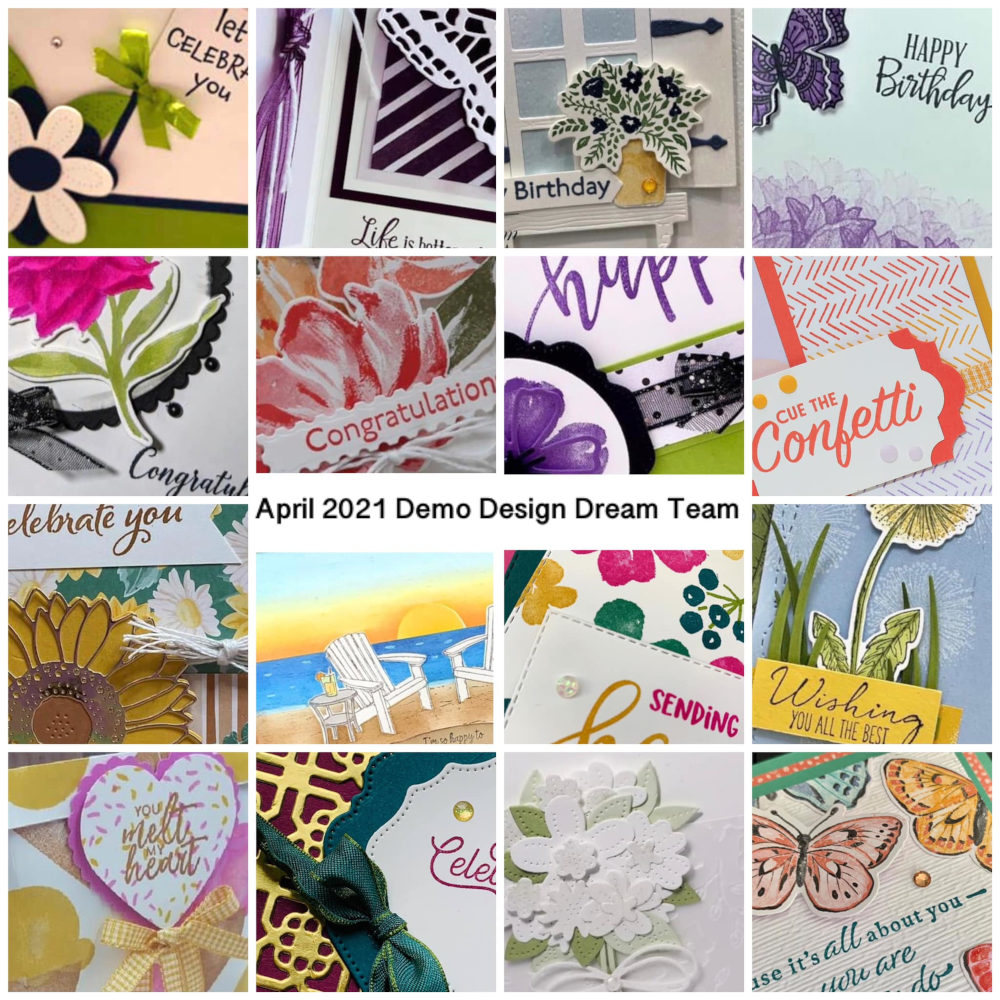
Month of April Qualifying orders will get all these!

Above all I want you to join the Besties Club where we meet each month and have fun making 6 projects made by Me and my Besties Carol Hickman (Arizona) and Hetty Jones (Canada), yes….we are International! You can check out all the specifics here! You will love being a Bestie!

Thank you for stopping by! I appreciate that you support me and my small business. Stop by next week to see what my YouTube video project is!

Lisa Tedder
A former California girl living in North Carolina

Product List

Donkey Fancy Fold

Hey Guys!

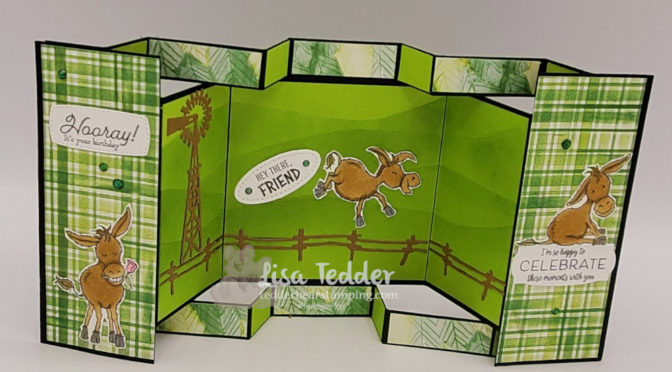
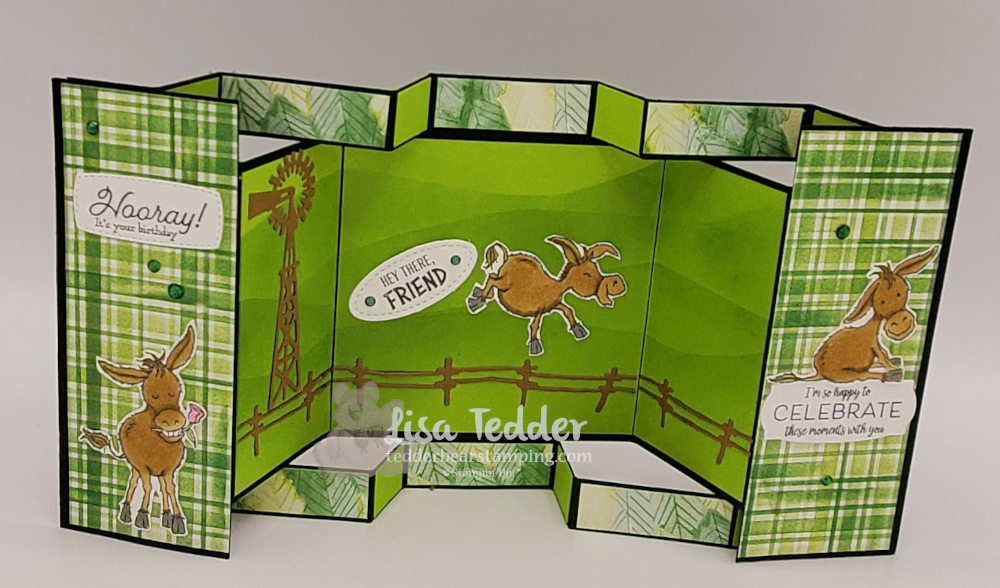
Yesterday I posted a Live YouTube video doing a Fancy Fold using the Darling Donkey stamp set! You can get this set FREE with a $50 purchase! Love, Love, Love this set!! I have been using it a lot ’cause I love it so much! If you missed my last Live you can catch it here! Also, I did a Blog post and that can be found here!

Free Donkey set Fancy Fold!

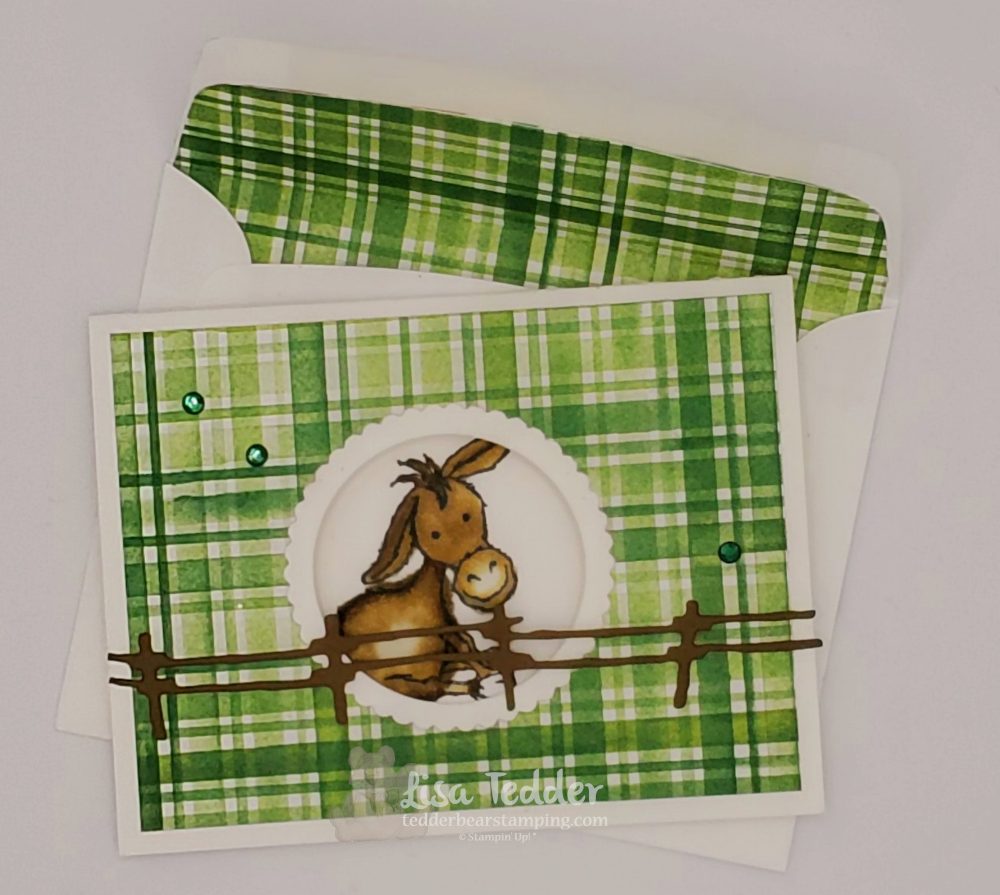
Of course I did a SECOND card for my Mini Class! And I also used the Free Donkey set!

Free Donkey stamp set on Memories & More gift card

First off, I wanted to tell you that I also used, along with the Donkey, the dies from the Bundle Ride the Range. I will be using this bundle for my next YouTube Live on Thursday January 14th! I hope you can join me. Also, I used some Free Designer Series Paper that comes in the Sale-a-Bration catalog as a bundle itself called Berry Blessings Stamp set + Berry Delightful Stamp set.

Secondly, as usual I am providing all the details needed to make BOTH projects:

  • Stamp sets:
  • Darling Donkeys
  • Many Messages
  • Inks:
  • Memento Black
  • Garden Green
  • Granny Apple Green
  • Blends:
  • Soft Suede
  • Smoky Slate
  • Color Lifter
  • Paper:
  • Basic Black: 12″ x 5 1/2″ (base), 5 1/2″ x 2 18″ (for panels) For Base you will lay it on your cutter/trimmer portrait and place the edge along the 3/4″ line and cut from the 1″ to 5″, pick up cutter and cut from 7″ to 11″, repeat for other side. Then place on trimmer Landscape and you will SCORE only on the outside edge (between the cut and edge), score on 1″, 5″, 7″ & 11″. Keep in Landscape and score ALL THE WAY across on 2″, 4″ 8″ & 10″. You will fold them on the outside edges mountain, valley, mountain valley (this is the same on both sides working towards the middle) Do both top and bottom. Inside flap gets folded mountain, valley, valley, mountain.
  • Granny Apple Green: 3 7/8″ sq. (back panel), 8″ x 3 7/8″ for middle scene, 5/8″ x 7/8″ (x8) for bottom and top small edges, 4 1/8″ x 3 1/8″ (for gift card)
  • Berry Delightful Designer Series Paper: cut 4″ x 5 3/8″ (turn and cut @ 2″ in half so they will line up), 4″ x 5 3/8″ for front panels when card is closed. 5/8″ x 1 7/8″ for adding to the tip and bottom small panels. And 4 1/4″ x 2″ for envelope flap
  • Memories & More Cards & Envelopes: I used a gift card/Envelope for small Donkey card.
  • White: 4″ x 3″ inside the Gift card
  • Misc:
  • Open Range Dies
  • Many Messages Dies
  • Layering Circle Dies
  • Stitched Shapes Dies (for sentiment donkey is kicking)
  • Holiday Rhinestones
  • Liquid Glue
  • Paper Trimmer

As you already know if you follow me and my blog, all the supplies will be listed below, click on any of the pictures and you will be taken to my OnLine Store! For any purchase of $35 or more you will receive from me the class packet for the class I am detailing today, which will include all the cardstock, die cuts (not the sentiments since that is not allowed per SU!) but I can send you the one die cut for the sentiment that the donkey is kicking since that is stamped with the stamp set and not the Many Messages. Also, you will get the Rhinestones and I will pre cut/score for the main card and die cut the circle for the gift card! The one thing I can not do is stamp anything.

BUT the great thing is it’s Sale-a-Bration now and you can get MORE than you would normally! Spend $50 and you can pick out that CUTE Darling Donkey set for FREE! This is while supplies last, so don’t wait! Furthermore, you will get the 16 project ideas in a PDF that has step by step instructions and pictures….hint, my Home decor item is what I made!! So you will have the measurements for that too!

Thank you for all your support! I so appreciate you joining me on my Live classes and for those who can’t watch live I appreciate you watching it later!

If you are in need of a catalog, let me know and I will get one right out to you!

Love ya!

Lisa Tedder
Formerly a CA girl now living in North Carolina

Product List
Check out my FIRST Slim Line Card!

Hey Guys,

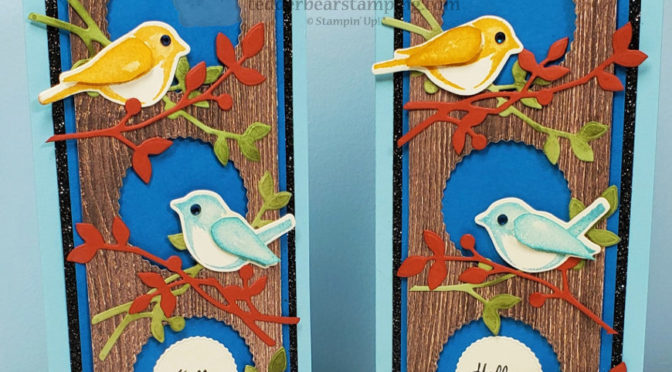
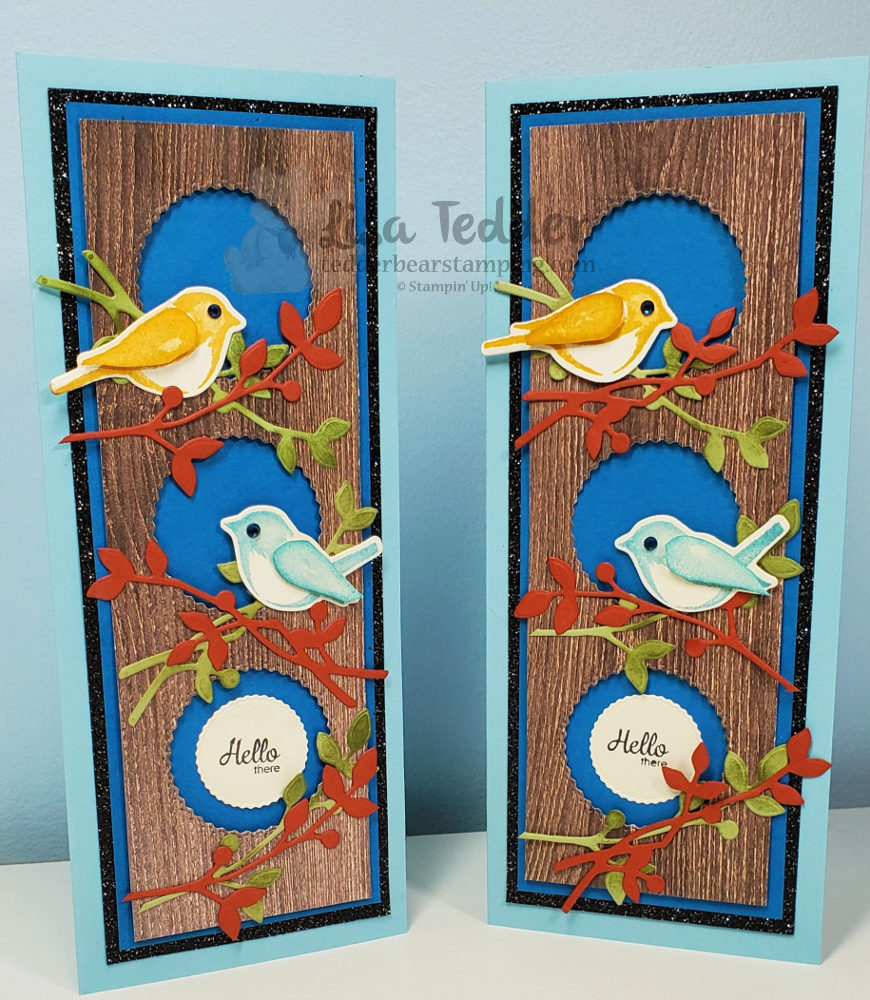
Today, I am sharing with you a Slim Line card I made using the Birds & Branches bundle! Oh my goodness, why haven’t I done one of these before!? First off, go see my video, I’m super proud of how this card came out!

Before we go further, let’s take a look:

My first slim line card!

Of course, I had to make if look like Fall so the leaves have both green and Cajun Craze. In addition, I used the Black Glitter paper from the Holiday mini, and wow that sure adds to the beauty of this slim line card! So, how did I do with my FIRST Slim Line Card using the Birds & Branches bundle?!

As always here are the specifics for this card:

  • Stamps:
  • Birds & Branches Bundle
  • Here’s a Card
  • Inks:
  • Bumble Bee
  • Balmy Blue
  • Memento black
  • Garden Green
  • Cajun Craze
  • Paper:
  • Balmy Blue 8 1/2″ x 7″ scored @ 3 1/2″
  • Basic Black 8″ x 3″
  • Black Glitter paper 8″ x 3″
  • Pacific Point 7 3/4″ x 2 3/4″ (x2)
  • Very Vanilla 7 1/2″ x 2 1/2″, scraps for birds and sentiment
  • In Good Taste DSP 7 1/2″ x 2 1/2″
  • Cajun Craze scrap for stem
  • Pear Pizzazz scrap for stem
  • Misc:
  • Dimensionals
  • Stampin’ Seal +
  • MultiPurpose Liquid Glue
  • Tasteful Labels Dies
  • Stampin’ Cut & Emboss Machine
  • Magnetic Plate

In addition to telling you about all the supplies, I also want to share with you that I am doing YouTube Lives every Thursday at 4:00 pm Eastern time! Of course, I want you to come and support me! Consequently, for every order that is $35 or above you will receive from me the ‘fixin’s’ for that weeks Live! PLUS, you’ll get the PDF of 16 other projects with pictures and step by step instructions……ALL for your ONE $35 purchase! Here is a sneak peek of what you’ll get in the PDF:

Sneak Peek for any order of $35

In conclusion, I want to thank you so much for supporting me by coming here! I appreciate you! Please come back next week and see what I have for you! Also, be sure to catch my YouTube Live tomorrow at 4:00 eastern!

Lisa Tedder
A California girl living in North Carolina

Product List

I made my own Fall Ink Pad, you can too!

Hey Guys!

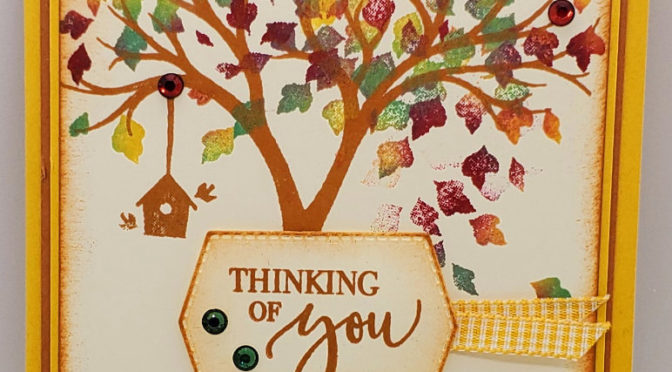
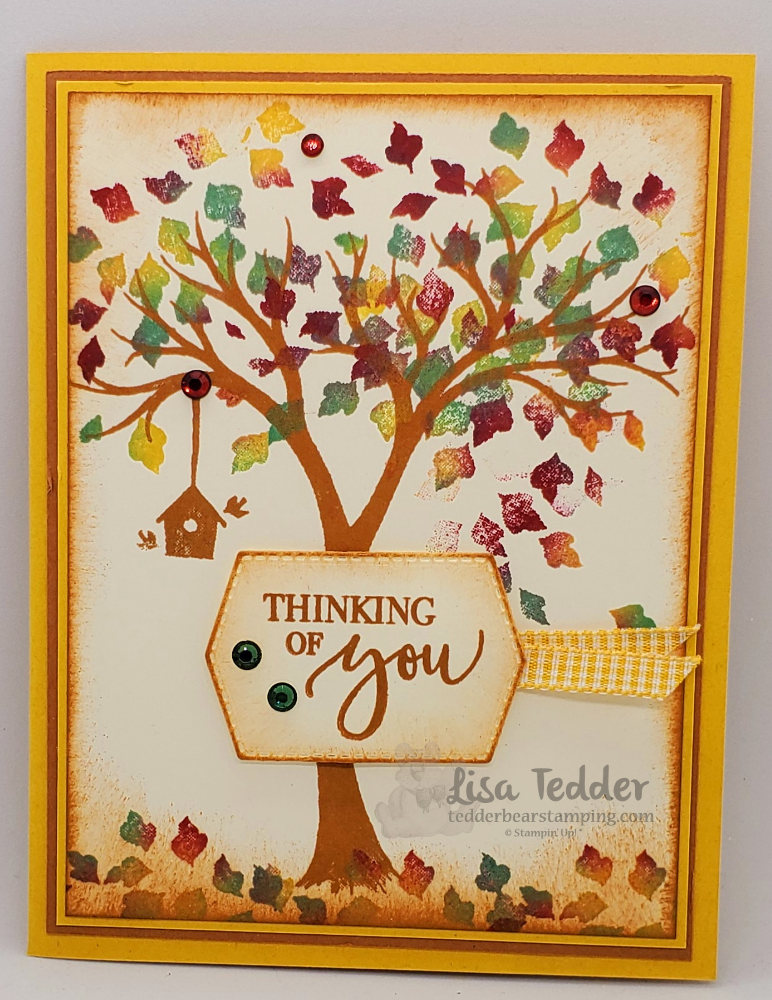
Today I am going to show you how I made my own Fall ink pad so that leaves on my tree look natural, when I am done you’ll be able to also!! Of course, I made a video you can go here if you would like to SEE how I made it! Naturally, I tend to look at pictures and if I have questions a video helps me out a lot. As an example, here is a picture of my card:

See how the leaves are THREE different colors! That’s my own Fall ink pad!
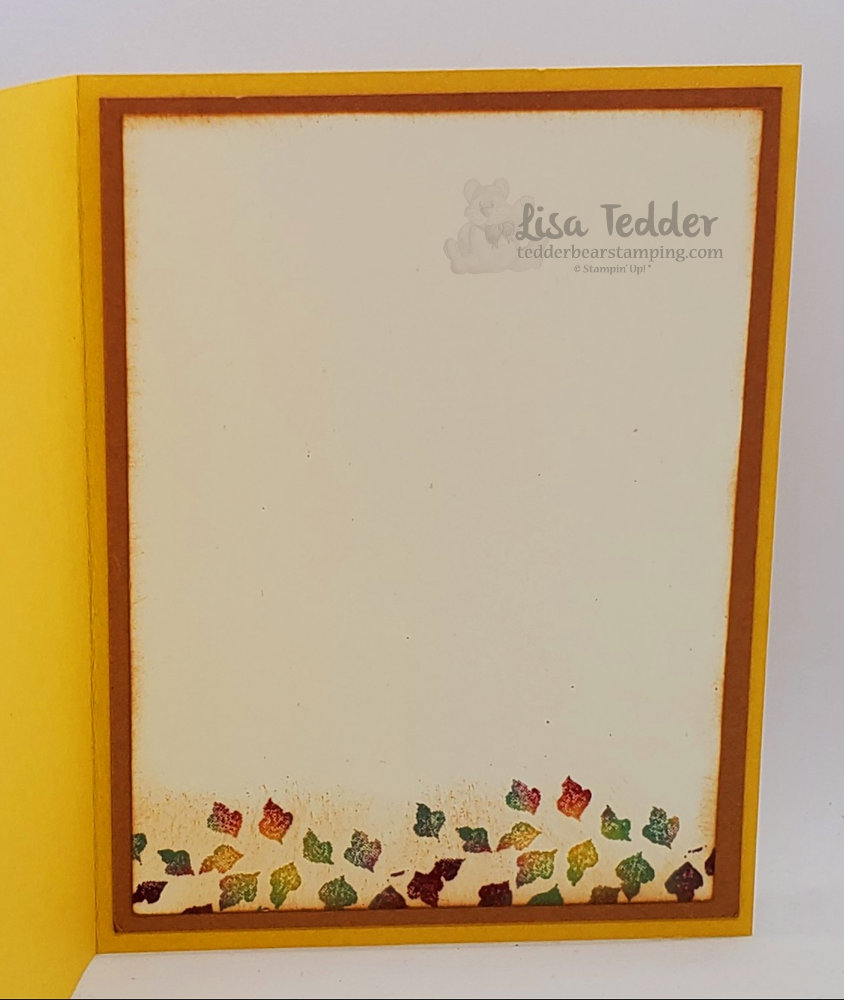
My own Fall ink pad was used for the inside too!

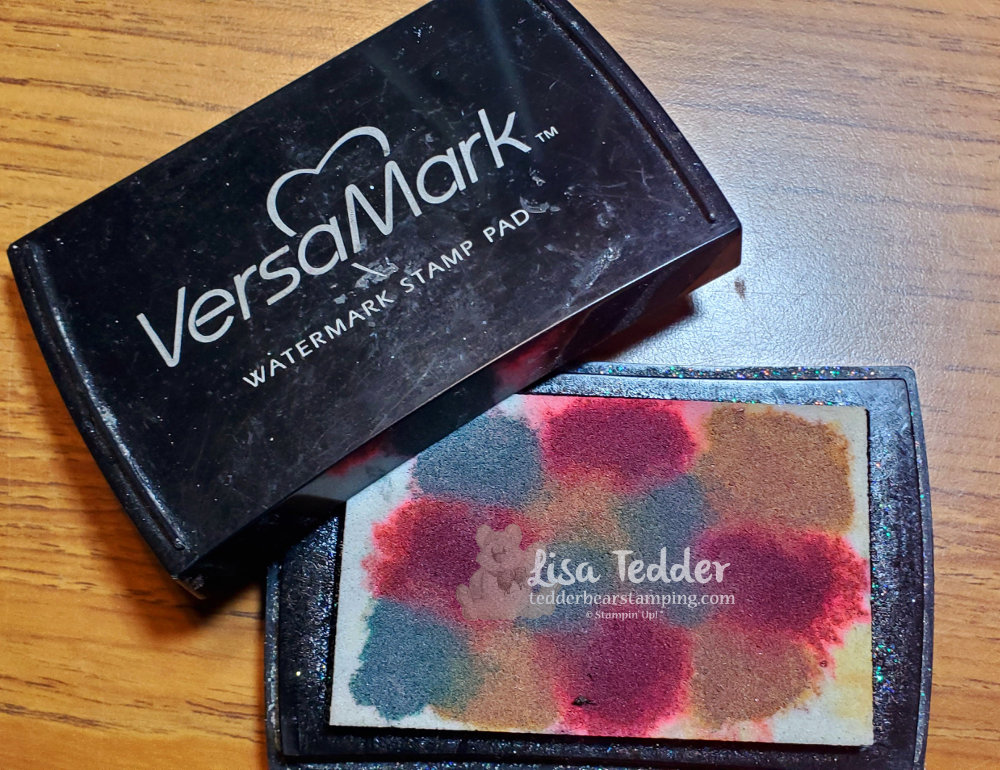
So, how did I make my fall ink pad? To begin with I had a dirty, yucky Versamark pad that I never used and thought of chucking it in the trash……but no, I could make my own Fall ink pad so my tree will look gorgeous AND match the colors I was using for this card!

My own Fall ink pad made from an OLD Versamark pad!

Since I wanted the colors to match my card I used Bumble Bee, Cherry Cobbler and for the green I went with Just Jade. Already I knew that I wanted to use the Holiday Rhinestones and those used Cherry Cobbler for the red, and a yellow that looked a lot like Bumble Bee but the green was Shaded Spruce so I went with a lighter shade of color and used Just Jade instead. It’s funny how I go about figuring out which colors I use in my crafting, this time it was all about the Rhinestones……gotta have that BLING!

For a different fall project that I made a few years ago, click here!

As always here are the specifics for this card:
Stamps:
Life is Beautiful
Inks:
Bumble Bee
Cinnamon Cider
Cherry Cobbler re-inker
Just Jade re-inker
Bumble Bee re-inker
OLD Versamark pad (you can use new!)
Paper:
Bumble Bee 8 1/2″ x 5 1/2″ (scored at 4 1/4″), 3 7/8″ x 5 1/8″
Cinnamon Cider 5 1/4″ x 4″ (x2)
Very Vanilla 5″ x 3 3/4″ (x2), scrap for sentiment
Misc:
Holiday Rhinestones
Stamping Sponges
Dimensionals
Tasteful Labels Dies
Bumble Bee Gingham ribbon

As you know, all the supplies will be listed below in picture form. Consequently if you click on any of them you will be taken to my OnLine Store, for every purchase at or above $35 you will get from me 16 projects in a pdf with pictures and step by step instructions!

Sneak Peek for projects you will get in your pdf!

To summarize, I am a ‘give the facts and be done’ kind of girl, so I will let you go for now, check back in next week for a new card/video! If you want to know when I post, subscribe and you can also receive a Newsletter from me by subscribing to that too! Thanks for stopping by and supporting me!

Lisa Tedder
A California girl living in North Carolina

Product List

Just Breathe

Hey Guys!

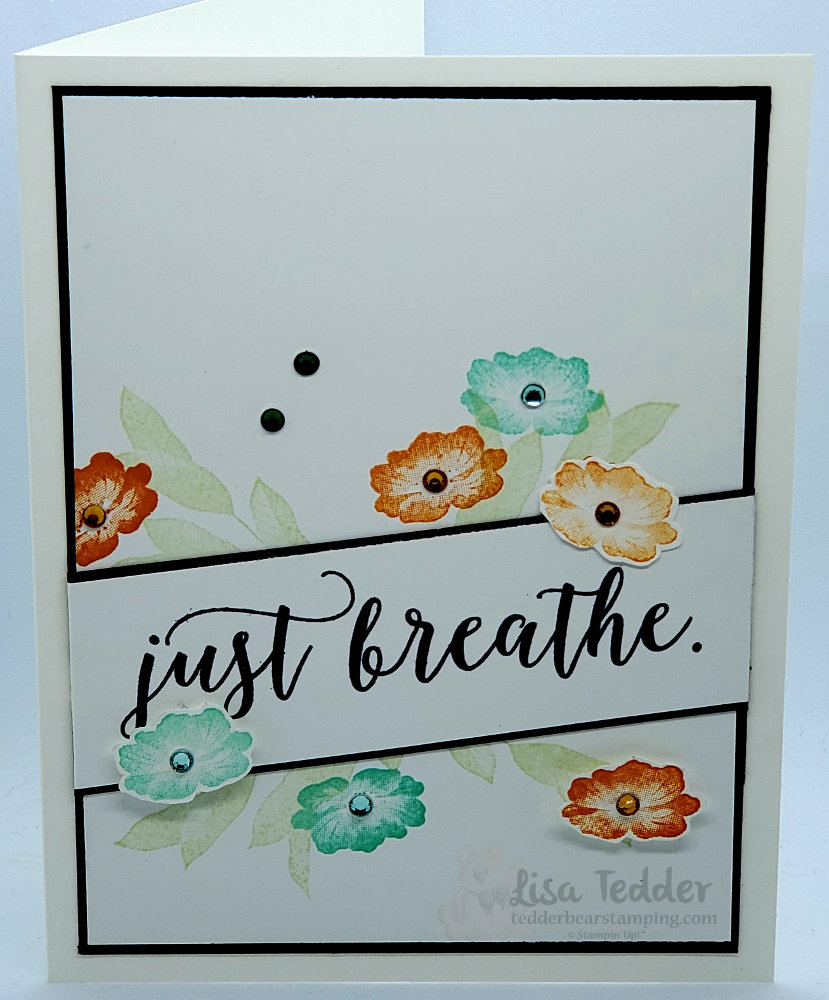
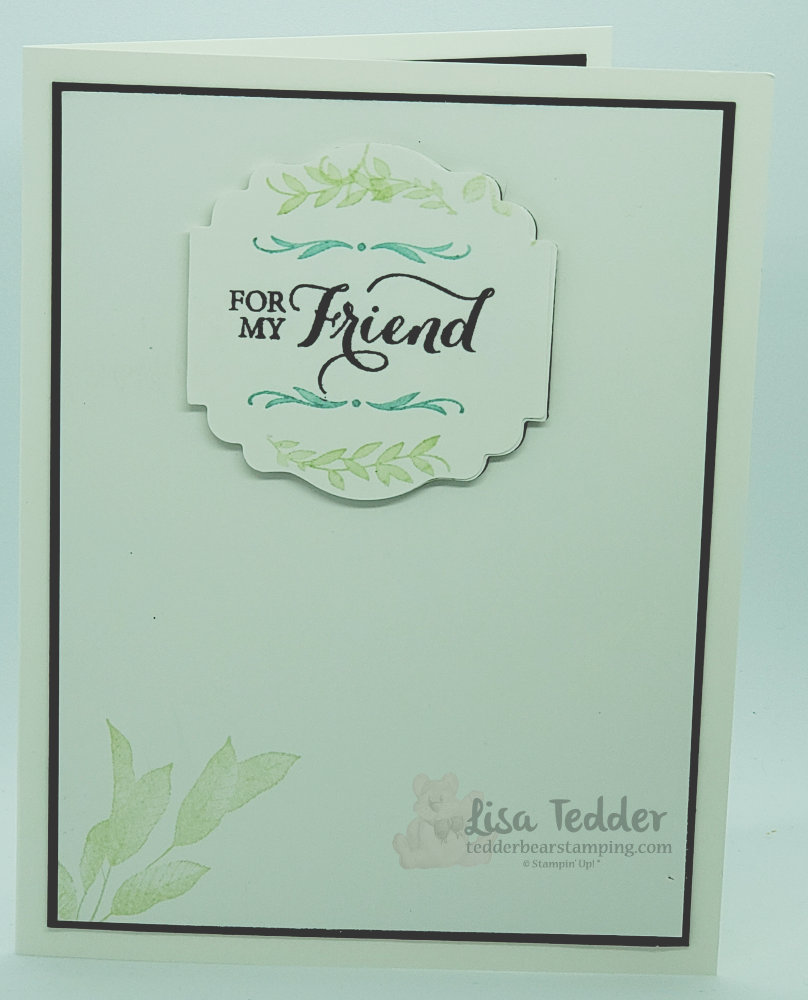
Today I’m sharing with you a card that was inspired by one I saw on Pinterest (it was a rival stamp company), I thought that Stampin’ Up! Stamps would be GORgeous! I used Layered with Kindness, it is a DISTinkTive set! Do you know what that means? SU! has a patent pending for a VERY beautiful way to make stamps look realistic! LOVE them!

These leaves are stunning!

Every time I stamp with a DISTinkTive stamp set I am in awe. You’ll have to tell me if you have used them, what you think. If you want to check them out, go ahead and place an order… look for this sign:


Would you like to see the inside of the card? I used the Label Me Lovely punch. It turned out so pretty!

As usual, I give you all the particulars for this card. All supplies will be in picture form below, click on any of them and you will be taken to my OnLine Store. For purchases $35 and over you will receive from me Tutorials with pictures of over 50 projects!

Stamps:
Layered with Kindness
Colorful Seasons

Inks:
Pumpkin Pie
Calypso Coral
Memento Black
Pear Pizzazz

Paper:
Whisper White thick 8 1/2″ x 5 1/2″
Whisper White 5″ x 3 3/4″ (x2), 1 1/4″ x 4 1/4″ (cut at an angle), scrap for cut out flowers
Basic Black 1 3/8″ x 4 1/4″, 5 1/8″ x 3 7/8″ (x2)

Misc:
Holiday Rhinestones
Mini Dimensionals
Label Me Lovely Punch

This card was pretty easy, a little bit of fussy cutting but you only cut out three flowers, that’s doable! Of course if you know me, you know I love bling…..I added a rhinestone to each flower and two at the top to add a little bit of bling on it’s own. I think if balances it out!

Thank you for checking out my blog, please come back again!

Lisa Tedder
A California Girl living in North Carolina

Product List

Sneak Peek: Parisian Beauty Bundle

Hey Guys!

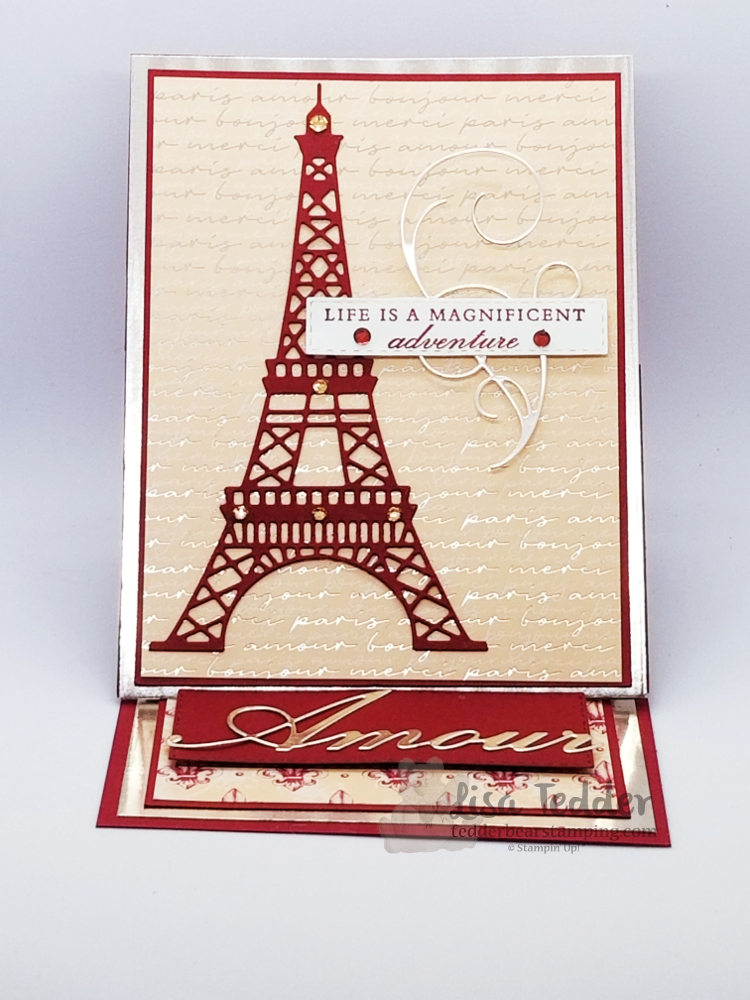
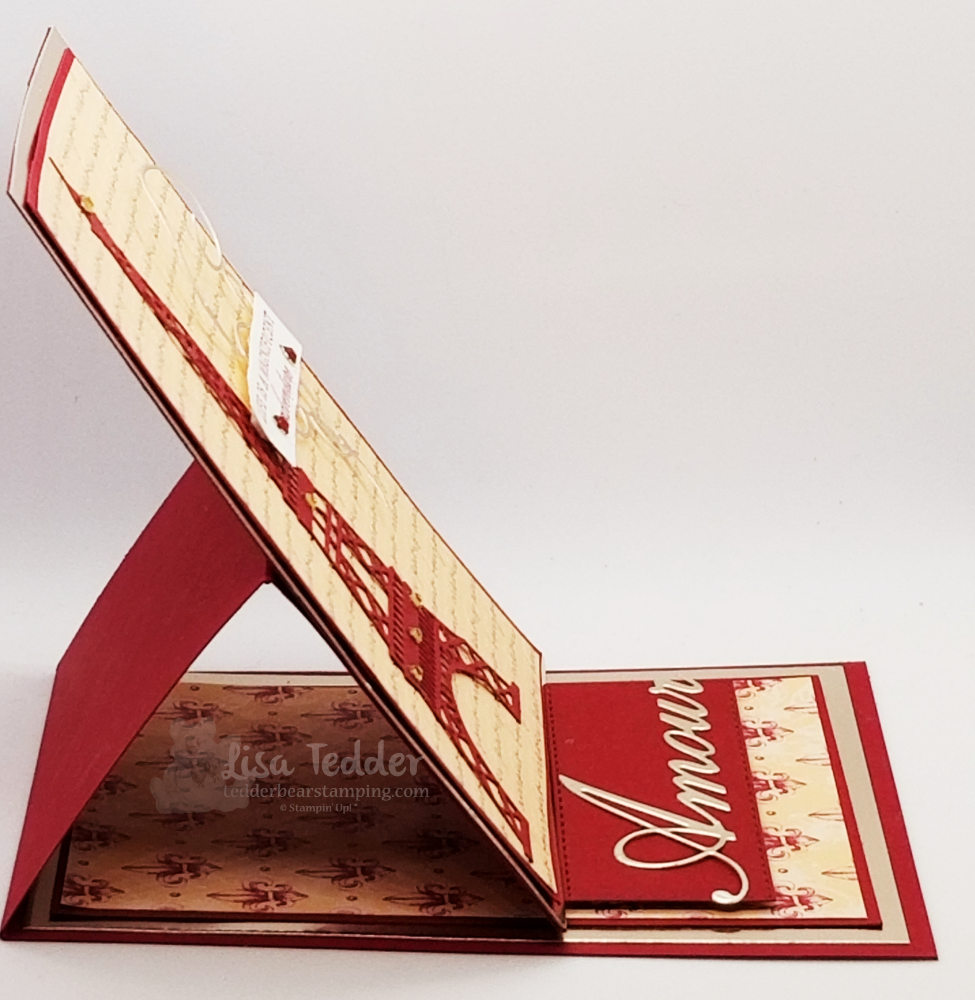
It’s been a while, but I figured for my New Year’s Resolution I would TRY to post more! Here on my Blog, Pinterest and Instagram. Look at me! Here it is a DAY early! LOL Today I thought I would start by posting one of my FAVORITE stamp sets that Stampin’ Up! has brought to us in the NEW Occasions Catalog! The name of this set is Parisian Beauty which you probably already know since that is what I named this post.
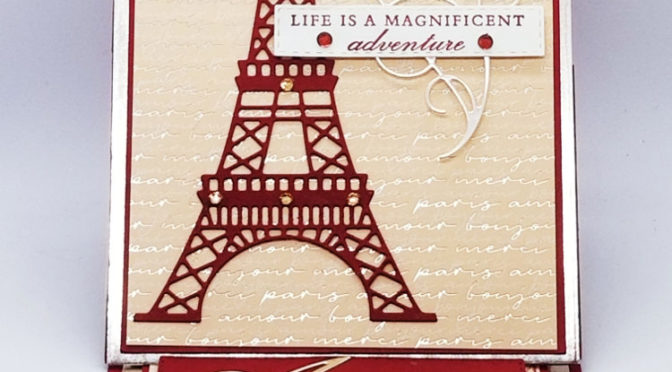
And, don’t you love cards that you can interact with? This one, once it’s open can stay open and let the person you give it to enjoy it more. I used the Parisian Blossoms Specialty DSP for the front AND the inside. This Specialty paper has places that are embossed with Champagne, which makes this sooooo pretty to look at! When you add the Dies to the paper, you can’t make a mistake! If you look close, you can see that I used Champagne Rhinestones on the Tower, Champagne Foil behind the main images and it’s what I used for the Amour! I popped up the Amour so it would hold up the front of the card. Well, do you like it? Anything I should add or take away?

Here are the specifics to this card:

Stamps:
Parisian Beauty #151466 OR the Bundle #153778

Inks:
Cherry Cobbler

Cardstock:
Cherry Cobbler 4 1/4″ x 11 (scored @ 5 1/2″ & 8 1/4″, 5 1/2″ x 4 1/4″ (for back of front piece), 5 1/4″ x 4″ (under the front DSP), 3 5/8″ x 4 7/8″ ( for under inside DSP), scrap for piece cut out of Stitched Rectangle Die (3rd from smallest of longer rectangles), and scrap for Eiffel Tower.
Champagne Foil 5 1/2″ x 4 1/4″ for front piece, 5 1/4″ x 4″ for inside, scrap for Amour and Swirl cut out.
Parisian Blossom DSP 5 1/8″ x 3 /8″ (for front), 4 3/4″ x 3 1/2″ (for inside
Whisper White small scrap for front sentiment

Misc:
Champagne Rhinestones #151193
Dimensionals #104430
Holiday Rhinestones #150457

I would like to do a video for this card but what do you think? Too easy and doesn’t need one or you’d like to see it from start to finish!? I KNOW that there will be plenty more cards to come from this set, PLUS my hubby is taking me to Europe for my 60th birthday! That’s in a year and a half! This set will come in handy for scrapbooking my adventure!

Hope you enjoyed this post, please check out my youtube channel and subscribe so I will know if you want to see more from me!

Hope you had a Great Christmas and here’s to a Happy New Year!

Lisa Tedder
A California girl living in North Carolina

Product List