Tag Archives: happiness

NEW Technique: Spot On!

Hey Guys!

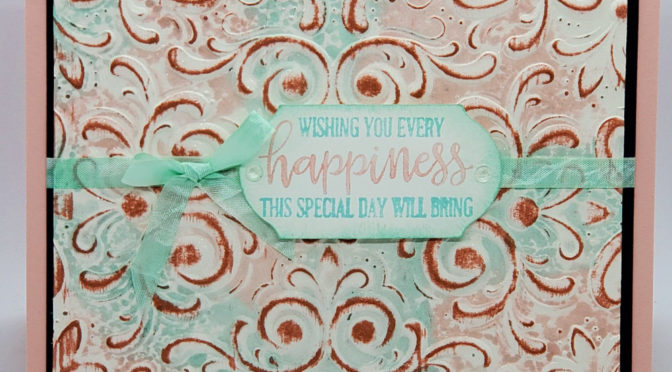
Today I am sharing with you a New technique that I discovered that I am calling Spot On! Have you ever wondered what, if anything you should do with your Stampin’ Spots other than take them on the road? This technique is for you! It’s really easy and really packs a punch (which is why I love it!) Want to see it?

Rub the stampin’ spots onto the Folder spritz and that’s why I called this technique Spot On!

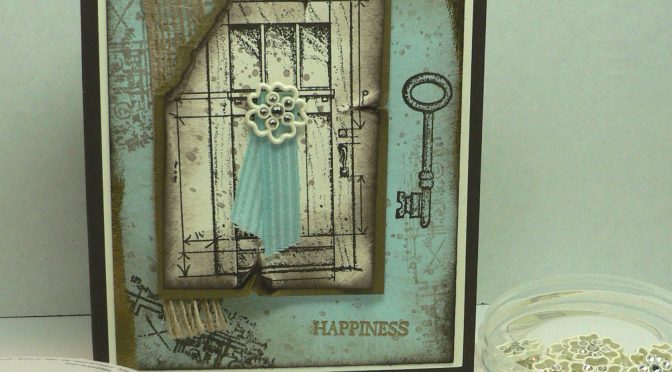
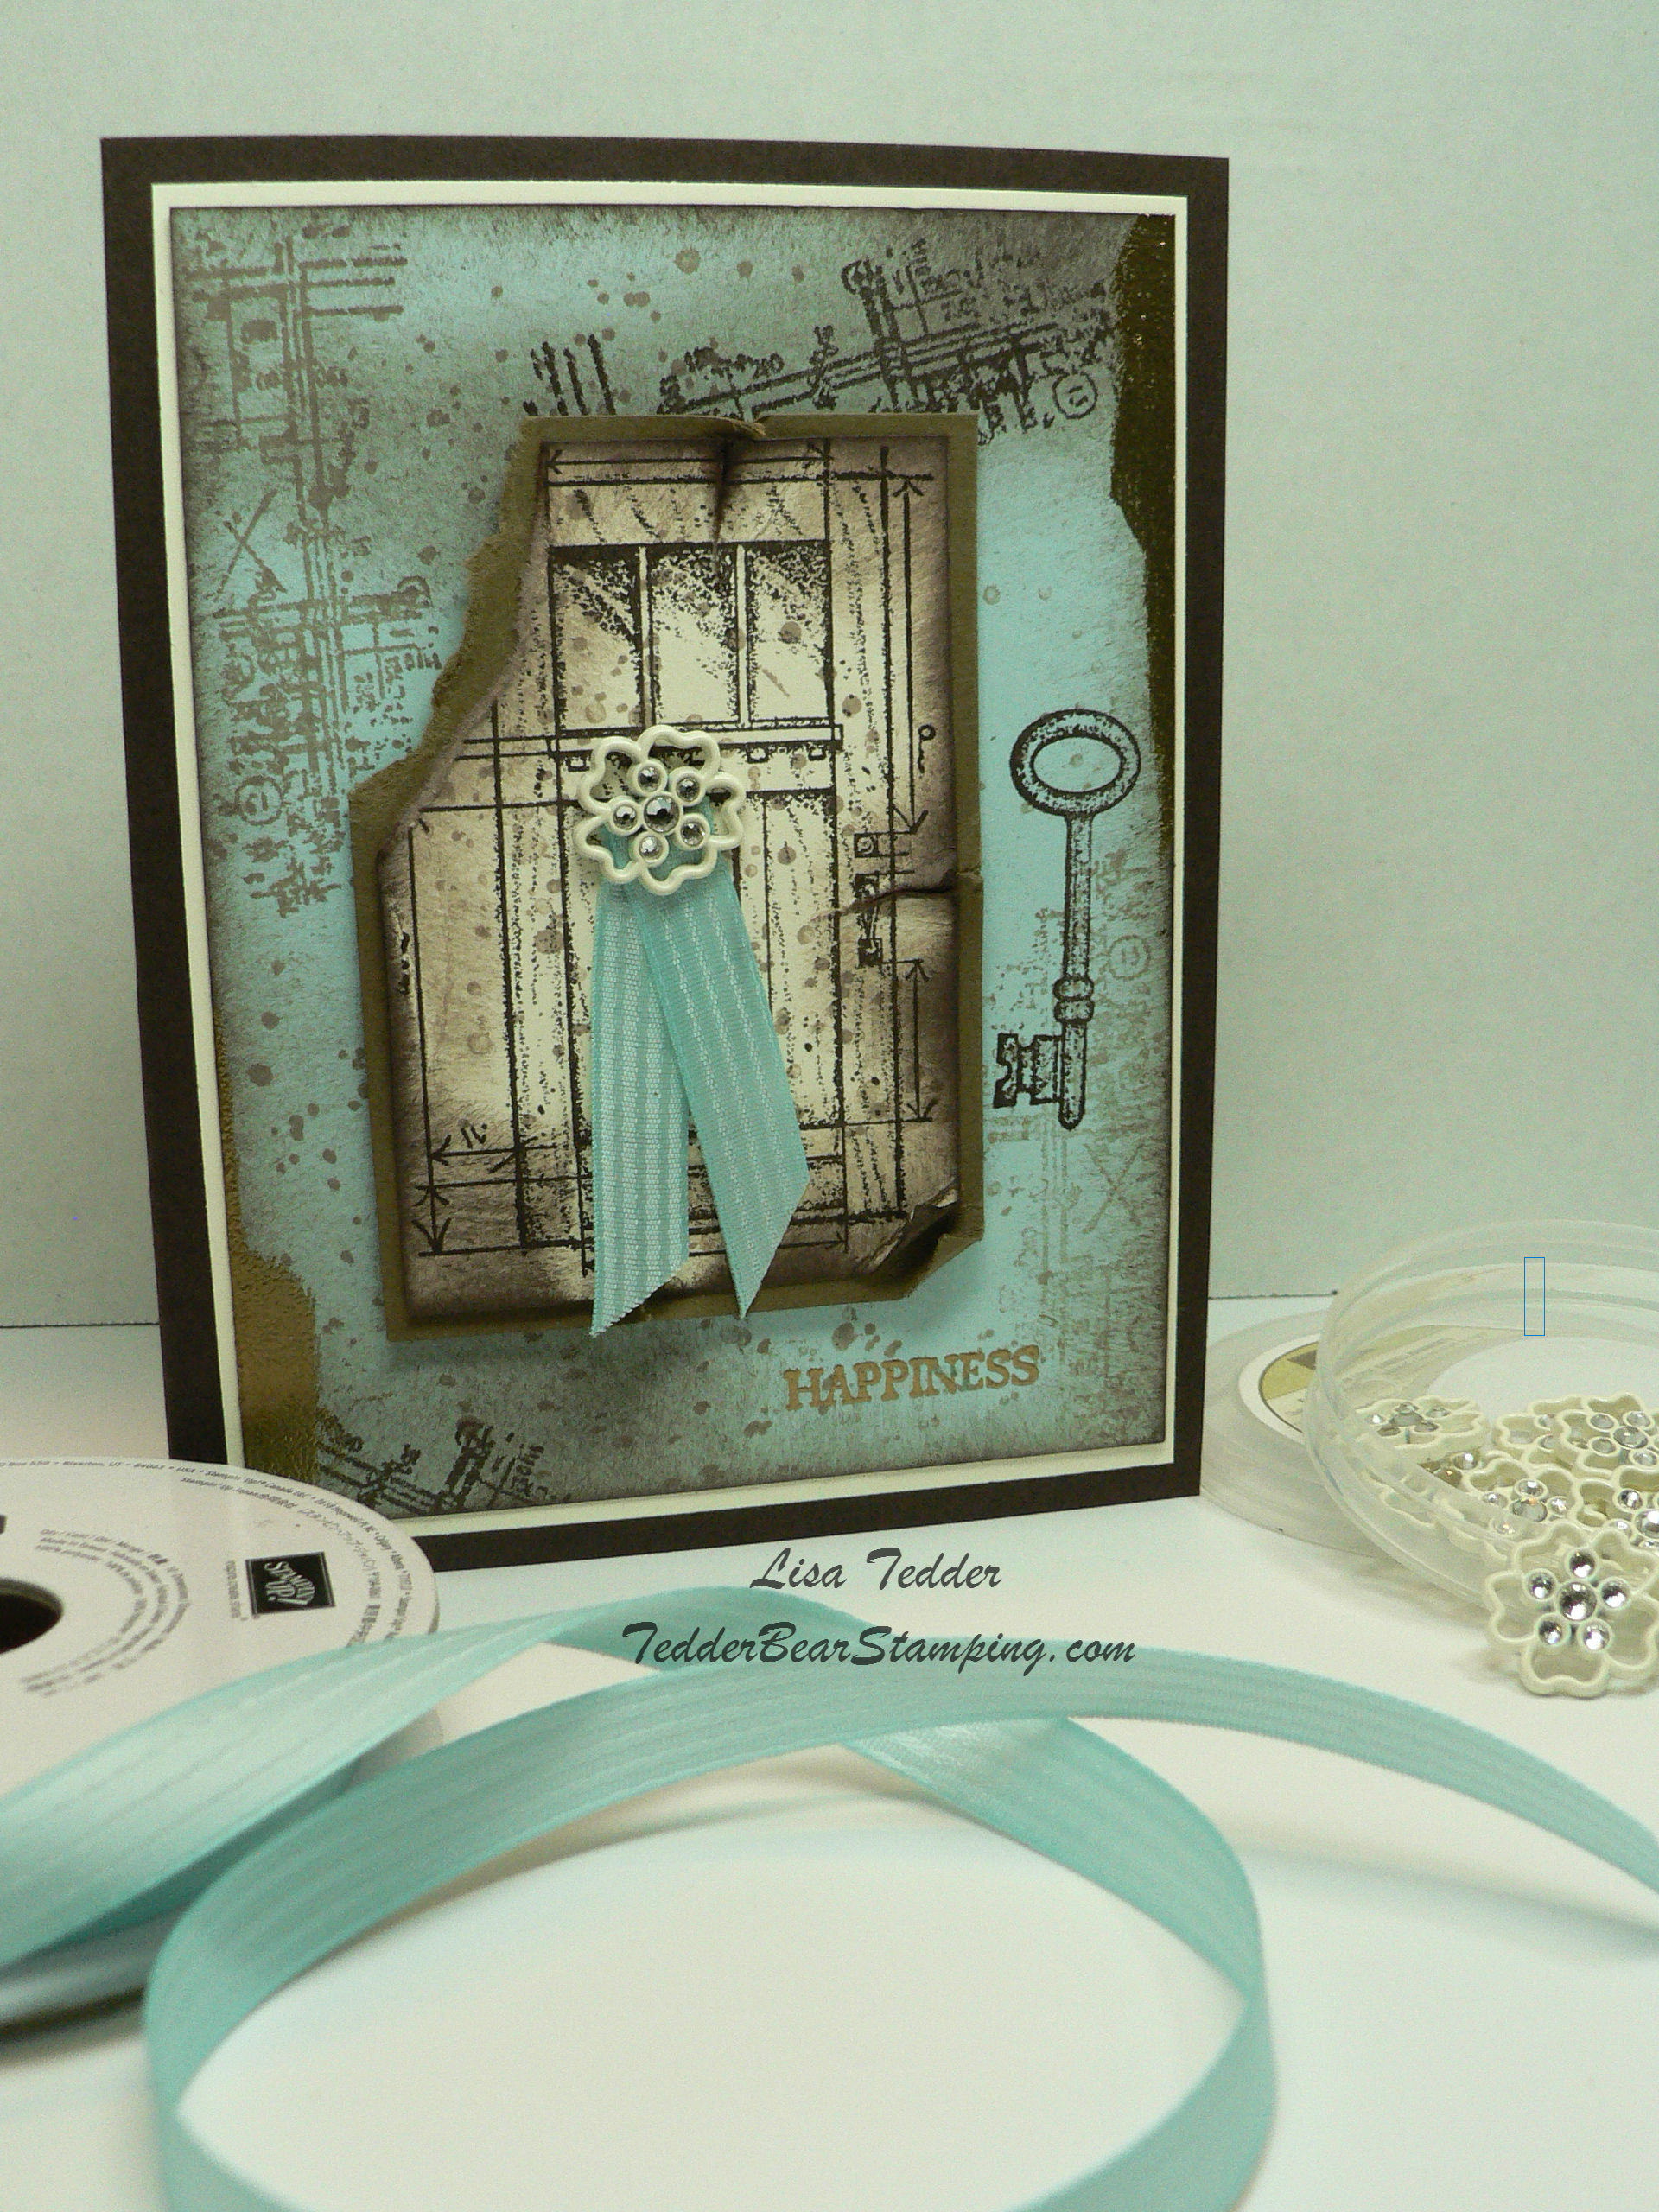
Go see my video if you haven’t seen it yet so you can see how to make this! Every card will be different, and you can make it really bold by changing the color of the spot’s you use! This Technique I am calling Spot On! because the name fits! Take your stamping spots and rub on the side of the folder that is indented, being sure to cover the surface with two – three colors (I only used two for all my samples). I spritzed it with an Rubbing Alcohol/Champagne Mist mixture to give it sparkle and to get the color to spread.

Then I put my cardstock in the folder (I used Shimmer White because it is slightly thicker and can handle the wetness without pilling). Heat set it when you get it out (you can spritz once more to get the color to run a bit more)…..once dry, run one of the colors you used over the raised portion from the Folder to pick up the design. EAsy Peasy! If you would like to see other Techniques click here.

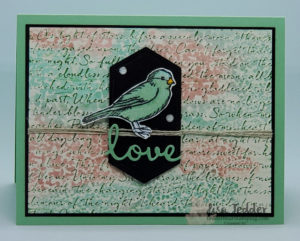
Here are two other ideas I used:
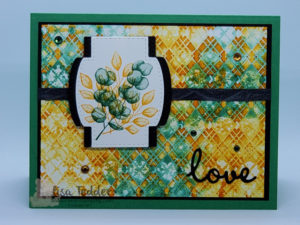
Technique Spot On! Using Free as a Bird and Scripty Folder 3D.

And one more:

Another Spot On Technique using Absolutely Argyle Folder & Forever Fern Stamp set.

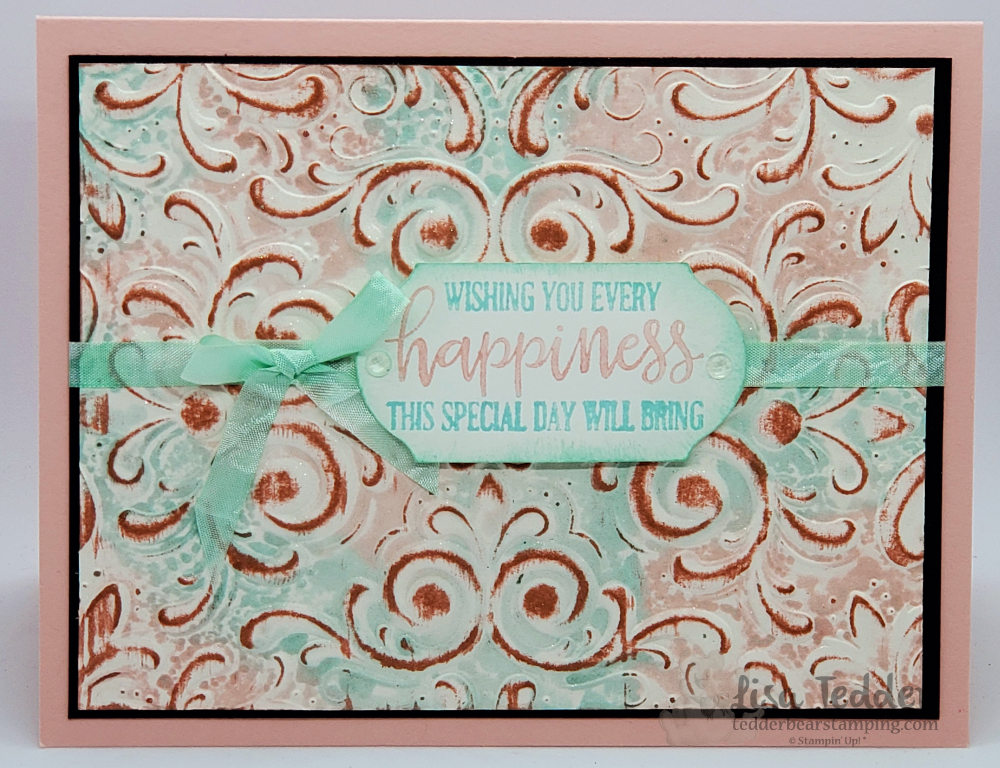
As always here are the specifics for my Main card:

Stamps:
Peaceful Moments

Inks:
Spots: Pool Party & Blushing Bride
Markers: Pool Party & Blushing Bride
Pool Party for sponging
Blend: Pool Party

Paper:
Blushing Bride 8 1/2″ x 5 1/2″
Basic Black 5 1/8″ x 3 7/8″
Shimmery White 5″ x 3 3/4″, scraps for sentiment

Misc:
1/4″ Crinkled Seam Binding
Elegant Faceted Gems
Stampin’ Seal adhesive
Dimensionals
Parisian Flourish 3D folder
Spritzer, you can use Stampin’ Spritzer
Shimmer Paint: Champagne Mist
Alcohol

Below you will find a pictorial list of the supplies used, click on any of them to be taken to my OnLine Store. If you purchase from me $35 or more you will receive from me in your email a pdf with 16 tutorials for projects with pictures! I would love to be your Stampin’ Up! Demonstrator, let me know what I can do to make your crafting life easier!

Lisa Tedder
A California girl living in North Carolina

Product List

Easy Way to Make a Vintage Card, Plus Blog Candy Winner

I saw on Pinterest a card using the rubber stamp set from Stampin’ Up! called In This World.  I had bought this set because I love anything Vintage and this called to me!

I changed it up so much that I went back to see hers and it was nothing like what mine turned out as!  Has that happened to you? You can find her YouTube video here  It’s very pretty, but not the way I went with mine.  I followed some of her ideas, but that’s as far as I got!

Here is my version:  


What do you think?  It needed a ‘spot’ of color, so I added the ribbon and the Falling In Love Trinket.  This picture has the Burlap ribbon in it, going along the side.  I ran out (I’m making swaps for my Savannah OnStage event!!) so I just went without for the rest of the swaps.

Here is the other version:  

I used VersaMark on the sides of BOTH swaps and added Gold Embossing Powder.  Plus added it to the Sentiment to make it stand out.

Here is a close-up of the treatment on the Soft Sky:  

I used almost every Stamp in this set!  The only one I didn’t use is the chair.  And I LOVE the chair, so I will have to come up with something to use that the next time!

I used the stamp from the In This World that has the long strip of dimensions?  I have a question mark there because I’m not sure what to call it!  Do you know?  I stamped that image in Crumb Cake on the top left and bottom right. Then stamped again, along top and bottom left using Early Espresso ink.  I stamped the one on the right bottom once on a scrap and then on the page, so the key will show up.  That is stamped in Early Espresso too!  I then stamped the blotchy stamp (that’s what I call it!) from the Stamp set Gorgeous Grunge using the Crumb Cake all over the card, stamping off every other time.  I then sponged it with Crumb Cake on ALL sides, sponging really well so it went towards the center.  Then sponged SOFTLY using the Early Espresso ink.  Just to give it a dark outer edge.

I stamped the door on Very Vanilla (it doesn’t look like it does it!), that shows how much I sponged it!  I used Early Espresso for the Door, and Crumb Cake for the sponging.  But first I distressed the edges by ripping, bending and tearing , I tore off the corner.  You have to make sure you do the distressing first, and THEN sponge.  This way the edges that bend over are sponged on both sides.  My shoulders were HURTING by the end of this, and I only made 30 cards!  I usually make a LOT more, but I’m glad I didn’t this time!

Here is the inside: 

I didn’t sponge the inside because I wanted it to stay pristine, so you can see what is written when sending it.  Would you be happy to get this card?  Or is it too messy?

It’s been awhile since I’ve done a Vintage card, have I forgotten how to do it?  I feel needy today for some reason!  It could be because I was winging it the whole time!  LOL

Here is the Blog Candy that I’m giving away today:

Congrat’s to the Winner:  Sue Root!!

I hope you enjoyed the project today!  Please let me know which one you like more, with or without the Burlap Ribbon.  Sometimes you look at something so long you just can’t be the judge!

Hope to see you again, soon!  Make sure you subscribe so you won’t miss when I post.
Lisa Tedder
A California Girl living in North Carolina

Product List

<!——– TAM