Tag Archives: handmade

Get double duty from your stamp sets

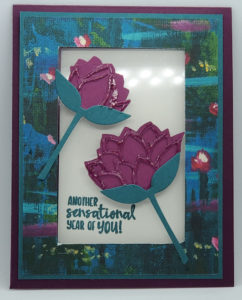
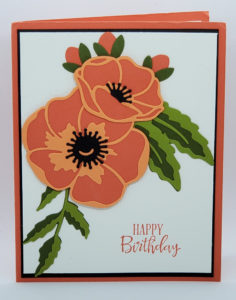
Get double duty from your stamp sets by using them for both card-making and scrap-booking!

Hey Guys!

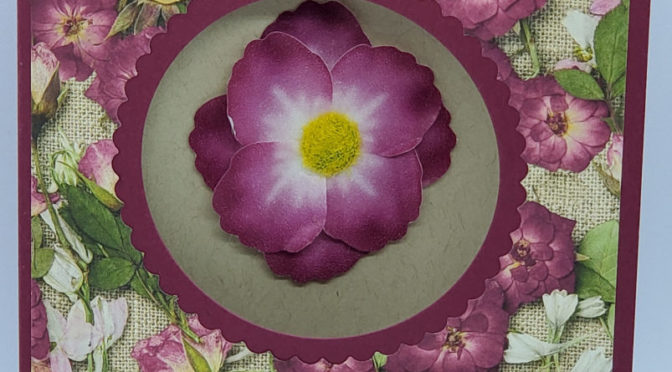
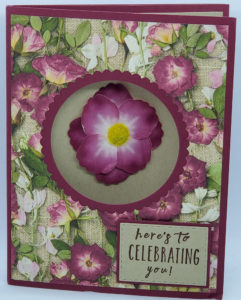
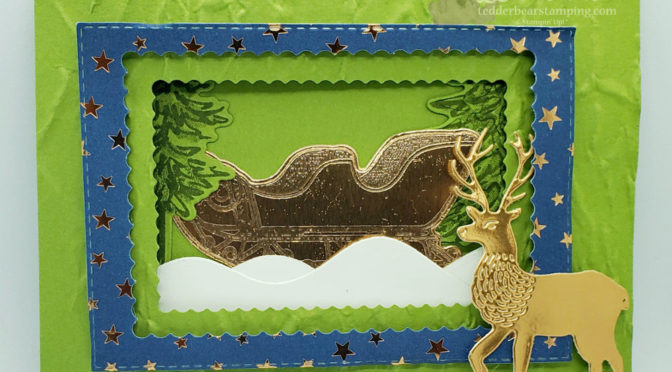
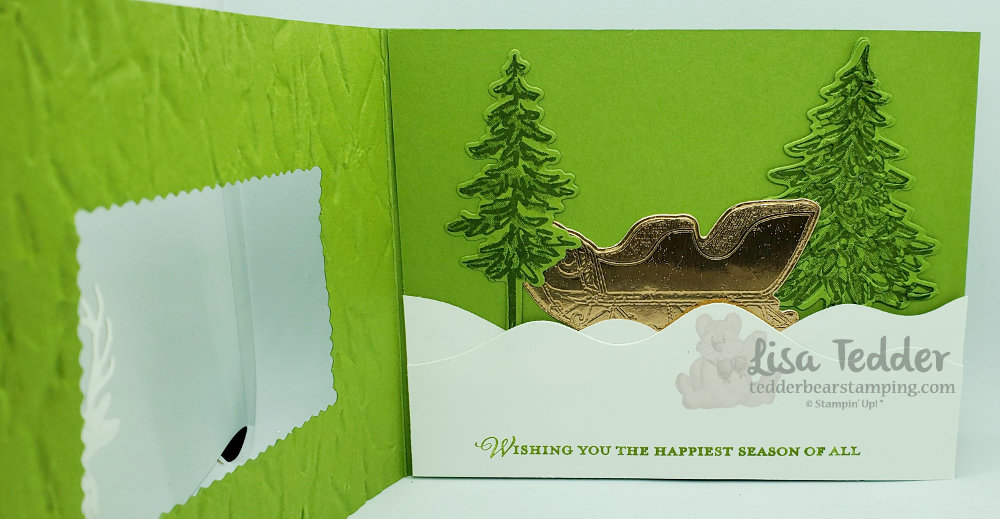
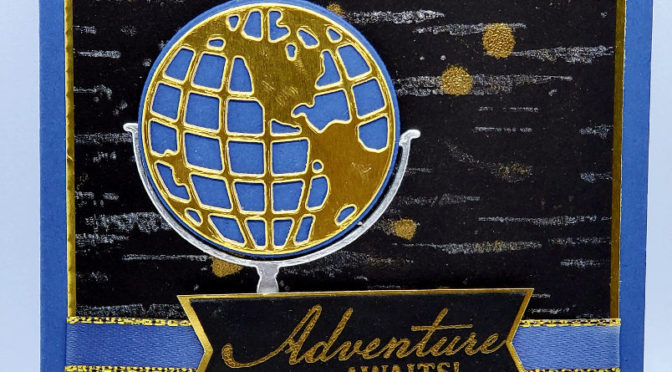
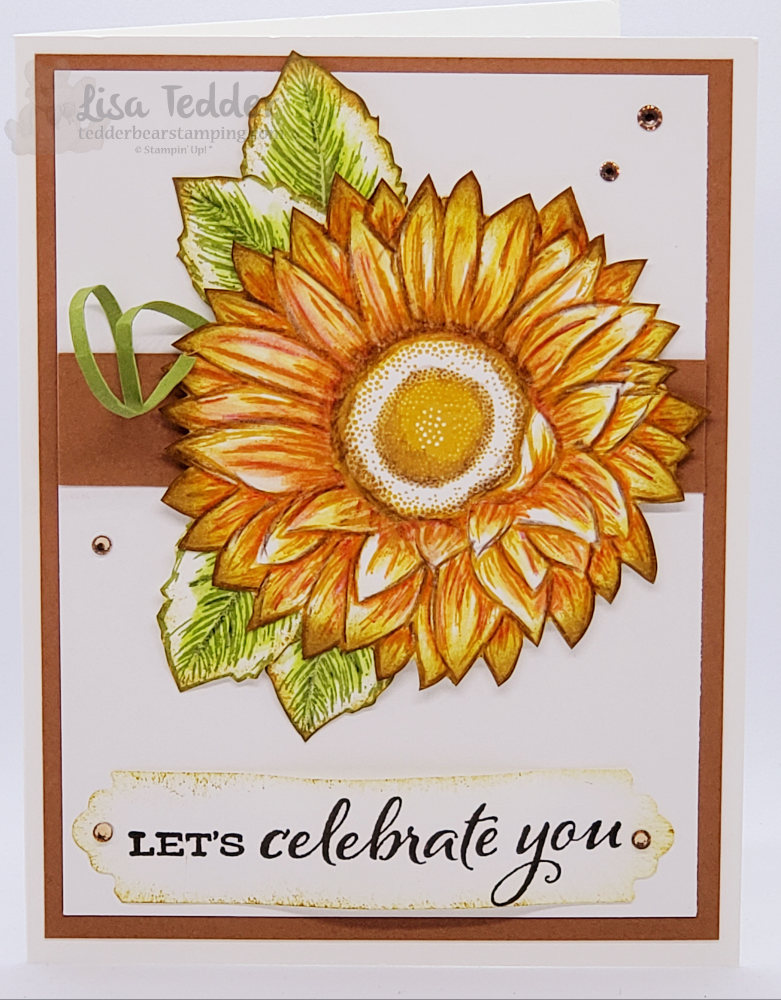
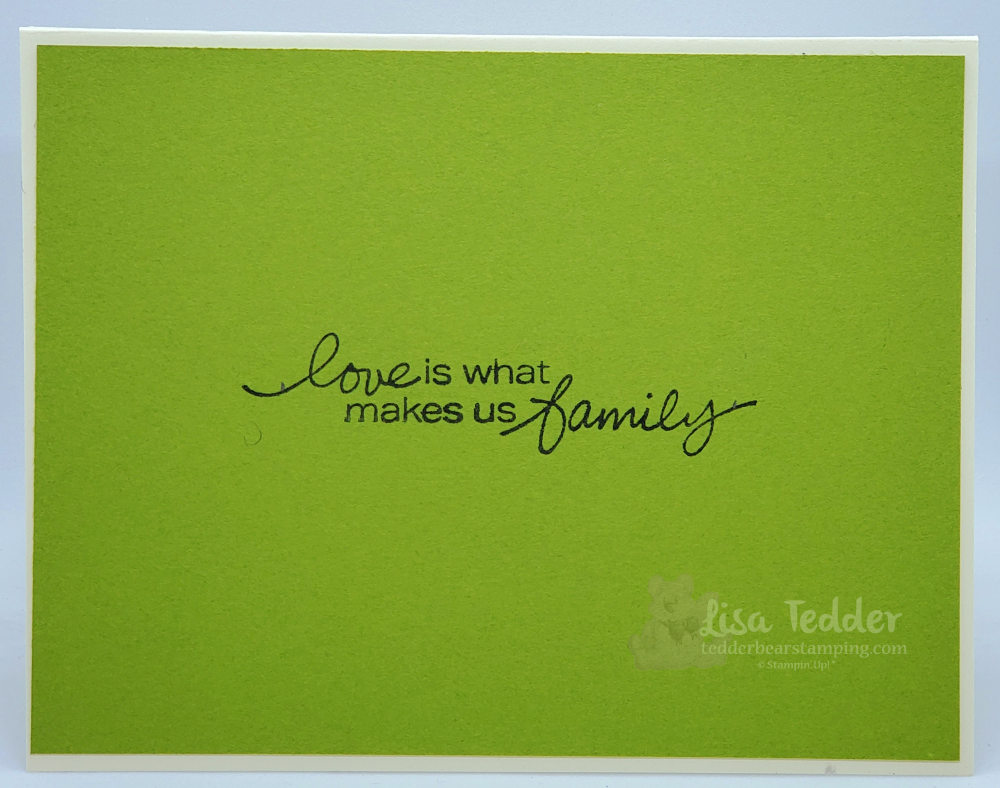
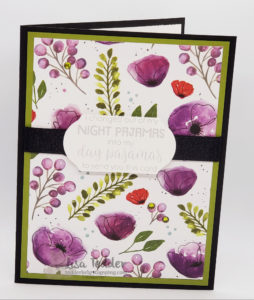
First off, I am going to take you back to my childhood and hear my Mom’s words that Christmas shouldn’t have commercials until AFTER Thanksgiving! So, in that vein, should Halloween be shown now? Of course, I believe it should be since I am doing it! Generally, Halloween is my favorite Holiday to scrapbook so I thought I would make a card using the stamp sets I get EVERY year so I get double duty out of them. Here is what I made:

Get double duty from your stamp sets!

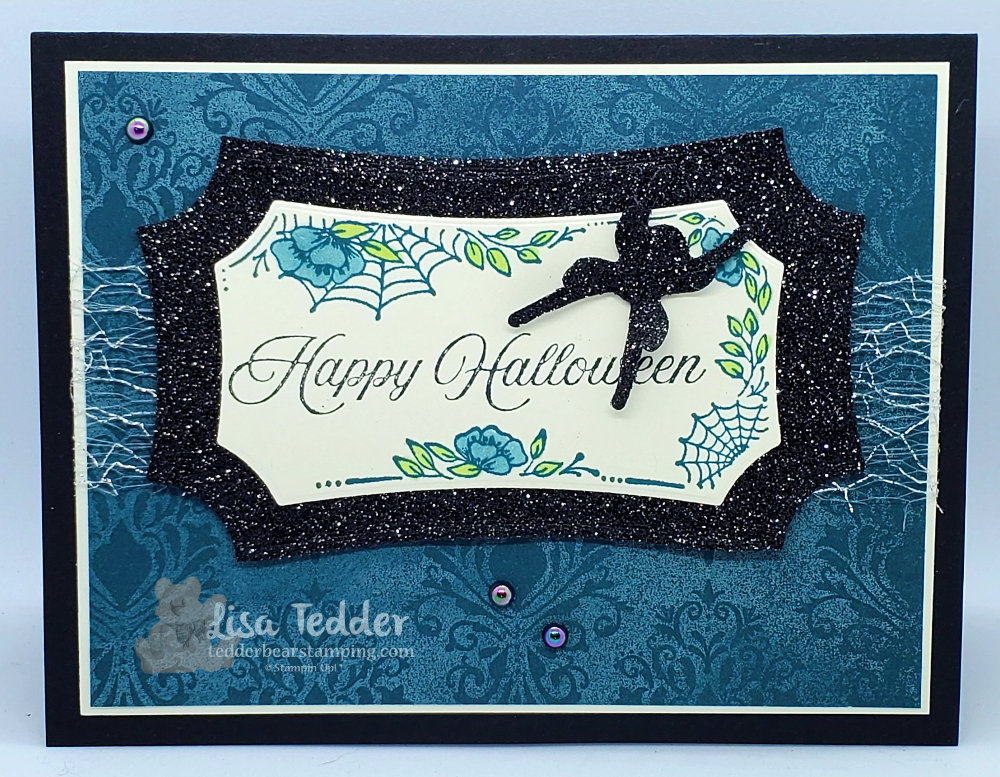
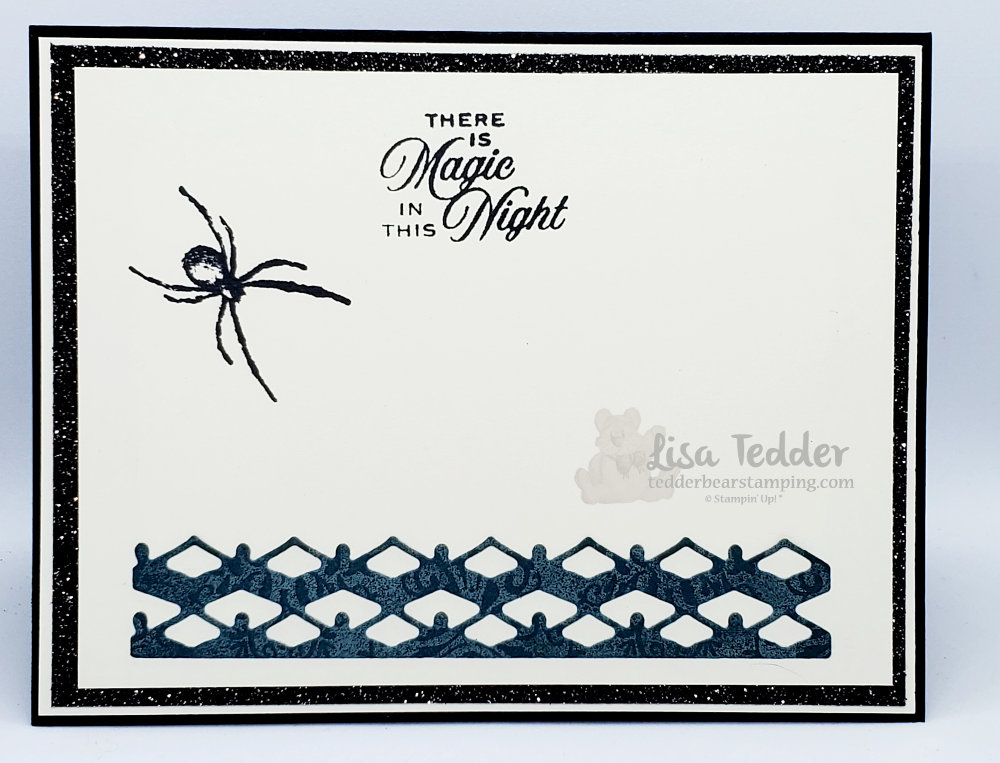
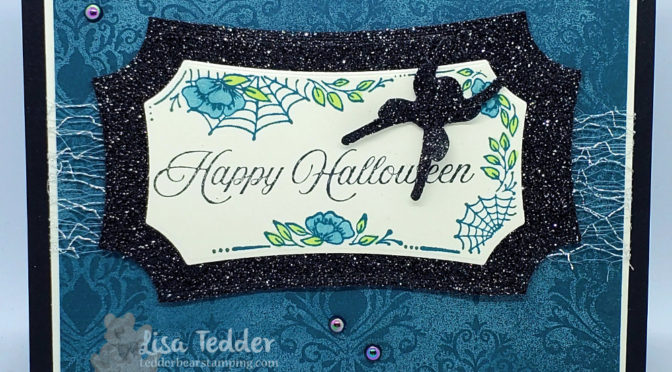
For some reason, Halloween is my Favorite time of year. Funny thing, I named a blog post that, check it out here! Is it because the air is cooler, or the candy? I say it is because it is so much fun to scrapbook, every year I have to do a NEW page! Since it would not be good to have the same layout in the same book. Well, I thought that my Halloween stamps would make a great card too! Of course my grand-kids love getting mail, so this is perfect! Besides, might as well get double duty from my stamp sets, right? By the way the stamp set I used is called Hallows Night Magic from Stampin’ Up!

As always, here is the specifics for this card:

  • Stamps: Hallows Night Magic Bundle
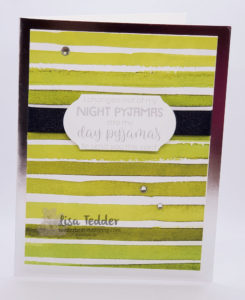
  • Inks: Pretty Peacock, Memento Black
  • Blends: Pretty Peacock, Granny Apple Green
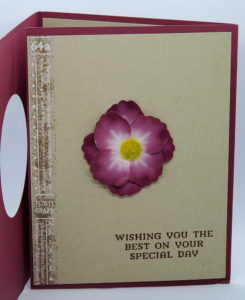
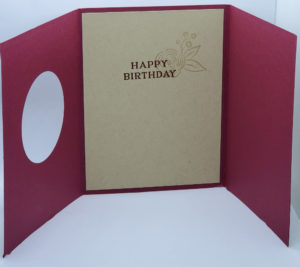
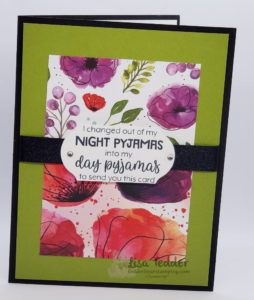
  • Paper: Basic Black 8 1/2″ x 5 1/2″, Very Vanilla 5 1/8″ x 3 7/8″ (x2) 5″ x 3 3/4″, scrap, Black Glitter 5 1/4″ x 4″ (I cut out center so I can use it later), 4 1/2″ x 2 2/3″ (for behind label), Magic in This Night DSP 5″ x 3 3/4″, scrap for inside.
  • Misc: Iridescent Pearls, dimensionals, 1 1/2″ Metallic Mesh ribbon

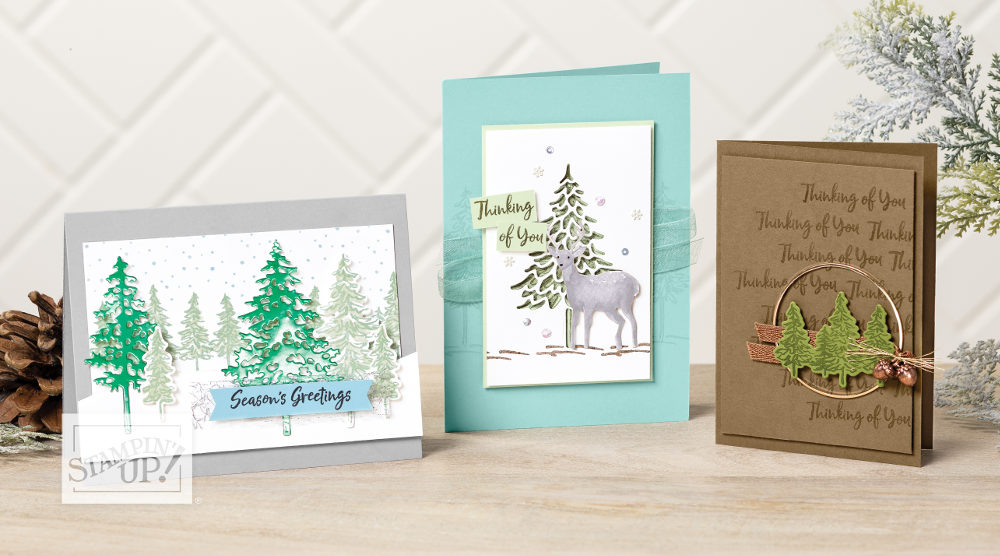
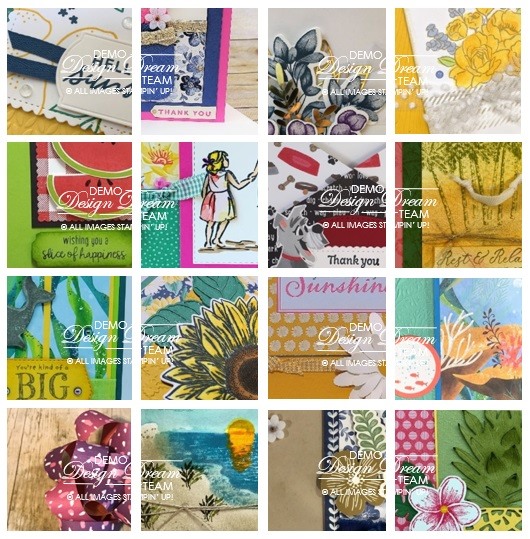
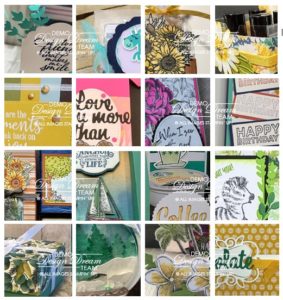
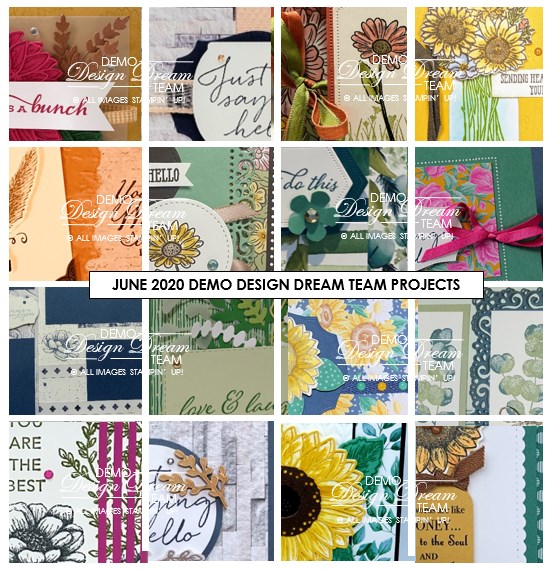
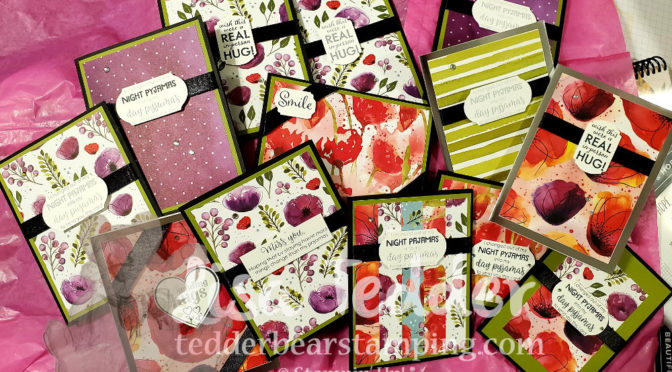
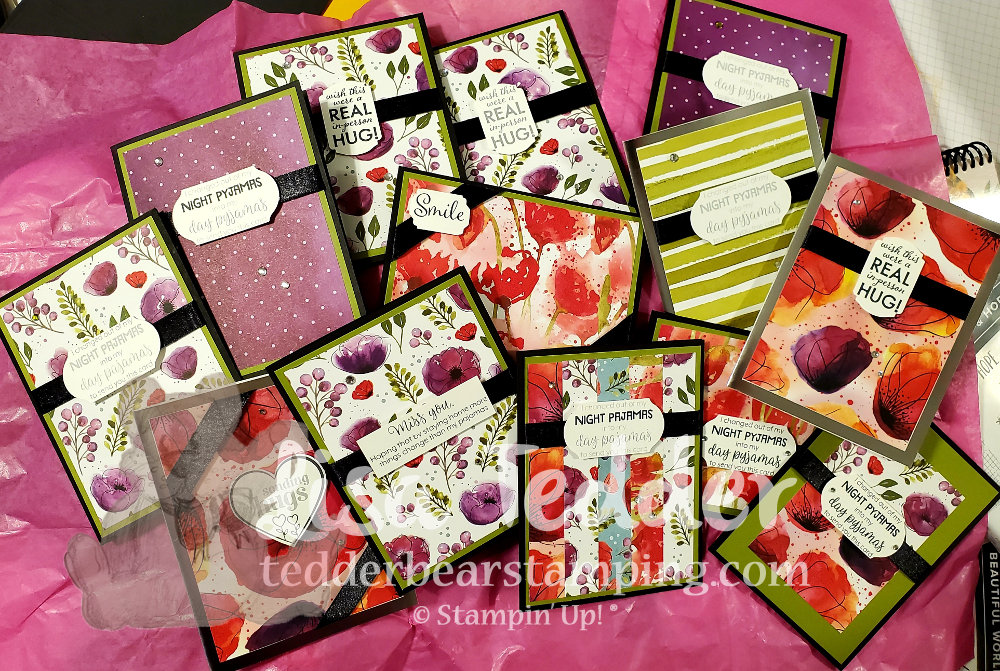
Ordinarily I tell you that you can find the supplies listed above in picture form below, and today is no exception! Therefore, click on any of them and you will be taken to my OnLine Store. In brief, if you purchase $35 or more at my store you will get from me a PDF with 16 projects which include step by step instructions and pictures! For instance, you can see a sneak peek below:

spend $35 and you will receive a PDF with these tutorials!

So now that I’ve told you how to get double duty from your stamps making cards AND doing a scrapbook, I hope you give it a try! Speaking of, I NEED to work on the scrapbook for my daughter, she is turning 20 in Sept. and I am on her 7th birthday! Yikes!

Thank you for stopping by! I really appreciate your support, I have my Subscribe to my newsletter fixed, so be sure and subscribe! Therefore, when I send them out with ideas for projects you will get them!! No video today, but go check out my channel, I post a video every week!

Lisa Tedder
A California girl living in North Carolina

Product List

How to copy a card and make it your own.

Hey Guys!,

First off, I got this idea from the Holiday Catalog from Stampin’ Up! I like to get ideas and then change them up to make them my own design. Next, we will take a walk through my thought process! As usual, here is a video showing you how to make this card. Finally, this card on page 43 is the card I wanted to make my own:

The card on the right is the one I am going to make into my own design!

Generally, when looking for a project to do, I first look in Pinterest, but this time I looked at the SU! catalog! Consequently it ended up being an awesome place to get an idea! Furthermore, I wanted to use the In The Pines Bundle and this would work with an idea I had in my head. Unfortunately, I didn’t have the circle that is on the card above. However, I did have the die from the Painted Labels that let me cut out a circle design that would take it’s place! Also, I wanted to use the trees singularly from the stamp set but die cut to have more detail. Likewise, instead of the ribbon that comes out the side of the circle I used gold foil cut into two strips. By the way, I DID use the acorns for my card, here is what I made:

I replaced some things to make this design my own creation!

Usually, I like to have layers on my cards and this time is no exception! Likewise, I love to sponge the edges of my cards and I did that with Crumb Cake and then Early Espresso to add a dark edge that makes the card pop! As a rule, I like to have my insides go with the front using the same layers, this (to me) seems to make the card look more professional.

Notice how the inside mirrors the front?

Finally, here are the details for this card:

Stamps:
In the Pines Bundle
For Unto Us
Inks:
Crumb Cake
Early Espresso
Old Olive
Paper:
Crumb Cake 8 1/2" x 5 1/2", 5" x 3 3/4" (x2)
Old Olive 5 1/4" x 4" (x2), scraps for trees
Gold Foil
Misc: 
Wonder of The Season OR Forever Greenery combo
Jingle Bells OR Acorn Trinkets
Glue Dots
MultiPurpose Liquid Glue
Mini Dimensionals
Painted Labels Dies
Banners Pick a Punch

As always, below will be the same supplies listed in picture form, click on any of them to be taken to my On Line Store! Subsequently, any purchase over $35 you will get from me a PDF with 16 project ideas that include pictures and step by step instructions! So then, this is a thank you from me!

Before I go, I wanted to tell you that I have another card that you can see here that I took from the catalog and made it my own (see page 38). As you can see I like to get ideas and then change them up to make them my own design.

In Conclusion, thank you so much for coming to visit me! Together, we can make things we see into our creations!

Lisa Tedder
A California girl living in North Carolina

Product List

Three Panel Christmas Card your friends & Family will cherish

Hey Guys!

Today I am sharing with you a Christmas in July Card that has three pages! Make a Christmas card this year that your family and friends will cherish forever!

I LOVE cards that make you want to pick them up and check them out! Since there aren’t very many ideas on Pinterest yet for the New Holiday Catalog from Stampin’ Up!, I had to come up with something on my own. I always say that I like CASE’ing (Copy and Share Everything) because then I don’t have to be intimidated by starting from zero. BUT when I do come up with something, I’m usually happy that it’s my own design. You can catch my Youtube video and see how I made this card!

Here is the front of my card:

Doesn’t this make you want to pick it up and turn to the next page?! Your friends and family will cherish getting this card for Christmas!

Middle page:

Middle page of my 3 page Christmas card

And now for the inside:

Inside of my 3 page Christmas card!

I would love to get a card like this in the mail! Wouldn’t you?!

Here are the specifics for this card:

Stamps:
In the Pines Bundle
Wishes & Wonder Bundle

Inks:
Versamark
Night of Navy
Old Olive

Paper:
Old Olive 4 1/4″ x 11″, 6″ x 4 1/4″ (scored @ 5 1/2″), 5 1/2″ x 3 5/8″ (for trees)
Whisper White 5 1/4″ x 4″ (inside), 3″ x 5 1/2″ (for snow)
Copper scraps for deer and sleigh
Brightly Gleaming Designer Series Paper (DSP) 4 1/2″ x 3 1/4″

Misc:
Foam Adhesive Strips
Stitched so Sweetly Die
Stitched Rectangles Dies
Old World Paper 3D folder
Clear embossing powder
Heat tool

As always, below you will see these supplies in picture form. Click on any of them and you will be taken to my OnLine Store. ****NOTE: My OnLine Store is changing as of the 1st of August, the links on my blog before that date will not take you to the exact item after (for the posts I’ve made before then). So, any time after August 3rd if you click on a link (from an earlier post) it will take you to my store, just not to the exact item.

If you decide to shop with me, you will receive a pdf with 16 project ideas with pictures and step by step instructions (you just need to spend $35). Here is a sneak peek of what you will get in the month of August!

Sneak Peek for any purchase of $35 or more.

If you missed my last post doing a Christmas in July card, click here and you can go see what else I made for my class! It’s a Blog Hop so you won’t want to miss out! Like I said your friends and family will cherish getting a handmade Christmas card forever!

Thank you for stopping by! I love it that you take time to check out what I’m doing! Don’t forget to go check out my YouTube Channel to catch up on all my designs!

Lisa Tedder
A California girl living in North Carolina

Product List

You Can Emboss with that?!

Hey Guys!

Did you know that you can emboss with water?! What!? I didn’t think it was possible, but I accidentally dripped water on a project I was Gold embossing, as I poured the powder, the water took it too and it embossed along with the Versamark!

So, of course I HAD to try it with JUST water, and you guessed it……it embossed! You can see the video of this card here. Here is a picture of my project:

The Gold spots are where I embossed with WATER!
The inside of my Water embossed card!

To get the ‘silver’ look on the background, I used a Sponge Brayer and the Frost White Shimmer Paint and applied it to the Birch Background stamp from Stampin’ Up! On black the ‘white’ looks more silver, therefore this card has both Silver & Gold! Every time I say that, I want to break into song singing “Silver & Gold, Silver & Gold”! I ‘think’ it’s from Rudolph the cartoon, do you know?

I also embossed the tag with Gold and used the Banners Pick a Punch to get the tag perfect! For the Stamp set, I used the Beautiful World Bundle. LOVE this set!

If you would like to see another embossing technique you can check it out here!

As always, here are the specifics for this card:

Stamps:
Beautiful World Bundle
Birch

Inks:
Versamark
Misty Moonlight
Blends: Misty Moonlight (light)

Paper:
Misty Moonlight 8 1/2″ x 5 1/2″, scrap for behind the map
Gold Foil 5 1/8″ x 3 7/8″
Silver Foil
Basic Black 5″ x 3 3/4″ (x2), scrap for map, 2 strips for behind sentiment & behind cut out on the inside
Whisper White 4 3/4″ x 3 1/2″

Misc:
Frost White Shimmer Paint
Dimensionals
Banners Pick a Punch
Sponge Brayer
Gold Embossing Powder
3/8″ Metallic Edge Ribbon (Gold)
Heat Tool

You can click on any of the supplies in picture form below and you will be taken to my OnLine Store! If you decide to purchase from me, any time you spend $35 or more you will receive from me a pdf of 16 projects with pictures and step by step instructions! Here is a sample of what you will get in July:

Any purchase from my Store for $35 you get a PDF with these projects!

Finally, what do you think? Did you know that you can emboss with WATER? I sure didn’t! I hope you liked learning something new. Please be sure and come back (subscribe to my blog & Newsletter) so you can see my next project! Thank you for supporting me by visiting! I appreciate you!

Lisa Tedder
A California girl living in North Carolina

Product List

Simple Stamping Beauty

Hey Guys!

Today I am sharing with you a card that uses Simple Stamping, and Simple Stamping can be beautiful! I DID have it have layers, because I can’t do a card that doesn’t have layers! Here is another ‘Simple Stamping’ card that I have done in the past!

Here is a pic of my card:

Simple Stamping Beauty!

Simple Stamping means that you aren’t doing anything special to the card other than stamping. I added ribbon because it needed it! Another thing I added is the New In Color 2020-2022 Enamel Dots. There isn’t any Die Cuts on this card, which I hardly ever do! I hope you like it!

As always here are the specifics for this card:

Stamps:
Beautiful Friendship
Inks:
Highland Heather
Just Jade
Magenta Madness
Paper:
Magenta Madness 8 1/2″ x 5 1/2″
Basic Black 5″ x 3 3/4″, small strip to place over ribbon
Whisper White 4 3/4″ x 3 1/2″
Misc:
2020-2022 In Color Enamel Dots
Magenta Madness 1/4″ In Color Ribbon

It’s not often that I do Simple Stamping! You’ll have to let me know if you want to see more of that or you prefer my usual style. I get bored making too easy cards hence the reason I go a little over and above. 🙂

Hope you enjoyed your visit! Below you will see the supplies listed in picture form. Click on any of the pictures and you will be taken to my OnLine Store. Any purchase of $35 and you will be sent a pdf file with 16 tutorials with step by step directions and Photos! If you are in need of a Demonstrator from Stampin’ Up! you can choose me!

Lisa Tedder
A California living in North Carolina

Product List

Celebrate Sunflowers & Watercolor Pencils

Hey Guys!

So, I was on Facebook the other day and this card from Amanda Charlesworth made me put down everything I was doing and make it! I had to make this card! I LOVE when that happens.

Using Watercolor Pencils, makes this image pop!

Not only was I inspired by Amanda, but I made the card exactly like she did because I wanted to see if I could color it as well as she did. I think it came out really well! What do you think?

Don’t you love it when you see something that stops you in your tracks and you want to try your hand at it? That’s what happened with this card.

Here are the specifics for this card:

Stamps:
Celebrate Sunflowers

Inks:
Crushed Curry
Old Olive
StazOn Saddle Brown
Memento Black

Cardstock:
Whisper White Thick 8 1/2″ x 5 1/2″
Whisper White 5″ x 3 3/4″ (x2) one for sunflower and leaves
Cinnamon Cider 3 3/4″ x 3/4″, 5 1/4″ x 4″
Old Olive scrap

Misc:
Champagne Rhinestones
Dimensionals
Lovely Labels Pick a Punch
Watercolor Pencils (Daffodil Delight, Early Espresso, Old Olive, Pumpkin Pie)
Watercolor Pencils Assortment 2 (Granny Apple Green)
Sponges
Blender Pen

Below are the same supplies listed in Picture form, click on any of them and you will be taken to my OnLine Store. Any purchase you make over $35 you will receive 16 step by step tutorials with Pictures! Here is a sneak Peek:

All these tutorials for purchase of $35!


This stamp set was the first one I HAD to have! So pretty!! I have offered a class using Celebrate Sunflowers where I made 5 cards and I loved everyone of them! You can see that post here. Doesn’t everyone love a Sunflower? We always had some growing, but it was very hard to keep the squirrels from jumping on them and knocking them over.

Thank you for stopping by! Please leave a comment to let me know that you are liking what I post, it also makes me happy!

Lisa Tedder
A California girl living in North Carolina

Product List

Window Sheet Card

Hey Guys!

Today I am sharing with you a card that was inspired by a card online. You can find a video of my card here. I think the creator is french, and her name is Lezards de Cilou. Here is the card that influenced me:

She called it a Tripod card.

Having seen other cards made with Window Sheets as the front of the card, I wanted to have another go! If you would like to see an additional card I made using Window Sheets click here. Here is what I made today:

Sorry that the lights are reflecting off the Window Sheet!

And on the inside we have the sentiment that is hidden by the birds when it is closed:

This card is so pretty in person! The colors go so well together! I love how Stampin’ Up!’s product coordinates together. When I realized this 19 years ago, I knew that I wanted to get the discount and become a Demo! What I didn’t know is that I would STILL be doing it AND loving every part of it!

Here are the specifics for this card:

Stamps: Free as a Bird, Lovely You (Brand NEW!!)
Inks: Memento Black, Old Olive, Rococo Rose, Blends: Rococo Rose, Old Olive, Soft Suede
Paper:Very Vanilla 5 1/2″ x 5 1/2″ scored @ 4 1/4″, 1 1/2″ x 5 1/2″, Whisper White 2″ x 4″ (for stamping birds, then fussy cut around, Old Olive 5 1/4″ x 4″, Window Sheet 5 1/2″ x 4 1/8″
Misc: 2020 – 2022 In Color Enamel Dots, MultiPurpose Liquid Glue, Stamping Sponges

When cutting the Ornate Flowers border, cut it on the edge of the cardstock so you can place the other edge against the Window Sheet. You will need to color the flowers by sponging over the center of the flowers using Rococo Rose, and the leaves with Old Olive, you will also want to sponge the edges of the cut out with the Old Olive, this will make it blend. To place this on the Window Sheet, use a Silicone Craft Sheet, place a puddle of Liquid Glue and pounce the sponge over the glue and holding the cut out still, pounce the back so you won’t see where you put the glue. This makes it so much prettier on the other side of the Window Sheet.

Hope you are doing well!

Lisa Tedder
A California girl living in North Carolina

Product List

Day of Service

Hey Guys!

Yesterday we had a Day of Service with Stampin’ Up! Our CEO Sara Douglass was online and she sent out the pdf that will help us make Beautiful handmade cards fast and easy!

THIS was extremely helpful and made my cardmaking go quickly!

I mailed out all the cards today, wanna see what I sent? Keep in mind that I used retiring product, but YOU still have time to get that DSP, Noble Peacock Rhinestones & Ribbon if they are still available go to my OnLine Store now!

Below I am showing you each one!

Card 1

Sorry the Sentiment is light, it says “I changed out of my NIGHT Pajamas into my DAY pajamas to send you this card” All the insides say “Sending you a paper hug”.
Card 2, Sending Hugs
Card 3, sentiment is the same on most of them…Wanted to get a lot done!
Card 4, Smile! LOVE this one!
Card 5, same sentiment about pajamas
Card 6
Card 7
Card 8

So, I made 20 cards, multiples of the ones above. I am NOT a ‘go quick’ crafting kind of girl! But, this was eye opening for me!! Not only are these beautiful, but I got them done and out in 1 day! THAT is unheard of for me! I also used the Spread Sunshine pdf available here, that you can download, print out and make your own cards! ALL proceeds go to helping with Covid 19!

Below you can see the supplies used in picture form. to get the measurements for the cards see the first picture. The only thing I added was a piece of Old Olive at 5 1/4″ x 4″. Do a card without layers?! Not me! My eyes are wide open, and know this about myself. But I really love how these came out, what do you think?

Thanks for stopping by, give this a try!!

Lisa Tedder
A California girl living in North Carolina

Product List

Ornate Garden Quilt Card

Hey Guys!

Today I am sharing with you a card where I have used the Ornate Garden Designer Series Paper (DSP), cutting it up with Square dies to make a Quilt card! Also included in the Quilt part is Gold Foil!

Hard to see, but I have ruffled ribbon on the bottom of the focal piece.

Starting out, I cut the Ornate Garden DSP and Gold Foil using the Stitched Shapes Dies (Squares). Then, I cut each square in half, lay them opposite each other until I had a pattern that made me happy. Once I had that done, I cut a piece of Whisper White to fit under and glued them into the desired Quilt shape I wanted. There are so many ways to manipulate the squares, but this is the way I liked it the most.

For the border on the top and bottom, I used the Ornate Borders Dies also using the Gold Foil. But first, I layered the quilt pattern onto Old Olive, to make it pop! Once I had all that done, I used some Polka Dot Tulle Ribbon along the bottom and ‘scalloped’ it so it had a ruffled edge. This turned out so pretty!! It’s very subtle in the picture but in real life it stands out!

After more white cardstock and Gold Foil, my Quilt card is almost done! I needed a sentiment to add to the front so I used ‘my friend’ from the Stamp set Ornate Thanks from Stampin’ Up! NOT sure if you have noticed by now but I LOVE SU! This company has added so much fun/creativity and Friends to my life, not sure what I would do if I didn’t have Stampin’ Up! in my life!

Of course I had to top off my card with some bling! I chose Gilded Gems to add that final touch. So? What do you think? Could it be for a wedding, birthday, pick me up or all of the above!?

As usual, here are all the specifics for this card:

Stamps:
Ornate Thanks

Inks:
Versamark

Paper:
Whisper White Thick 8 1/2″ x 5 1/2″
Whisper White 5 1/8″ x 3 3/4″, 4 3/4″ x 2 3/8″ (for under Quilt)
Gold Foil 5 1/4″ x 4″, 5″ x 3/4″ (x2) for border, scraps for squares
Ornate Garden DSP scraps for squares

Misc:
Ornate Borders Dies
Ornate Frames Dies
Polka Dot Tulle Ribbon (white)
Gilded Gems
Dimensionals
Gold Embossing Powder
Embossing Buddy
Heat tool
Subtle 3D Folder

Also as usual, all the supplies will be listed below in picture form. Click on any of them to be taken to my OnLine Store. If you purchase $35 or more from me, you will receive from me two different tutorial bundles that will have step by step instructions PLUS pictures! Here is a sneak peek of one of the bundles:

One Bundle you will get if you purchase $35

Hope you are doing well! I’m still eating birthday cake from yesterday so of course I am doing well! LOL

Please come back and see me again soon! Don’t forget to sign up for my Newsletter, if you have done it in the past do it again, all the info was deleted! :-O I will be sending out the Newsletter around the 10th of each month.

Lisa Tedder
A California girl living in North Carolina

Product List

Happy Mail! (my birthday cards)

Hey Guys!

I love when I go to the mailbox and there are actual cards in there! Usually we get junk mail or bills, BUT when it’s my birthday I get handmade cards! WooHoo!

Wanna see them? Some I won’t show the inside, since there are private messages inside, but some put their messages in a note so I can re-use the card if I want! Here are the cards I have received so far:

Front from Bea Redd
Middle
inside

I have always wanted to use the Pressed Petals Washi tape to make a flower, this card makes me want to do it even more! Thanks Bea!! She sent me this card all the way from NV! VERY talented!

This is a see-through card!

This is from my good friend Gale Presnell! We have each others backs and have walked the same roads…….She used the Lovely Lily Pad and the Lily Pad Dies from Sale-a-Bration! She also used Window Sheets which the flowers are on, the wording is on the inside! Love these kind of cards!

LOVE this color!!

As for this card, Pat Beck sent it to me! She used the stamp set Positive Thoughts from the current Occasions mini (If you like this stamp set…..LOVE the sentiment!…….get it now! It might not stay in the Big Catalog come June!!) Seaside Spray is one of my FAVORITE In Colors EVER!! Of course, Pat added Wink of Stella and some bling to the card! She knows me VERY well!!

LOVE this set!!

For my next card, this is from Kathy VanAntwerp (aka Twerp!) We are stamping buddies from way back! It was so sweet of her to mail me a card! This one uses the Poppy Moments Dies! Love that you can mix and match the colors to give it shading! Twerp, you are the best!!

That’s what I have gotten so far! Hope there are more, but this just might be it. I got more this year than last year, so I am a happy camper!

I’m glad you have stuck with me to see all my Birthday cards! This is my LAST year in my fifties, hope it doesn’t speed up too fast! Moreover, it was really nice to get Happy Mail when I am Sheltering at Home right now. Hope everyone is doing well, I’m going to go eat some Birthday Cake that my good friend Gale brought over! Yum!

Lisa Tedder
A California girl living in North Carolina

Product List