Tag Archives: greeting cards

Going to the Beach

Tired of the Cold

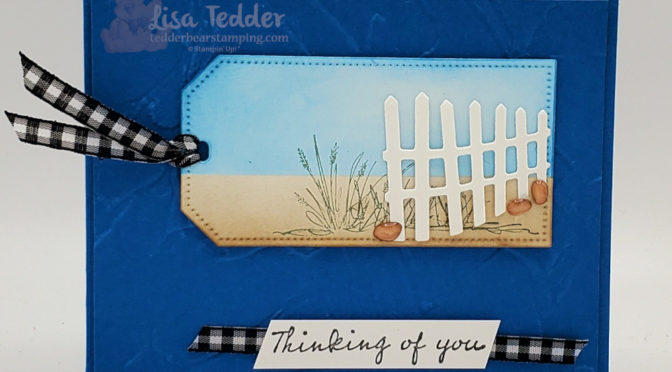
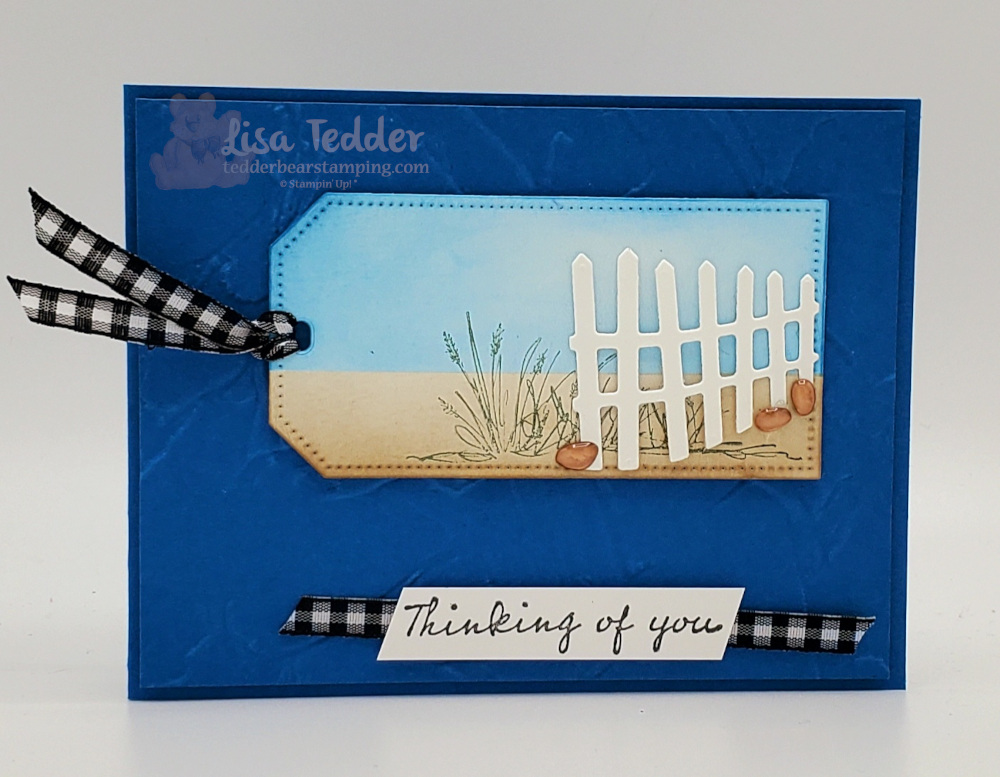
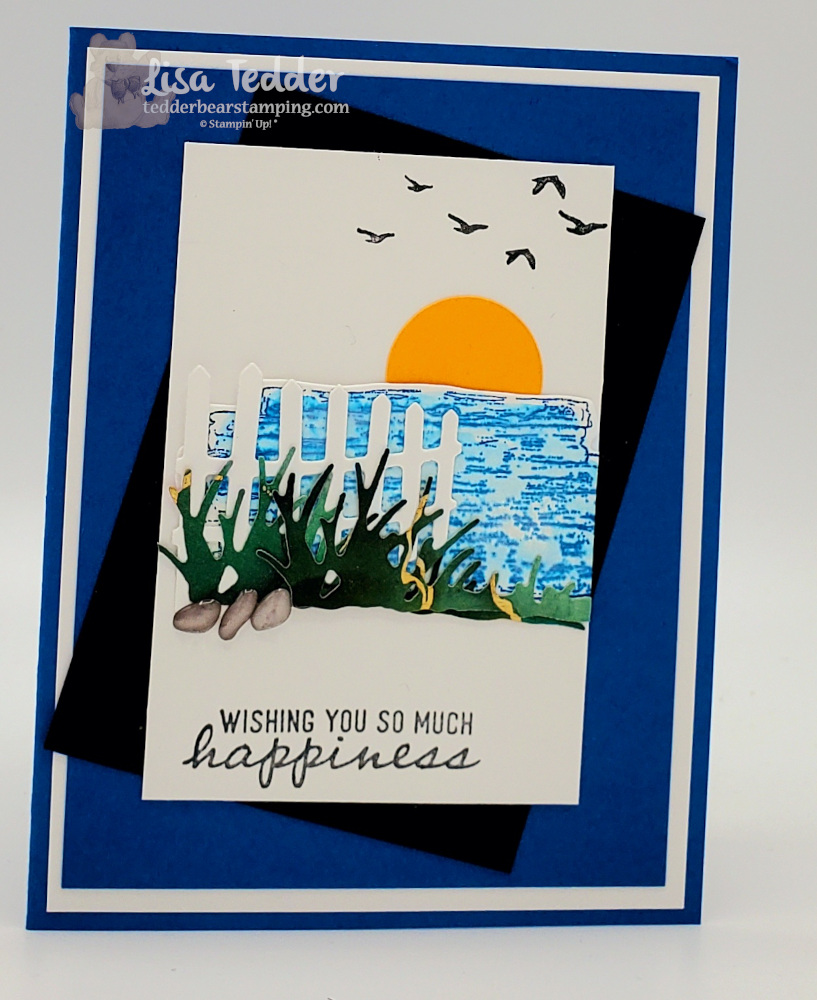
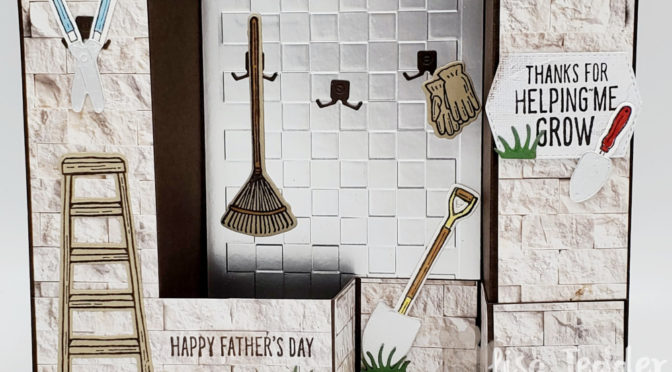
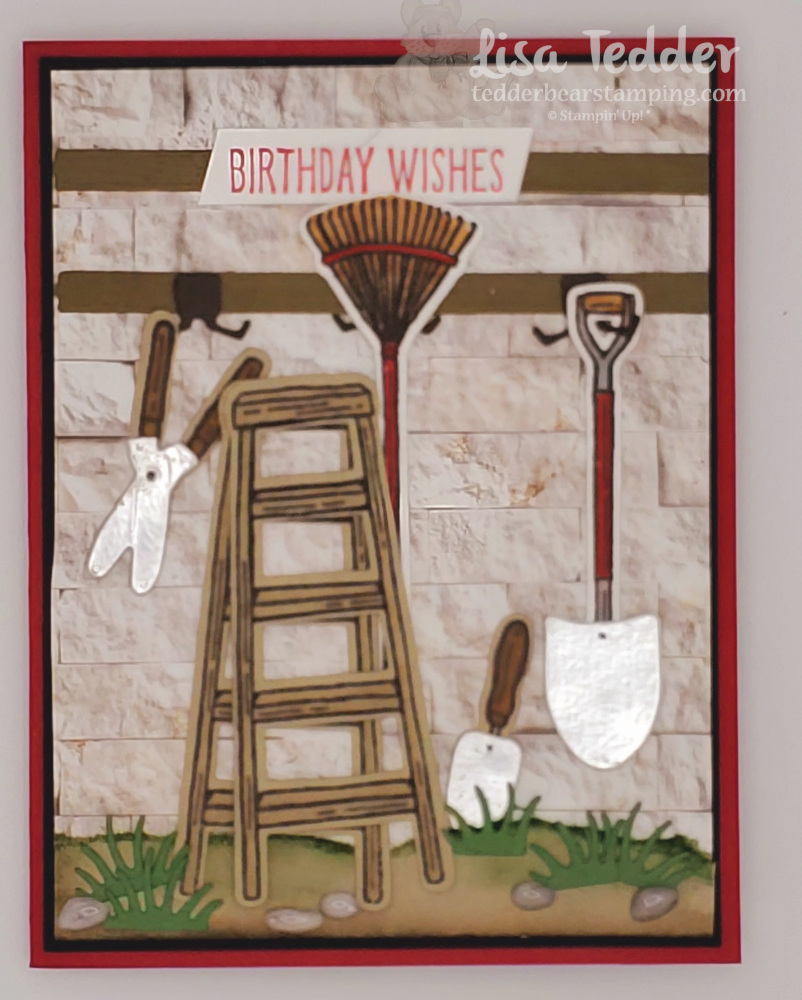
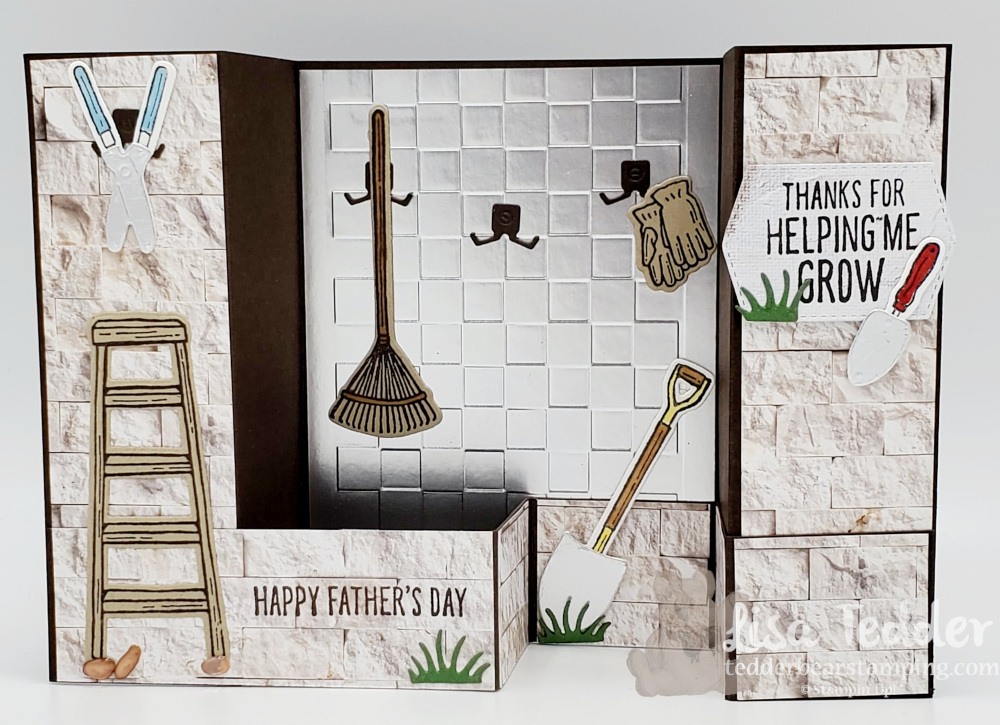
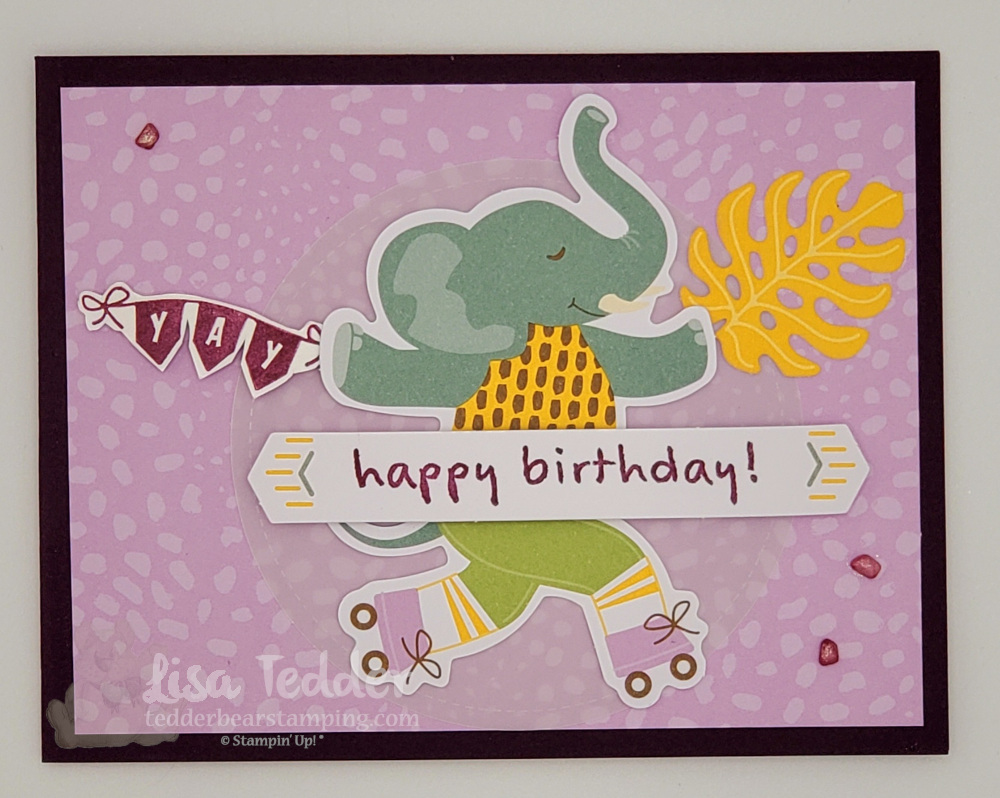
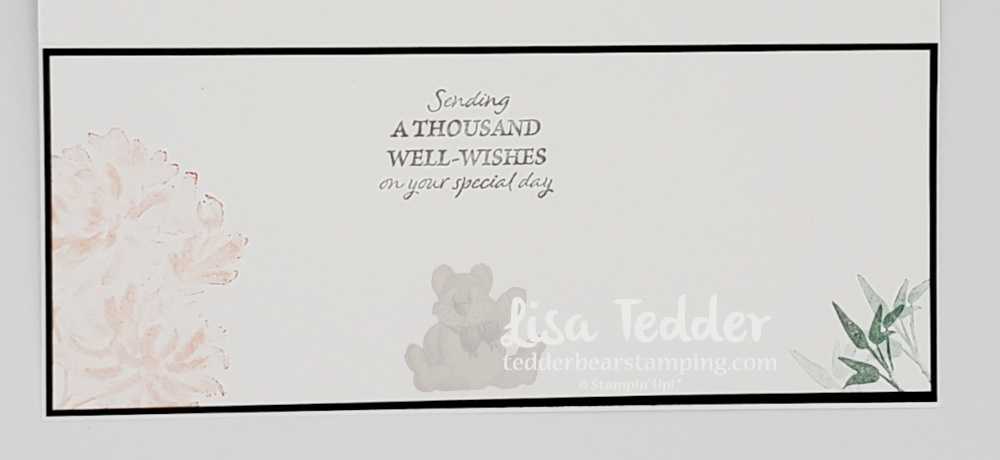
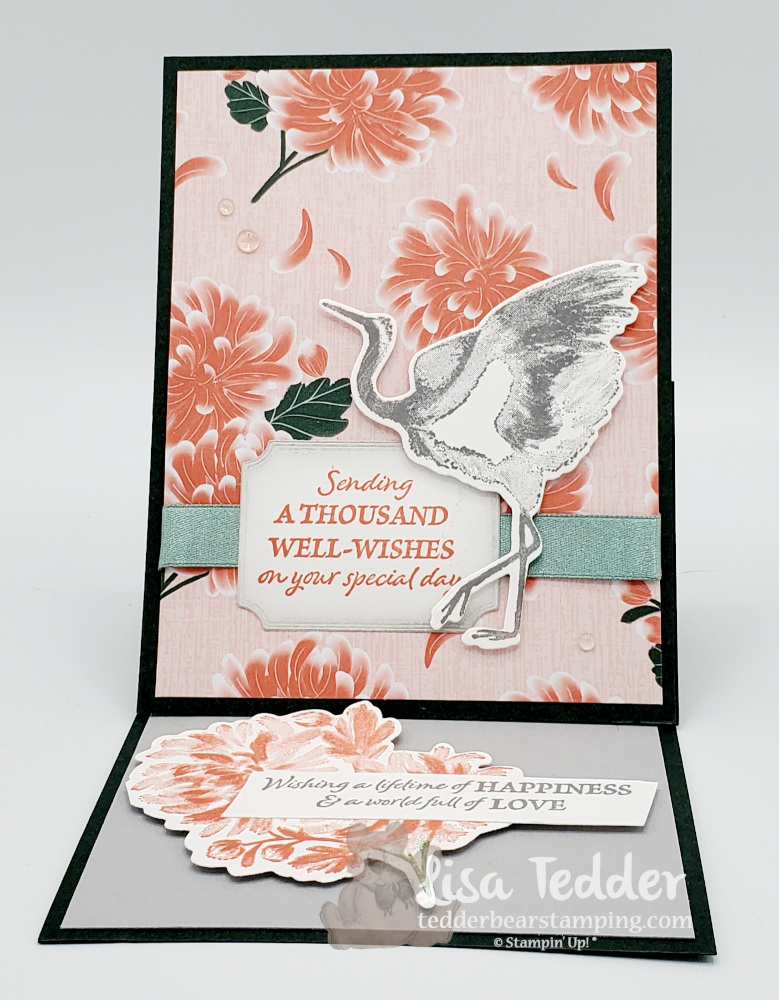
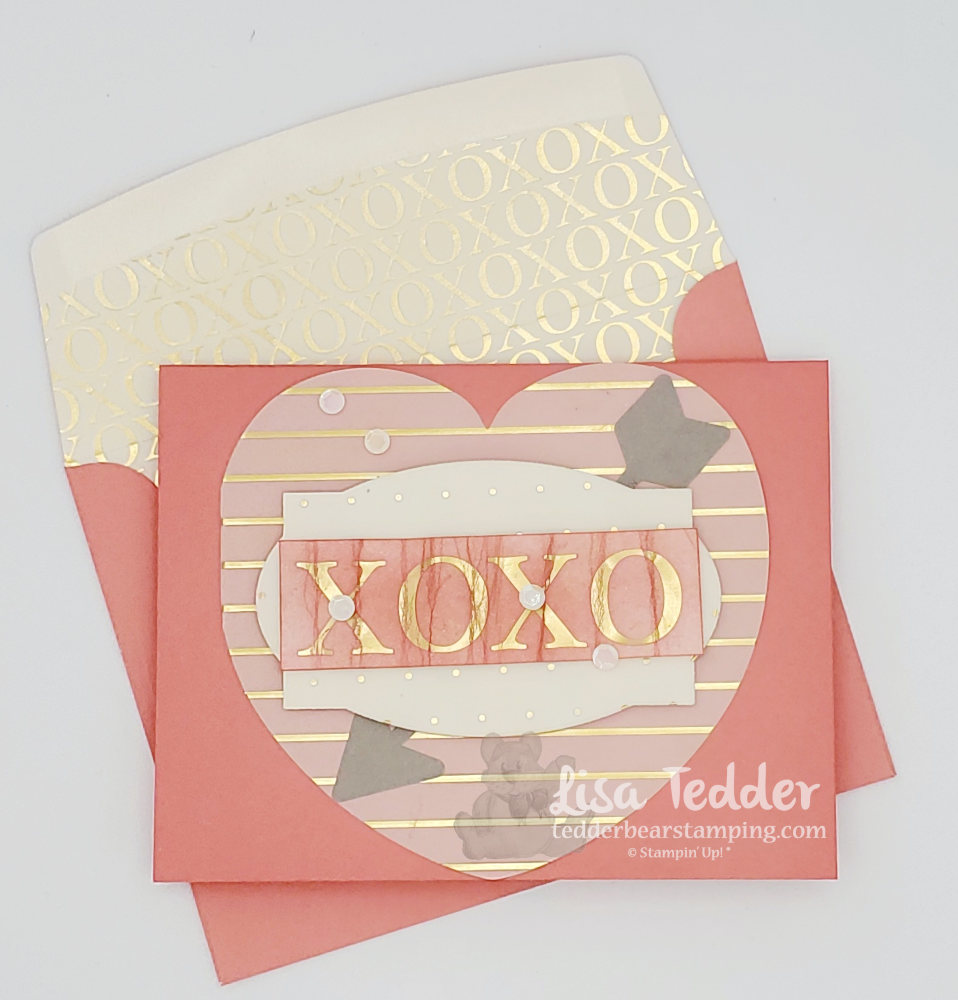
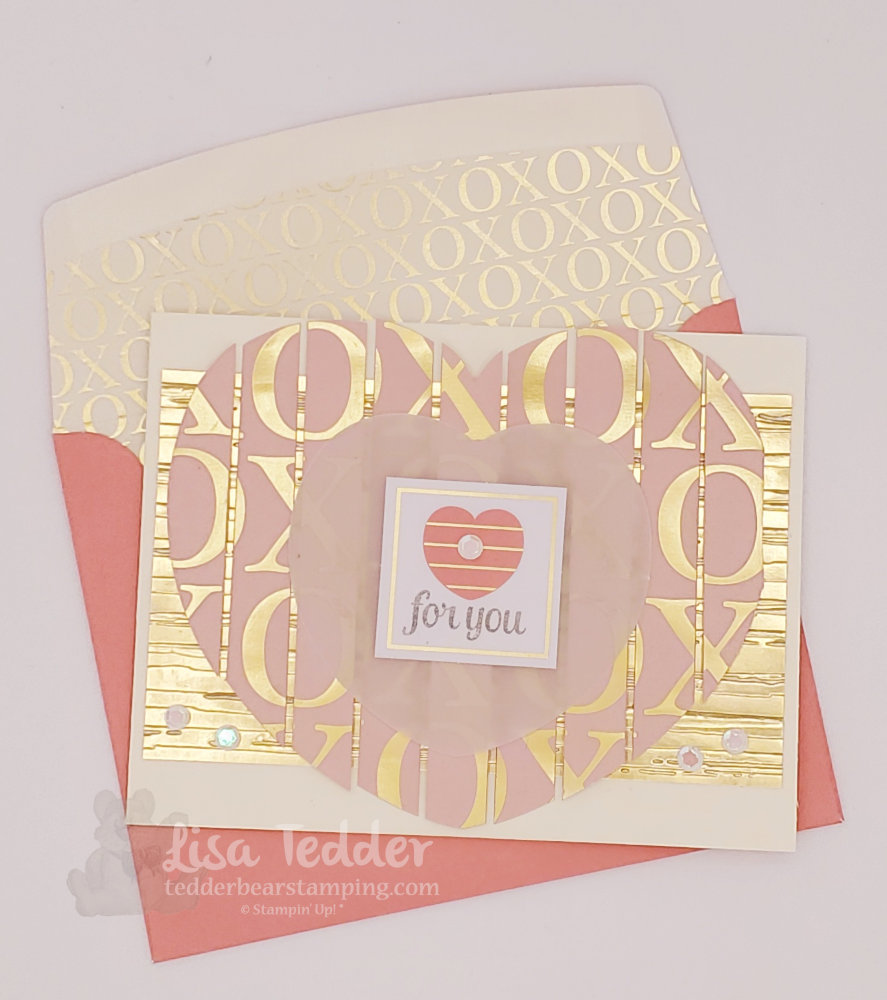
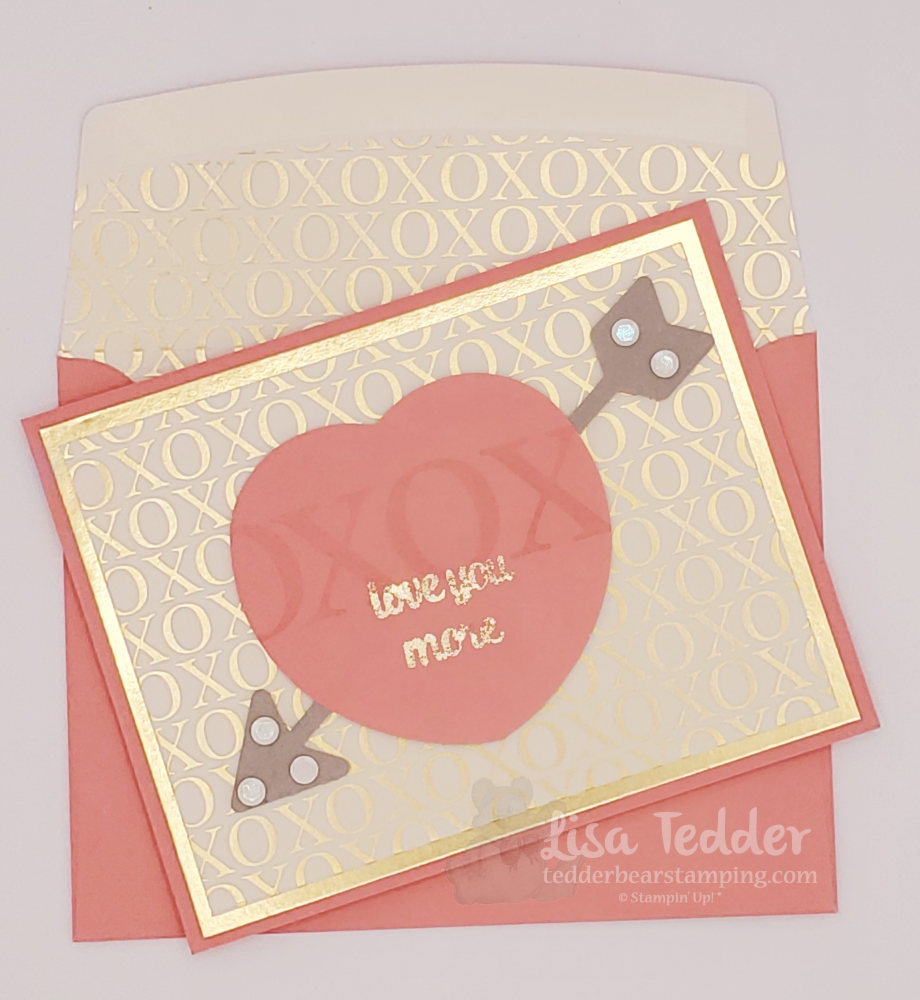
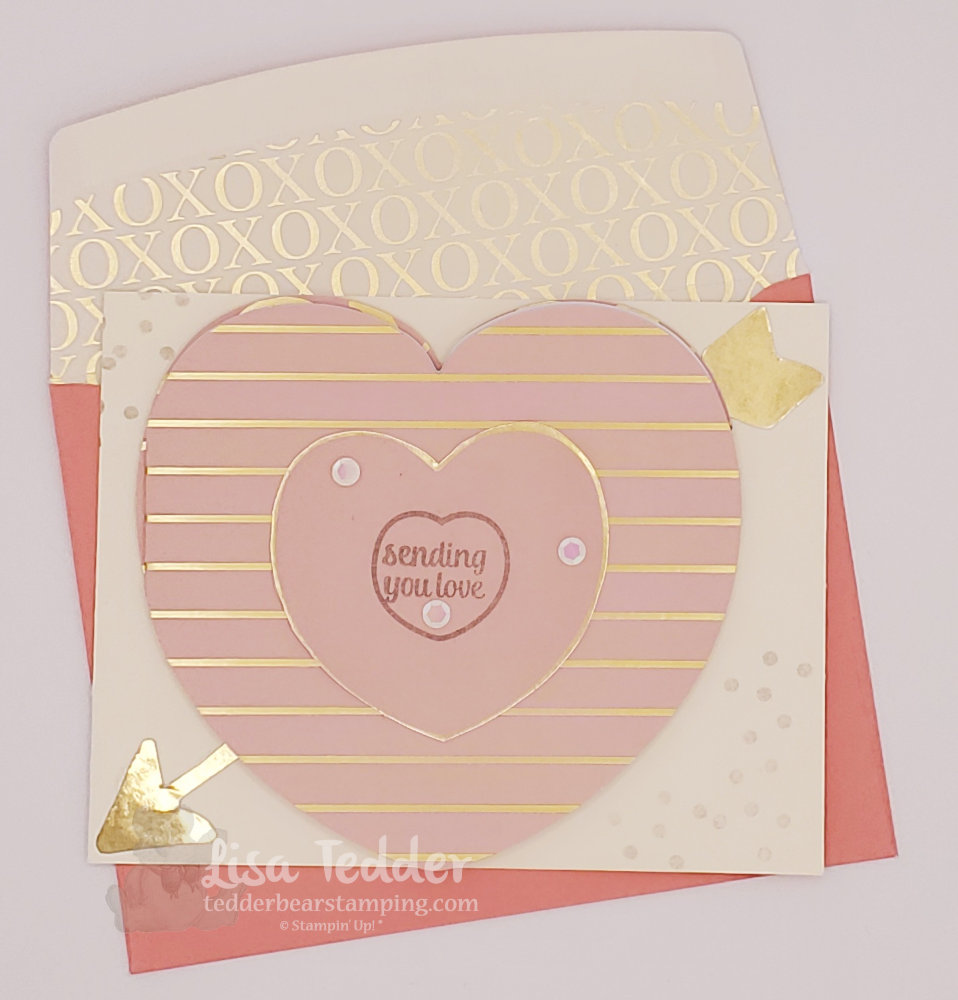
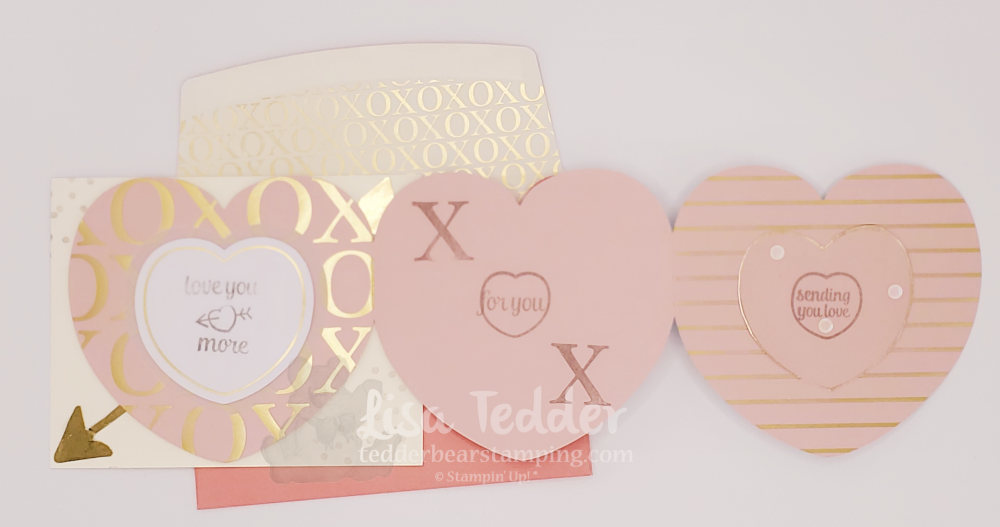
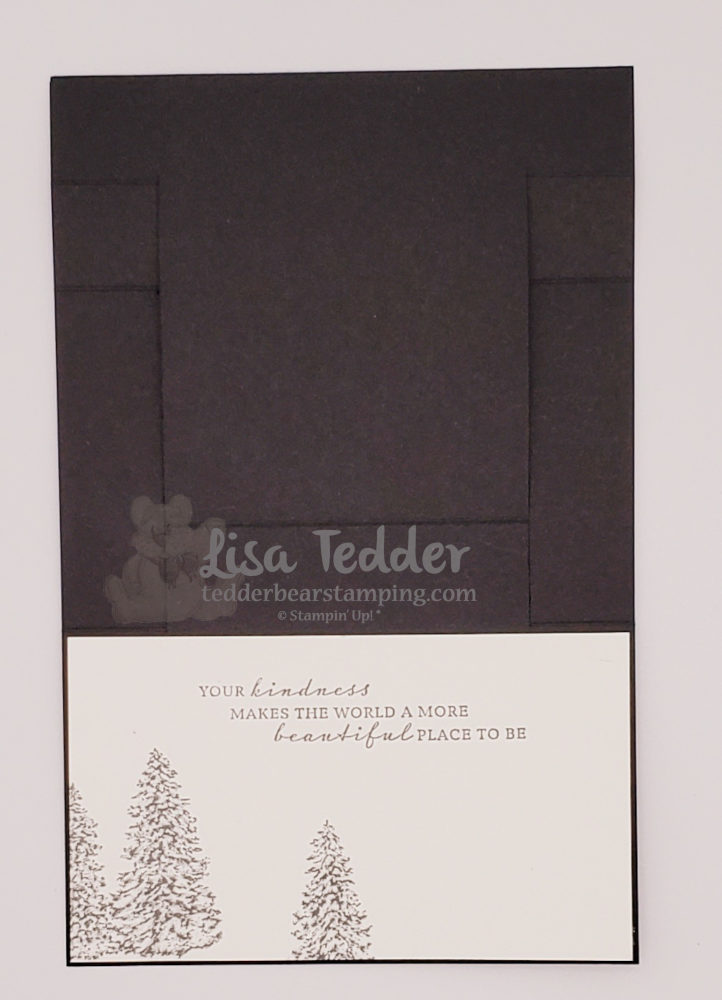
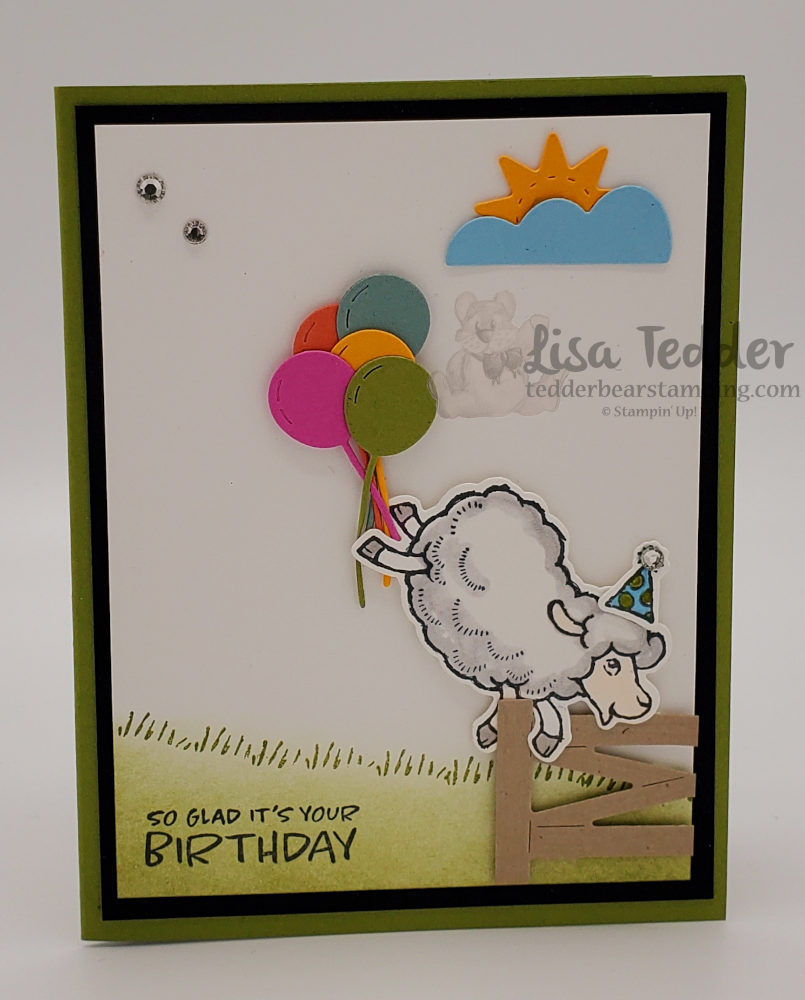
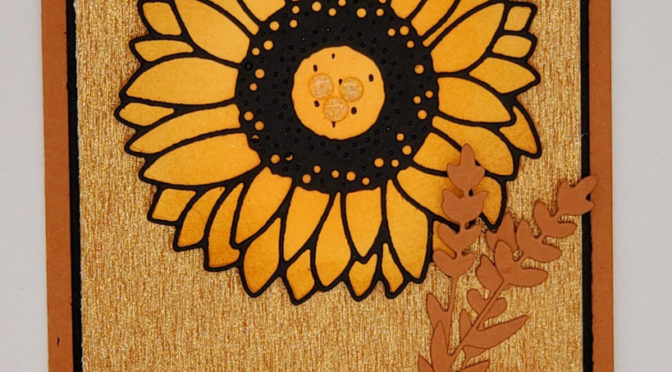
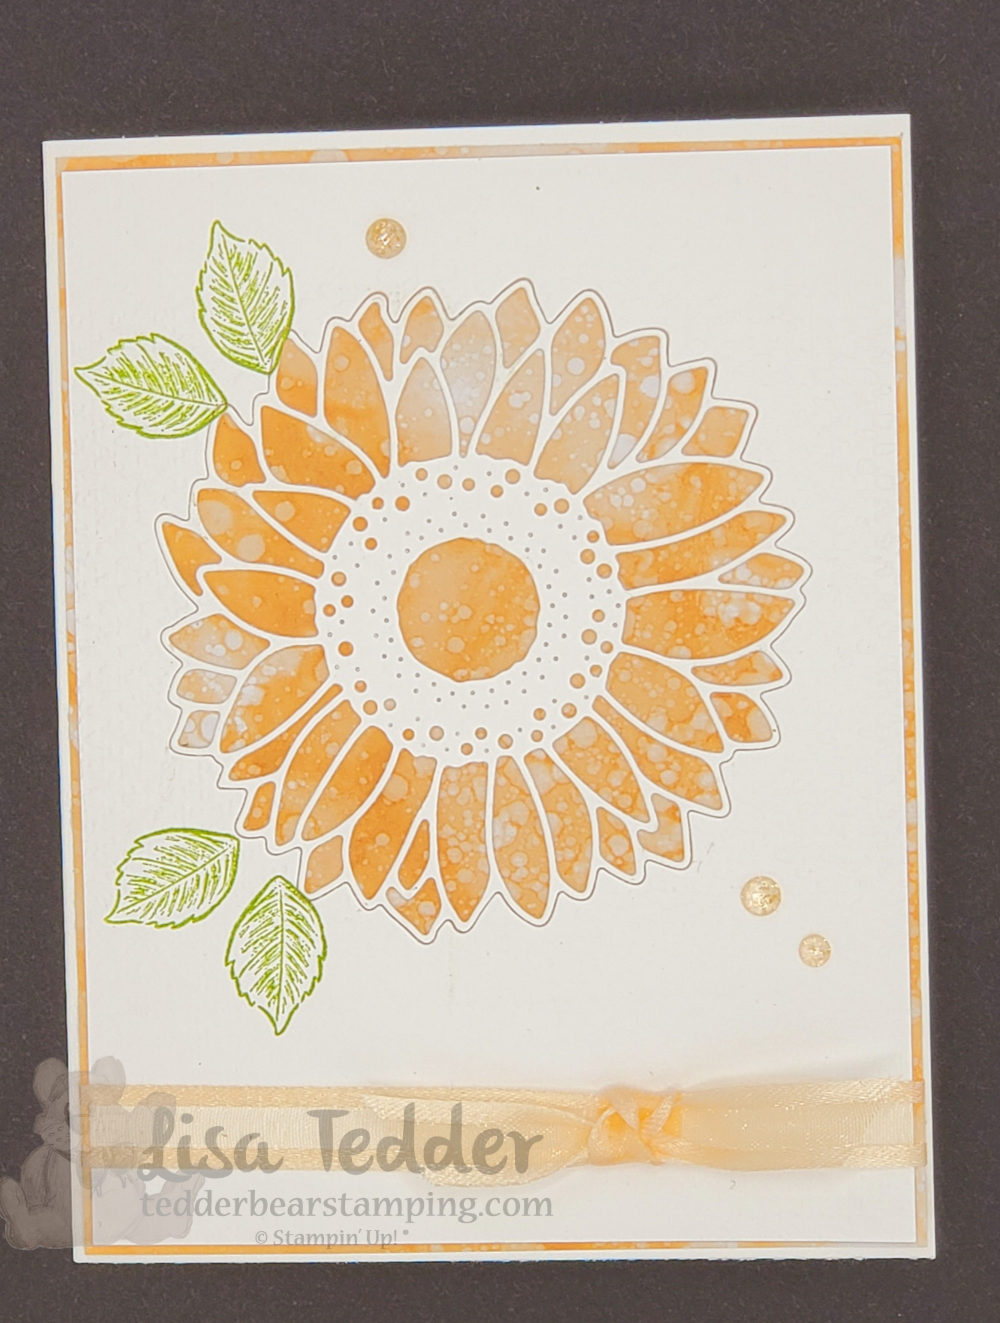
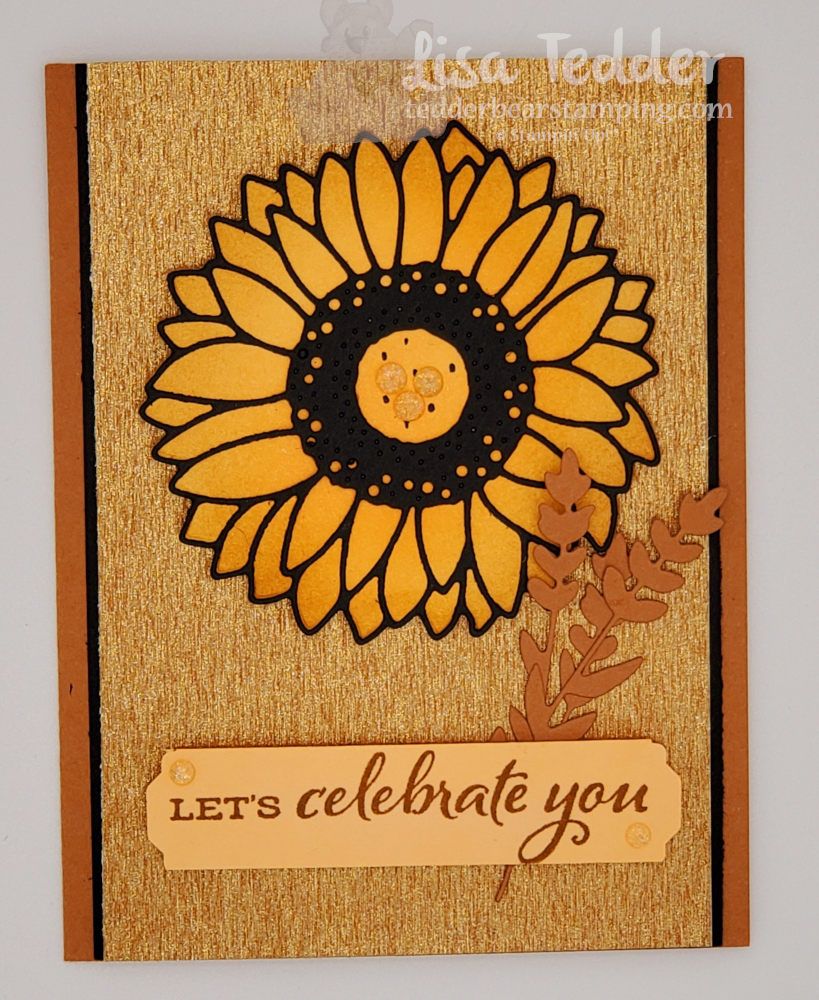
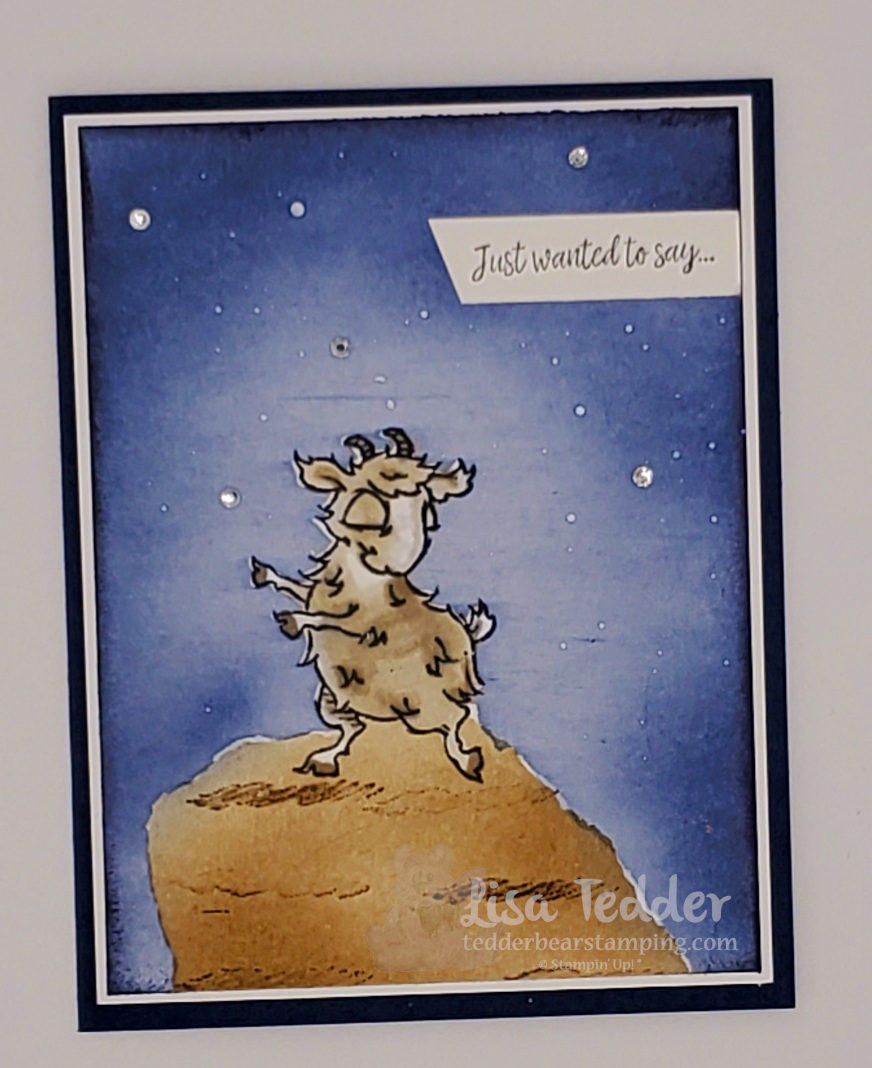
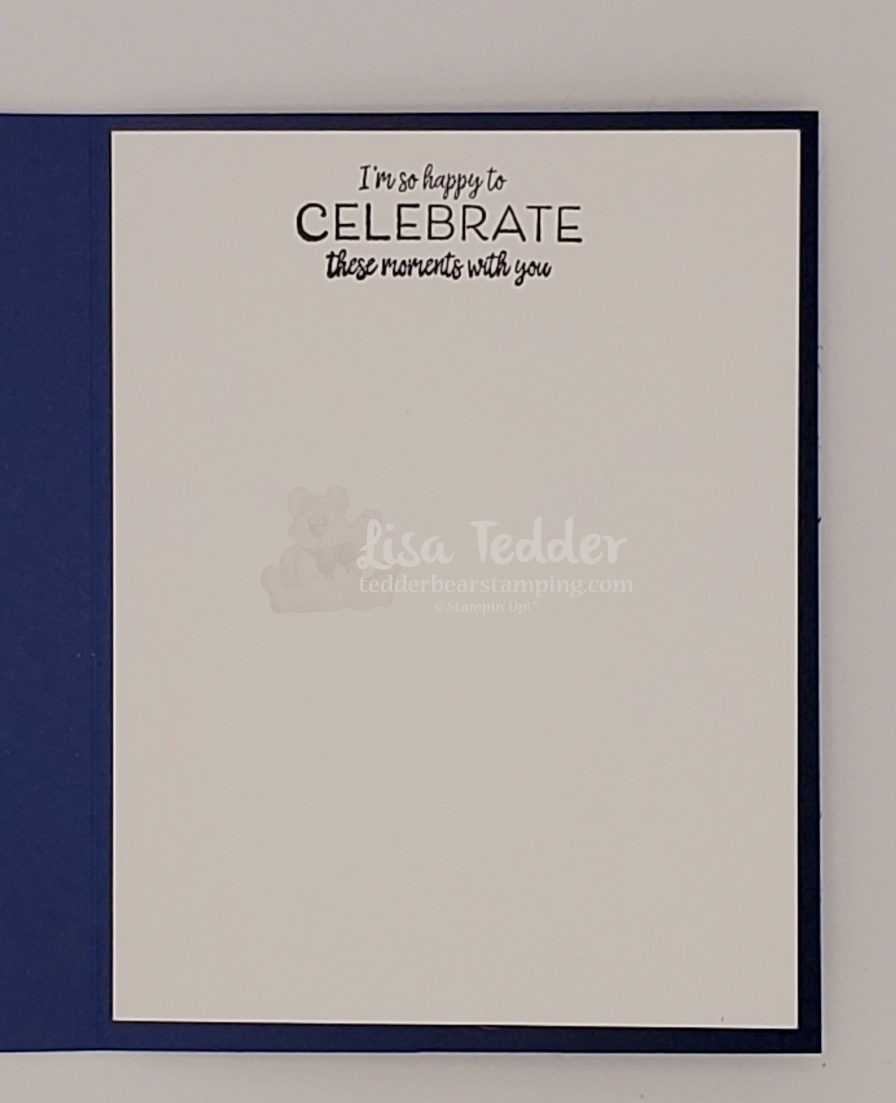
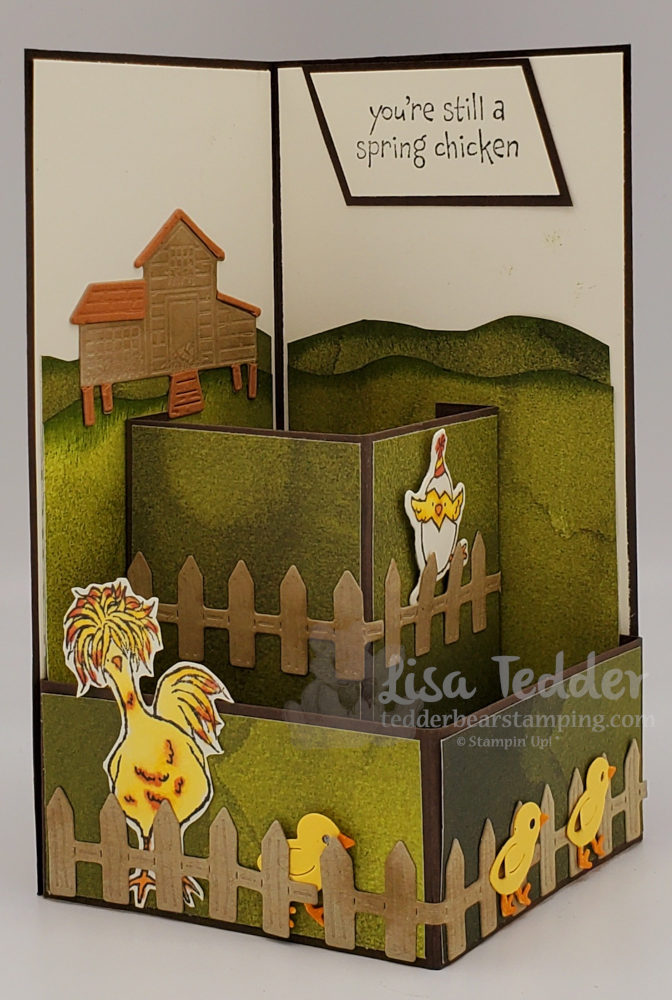
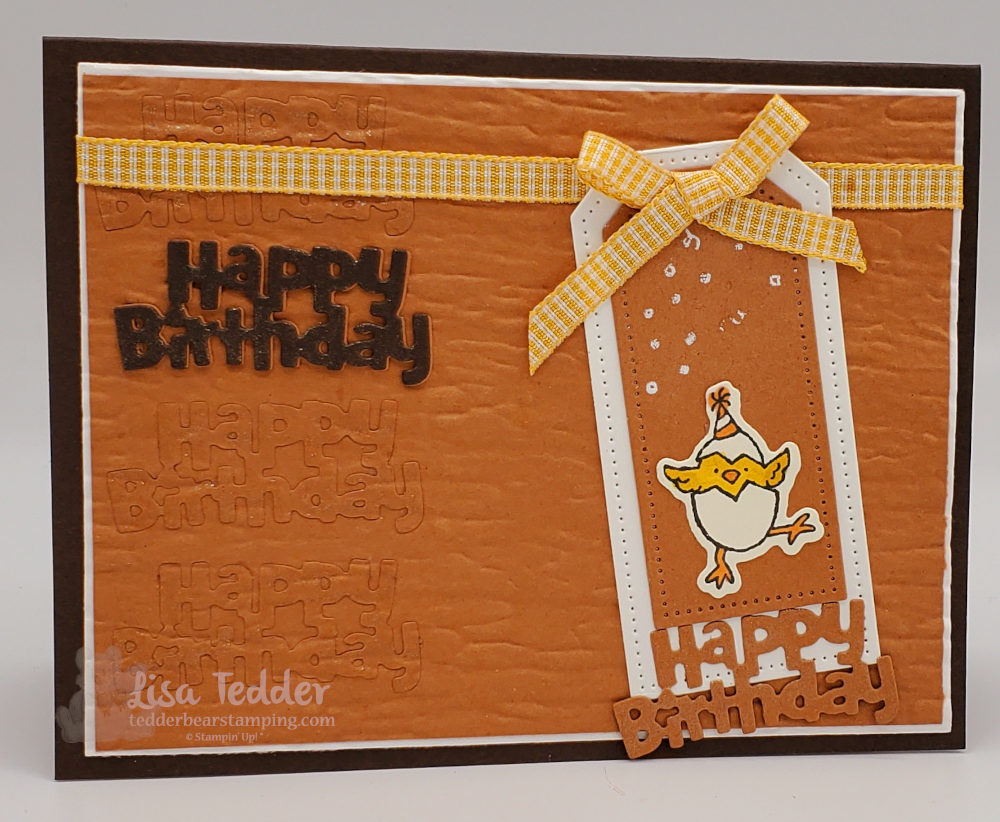
Hey guys, I’m going to the beach. I’m tired of the cold! Generally I am ALWAYS tired of cold, I am a girl who is not happy when it’s cold. I am sharing with you today two cards, of course, where I will be going to the beach! Of course I adore the ocean, growing up in Southern California I went to the beach all the time. Because I live in North Carolina I don’t get to go as often.

First thing to remember is every week I make cards for you that I also do a video on, indeed you can see the video for these two cards here. Moreover if you missed my other videos but would like to catch up, of course you can, just click here. Download my cards with a PDF and follow along if you desire!

Going to the Beach!
I absolutely LOVE that fence!
Another card where I go to the Beach
I love sunrises and sunsets at the Beach!

Become a Happy Shopper

Why did I join Stampin’ Up! almost 19 years ago? Of course it is because I wanted the Discount! Not to mention that I also wanted to get Color Coordination. Compared to trying to scrapbook and coordinate the colors on my page, SU! made it simple! Undeniably their products match each other, the ribbons, inks, papers embellishments ALL color coordinate. That takes away all the guess work for me! After all once you pick the color that best goes with your photo, the rest is easy! Join my team and you too can be a Happy Shopper! Coupled with getting a discount, my team get’s together every month and we stamp and swap cards! I also teach you how to do watermarks and make pdf’s along with other teaching tools.

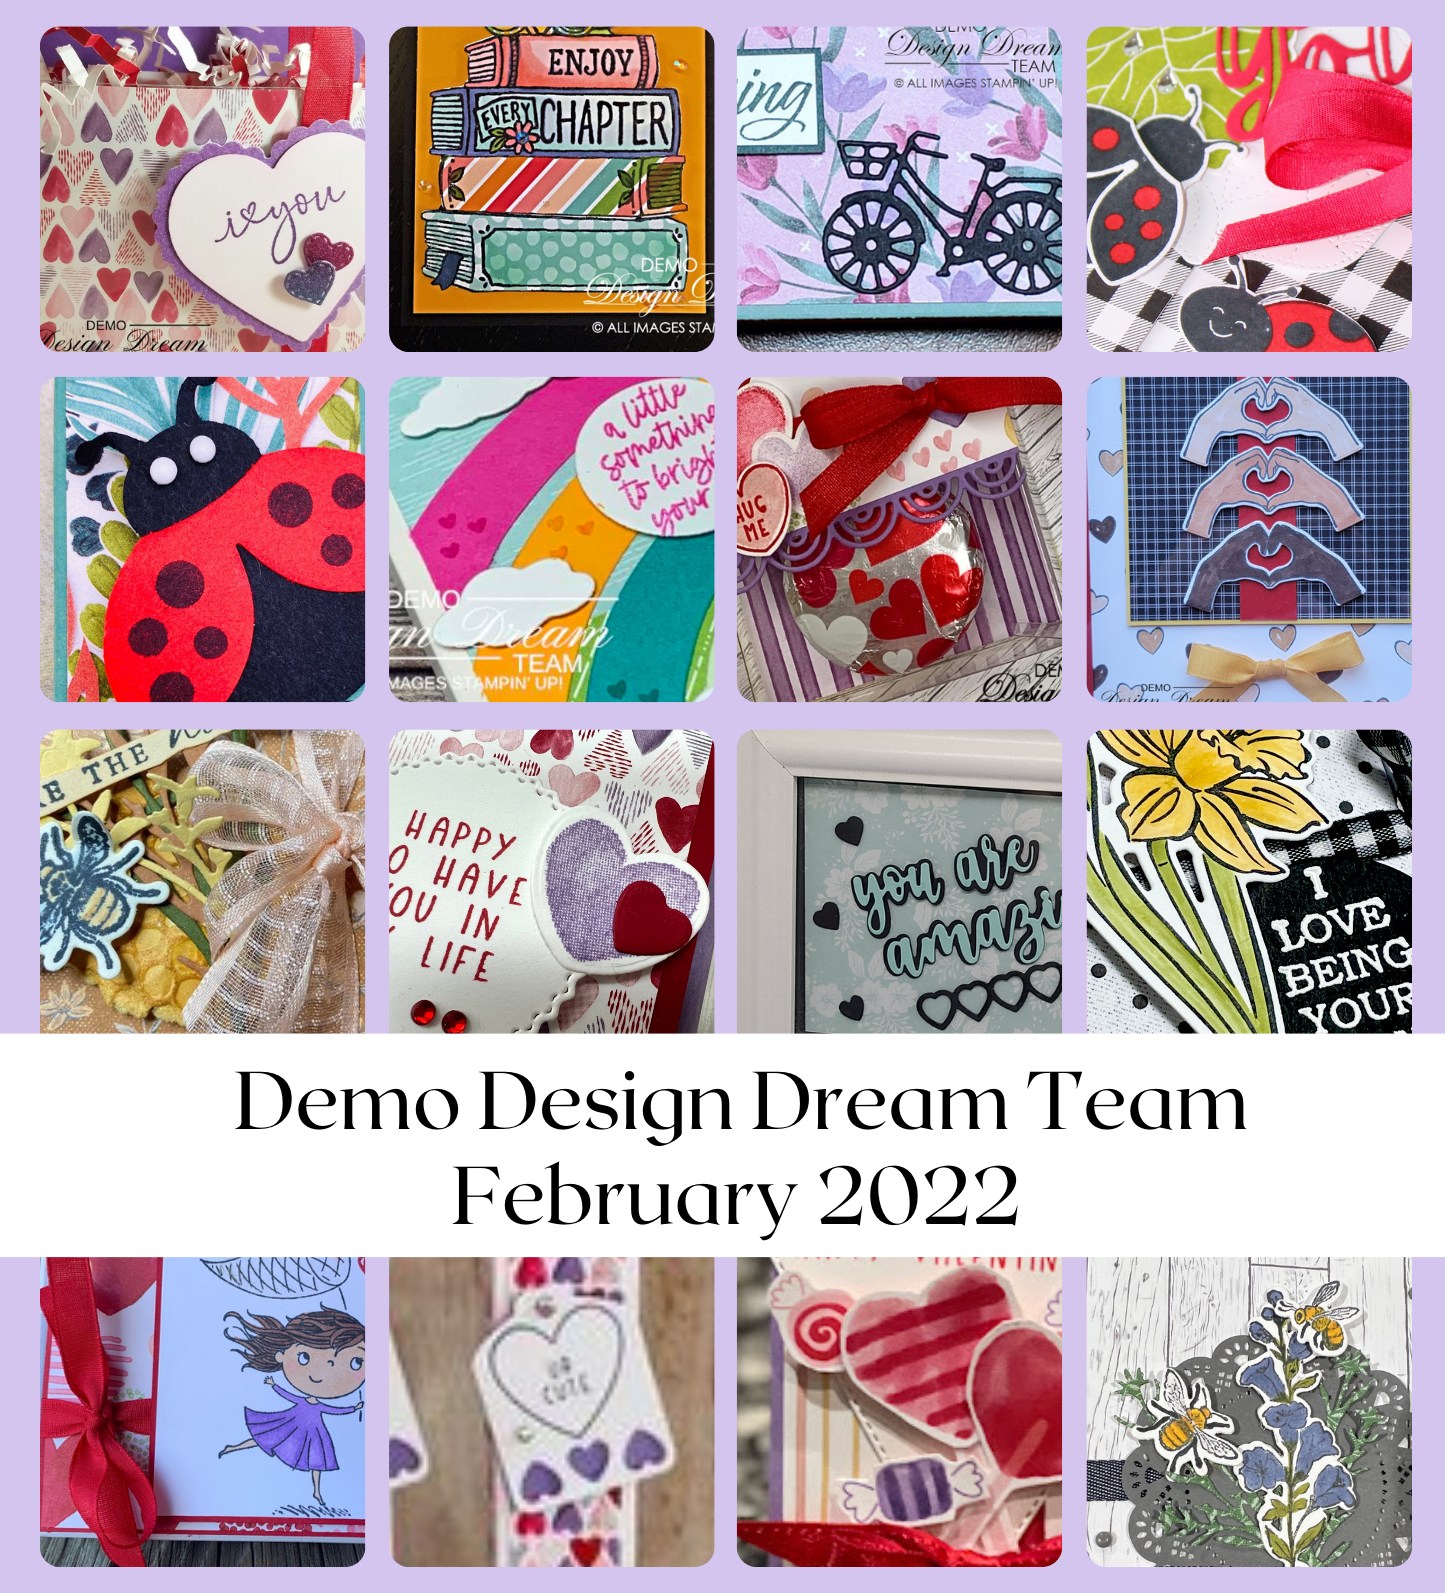
Get a PDF with a Qualifying order!

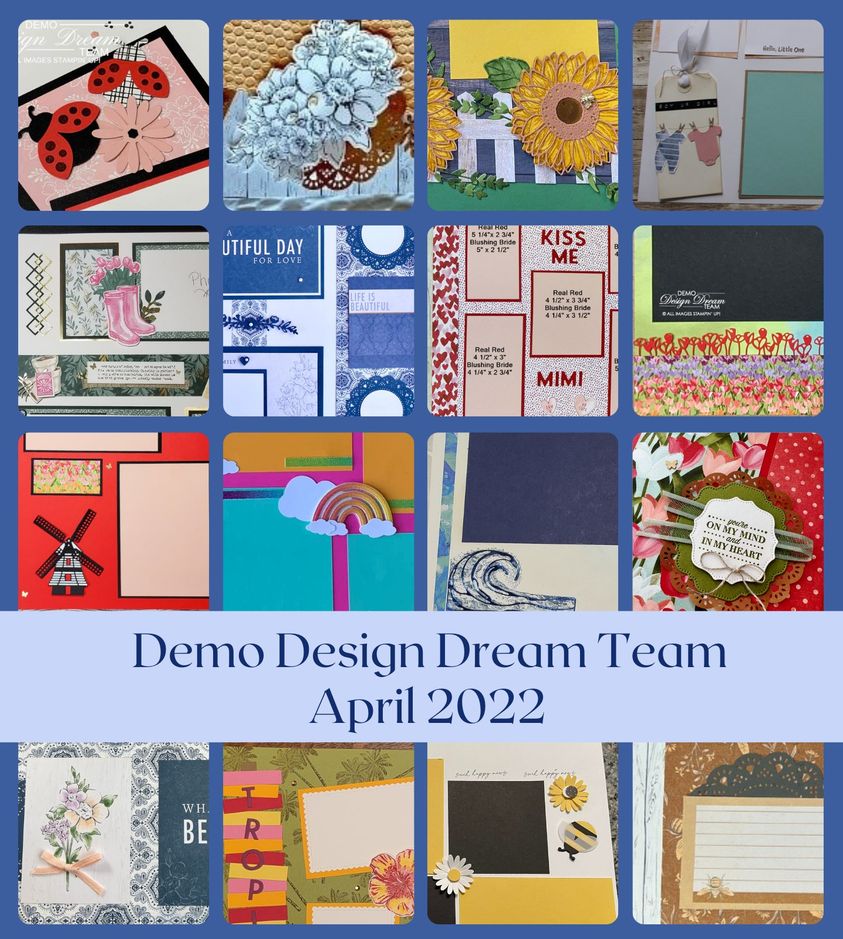
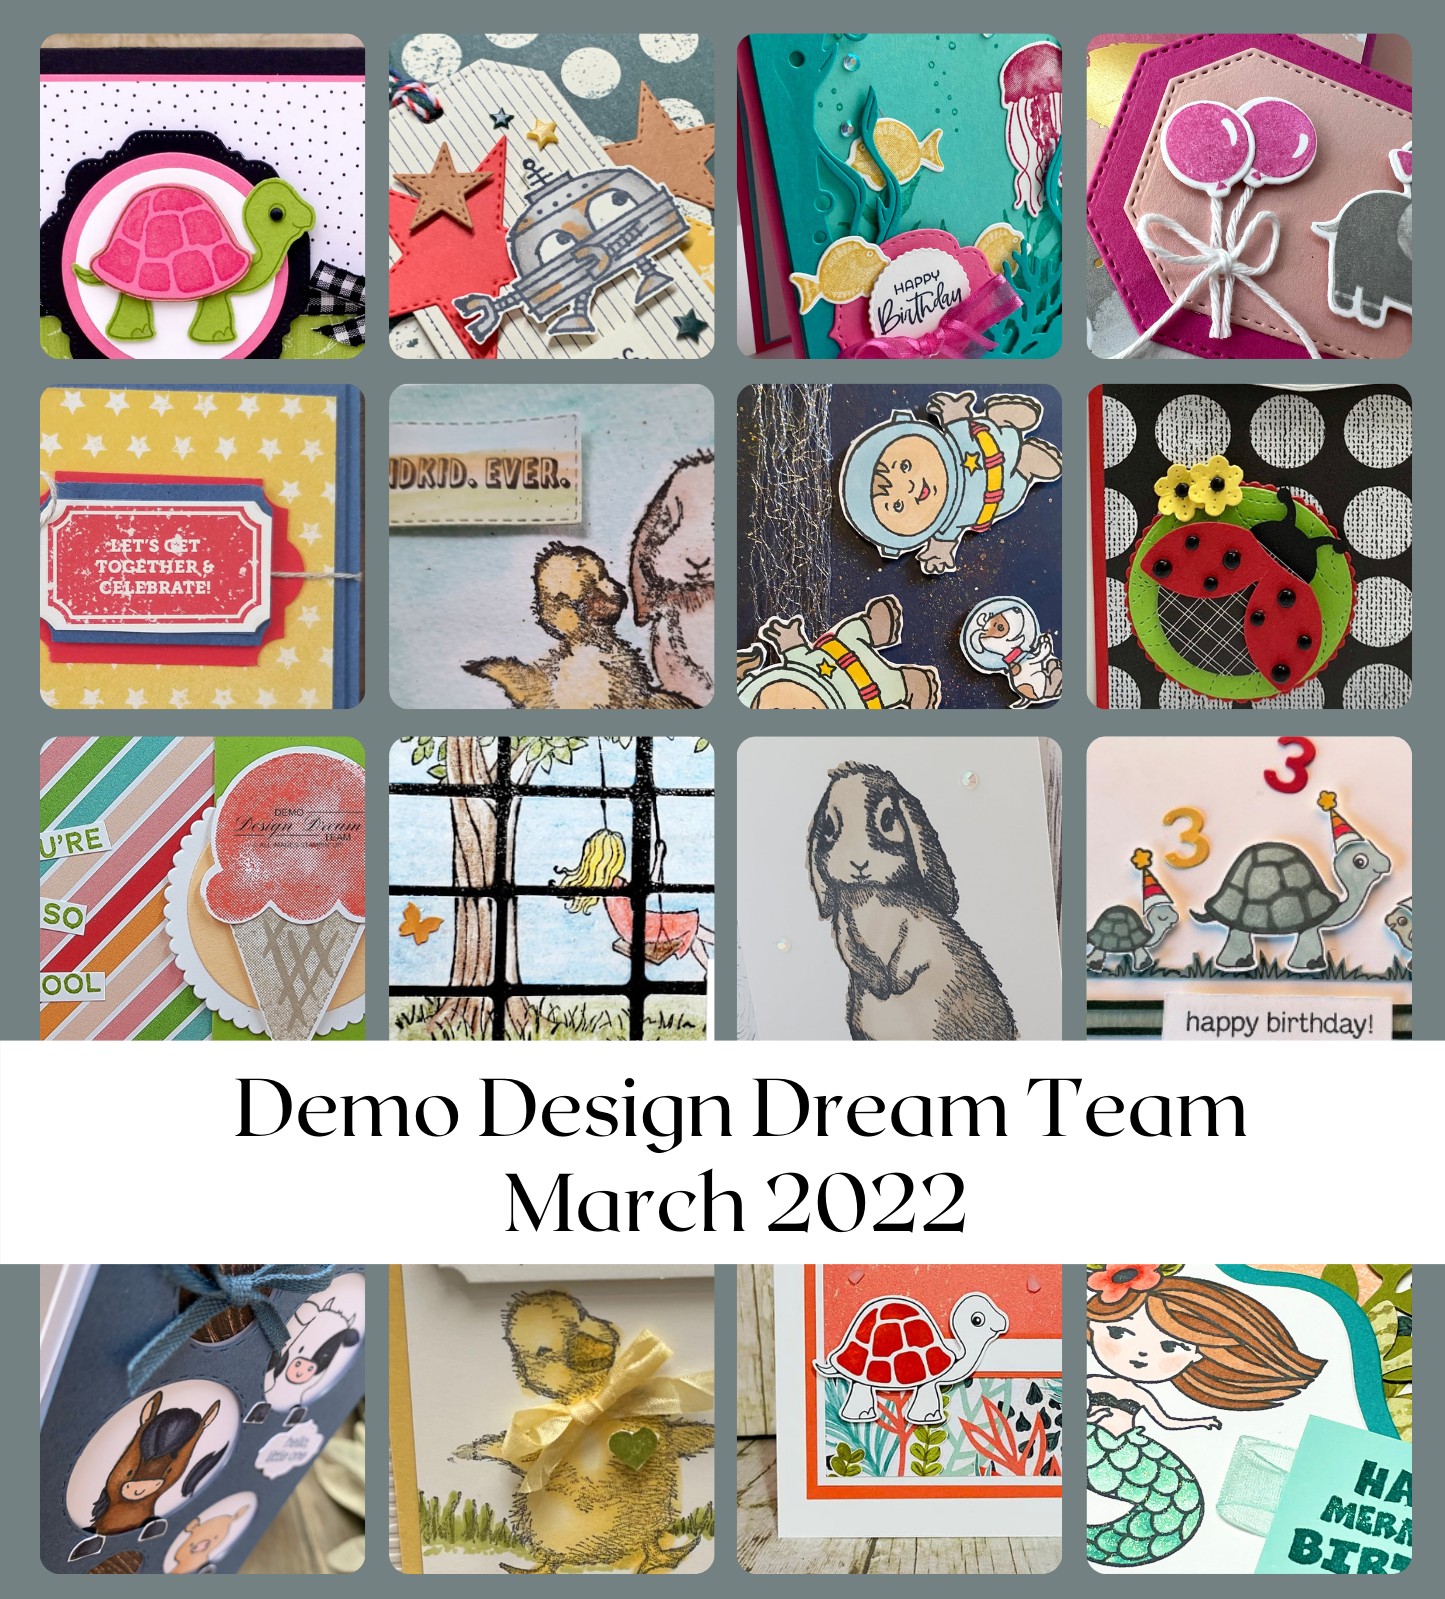
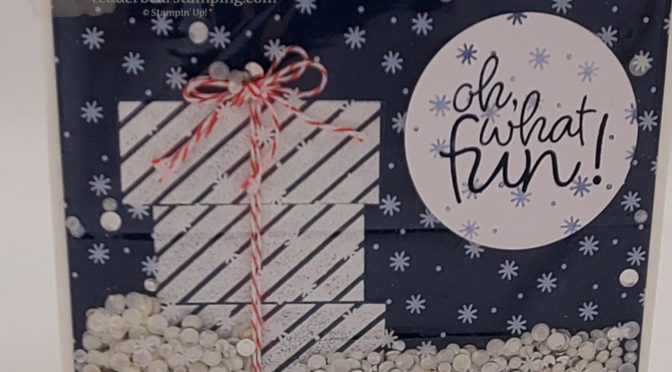
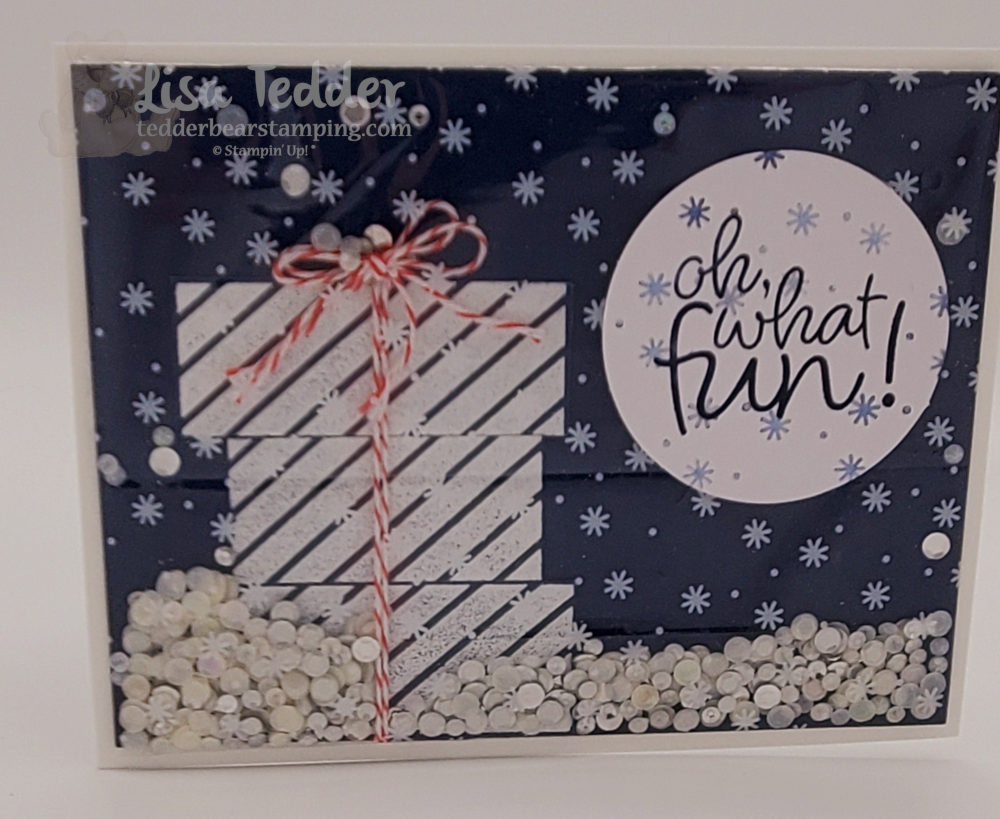
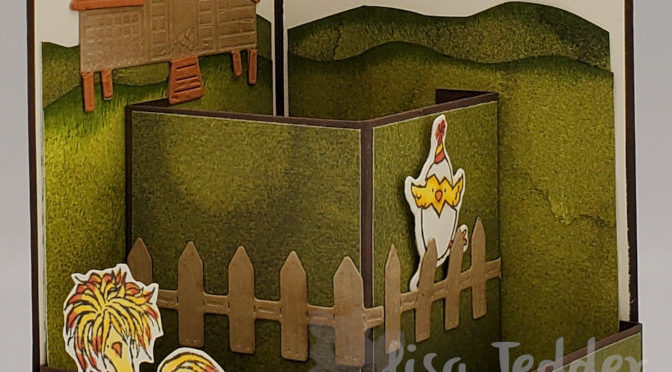
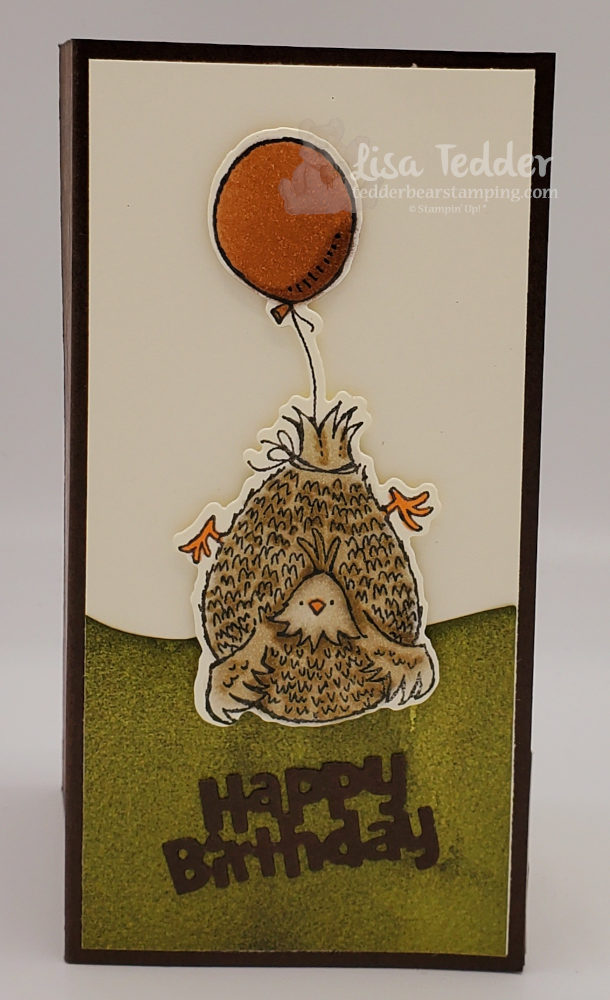
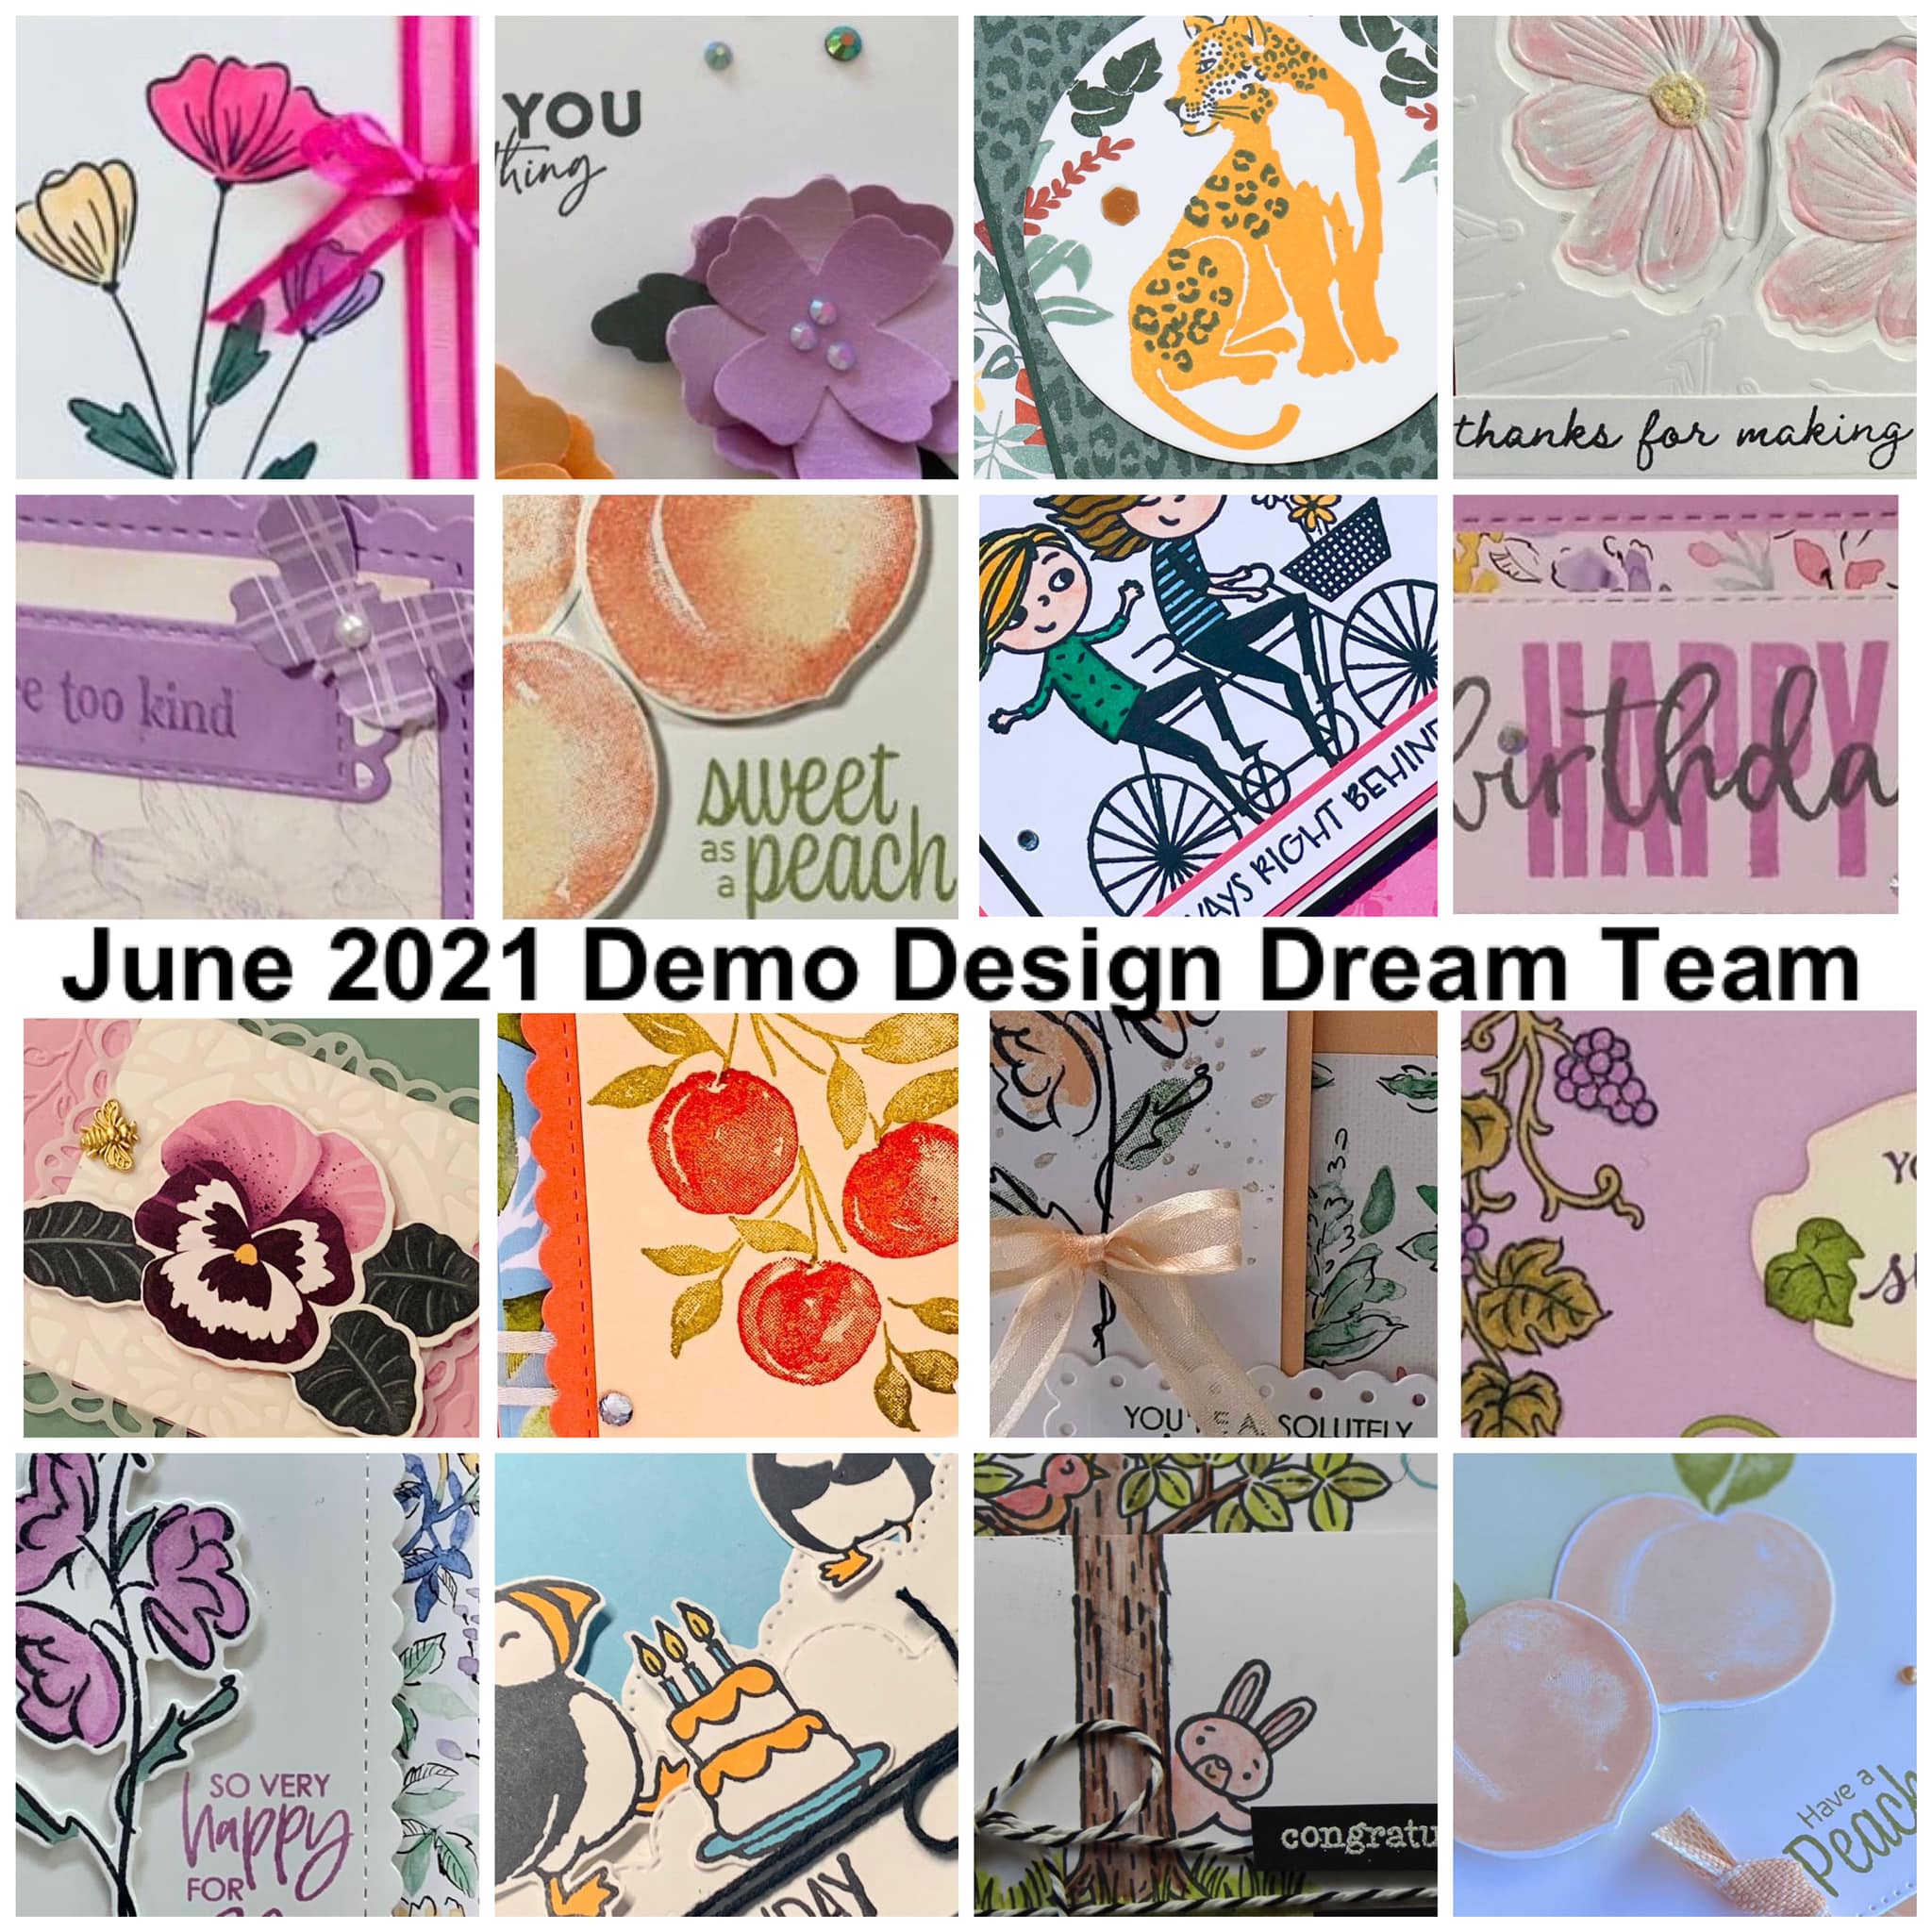
Every month I work with 16 other Demonstrators where we each make a project, write down the instructions and include pictures. How can you get this PDF you ask? Of course it is super simple….with a Qualifying order ($35 or more) you will receive in your email a PDF with directions on how to make each one! As can be seen below there is a sneak peek!

This month it's all double scrapbook pages!
Love scrapbooking!

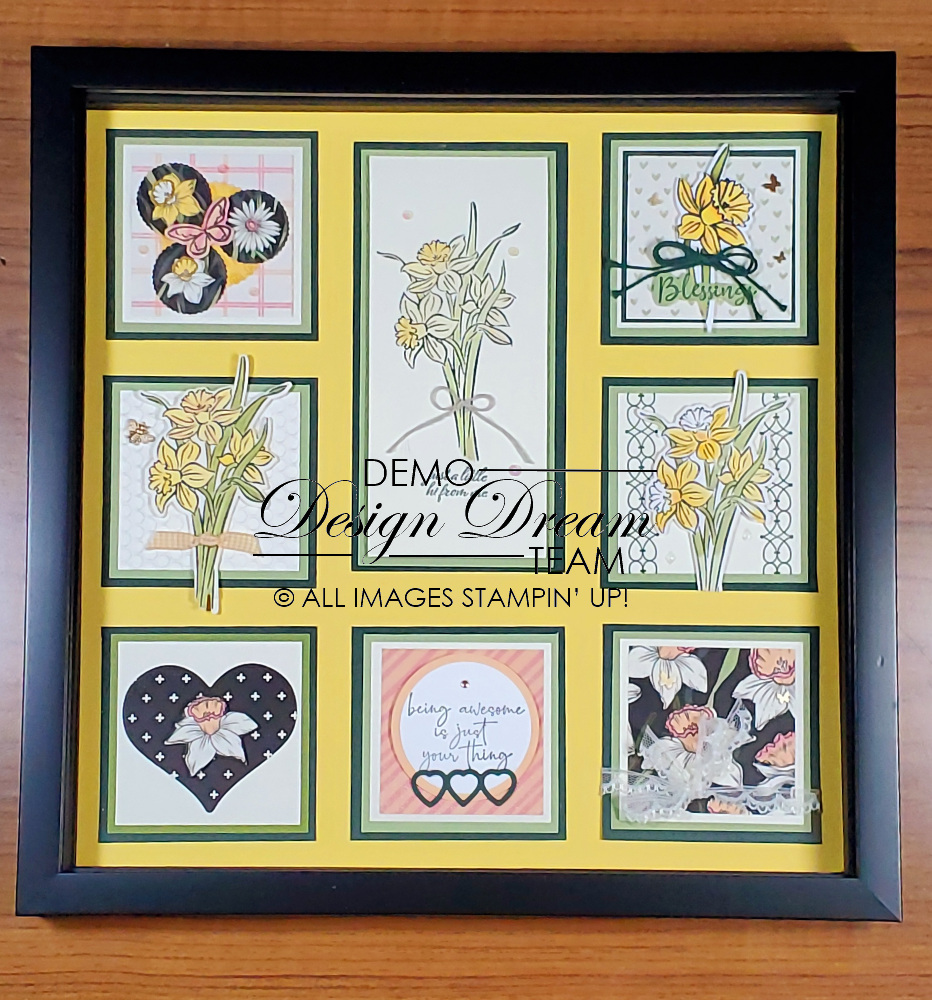
Stampin’ Besties Club!

Undeniably my favorite part of being a SU! demo is being able to do classes with my Besties! Carol, Hetty and I get together virtually moreover we plan 6 cards using the same stamps/suites! It’s amazing how the three of us identically use the same product and be totally different! Rarely do we get to come together in person, so we have so much fun in our Besties Club! Not only do you get 3 Designers, but you get so much more! Check out this page to find out more then let me know you want to be a Bestie too!

Finally….

Notwithstanding, I am finishing my post today, I would also like you to know that I appreciate you! After all, The fact that you are reading this has made my day! I work hard to make my posts interesting and particularly hope you find them so. Also, below my sign off are the pictures that you can click on of the product used in today’s cards. Click on any of them, after that you will be taken to my Online Store! My hope is that you love the cards today and will of course want to try them out yourselves! Until next Thursday!

Lisa Tedder
A former California girl living in North Carolina

Supplies: Click any to shop!

Product List

Masculine Card wanted!

Masculine card done!

Hey Guys, Masculine card wanted? It’s easy, especially if you are using Stampin’ Up!’s stamp bundle Home & Garden. Evidently when you look at my cards you can surely see how much fun I had making them. As always on Thursday’s, I have a video for you to watch both of these equally good cards. Of course you can definitely catch it here! Overall, I really love making a scene. Thus using these stamps/dies really fit the bill! All in all I hope you like the cards I am showing today.

Masculine  card wanted  this uses Home & Garden bundle
Masculine card wanted and delivered! Thanks especially go to Sharni Haines for the inspiration!
Masculine card wanted, Inside of first Masculine card.
There is even a die that makes rocks!!

Masculine card done!

Masculine cards wanted! Here is a great Father's day card!
Of course I have a masculine card wanted and done!

Card Recipe’s! Download for FREE

At the present time I am adding my pdf’s for the projects here so you can make them easily! My hope is that you love this, of course you will need to let me know! Furthermore, if you are new to this Blog, I do a video every Thursday (4:00 eastern), and I share with you my Stamp Classes! Surprisingly I have been doing this every week for over a Year! Consequently you have a lot to catch up on if you are new here!

Sneak Peek

As always, When you spend $35 or more you especially get a PDF of 16 projects with step by step instructions with pictures! Above all if you purchase over $75 you get the PDF but also get a Home Décor shadow box! By all means, purchase the bundle for the cards made today. In brief Below is a sneak peek for the PDF!

Masculine cards in here too! Sneak Peek of PDF for orders of $35 or more in March
Sneak Peek at the present time.

To conclude, my hope is that you love the cards I’ve shown today! Occasionally I do a poll on my YouTube Live since I would like you to help choose which stamp set to use. Doubtless I chose Masculine cards this week nevertheless you can also come to my Live and help choose what I use! Obviously I would love for you to join me, as a result we will both be happy!

Thank you so much for your continued support! Together with Stampin’ Up!, of course I hope to inspire you! In fact, I have been in Love with this undoubtedly great company, for almost 19 years! In fact my anniversary is excitedly coming up soon! Basically you will want to keep coming since I will have a celebration! Markedly 19 years is a long time to do one thing, besides loving every minute of it!

Notwithstanding I have met a lot of friends through SU!, but have found a remarkable artist in myself. Surprisingly I didn’t even know existed 20 years ago! Markedly my husband is probably shocked too, even though he told me to get a hobby!

Indeed please stop by specifically while I’m Live on YouTube also check out the rest of my videos. Obviously I hope to see you next week!

Lisa Tedder
A Former California girl living in North Carolina

Click pics below to go to my Store!

Product List

Think outside the Box

Paper Pumpkin Safari Celebration Alternates!

Hey Guys!

Think outside the Box with Safari Celebration Paper Pumpkin. In this case the alternatives were so much fun! Important to realize is that there aren’t many surprises left in this world, so why not get Paper Pumpkin from Stampin’ Up! and get one every month! As always I made a video walking through making my cards which you can see here.

On account of that I had so much fun with this Paper Pumpkin, I have made three cards and could have easily made more!

Think outside the box

Paper Pumpkin alternative of elephant
Paper Pumpkin card 1 Safari Celebrations
inside alternate card
Think outside the box with Safari Celebration Paper Pumpkin
Outside the box Paper Pumpkin Safari Celebration
Think outside the box with Safari Celebration Alternatives
Think outside the box with Safari Celebration Paper Pumpkin Get next months’ here!
Think outside the box Safari Celebration of Elk with Blending Brush Technique
Inside Card 3 Get your Paper Pumpkin here!

I have a surprise for you!

Surprisingly, I have decided that instead of writing all the supplies here, I am placing ‘Card Recipes’ under each picture. You can download them, print them or ignore them! LOL Overall, my hope is that you like this better, but you will have to let me know!

And of course, the supplies will also be listed below in picture form, but in the case of Paper Pumpkin I cannot link to this one exactly, so I will have links to buy FUTURE Paper Pumpkins!

For the most part, I want you to enjoy coming here, and if that helps you choose me as your demonstrator, I would love that! If not, I hope you enjoy the cards and recipes anyway!

Lastly, I know everyone asks this, but if you could leave a comment letting me know you stopped by I would love that! And if you stop by my YouTube channel, give me a thumbs up and subscribe! For the most part that is the only way I can tell if people are visiting! My hope before you go is that you enjoyed thinking outside the box!

Lisa Tedder
A former California girl living in North Carolina

Product List

Love this stamp set!

If this wasn’t on your list, let me change your mind!

Hey Guys!

Evidently I love this stamp set – Crane of Fortune, if this wasn’t on your list, let me change your mind! During my Live today I am going to show you how to make these cards step by step! Overall, I can almost guarantee that you will want this stamp set when I am done! Balanced against making a card with an Asian feel, surely this set should sell itself! First thing to remember is that I love cards that have a little more to them, for that reason I put together three cards that are all impressive! Absolutely, I love this stamp set, if it wasn’t on your list, like I said, I hope I changed your mind!

Change your mind yet? I love this stamp set!
Slim Line card using this gorgeous stamp set! Have I changed your mind yet?
Inside 2nd card
Surely, THIS one has changed your mind!! 🙂

As always I have the dimensions and supplies listed below, I also have them in picture form below my signature. At the present time, this stamp set is on low inventory, so don’t wait to order it, click on any of the pictures below, after that you will be taken to my OnLine Store where you can place your order! For orders over $35 you will receive a 16 project PDF with step by step instructions along with pictures! Whereas if you order over $75 you will get a PDF of a framed décor piece! Here are sneak peeks:

Supplies

Stamps:

  • Crane of Fortune

Paper/Card 1

  • Basic Black 6 1/2″ x 11″ scored with long edge at top: 2 3/4″, 5 1/2″ & 8 1/4″ then turn so short edge is at top and CUT from 1 1/2″ to 9 1/2″ on both sides. Thereupon you will score again, ONLY BETWEEN CUTS @ 1 1/2″ on both ends. Watch Video because I walk you through it
  • Symbols of Fortune Designer Paper for TOP panel: 1 3/8″ x 2 5/8″ (x4), then Middle Panel: 1 1/2″ x 3 3/8″ (x2)
  • Gold Foil 1 1/8″ x 3 3/8″ (x2) Middle Panel, then Emboss with Splatter Folder, Also cut 2 5/8″ x 3 3/8″ (x2)
  • Basic White 2 1/2″ x 3 1/4″ (x2) so it will fit on the Gold Foil panels in Middle

Paper/Card 2

  • Basic White Thick 7″ x 8 1/2″ scored at 3 1/2″
  • Basic White 3 1/4″ x 8 1/4″ (inside), 2″ x 3 1/2″ for front panel
  • Symbols of Fortune Designer Paper 3 1/4″ x 8 1/4″
  • Evening Evergreen 3 3/8″ x 8 3/8″ (x2), 2 1/8″ x 3 5/8″
  • Gold Foil scrap to cut Die flower

Paper/Card 3

  • Evening Evergreen 4 1/4″ x 11″ scored at 5 1/2″, 4 1/4″ x 5 1/2″
  • Symbols of Fortune Designer Paper 4″ x 5 1/4″
  • Basic White 3″ x 3 1/2″ scrap for Crane, 1 3/4″ x 2 1/2″ for front die/sentiment, 3″ sq for flower inside, also 5/8″ x 3 1/2″ for inside sentiment
  • Smoky Slate 4″ x 5 1/4″

Ink for all cards

  • Smoky Slate
  • Calypso Coral
  • Soft Succulent
  • Garden Green Marker

Misc

  • Good Fortune Dies or you could buy Bundle
  • Soft Succulent 1/2″ Satin Shimmer Ribbon
  • Polished Dots
  • SlimLine Envelopes
  • Label Me Lovely Punch
  • Simply Scored Board
  • Stampin’ Trimmer
  • Stampin’ Cut & Emboss Machine
  • Blending Brushes
  • Wink of Stella
  • Dimensionals

As you can see, there are quite a few ingredients that I have listed, but this is for THREE cards so I think it isn’t a lot! Meanwhile, I asked a question at the beginning of this post, ‘If this wasn’t on your list, let me change your mind’ At this point, Did I change your mind on buying this stamp set? As you can tell, I really love this stamp set, I hope I have convinced you that it is worth every penny! First thing to remember is to check out my video where I walked you through making all three of these awesome cards!

Lastly, thank you so much for coming to my Blog and I especially thank you if you watched my video and subscribed to my YouTube channel! After all, I am Tedder Bear Stamping and I would love it if you could watch Live and I could send you one of the cards I make each week!

Lisa Tedder
A former California girl living in North Carolina

Product List

Hugs & Kisses Alternates

I love going outside the box with Paper Pumpkin

Hey Guys!,

Basically today I am sharing with you Paper Pumpkin outside the box Hugs & Kisses Alternates! Of course I love going outside the box when I make projects using Paper Pumpkin. Consequently, I am excited to share them with you! Undoubtedly I try as hard as I can to make my alternates my own. At times I go onto Pinterest and get some ideas thus I take one or two to create mine, but this time I didn’t go and LOOK, consequently I did what popped in my head! Different from previous months, I came up with four cards, which I am very happy with, overall I hope you love them too! As always, I did a Live video on YouTube, thus while doing my weekly Live I send out two cards for those who watch Live!

As has been noted, I have gone ‘outside the box’ therefore it is time to show you what I have made!

Paper Pumpkin alternative #1
Paper Pumpkin #2, surely you can see that I have popped up every other one
Hugs & Kisses Paper Pumpkin #3
Of course I love going ‘outside the Box’ #4 closed
#4 opened up, Paper Pumpkin outside the box Hugs & Kisses Alternates

Stamps:

  • Hugs & Kisses

Inks:

  • Gray Granite (included in Box)
  • Flirty Flamingo

Paper/Card 1(extra that I added)

  • Flirty Flamingo 5 1/2″ x 8 1/2″ scored at 4 1/4″

Paper/Card 2

  • Very Vanilla 4 1/4″ x 11″ scored at 5 1/2″, however you can use Thick if desired
  • Gold Foil 3 1/4″ x 5 1/4″

Paper/Card 3

  • Flirty Flamingo 5 1/2″ x 8 1/2″ scored at 4 1/4″
  • Gold Foil 4″ x 5 1/4″

Paper/Card 4

  • Very Vanilla 4 1/4″ x 11″ scored at 5 1/2″, of course you can use Thick if desired
  • Gold Foil, I traced outline of arrow and fussy cut out, also cut around heart to layer behind

Misc:

  • Dimensionals, I especially love these
  • paper snips
  • Stripes & Splatters 3D embossing folder
  • Stampin’ Cut & Emboss Machine

As can be seen above, I really love this kit! Most important to remember is that life doesn’t have that many surprises left, therefore getting this awesome box delivered to your door is pretty darn cool! Thus if you purchase your Paper Pumpkin through me, indeed I will be giving you extra ideas ‘outside the box’ every month! Meanwhile I also have the supplies listed below in picture form, as has been noted if you click on any of them you will be taken to my Online Store!

For that purpose, click this link to sign up for Paper Pumpkin under me, furthermore the price of Paper Pumpkin is going up in the month of March, buy 3, 6 or 12 months, for this reason lock in the current price before it goes up!! Being that it is Sale a Bration, you can also get free stamps &/or Designer series Paper at the same time locking in your price! Another way to look at this deal is that I will give you a PDF of 16 projects when you spend $35 or more, of course I have a sneak peek of what you will get!!

As a result, this pdf with a Qualifying order of $35 or more!

Another Goody:

Emphatically the above is a good deal, hence I have an even BETTER deal! In short when each new catalog comes out I will have a Sampler for you that you can get if you spend $75 with me, you will really love this one. Unquestionably you will get each picture separately also getting step by step instructions for each square!

Finally I would like to thank you so much for all your support, especially coming here and choosing me to be your demonstrator! Indeed I am humbled that you choose to spend your precious time with me! Lastly, I hope you come back either here or on YouTube!

Lisa Tedder
A former California girl living in North Carolina

Product List

November Paper Pumpkin Alternatives

Gifts Galore Paper Pumpkin FUN cards!

Hey Guys!,

It’s that time again, time for me to give you my November Paper Pumpkin Alternatives! First thing to remember is that if you want to see these cards made, you can catch it here on my YouTube Channel. Undeniably, I LOVE when I get my Paper Pumpkin kit in the mail! Especially since there aren’t very many true surprises any more, this box you can make it as planned or change it up and create ‘outside the box’! As can be seen by my cards below, you can tell that I LOVE the Gifts Galore Paper Pumpkin cards, these were so fun! Get more for your money by thinking outside of the box the Paper Pumpkin Box!

Gifts Galore Paper Pumpkin FUN cards!
November Paper Pumpkin Alternative

Another key point is that I always give you the supplies used other than what is in the box! As always along with being listed below, under my signature are pictures of the supplies, you can click on any of them and be taken to my OnLine Store! Consequently, if you purchase a Qualifying amount ($35 or more) you will get a pdf of 16 projects that also has step by step instructions along with pictures! Emphatically, I appreciate your business and will do all I can to make you a happy shopper!

Projects

Stamps:

  • Gifts Galore from Paper Pumpkin

Inks:

  • Flirty Flamingo (included in PP kit)
  • Night of Navy
  • Versamark

Blends:

  • Pool Party
  • Flirty Flamingo
  • Poppy Parade

Paper

Card 1:

  • Basic White Thick 4 1/4″ x 11″ scored at 5 1/2″
  • Basic White 3 3/4″ x 5″
  • Night of Navy 4″ x 5 1/4″ (x2)

Card 2:

  • Flirty Flamingo 5 1/2″ x 8 1/2″ scored at 4 1/4″, 4″ x 5 1/4″ (run through the 3D Timber Embossing Folder)
  • Basic White 5 1/4″ x 4″

Misc:

  • 3D Timber Embossing folder
  • Subtle Shimmer Sequins
  • White Embossing Powder
  • Heat Tool
  • Basic Rhinestones
  • Blending Brushes
  • Dauber

Most of the items I used for these cards are included in the box! Above all, I love it when I come up with really fun alternatives for Paper Pumpkin, especially when I think of them all by myself! For that reason, I hope you love what I have made today! As said before, Get more for your money by thinking outside of the box the Paper Pumpkin Box! As always, you can check out my YouTube channel for all my other designs, I have over 200 videos for you to get ideas! By all means check it out and leave me a message! Thank you for stopping by, hope you come back soon!

Lisa Tedder
A Former California girl living in North Carolina

Product List

Fancy Fold & Who let the Sheep out!?

This new fold is easy AND pretty!

Hey Guys!

I’m home and I’ve got a great new fancy fold for you, that’s pretty AND easy! Above all, I love new folds and especially love them when they aren’t hard! Thus, when I saw this fold done by Lavonne S. I had to give it a try! This is the same fold as doing a 3 step card, but with making the folds go a different way you have a brand new Fancy Fold! Earlier today I did my Live on my YouTube channel where I showed you how to make these cards, I hope you join me and if you join while I’m live you can be in the drawing to have one of these cards mailed to you!

I love new folds and especially love them when they aren’t hard!
l, I love new folds and especially love them when they aren’t hard!

Besides doing fancy fold cards I love cutesy cards and the Counting Sheep stamp set fits that bill perfectly! Plus, this stamp set is one you can get for FREE! Yes, you heard that right this stamp set is a Sale-a-Bration (SAB) set and when you buy something for $50 you can pick Counting Sheep as your free set. Of course that is only if you purchase before the end of September! For this reason, you can buy the bundle for the Peaceful Cabin! Indeed, this bundle you can get for $54 and that will let you pick out a free SAB item! Basically that is a ‘Win-Win’!!

Counting Sheep
Counting Sheep inside

As always below is my list of supplies needed for both cards, there is also picture images below my name that you can click on to be taken straight to my OnLine Store!

Supplies:

Stamps:

  • Peaceful Cabin Bundle
  • Counting Sheep

Inks:

  • Memento Black
  • Old Olive
  • Basic Gray

Blends:

  • Smoky Slate
  • Petal Pink
  • Color Lifter

Markers:

  • Melon Mambo
  • Old Olive

Paper

Card 1:

  • Basic Black 5 1/2″ x 8 1/2″, see picture above for scoring and cutting
  • Peaceful Place Designer 3 1/4″ x 3 3/8″, 3/4″ x 3″ (x2)
  • Basic White 3 1/8″ x 5 3/8″, 3/4″ x 5 3/8″, scraps for stamping cabin twice

Card 2:

  • Old Olive 5 1/2″ x 8 1/2″ scored at 4 1/4″
  • Basic Black 4″ x 5 1/4″ (x2)
  • Basic White 3 3/4″ x 5″ (x2), scraps for sheep/party hat
  • Scraps for balloons/sun/cloud: Pumpkin Pie, Soft Succulent, Mango Melody, Magenta Madness, Old Olive, Mango Melody, Balmy Blue
  • Crumb Cake for fence

Misc:

  • Basic Rhinestones
  • Dimensionals
  • Blender Brush

On the positive side I’ve shown you two awesome cards! On the negative side I am done with this post! LOL Subsequently I hope you have enjoyed it! Again, you can catch me on my YouTube channel every Thursday at 4:00 eastern where I will have a Live class for you!

Lisa Tedder
A former California girl living in North Carolina

Product List

These cards are Stunning!

Sunflowers are the best, I can’t stop looking at these cards!

Hey Guys!,

In the first place, These cards are Stunning, I can’t stop looking at them! Of course, everyone loves sunflowers, it’s because Sunflowers are the best, and these cards are so pretty. I did a YouTube Live showing how I made these, so if you missed it check it out! So, here is the first card:

Isn’t this card stunning?!! Thanks to Elaine’s Creations for the inspiration!
Inside
Sunflowers are the best!
Inside

However, here are the supplies used for both cards:

Stamps:

  • Celebrating Sunflowers Bundle

Inks:

  • Granny Apple Green
  • Pale Papaya
  • Cinnamon Cider

Paper:
Card 1:

  • Thick Basic White 5 1/2″ x 8 1/2″ scored at 4 1/4″
  • Basic White 4″ x 5 1/4″, 3 7/8″ x 4 7/8″ (inside)
  • Expressions in Ink Specialty Designer Series Paper 4 1/8″ x 5 3/8″
  • Pale Papaya 4″ x 5 1/4″

Card 2:

  • Cinnamon Cider 5 1/2″ x 8 1/2″ scored at 4 1/4″, scrap for sprigs of wheat
  • Basic Black 3 7/8″ x 5 1/2″, 4″ x 5 1/4″ (inside), 3 1/2″ sq. sunflower outline
  • Gold & Rose Gold 6 x 6 Metallic Specialty Paper (I used the Gold) 3 3/4″ x 5 1/2″, 1/2″ x 3 3/4″ (it’s what’s left over after cutting the bigger piece)
  • Pale Papaya 3 1/2″ sq. for Sunflower, 3/4″ x 3 3/4″ (for sentiment), 3 7/8″ x 5 1/8″ (for inside)

Misc:

  • Lovely Labels Pick a Punch
  • Genial Gems
  • Dimensionals
  • 3/8″ Open Weave Pale Papaya Ribbon
  • Tasteful Textile 3D folder
  • Blending Brushes

Similarly, as I said above, the supplies will also be provided below in picture form. Therefore, if you click on any of the pictures you will be taken to my OnLine Store. Thus, if you purchase $35 or more you will get the Class kit from that week’s video! Also you will get a pdf that has 16 projects with step by step instructions along with pictures! Subsequently this is my Thank You for supporting my small business!

As a rule when I send you the class packet all the die cutting is done for you, unless you would have to stamp it first. In this case, you would get everything in all the pictures since the only stamping is on the sentiment, but I will still send you the strip, so all you have to do is add your sentiment! Furthermore, these cards are stunning, I can’t stop looking at them, you will want to make them, I’m sure!

In conclusion, I want to remind you of the Besties Club, we have so much fun and I know you would love it! Furthermore, click here to see all the details!

Lisa Tedder
A former California girl living in North Carolina

Product List

Interactive ‘Way to Goat’ cards

One goat is dancing on a Mountain top!

Hey Guys!

Before I show you the Interactive ‘Way to Goat’ cards I am doing today on my YouTube Live, I wanted to share with you how I waited to get on the bandwagon to get this stamp set! Of course, I loved it right away, but thought for sure I can do without it, well as you can tell I was wrong! Consequently, one of my cards today is interactive and the other has a Goat dancing on a Mountain top! Coupled with the Give it a Whirl Dies, the first card is interactive using the Way to Goat stamp set. Next, I’ll show you the 2nd card using this set where the CUTE Goat is dancing on a Mountain top that I make by using the Blending Brushes.

This interactive ‘Way to Goat’ card uses multiple phrases, that you turn the wheel to see!
Interactive ‘Way to Goat’ card inside
One Goat dancing on a Mountain Top with the stars in the background
One Goat dancing on the Mountain top inside

Here are the specifics for each card:

Stamps:

  • Many Messages
  • Way to Goat

Inks:

  • Memento Black
  • Night of Navy
  • Soft Suede
  • White Craft Ink refill

Blends:

  • Smoky Slate
  • Bronze
  • Crumb Cake

Paper: Card 1:

  • Basic Black 5 1/2″ x 8 1/2″, scored at 4 1/4″
  • Pacific Point die cut from a 4″ x 5 1/2″ using the Give it a Whirl
  • Basic White 4″ x 5 1/4″, scraps for Goat, clouds, Wheel, cans…(fussy cut out Goat & cans, (dies for the Give it a Whirl)

Paper: Card 2:

  • Night of Navy 5 1/2″ x 8 1/2″, scored at 4 1/4″
  • Basic White 4″ x 5 1/4″ (x2), 3 7/8″ x 5 1/8″, scrap for sentiment

Misc:

  • Holiday Rhinestones
  • Basic Rhinestones
  • Blending Brushes
  • Water Painter
  • Stampin’ Cut & Emboss Machine
  • Paper snips
  • Post-It Removable Labeling Tape ( click to get on Amazon)
  • Dimensionals

By the way, even though I have the supplies listed above, I also have them in picture form below. Hence, if you want anything I used today, click on any of the pictures and you will be taken to my OnLine Store! Thereby, if you purchase $35 or more from me you will receive from me that weeks class (cardstock cut & any embellishments) that I did on my YouTube Live! Also, you will get a 16 project pdf with step by step instructions with pictures!

Before I let you go, I also want to remind you about the Besties Club! Of course, we have so much fun, and you get to join us and receive between $19 – $21 worth of merchandise along with all the cardstock cut and ready for you to stamp along with us! Furthermore, we meet on Zoom, laugh, joke and have an awesome time like you would with a Bestie! Click on the link above and you can check it out and hopefully join us! By the way, sign up for the month is until the 22nd (for the following month), you can sign up anytime, but if you missed the 22nd sign up date you will be signed up for the following month.

Finally, I want to thank you for visiting my blog, for watching my videos and supporting my small business! I am so thankful!

Lisa Tedder
A former California Girl living in North Carolina

Product List

A Fancy Fold balcony Card….What!?

Who doesn’t love a New Fancy Fold?!

Hey Guys!!

First off, I want to say how much I LOVE Fancy Folds, today I am sharing a Balcony Card…..What!? Yes, I have never heard about it either, so I am sharing with you how to make one by doing my weekly video that you can watch. Also, who doesn’t love a new fancy fold?! Second I saw this fold on Pinterest, but have never heard about it, have you?

Consequently, after looking at Pinterest, I started making it and here is what I made:

Front of the Balcony Card
I LOVE Fancy Folds, today I am sharing a A Balcony Card…..What!?

In addition to Fancy Folds, I also like techniques! As a result of that, I am showing you my 2nd card that I did on my video using the same set Hey, Chick! and Hey Birthday Chick. In this case, I used the technique where you emboss with a folder, the entire card front, layers and all (I placed ‘Happy Birthday’ several times down one side, and embossed that too!), it’s a very cool technique!

Who doesn’t love a Technique!?

Generally I like to keep to one stamp set for my videos, but this time the two: Hey Chick! and Hey Birthday Chick work so well together, I HAD to use them both! Subsequently, you will need to buy Hey Chick asap, since it won’t be available after June! And, doing a Balcony card….what!?, yes a Balcony card was a must for me, I hope you like it as much as I do!

As a rule, here are the specifics for both cards:

Paper:

  • Hey, Chick Bundle
  • Hey Birthday Chick Bundle

Inks:

  • Memento
  • Crumb Cake (to sponge over fence/barn)
  • Early Espresso
  • Black Stampin’ Write Marker
  • Blends
  • Daffodil Delight
  • Pumpkin Pie
  • Calypso Coral

Paper:

Card 1

  • Early Espresso: 6″ sq (for the video I made it 5 1/2″ x 6″), 7″ x 1 1/2″ scored @ 1/2″, 3 1/2″, 6 1/2, 5″ x 2 1/2″ scored @ 1/2″, 2 1/2″, 4 1/2″, 1 1/8″ x 2 1/2″ (trim after), scraps for Happy Birthday
  • Very Vanilla 5 7/8″ sq x 3 (for the video it is: 2 7/8″ x 5 3/8″ 3 times), scrap for sentiment/ chickens
  • Crumb cake: scraps for 5 fences, 1 barn
  • Cinnamon Cider: scrap for pieces of the barn
  • Bumblebee: scraps for baby chicks
  • Beauty of the earth DSP: 1 3/8″ x 2 7/8″ (x2), 1 7/8″ x 2 3/8″ (x2), 2 3/4″ x 3 5/8″

Card 2

  • Early Espresso 4 1/4″ x 11″, scraps for Happy Birthday
  • Cinnamon Cider 3 7/8″ x 5 1/8″, scrap for tag/happy birthday/sign
  • Basic White 4″ x 5 1/4″ (x2), scrap for chick/tag

Misc:

  • Bumblebee Gingham ribbon
  • Wink of Stella
  • Tailor Made Tags
  • Bark 3D embossing folder

Finally, this is where I tell you that the supplies listed above are also in picture form below, click on any of them and you will be taken to my On Line Store. Incidentally, for purchases above $35 you will not only get the card packet for the class I did on YouTube that week, but you will also get a PDF of 16 cards with step by step instructions as well as pictures! Above all, I want you to know how much I appreciate you and your support of my small business!

Sneak Peek of the 16 projects!

One last thing, I also have a Besties Club that is in it’s 5th month! Every month we (my besties Carol from AZ and Hetty from Canada) and I come up with 2 cards each using one stamp set/suite.

For example, we are using Tidings & Trimmings for July (you have until the 22nd to sign up!) for your $34 you get 1/2″ pack of the Designer Series Paper “Tidings of Christmas”, Full pack of Gold Gems, 1/3 pack of Red Rhinestones and a full roll of Evening Evergreen Chevron Weave ribbon! Every month you get between $19 – $21 worth of product in your kit, PLUS all the cardstock cut and ready for you! Plus a special gift from me!

All for that low price, we prefer to be paid by Stampin’ Up!, this way you get the most for your $$! Of course we have so much fun, you can go HERE to get all the specifics and sign up!

In Conclusion, I hope you have enjoyed this post, you can always go to the video to see HOW I made the cards, it’s too much to explain it when I also have it on video, hope you understand!

Lisa Tedder
A former California girl living in North Carolina

Product List