Tag Archives: Fine-Tip Glue Pen

Make your own Dimensional Snow!

Hey Guys!!

I was making a Christmas card (Yes, I DO know that it’s March, but I had an idea!) and needed my trees to have snow on them.  I wanted to try something and it worked!  NOT sure it’s been done before, but I’ve never heard of it!

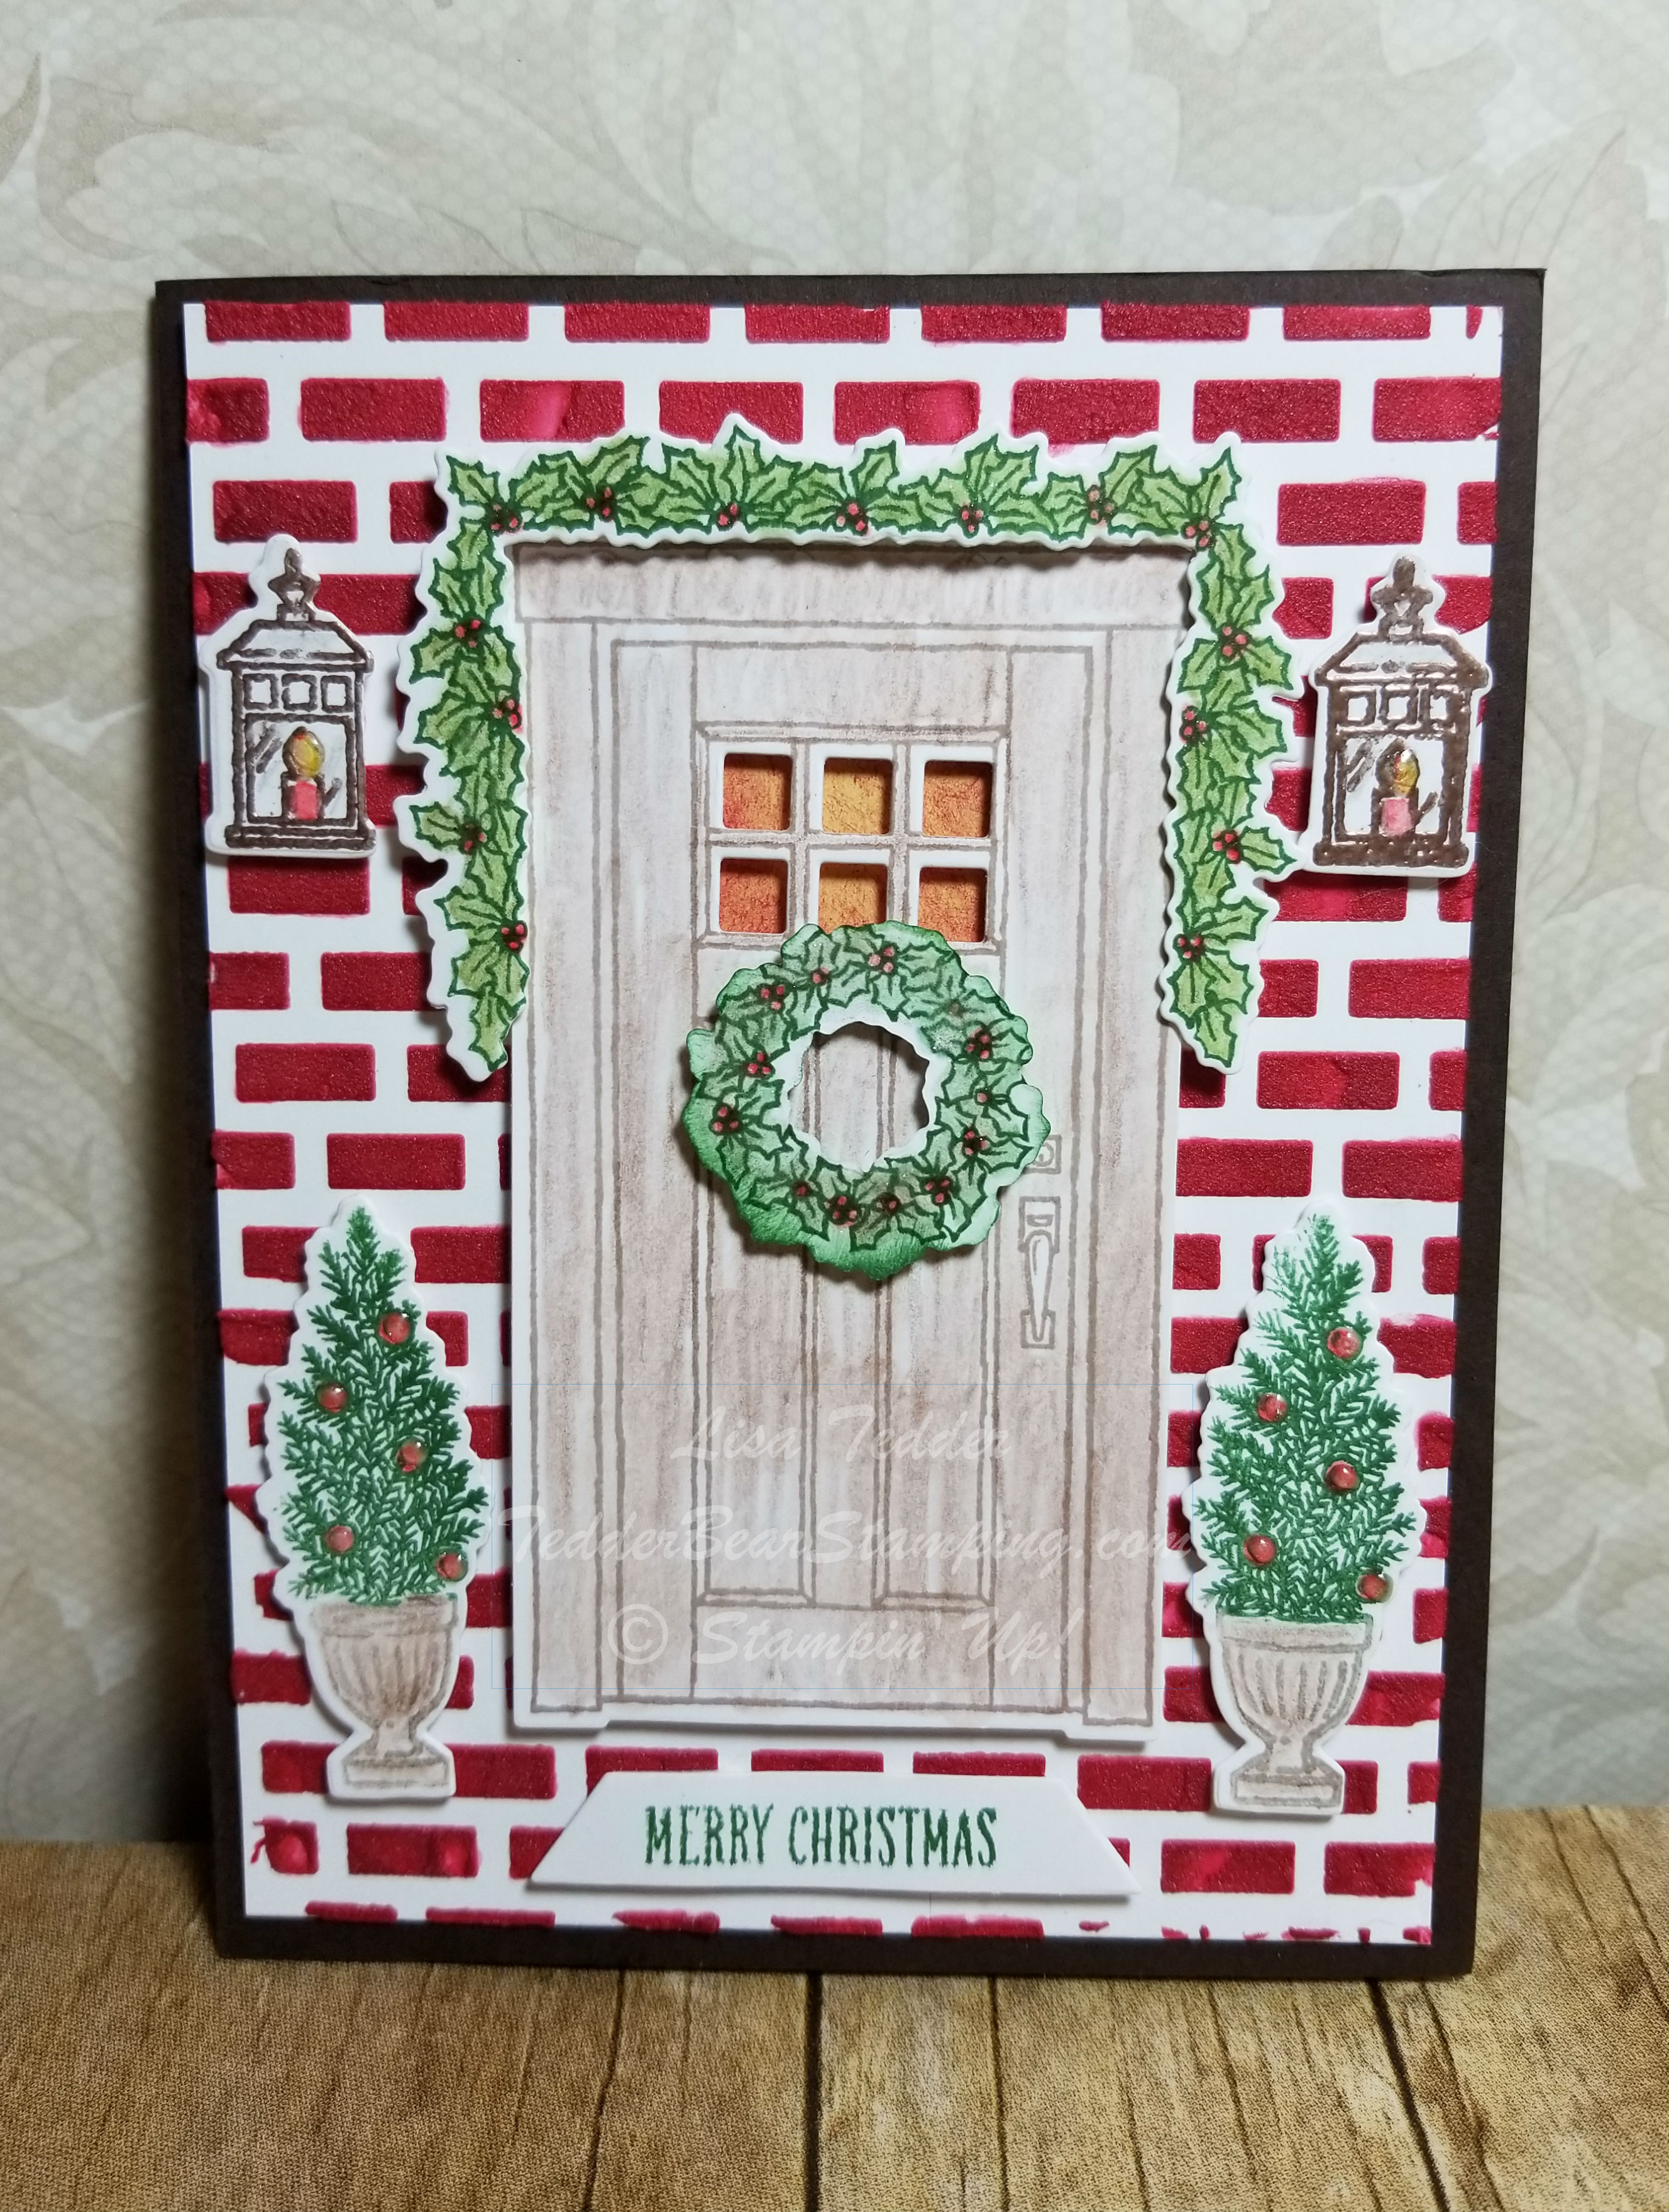
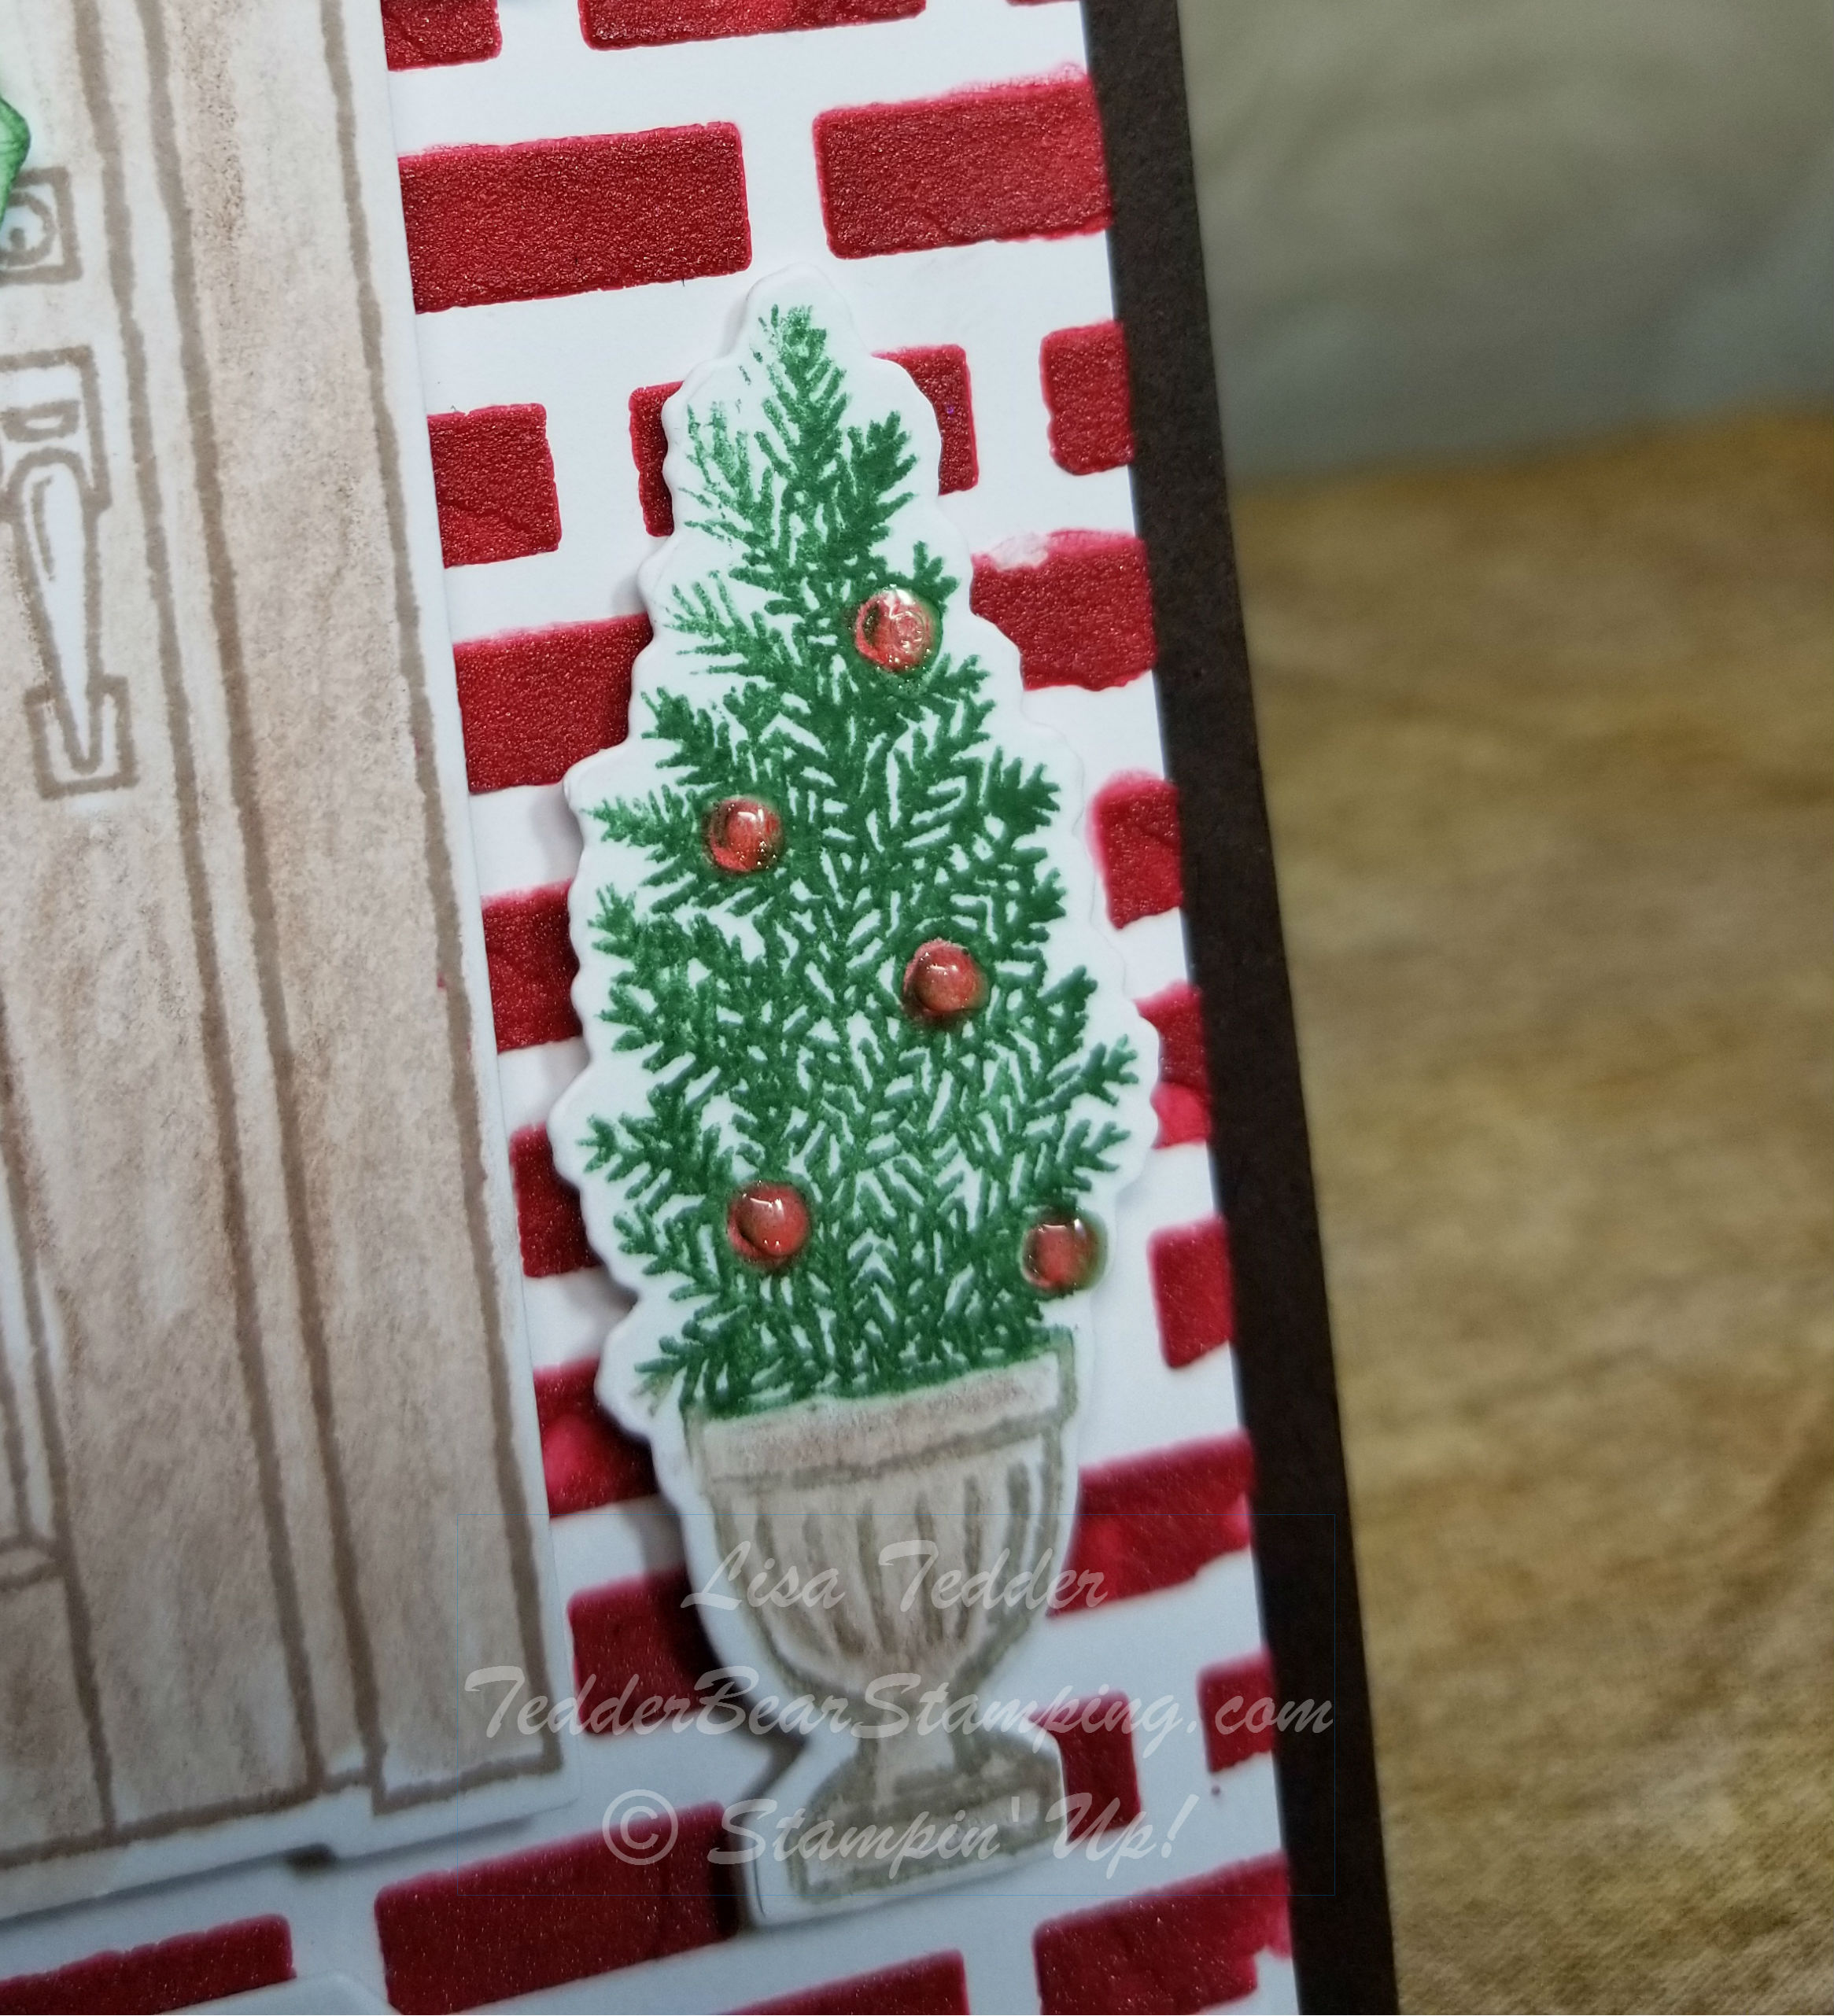
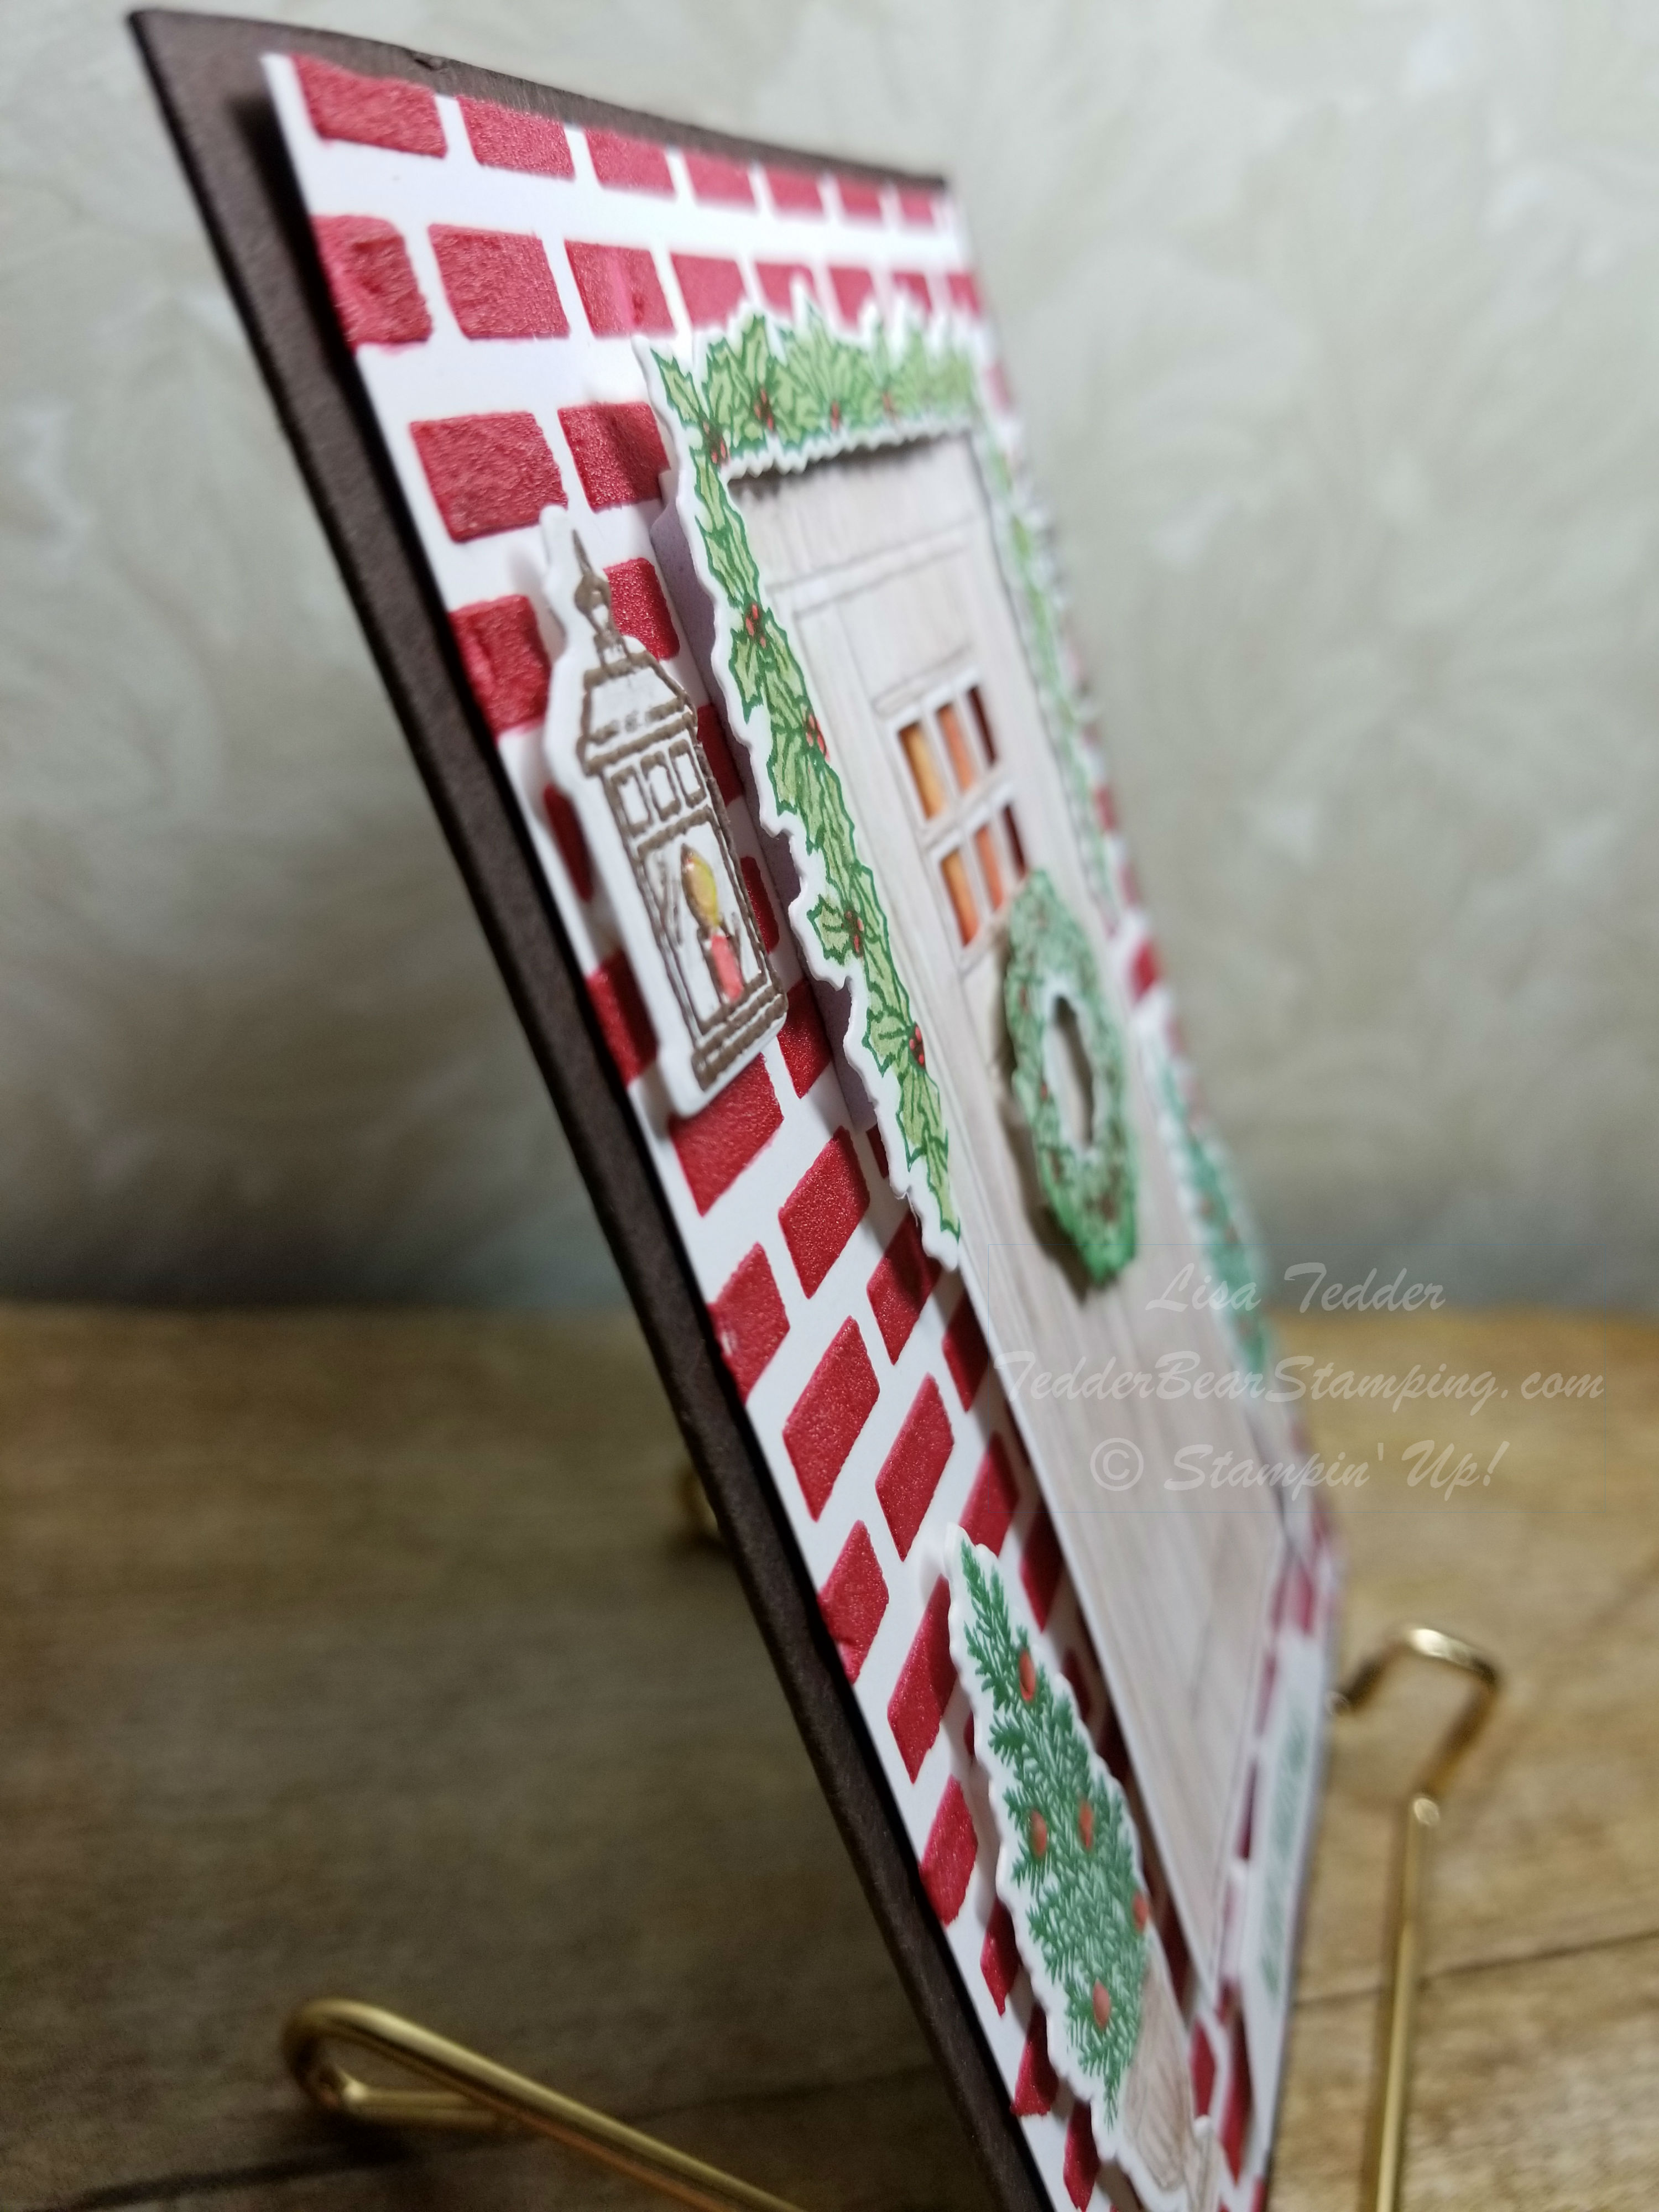
First, here’s the card:

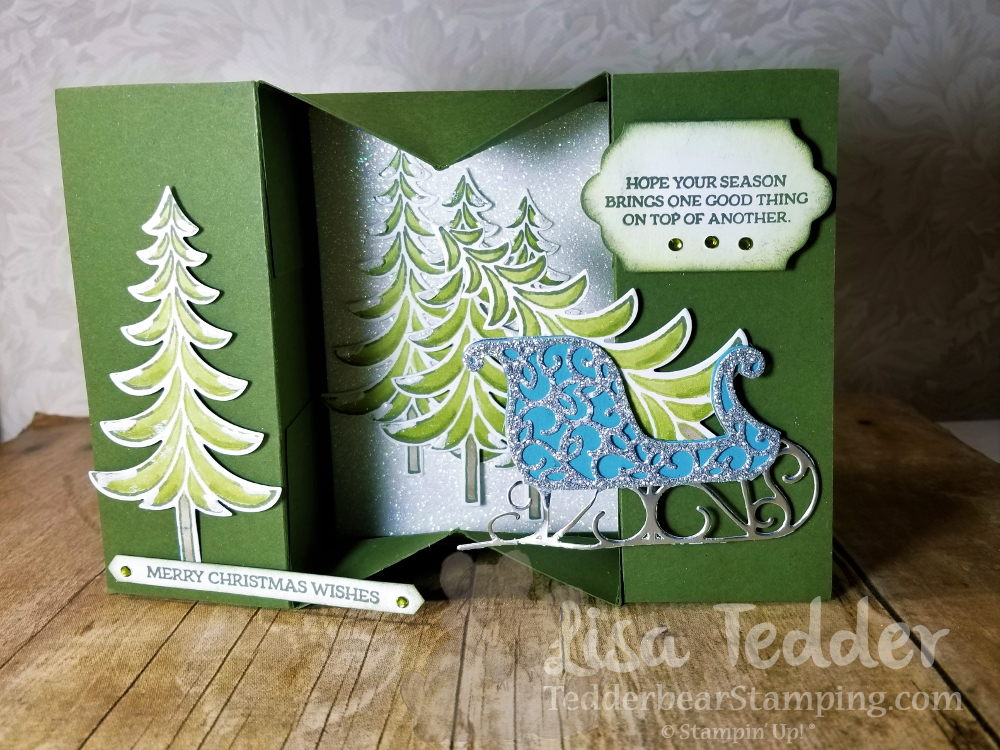
It’s really hard to see on this picture, but the trees have touchable snow.  It’s puffy, shiny, white and sparkly!  If you want to see it made in person (along with other stamping tips) you can go see my video here!  I was super excited to see that my idea not only worked, but it was EASY! AND you probably have the supplies in your stash already!

You need to get your Fine Tip Glue Pen, and draw lines with the glue where you want your snow.  Once you have all your lines, then dip it STILL WET into White Embossing Powder, set aside for about 10-15 minutes.  You can use that time to create the box card.  Go to this blog post to see how to make the box part.   You can see the video for that on my YouTube channel here.

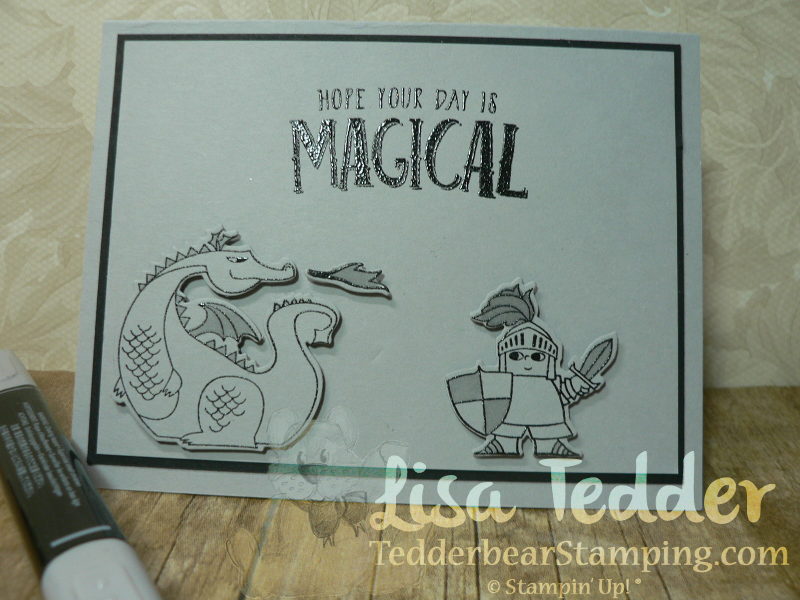
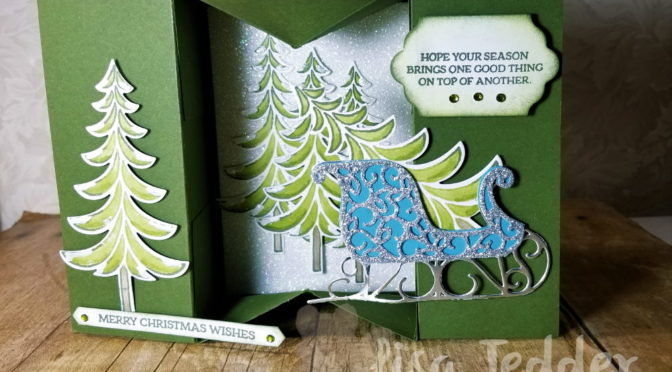
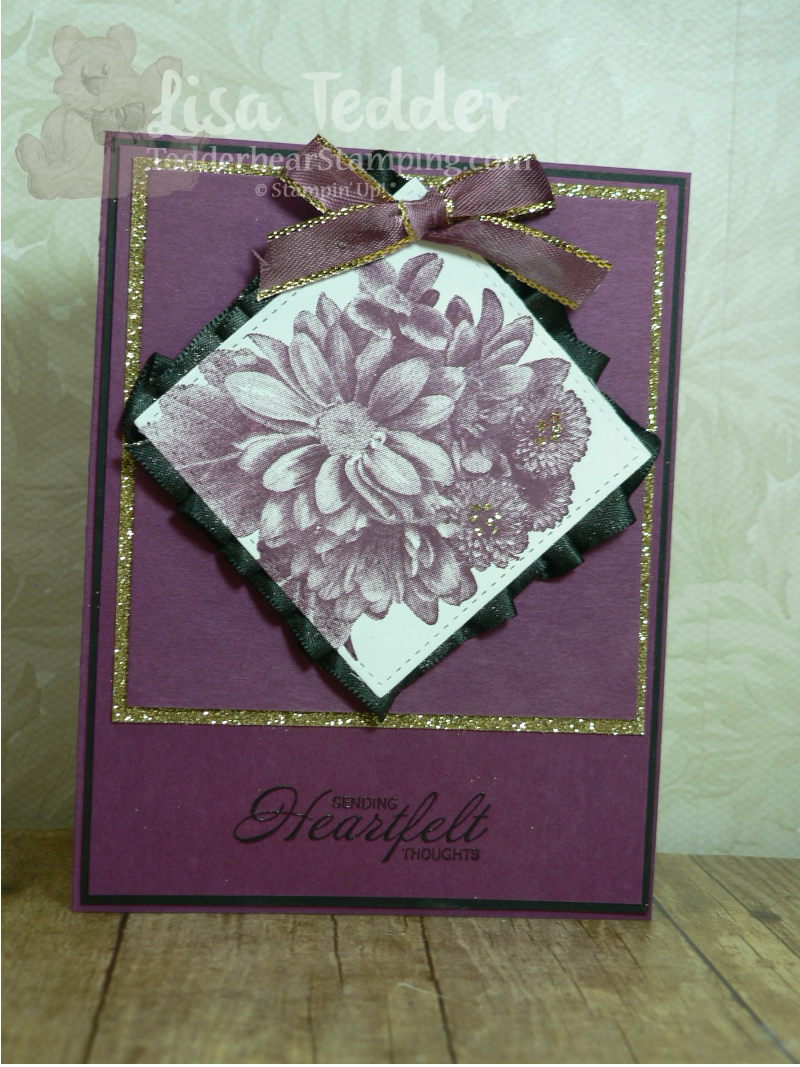
This Christmas card is SUPER pretty!  Even prettier than the one I made with the Magical Day and I loved that one too.

Below you will see all the product used for this project, click on any picture to be taken to my OnLine Store. I would love to be your Stampin’ Up! Demonstrator if you live in the US.

Thank you for stopping by.  Hope to see you again soon!

Lisa Tedder
A California Girl living in North Carolina


Product List

Stunning card made with FREE stamp set-Heartfelt Blooms

Hey Guys!

The card today is one I came up with all by myself!  That happens rarely and I get so tickled when I make something that I didn’t get any help from Pinterest or any other places!  It popped into my head and it came out even better than I thought it would!!

Not only is this stamp set Gorgeous, but did you know that Stampin’ Up! has a patent pending on HOW they made it?!!  When you look at the actual stamp before inking it up, it looks absolutely FLAT!  How in the World did they get a completely flat stamp to have so much dimension!?  NOT sure what/how they did it but I love it!

I’ve seen pictures of people who have stamped it and used different colors to differentiate the flowers,  here is one I took while at On Stage Live in Salt Lake City:

Isn’t that So pretty!!!?  The hint they gave to us was to stamp it with a light color so you could follow it.  If you give it a try I would love to see it!  I tried, but it didn’t come out.  That is why mine is one color!  Hahahaha   I’m still trying to figure out how to work the blends and have perfect shading………

So for my card above, I used Rich Razzleberry Cardstock, black and Gold Glimmer paper!  I added ribbon to the back by putting Tear & Tape around the edges (after I stamped it and cut it with the Stitched Framelits) and then I pleated the Black 3/8″ Shimmer Ribbon over the tape.  I then used the Foam Adhesive Strips to make it stand up higher.

I added some Fine Tip Glue to put some Gold Glitter on the smaller flowers.  I also used the Gold Metallic Edge Ribbon and colored it with the Razzleberry Blend so it would go with the card!  Love that!

I stamped the sentiment in the Basic Black and then immediately clear Embossed it so it would give texture and it just makes the Sentiment look so elegant, don’t you think?

Here are the Dimensions of the paper:

Rich Razzleberry: 8 1/2″ x 5 1/2″, 4″ x 5 1/4″ (x2) one for the inside,
3 5/8″ x 3 3/4″
Basic Black 4 1/8″ x 5 3/8″ (x2) one for the inside
Gold Glimmer paper 3 7/8″ x 4″
Whisper White 2 3/4″ sq (to fit the square stitched framelit)

I hope this helps!!

As always, the supplies are listed below, just click on any picture to be taken to my OnLine Store!  I would love to have you purchase your goodies from me!

Lisa Tedder
A California Girl living in North Carolina

Product List


Technique Tuesday-Making a Diamond pattern background

Today is Tuesday!  That means that I have a video out today showing another Technique!  Today’s Technique is making a Diamond pattern using the Simply Scored and sponging to highlight those scores.  It came out so pretty!  Surprisingly a very easy background!  I used the Fine Tip Glue Pen on each point that intersects and then added Silver Glitter.  You can see the video here!

I also used the FREE ribbon from Sale a Bration that has THREE different ribbons!  If you need one of the catalogs, just let me know and I will get it out to you!  You can also get the new 2018 Occasions catalog!  I send out mailings once a week, so just ask!

The inside is pretty too!  I LOVE the new Stamp set from Stampin’ Up! called Magical Day!  It really brings out my inner child!

Isn’t that Dragon too cute!?  I colored the wings and the parts of the Knight with the light Smoky Slate Blends!

I hope you enjoyed my post today!  Stay tuned, I will be sharing this months cards throughout the month!

Click on any picture of the supplies I used below and you will be taken to my OnLine Store!

Lisa Tedder
A California Girl living in North Carolina
Product List

Christmas Already? Wow card using Embossing Paste!

Yes, my title says it all!  I’m starting to design my Christmas Cards!  I’m sure there will be more when the Holiday Mini comes out, but I figure I need to start now and so do my girls!!

Today I am sharing with you a design I came up with using the stamp set from Stampin’ Up! called At Home with You!  I know I have shown other cards using this stamp set, but when you add the Embossing Paste and the Pattern Party Decorative Masks it takes the card a step further than I had before!!  The embossing paste really makes the front of the card a house!  Here is a picture of the card:

I added two drops of Cherry Cobbler reinker to the Paste and mixed it on my Silicone Craft Sheet (soooo easy to clean after!) and then spread it over the Brick pattern on my Whisper White Cardstock (5 1/4″ x 4″ tape it down so it won’t move).  It was MUCH easier than I thought it would be!  It dried in just 30 minutes!  For this NON patient person that was awesome!  I did the brick first and then by the time I was ready for the front of the card, it was dry!  Yay for me!  No waiting!

Here is a close up of the bushes with the ornaments:

I used the Fine Tip Glue Pen and let it dry.

And finally a close up of a side view:

I want to try the battery lights for this card, but I’m a little intimidated by it…….anyone do that before?

I will be making more Christmas cards as time goes on!  I plan on having a Christmas card class next month……I better get going on designing!  🙂

I also have blog candy!!

You can get in on the drawing by posting comments here on this blog (any post! or multiple posts!) or on my Facebook page and I will put your name down each and every time you comment!  But be aware…..there are some that follow me that take that comment VERY seriously!  I’ve had her comment on each and every post that I make and she also comments on my Facebook page, Twitter AND my Instagram!  She’s one serious girl!  YOU know who you are, and I appreciate you very much!  🙂

The moral of the story is if you REALLY want to win my Blog Candy comment on everything!  I put the names into a Name Generator so I have NO say on who wins!

Here is what you can win!:

I LOVE Washi Tape, don’t you??!!

I have enjoyed making this post for you!  I hope you have too!  Come back and see what I have been working on!  Click on the Subscribe button so you don’t miss anything!

You can click on any picture below that shows the items I used for this card, you will be taken to my Online Store!  Please use Hostess Code:  C62FFAR3  This code will only be available until the 22nd of June.  If you purchase from my Store (don’t HAVE to use the code!)  I will send you a handmade card PLUS a thank you gift!!

Hope you have a great rest of your week!!

Lisa Tedder
TedderBearStamping
A California Girl living in North Carolina

Product List