

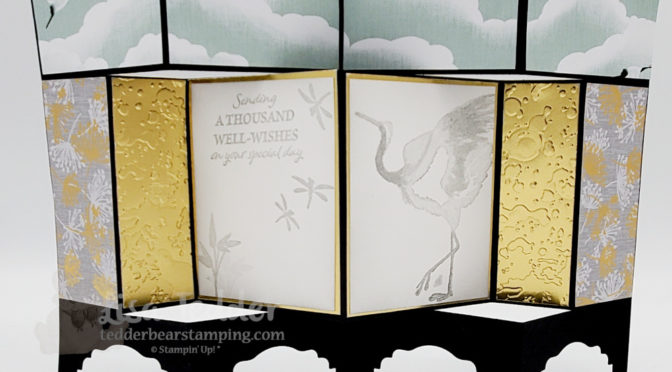
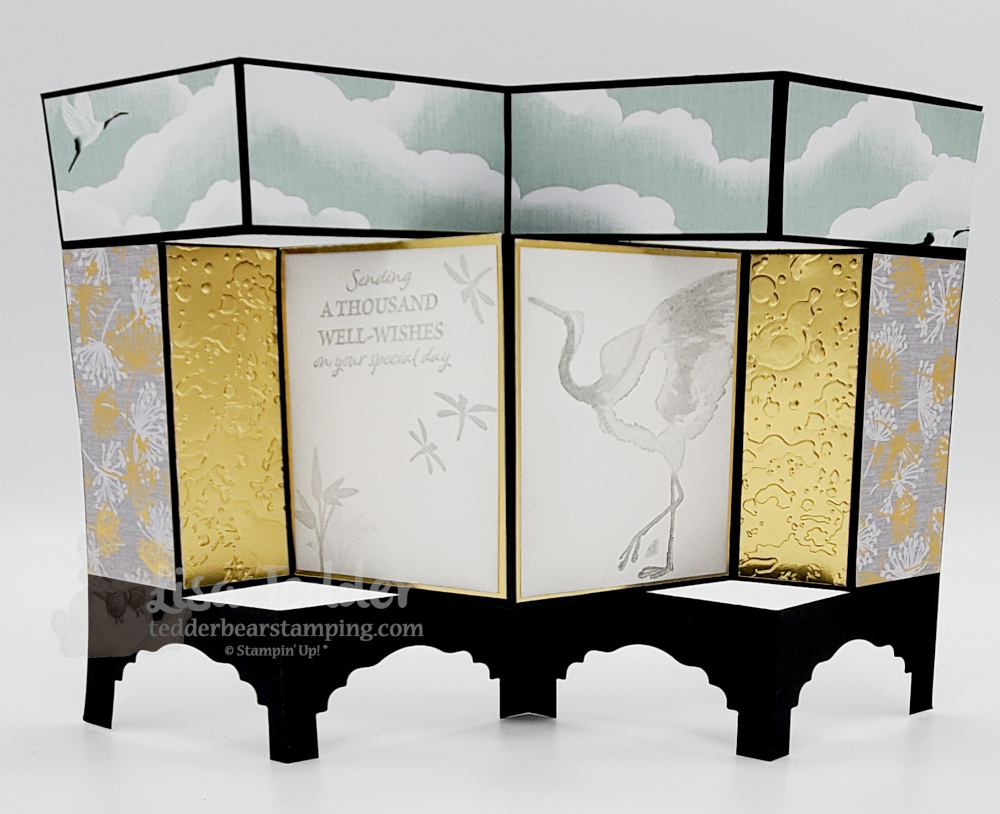
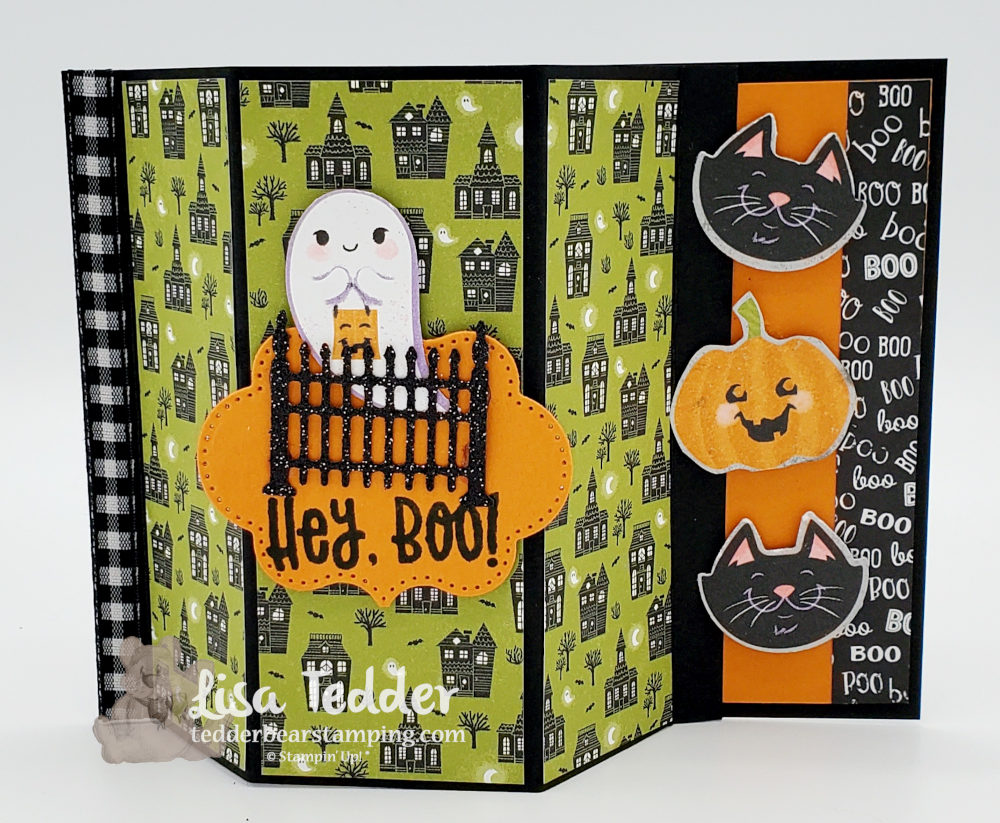
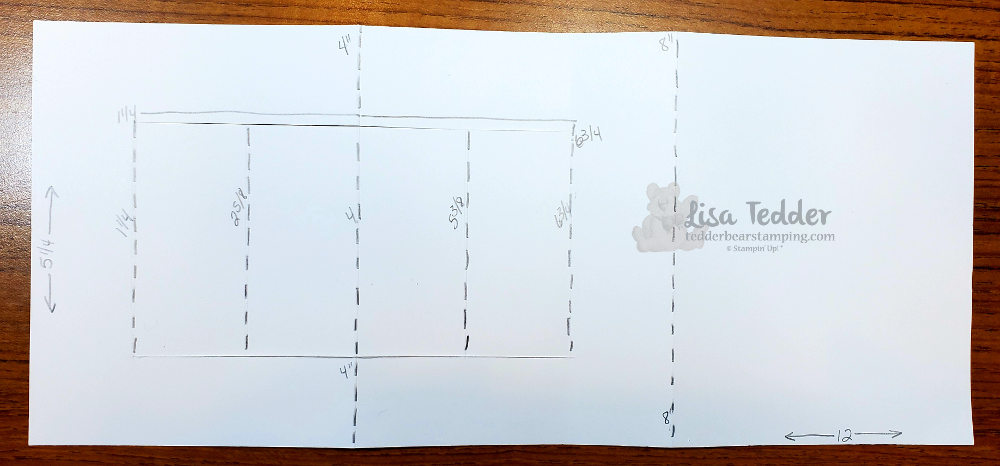
Fancy Fold Baby Card
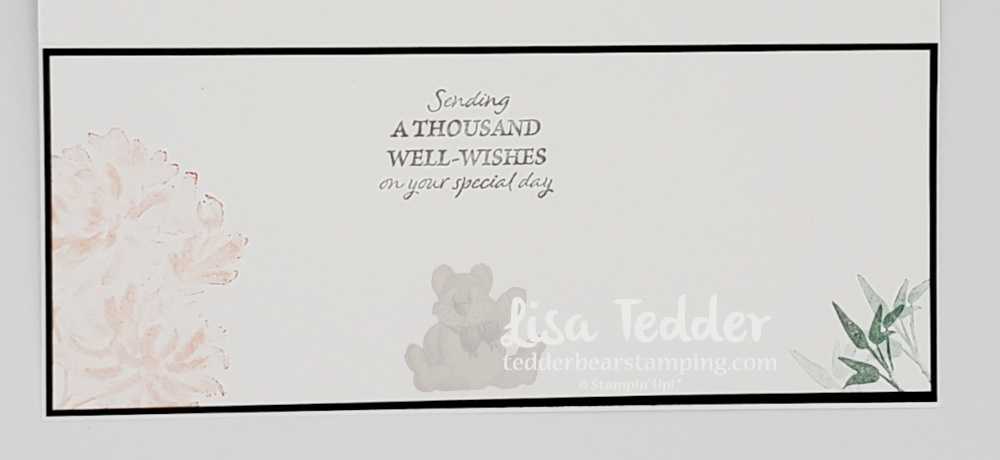
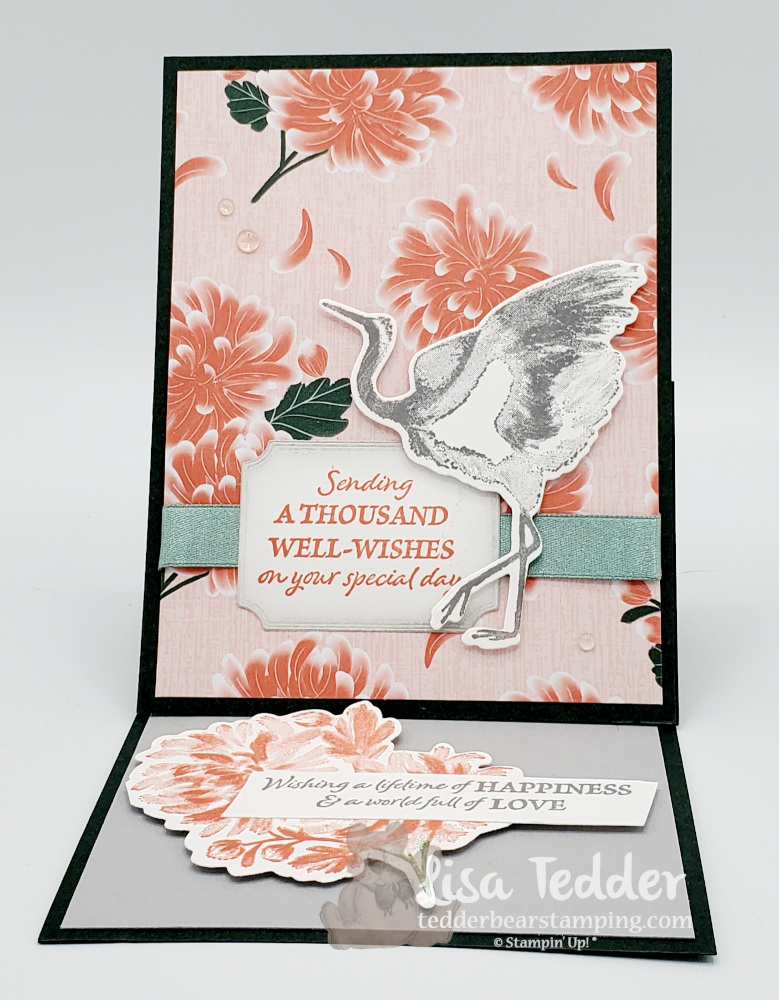
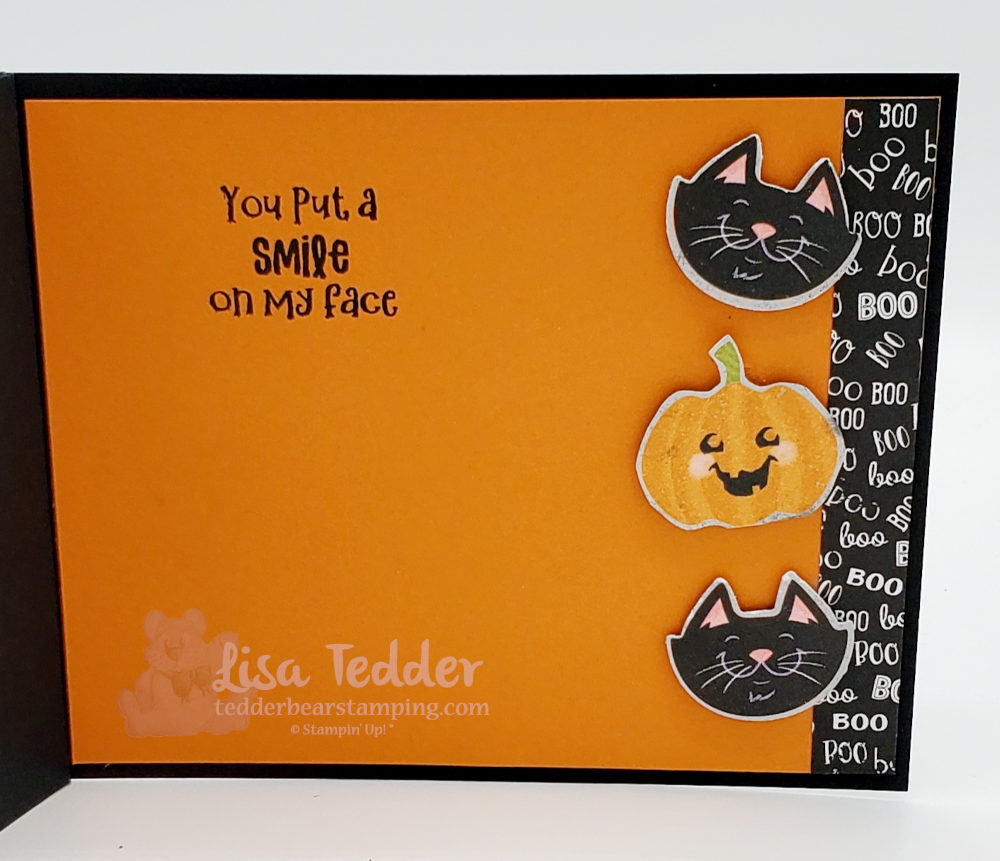
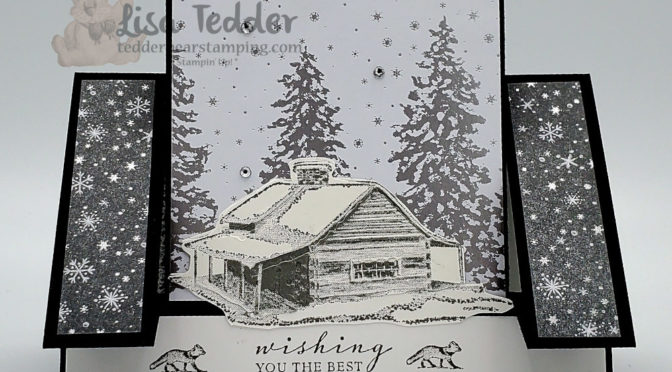
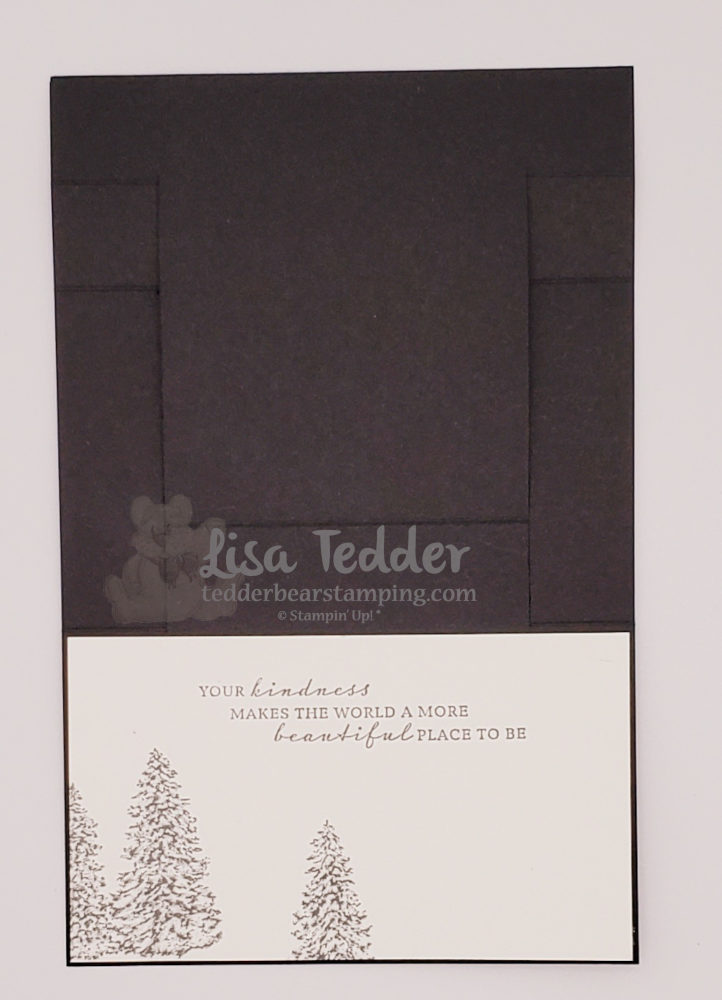
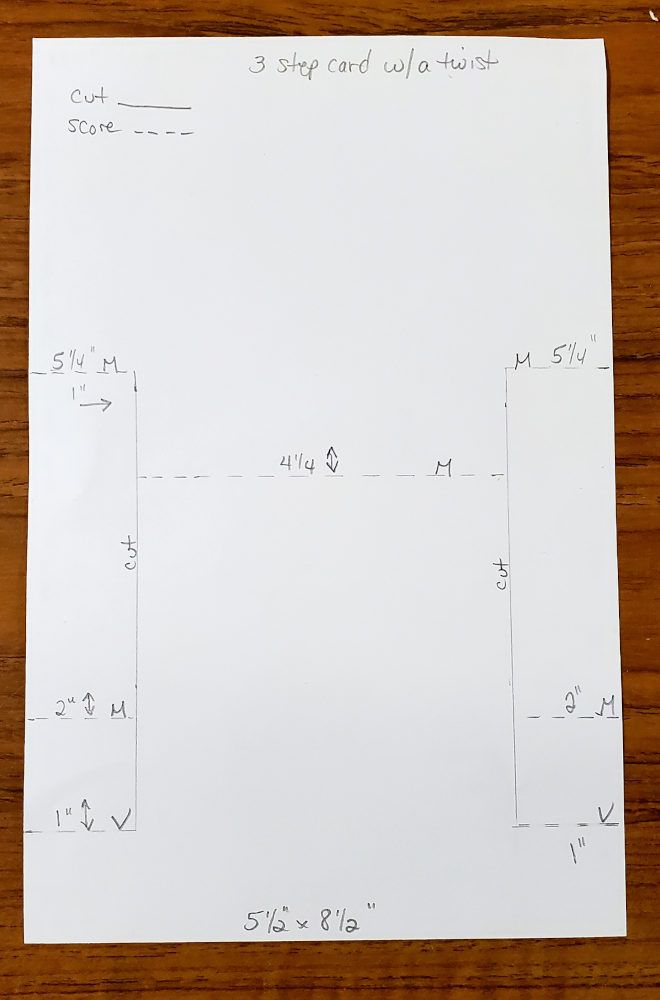
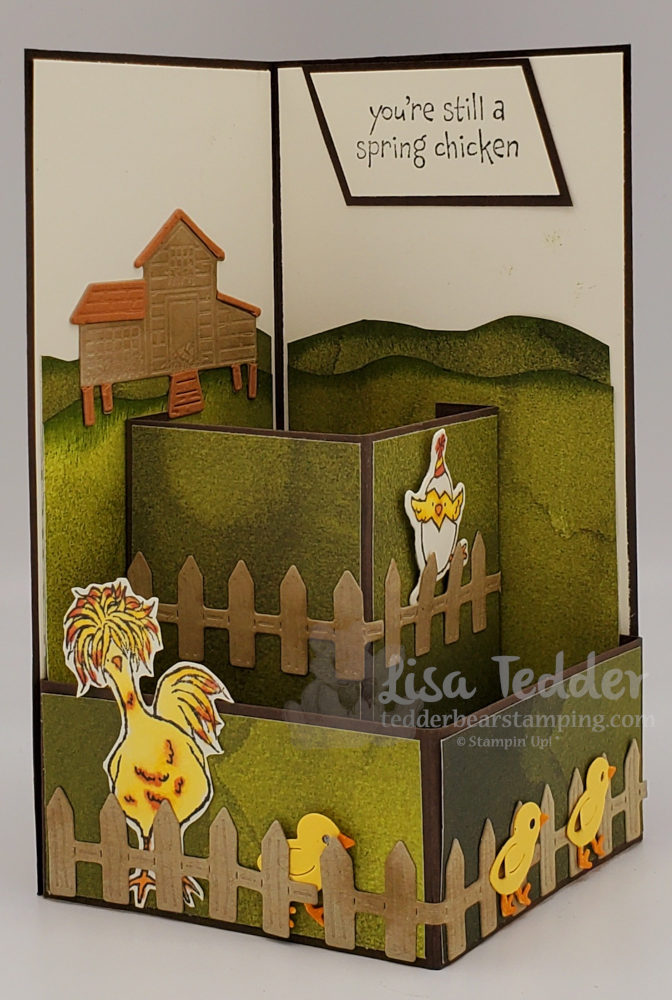
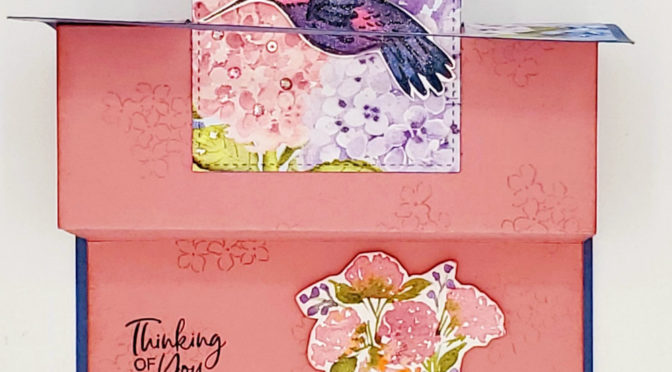
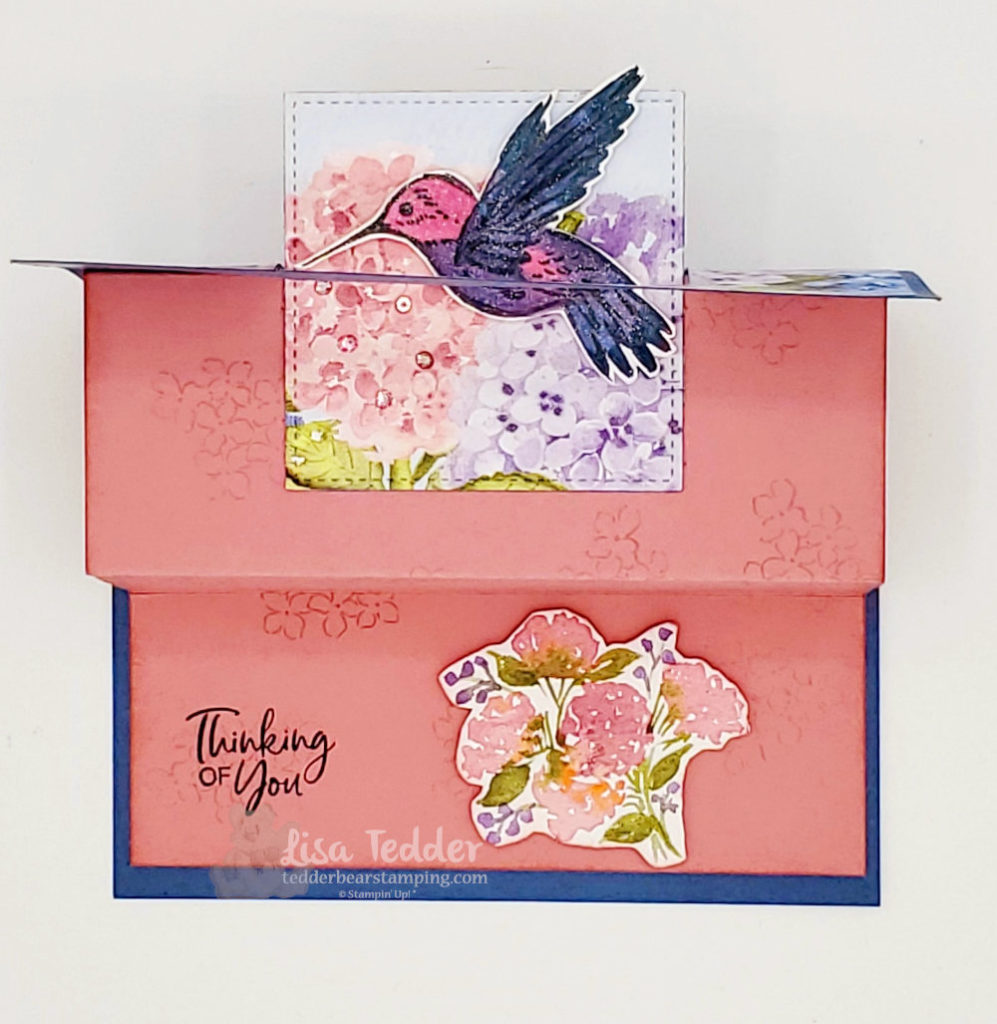
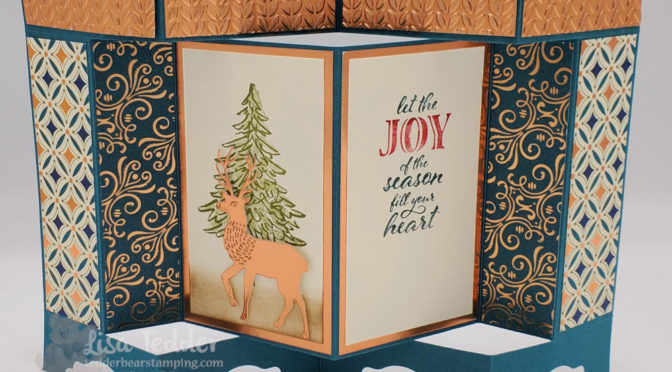
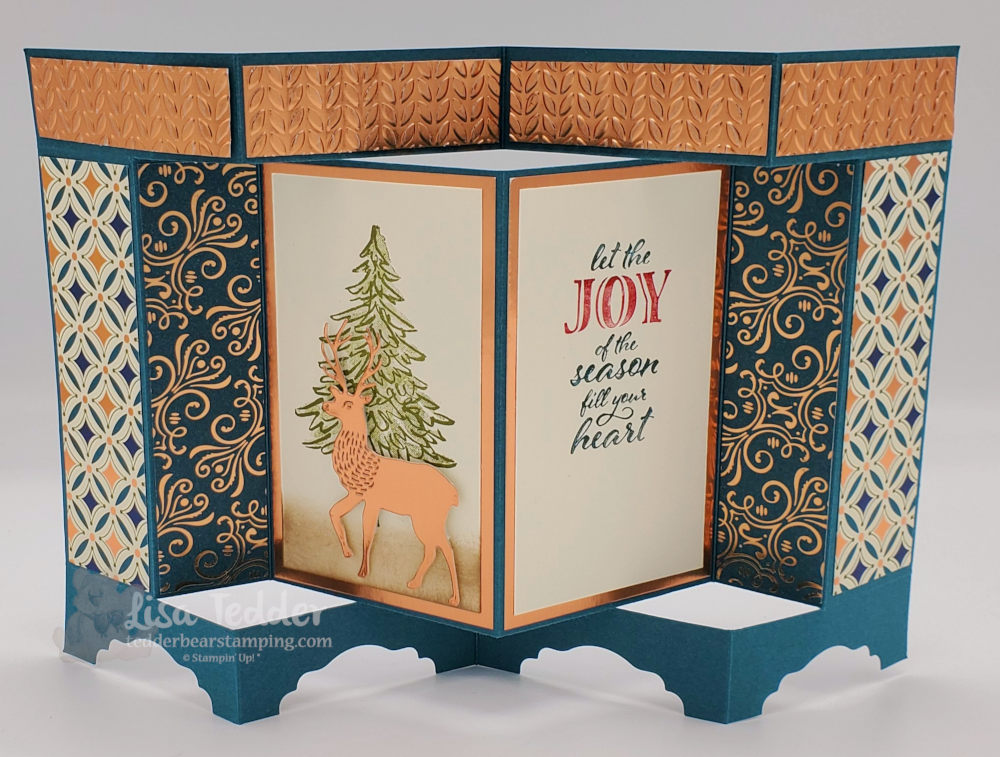
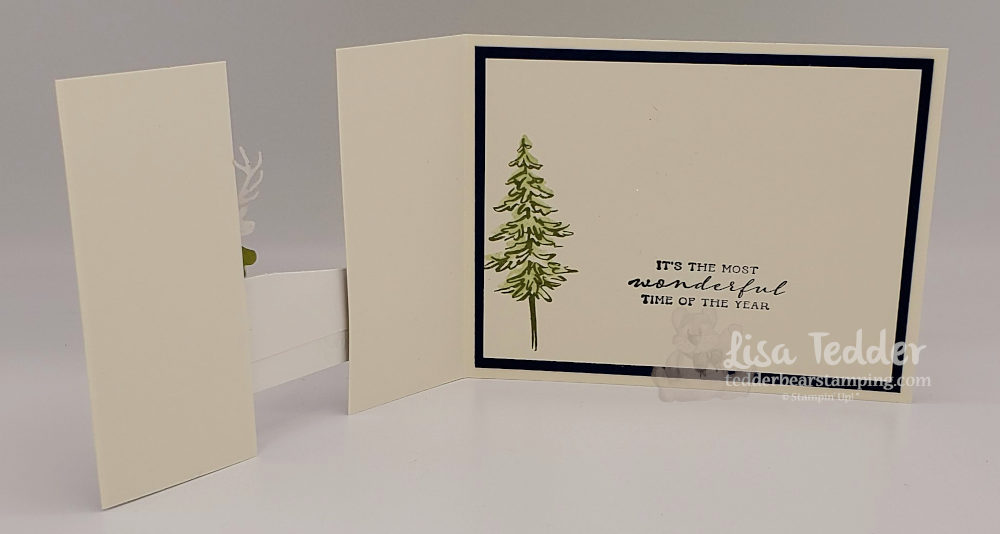
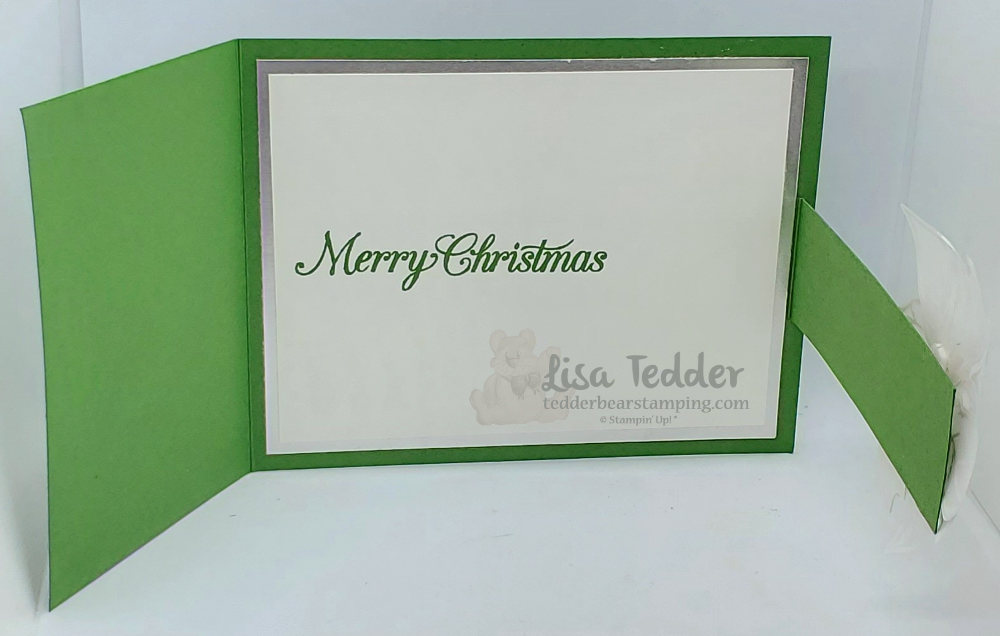
Hey Guys, Peek-a-Boo cards are fun to make I hope you join me thus and see how easy they can be! If you would like to see it made surely check out my Live YouTube Video now! It’s called Peek-a-Boo because when you open the card a surprise message appears! My niece is having a baby I plan on sending this in order that she knows I’m happy for her!
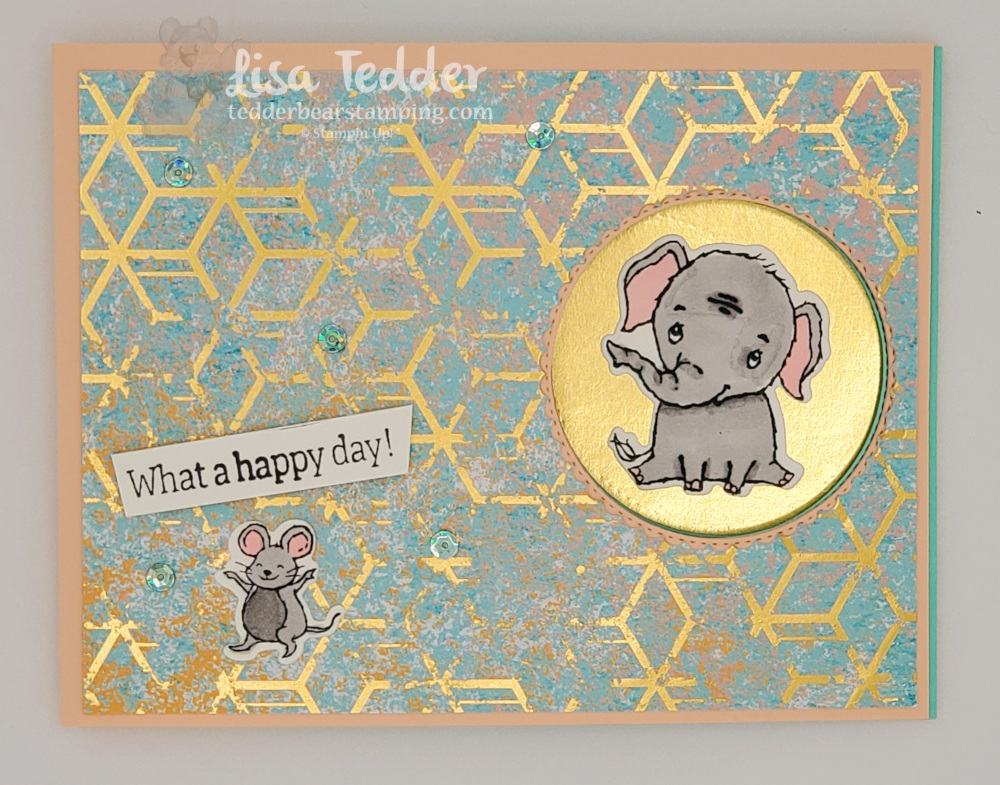
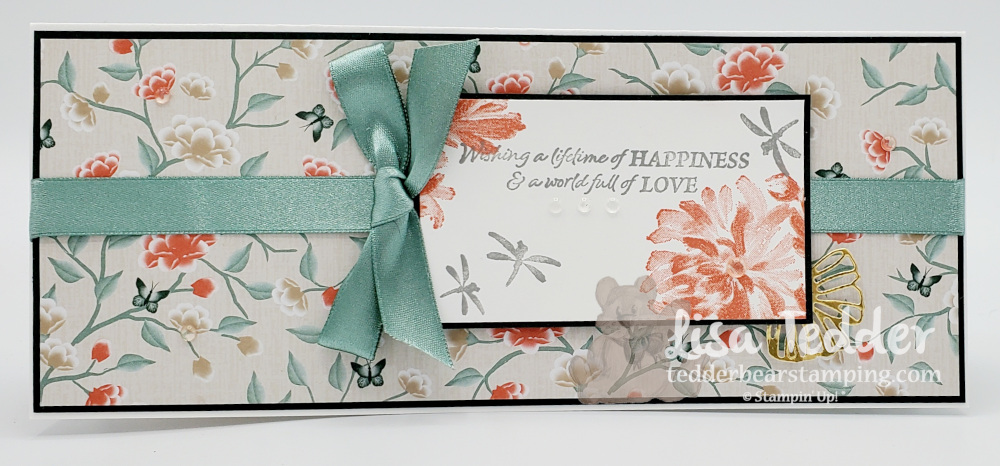
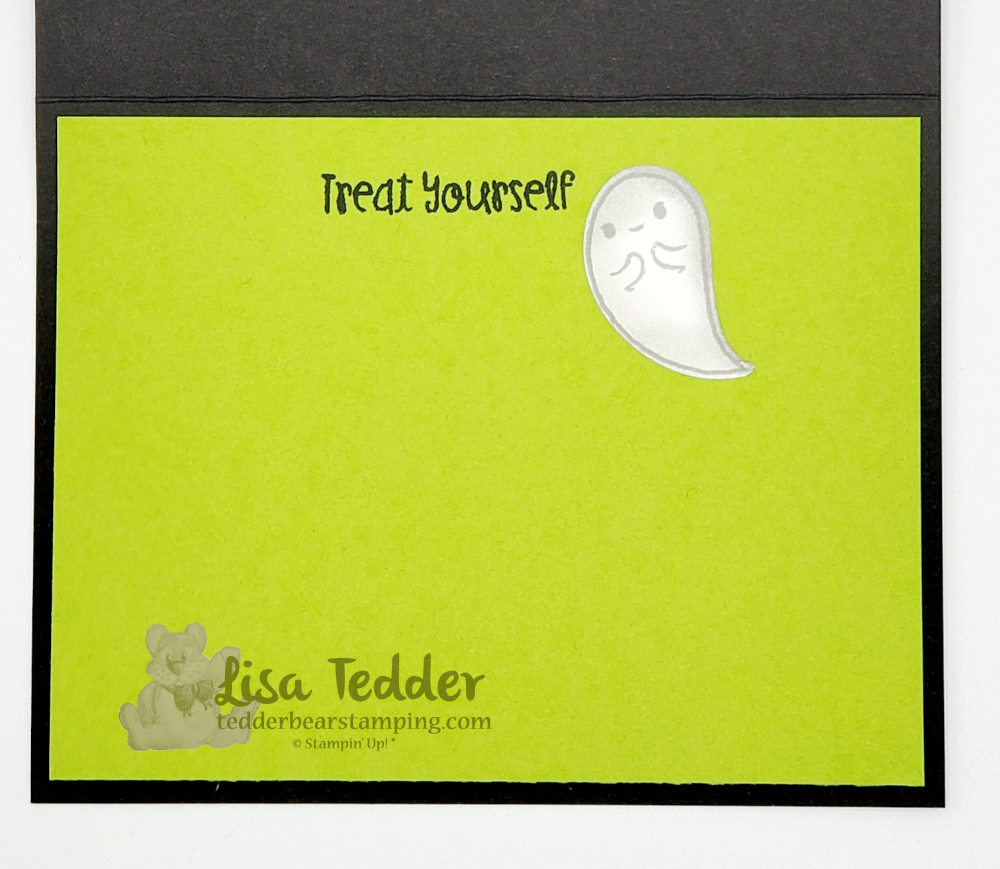
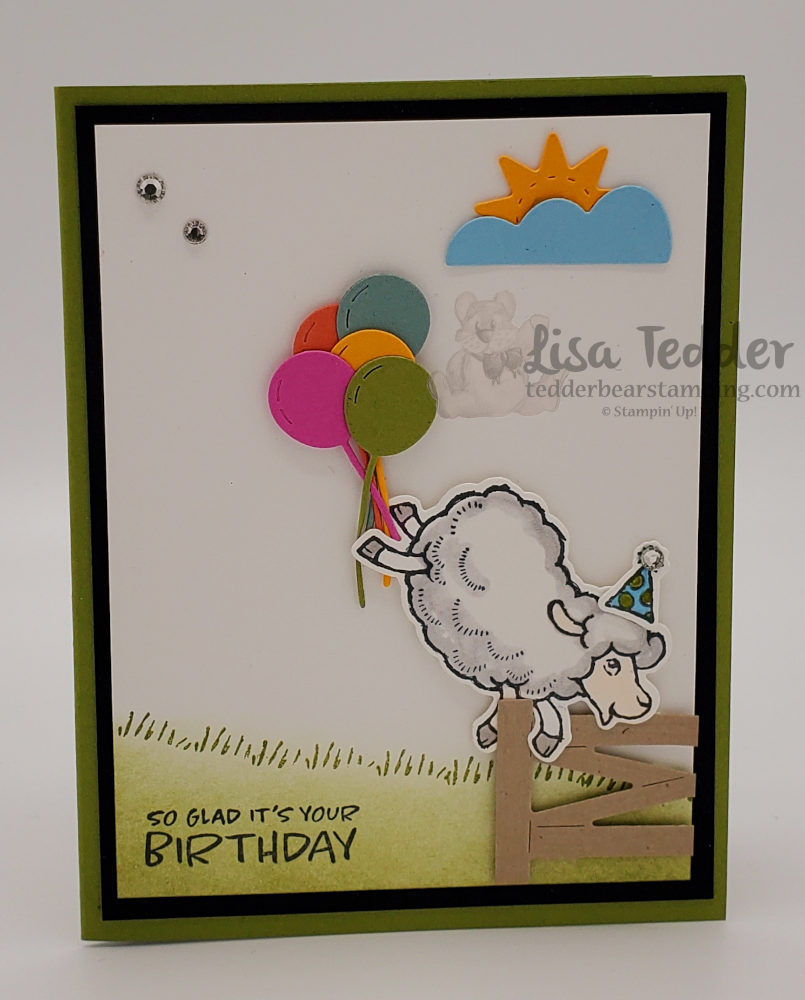
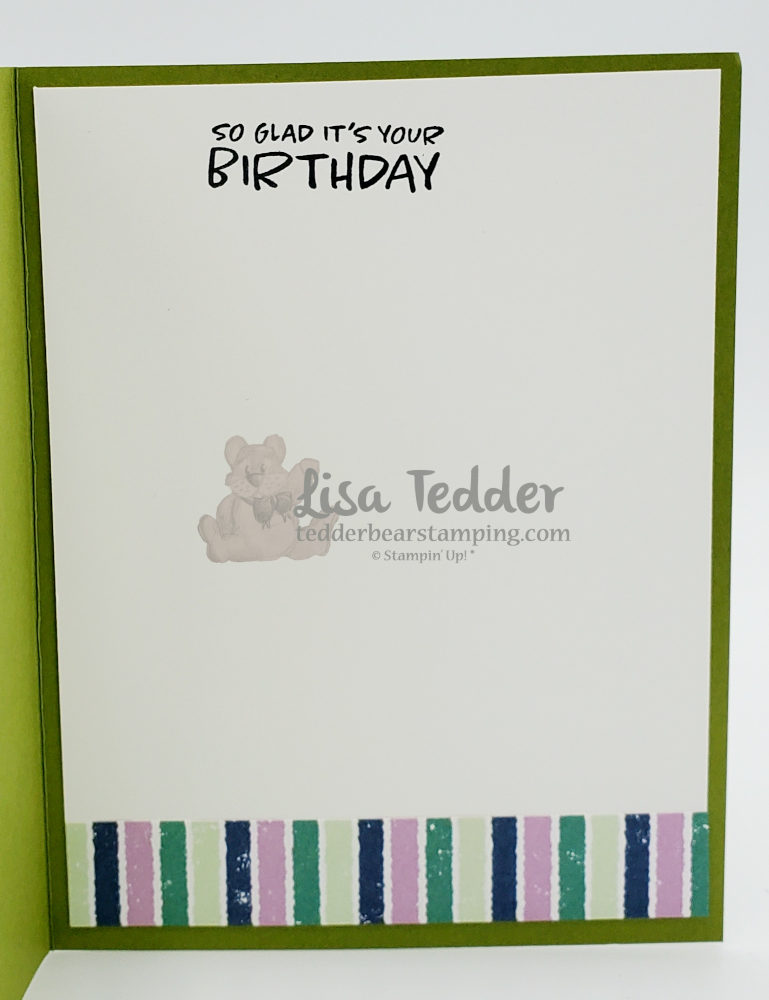
Peek-a-Boo card
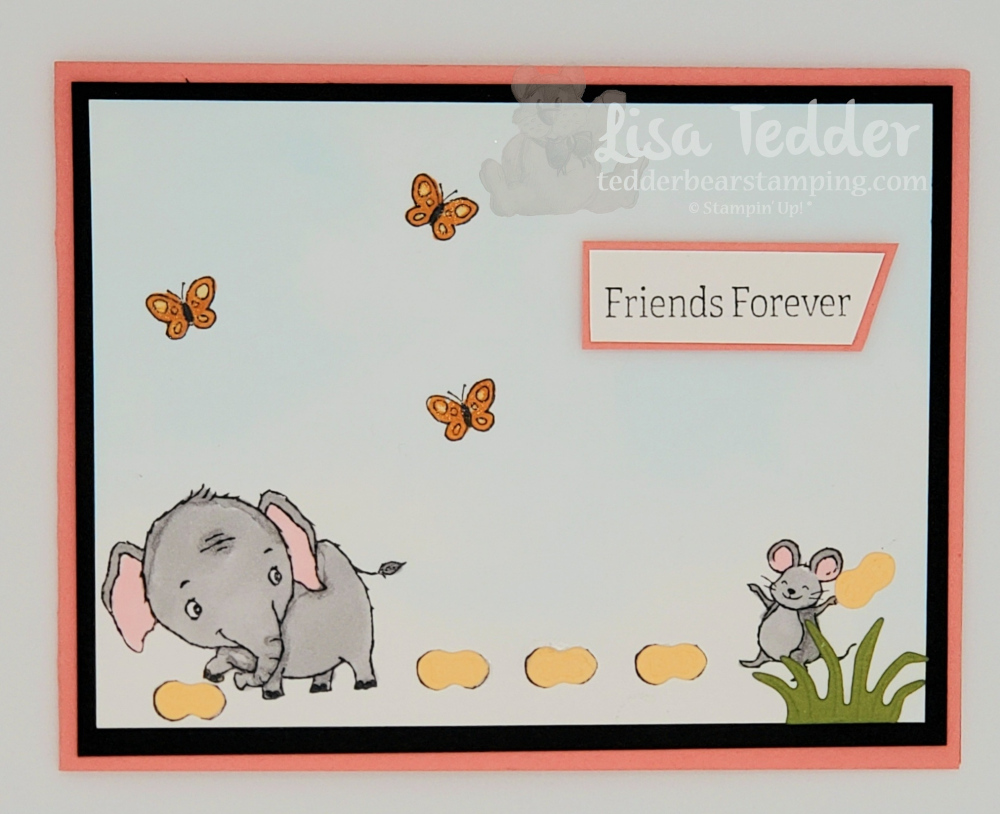
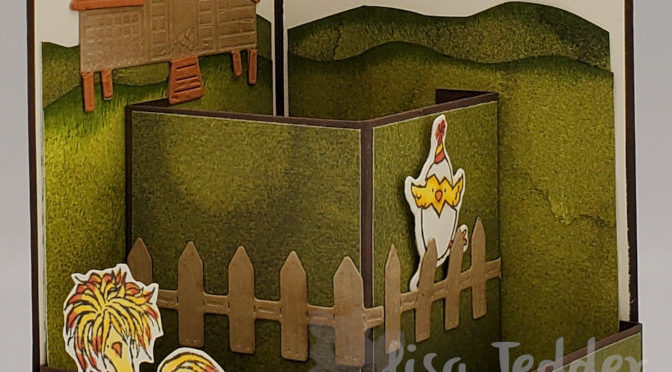
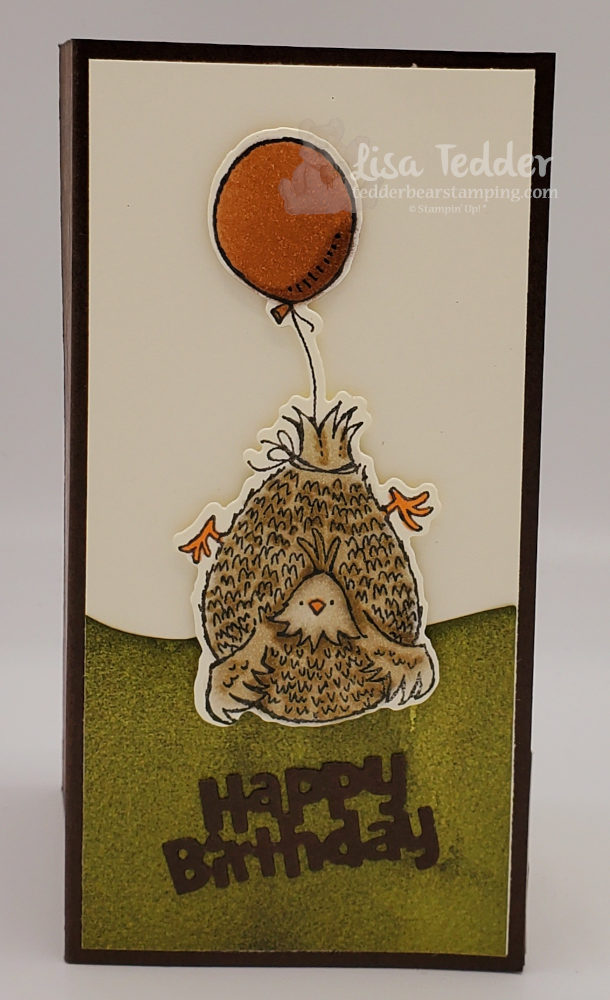
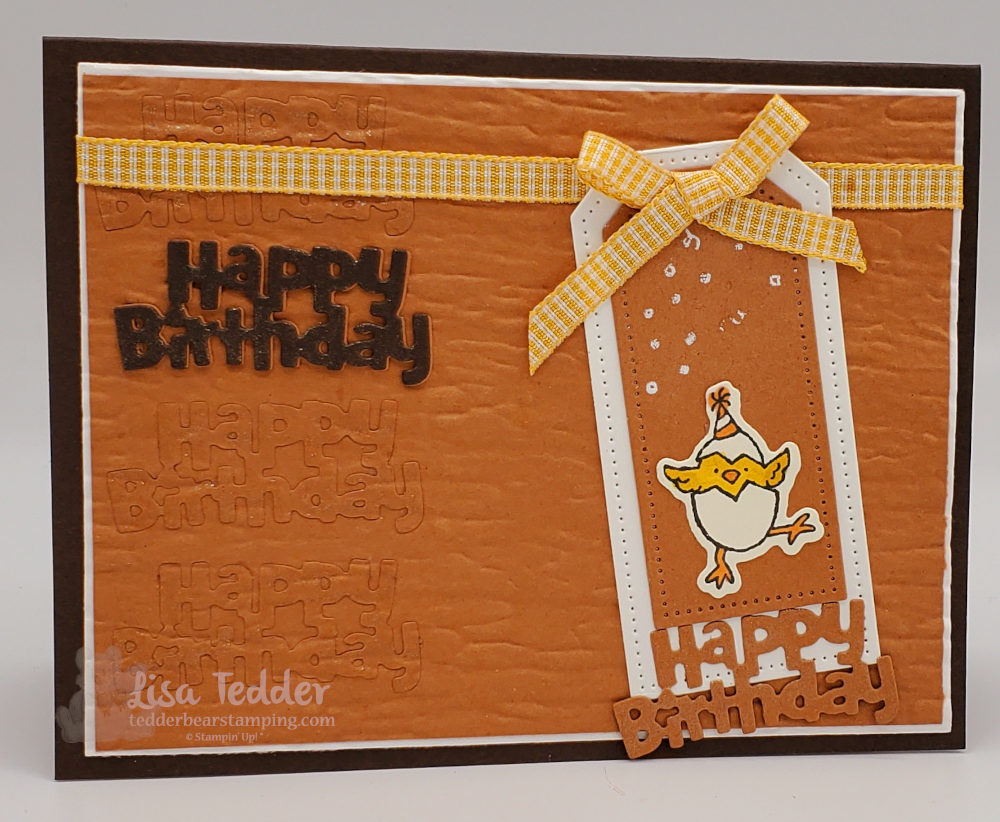
Friends Forever
More…..
Both of these cards of course use the Stamp set from SU! called Elephant Parade. I especially love the Peek-a-Boo card, but the other one makes me smile! I love the idea certainly of an elephant leaving peanuts (his favorite snack by the way) to his best friend! Of course my favorite snack is Reese’s Peanut Butter cups, I’ll share too!
Are you a Happy Shopper?
As I’ve said in the past, I especially LOVE being a Demo with SU! But, did you know you can join and NOT do any classes? Or, you can join and just get that happy discount for something that certainly makes you happy! The reason I joined almost 19 years ago in brief is I wanted the discount! I stamped with my friends and ended up on the whole, making new ones! Basically who doesn’t love a discount!? Let me know if you of course want to hear more!
One other thing
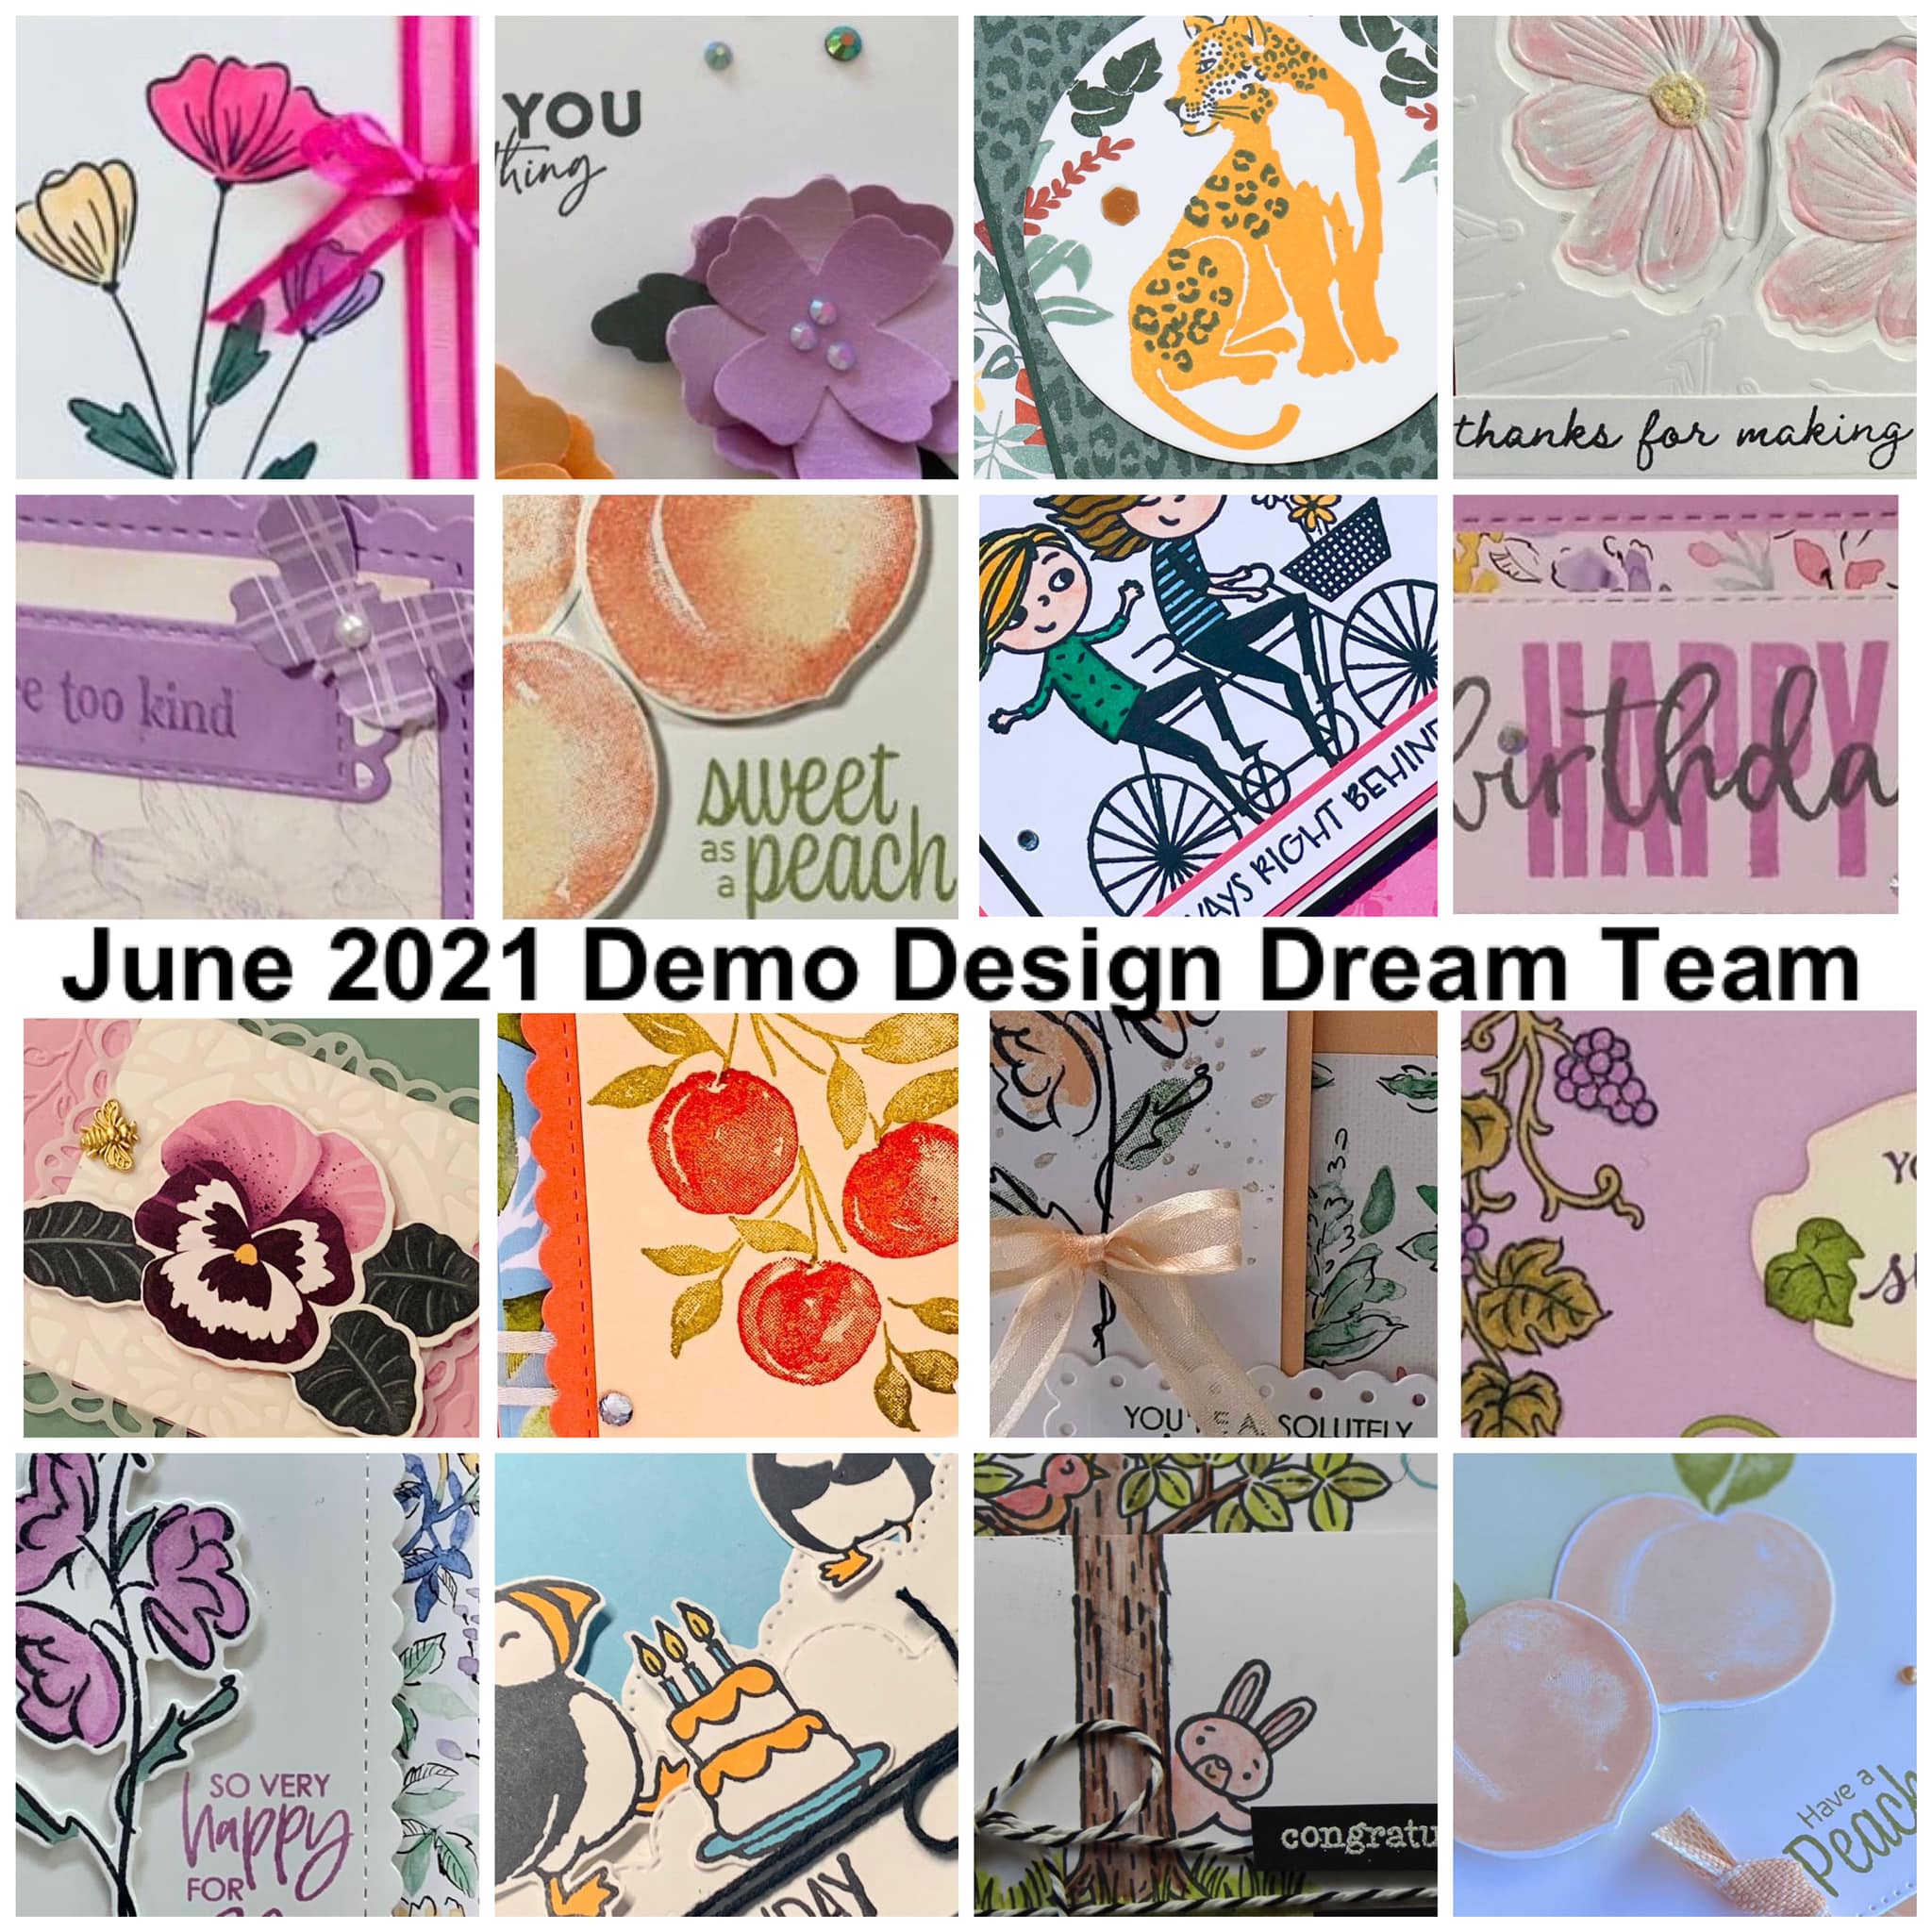
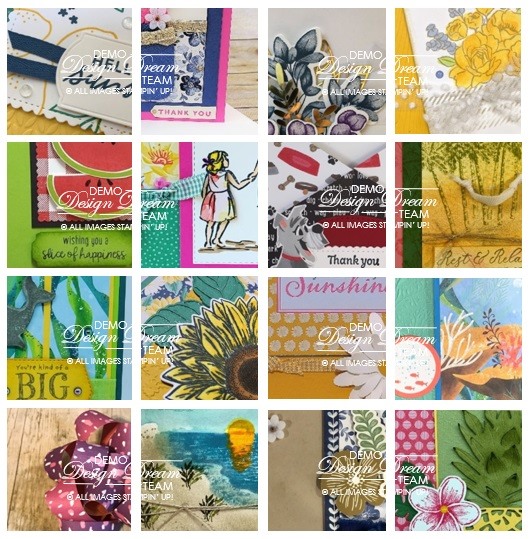
IF you shop with me, you will in truth get a hand made card from me. But you will also get a PDF of 16 cards/projects in this situation you will love! Of course you must buy at least $35 to get it, which realistically is super easy! In any case I can do that in my sleep! I so appreciate your support and of course want to Thank you!
Lastly
Lastly I want to thank you for being here on my Blog. Of course my hope is you will love what I share that in fact you will want to return! Also, if you come to one of my Live’s on YouTube you can possibly win one of my cards! I pick two people during my Live who’re chatting with me to mail a card I made that day! My hope is in this case you will want to return! I’m off next week, but I hope to see you the following Thursday!
Lisa Tedder
A former California girl living in North Carolina
Product List
")
")


 Specialty Designer Series Paper")


")


 Specialty Designer Series Paper")
 Satin Shimmer Ribbon")


 Designer Series Paper")


 Gingham Ribbon")


")
")


 Specialty Designer Series Paper")


")
")


 Designer Series Paper")


")


 Gorgeous Grape Sheer Ribbon")


")


")


")


 Cardstock")


