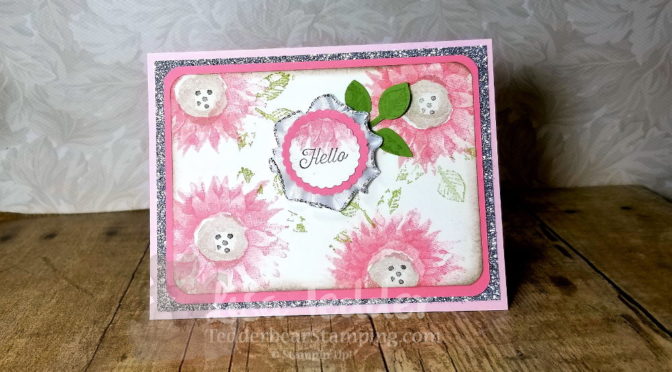
Today I bring you a handmade card that I just LOVE! It uses the Stamp set from Stampin’ Up! called Painted Harvest.
This elegant card has sparkle and dimension. When I show this to people in person, they just say WOW! Love when that happens.
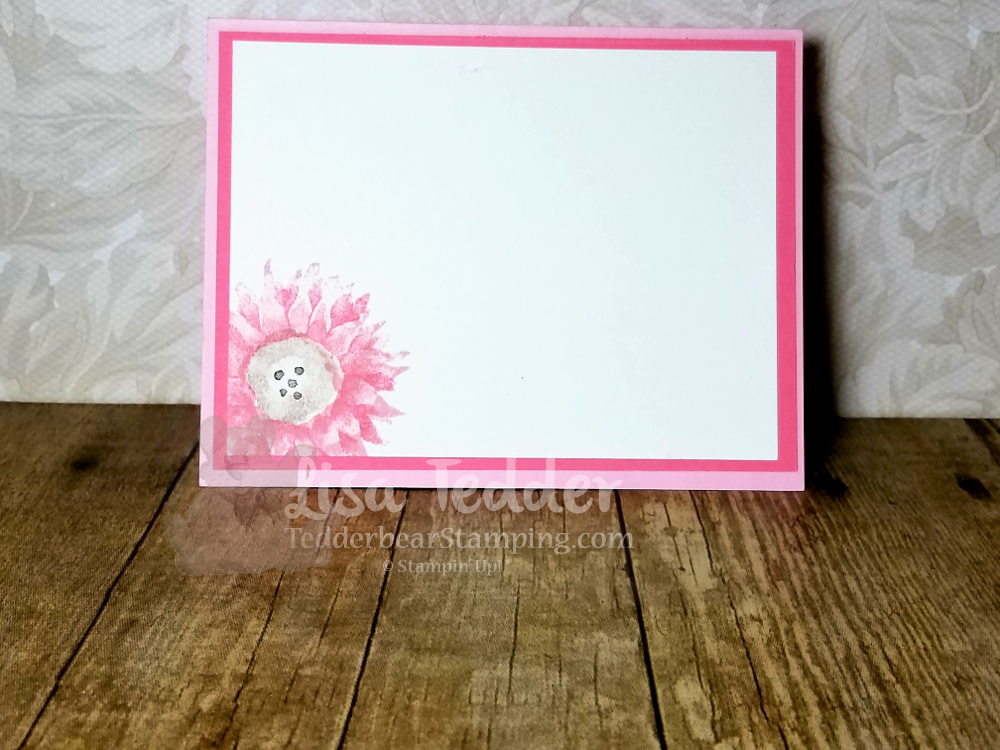
Here is the inside:
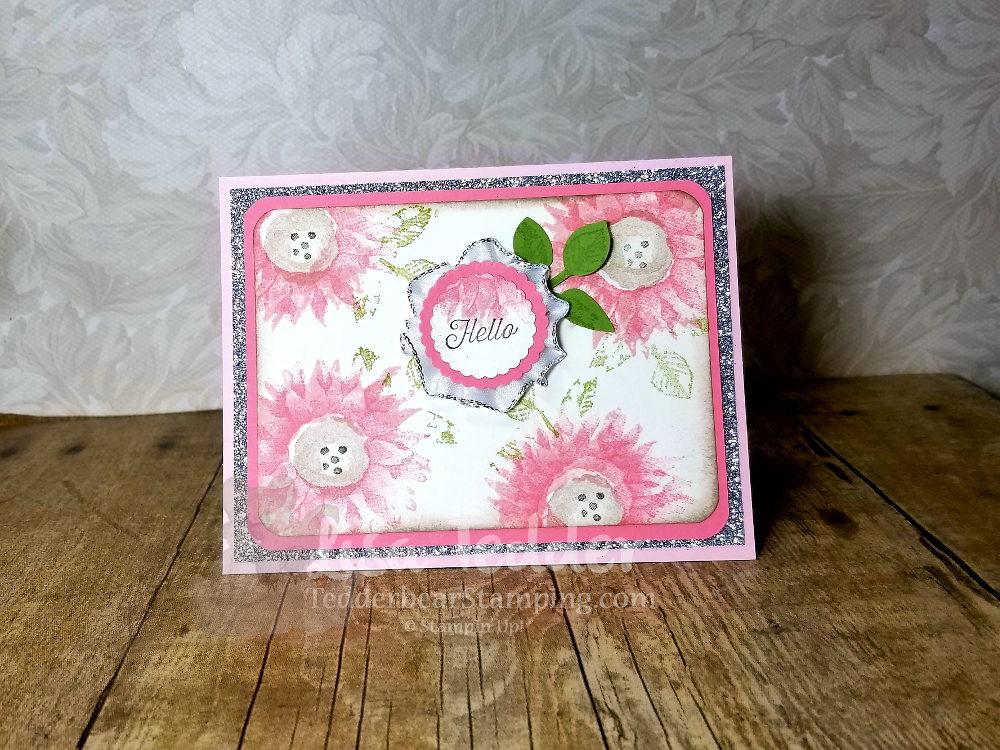
A simple card with Maximum effect. I used the Metallic Edge Ribbon to pleat around the sentiment to add to the effect.
Dimensions:
Blushing Bride 5 1/2″ x 8 1/2″
Silver Slimmer paper 5 1/4″ x 4″
Flirty Flamingo 5 1/4″ x 4″ (inside), 5″ x 3 3/4″ (front)
Very Vanilla 4 3/4″ x 3 1/2″ (front), 5″ x 3 3/4″ (inside)
I rounded the corners on the two smallest layers on the front to add dimension.
I would appreciate it so much if you would choose me as your demonstrator if you live in the US! Click on any picture below to be taken to my OnLine Store!
Lisa Tedder
A California girl living in North Carolina Product List
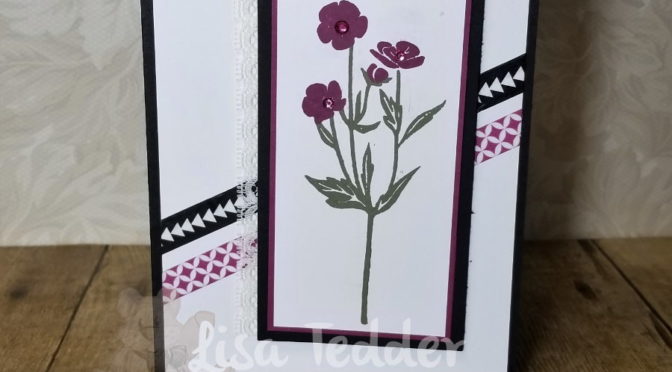
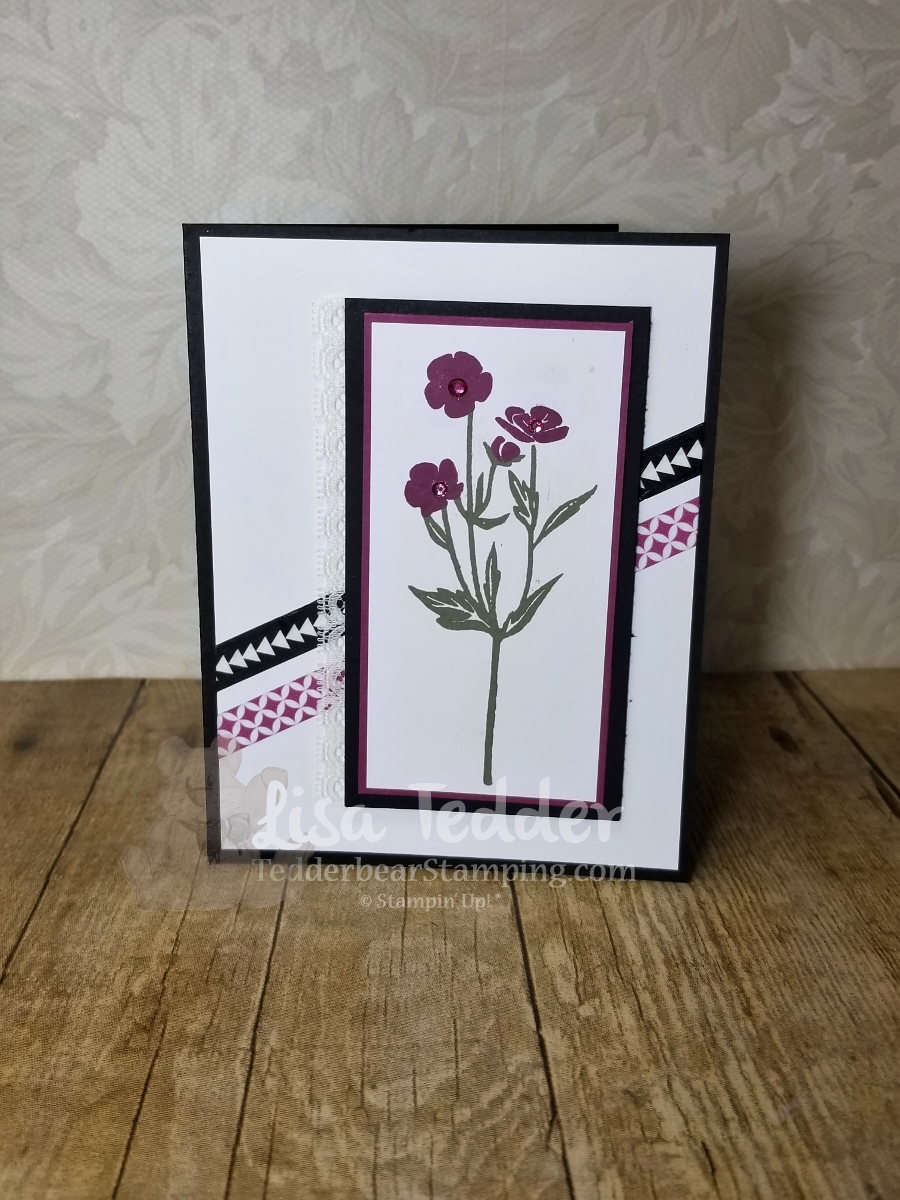
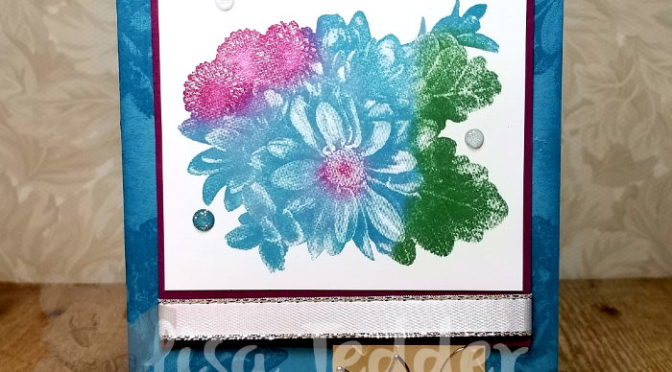
Once again, I went to Pinterest to get some ideas for my Stamp class. I ran across a card by Sue Lehrer. I changed the flowers and the colors, the rest is her design! I love when I am really busy and can’t come up with ideas that I can get them from others!
Here is my card:
I really love how the Washi is used on this card. I forget about using it and then wonder why I don’t use it more when I do!
The ribbon is a favorite of mine too! LOVE that it is staying in the new Catalog!
Dimensions:
Basic Black 8 1/2″ x 5 1/2″, 2 3/8″ x 4 3/8″
Whisper White 5 1/4″ x 4″ (x2), 4″ x 2″
Rich Razzleberry 4 1/8″ x 2 1/8″
If you want to buy this set from me, I would sure appreciate it! Just click on any picture below to go directly to my OnLine Store!
Lisa Tedder
A California Girl living in North Carolina Product List
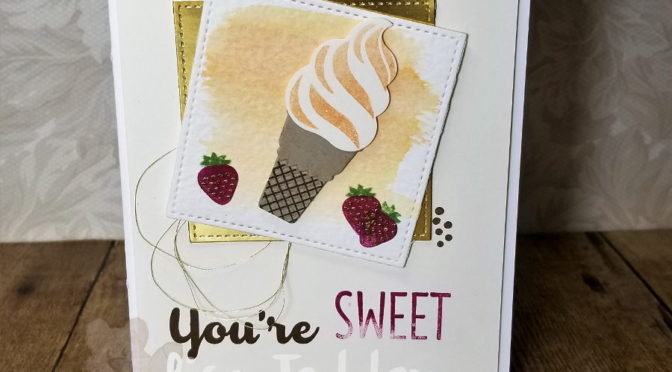
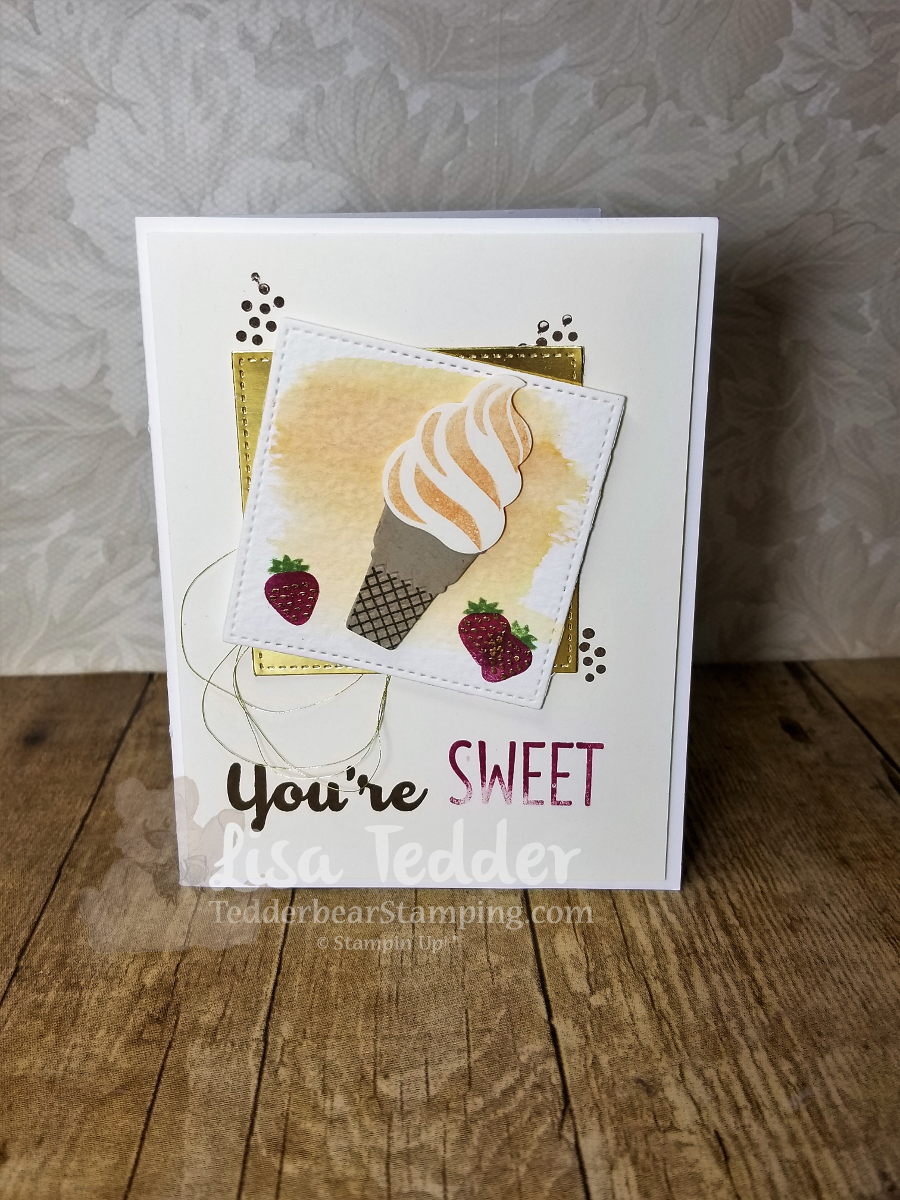
I was perusing Pinterest and saw this Beautiful card by Robin Feicht. I loved it so much I CASE’d it just like it was!
Here is my card:
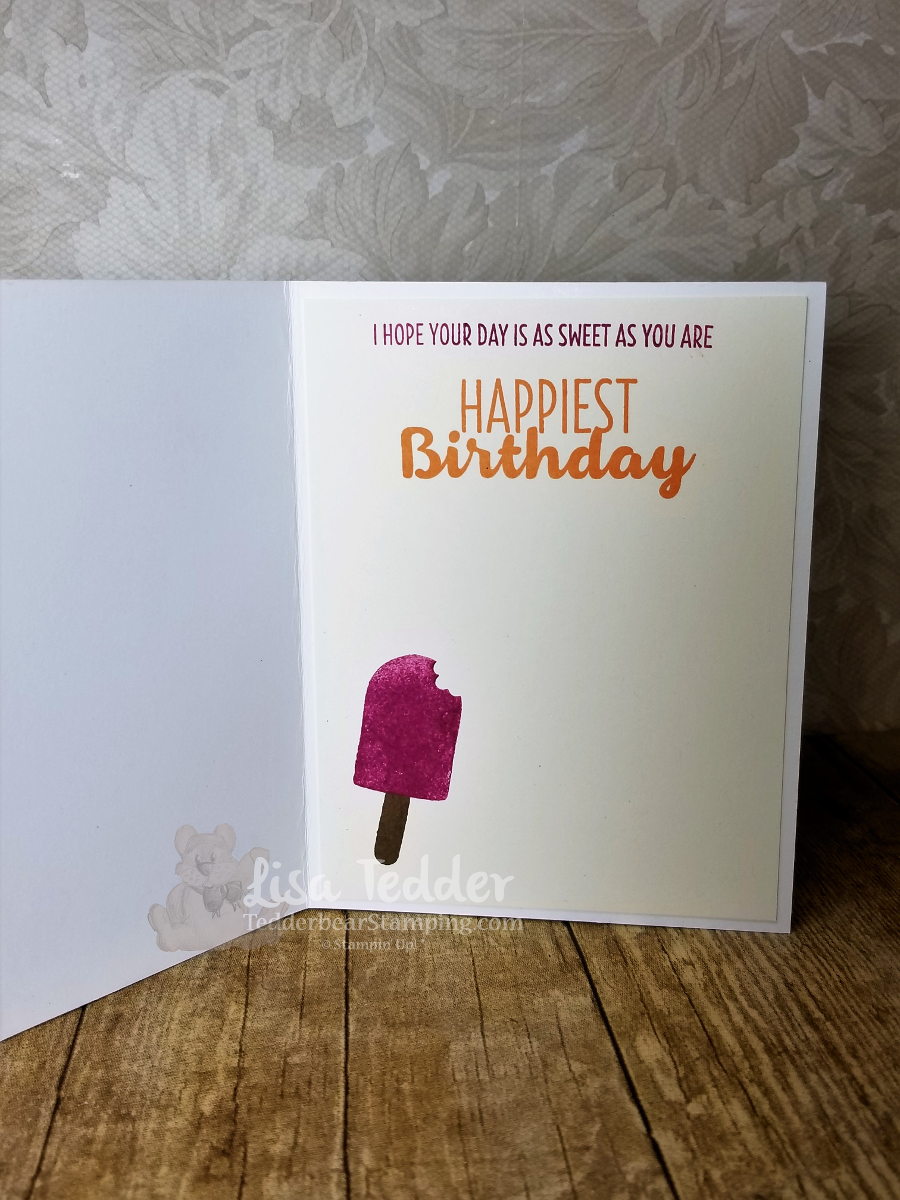
Here is the inside:
She didn’t show her inside, so this is what I came up with. I LOVE this set and am sad to see it go. If you want this set, be sure to check out my OnLine Store to get yours! Just click on any of the pictures below to be taken there!
Dimensions:
Whisper White 8 1/2″ x 5 1/2″
Very Vanilla 5 1/4″ x 4″ (x2)
Watercolor paper 2 3/4″ sq then cut out with biggest Square (stitched shapes)
Gold Foil same as watercolor paper
I hope you enjoyed my card, if you are in the neighborhood of Kernersville NC, come attend a class!
Lisa Tedder
A California girl living in NC Product List
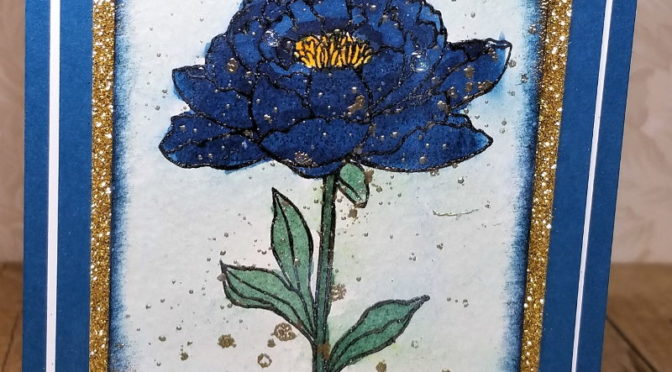
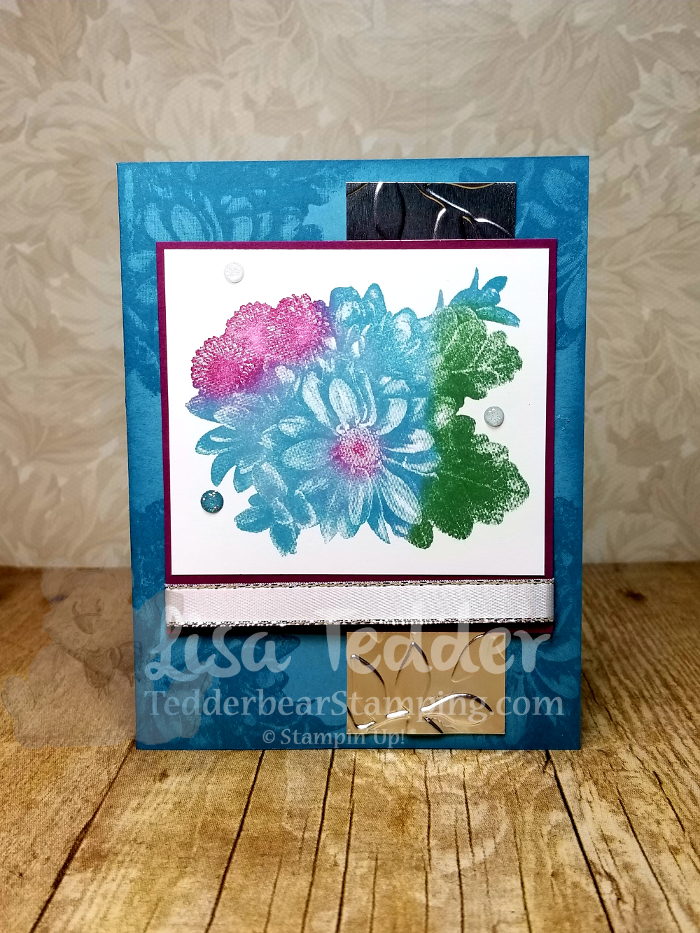
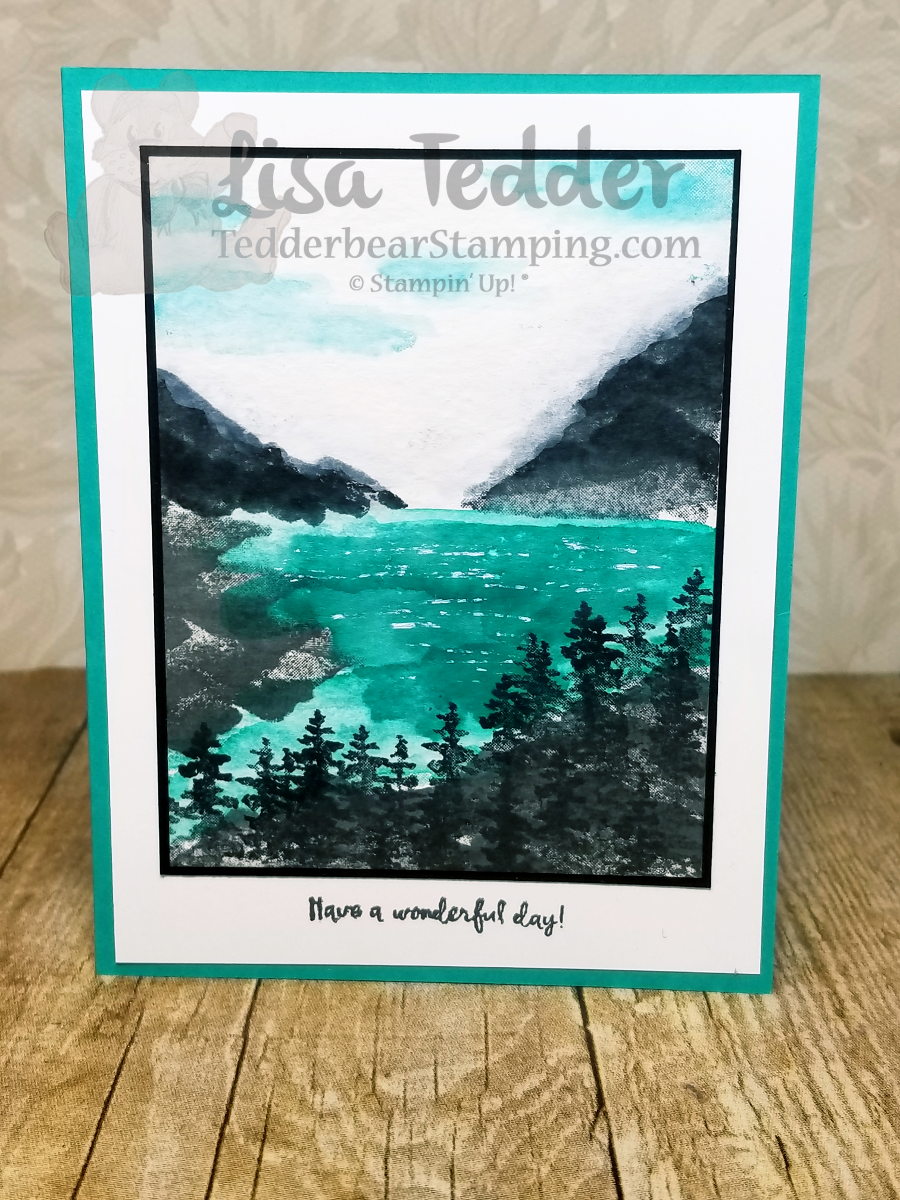
Today is Tuesday so that means I have a new video to offer you!! I wanted to show how easy it is to paint with Brusho. Brusho gives you such a vibrant color and I am now asking myself why haven’t I done this before!?
Here is the card I made:
Another great thing is that I can make my own colors! Just mix the yellow with the blue and get a nice green…..add more of one than the other and the hue changes! I can’t wait to see what colors I can make!
Here are the dimensions to this card:
Dapper Denim 8 1/2″ x 5 1/2″, 3 3/4″ x 5″
Whisper White 3 7/8″ x 5 1/8″
Gold Glimmer Paper 3 1/4″ x 4 1/4″
Watercolor paper 3″ x 4″
I hope that this card encourages you to try the Brusho!
Thank you for stopping by, I hope you continue to touch base with me! I enjoy making handmade cards and I hope that I inspire you to do the same!
Below is pictures of the items used for this project, click on any picture and you will be taken to my OnLine Store!
Lisa Tedder
A California Girl living in North Carolina
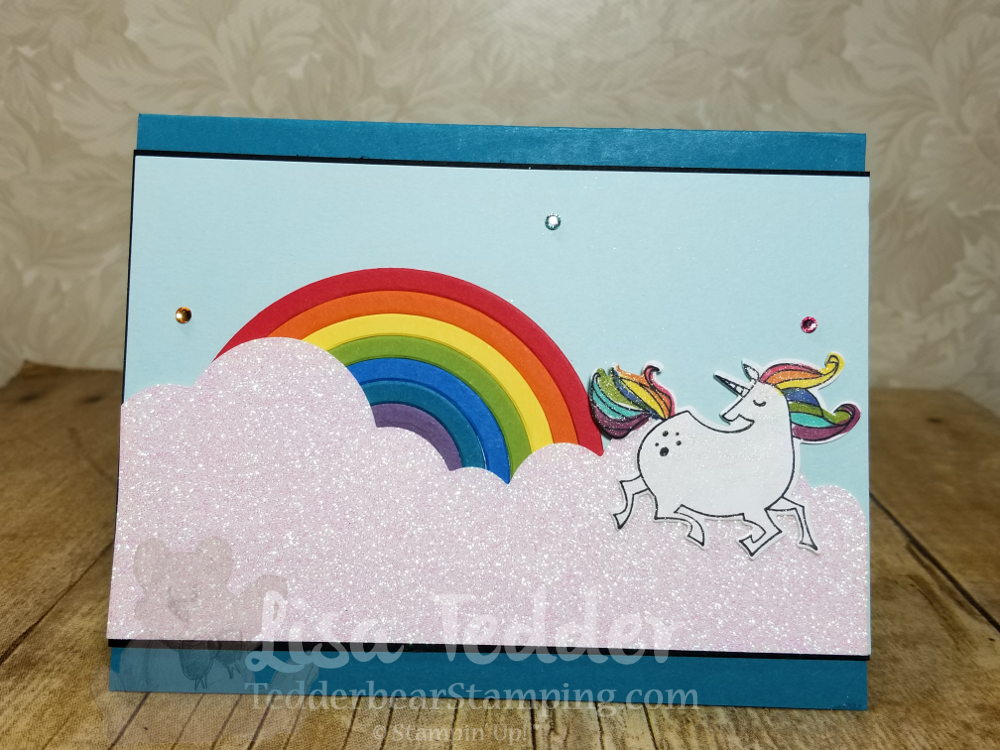
Today I have a really fun and super cute card! I LOVE rainbows, but who doesn’t? I also love Unicorns! So I put them together! I got this idea from Kirsten Aitchenson on Pinterest. I gave the card some black to make the image pop, but otherwise it’s all her. Isn’t it cute?
The Rainbow took a few minutes to cut out each color, but honestly? It didn’t take as long as I thought it would. I LOVE this card!!
TIP!!: Cut a small piece of white cardstock that you will use to mount your rainbow on. The dimensions are 2 3/4″ x 1″. Place adhesive on your white piece, and start your outer colors going down almost to the bottom of the white. This will hold your rainbow together AND let you pop it off the card with dimensionals. Your white will be covered up by the cloud!
The sparkle paper is from the Myths and Magic 6″ x 6″ glimmer paper.
Here are the dimensions for this card:
Island Indigo: 5 1/2″ x 8 1/2″, plus scrap for rainbow
Basic Black: 5 1/2″ x 3 5/8″, 5 1/4″ x 4″ for inside
Soft Sky: 3 1/2″ x 5 1/2″
Whisper White: 5″ x 3 3/4″ inside and scrap for Unicorn
Scraps for Rainbow: Real Red, Pumpkin Pie Daffodil Delight, Old Olive, Pacific Point, Island Indigo, Perfect Plum
I colored the Rhinestones to go with the rainbow and also colored the Mane and Tail using the Blends.
I used Wink of Stella for the Unicorn.
Hope you like this as much as I do!! Please visit my YouTube Channel to see my other creations and see how I make them.
Below are pictures of the supplies I used, click on any picture to be taken to my OnLine Store. For any purchase you make with me you will receive one of my handmade cards!
Thank you for stopping by! Please come back.
Lisa Tedder
A California Girl living in North Carolina Product List
Today I am using the Stamparatus to Add colors WHILE stamping! This tool is a Positioning device made by Stampin’ Up! and will be available in June when the new Catalog comes out! If you would like a new catalog let me know and I will get one out to you once it comes out!
I just finished a video, where I SHOW you how to add the colors and do extra highlights and continue using the same stamp set and NOT clean it between!!
I will not be describing how to make this card here, since it won’t make much sense unless you SEE it! So go see my video! LOL
Here is the card:
I learned how to do that from Bea Redd, you can see her on Facebook, here! I had problems linking to her video, but if you scroll down, you will see it.
Dimensions:
Marina Mist 8 1/2″ x 5 1/2″
Rich Razzleberry 3 5/8″ sq
Whisper White 3 1/2″ x 3 3/4″, 3 1/2″ x 4 3/4″ (inside)
Silver Foil 1 1/2″ x 5 1/4″ or you can just use squares like I did,
3 3/4″ x 5″ (insde)
Below you will see pictures of each of the products that I used for this project, click on any and you will be taken to my OnLine Store!
Thank you for stopping by! Come back I have lots in store!
Lisa Tedder
A California Girl living in North Carolina Product List
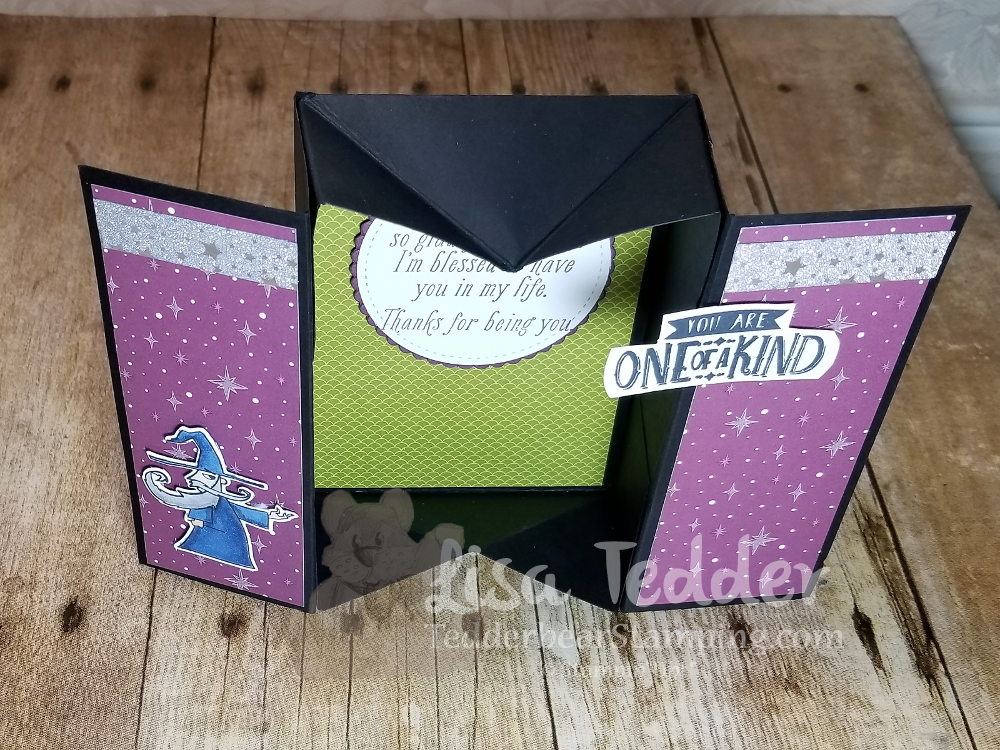
So glad you could join me for this awesome project I have for you today!
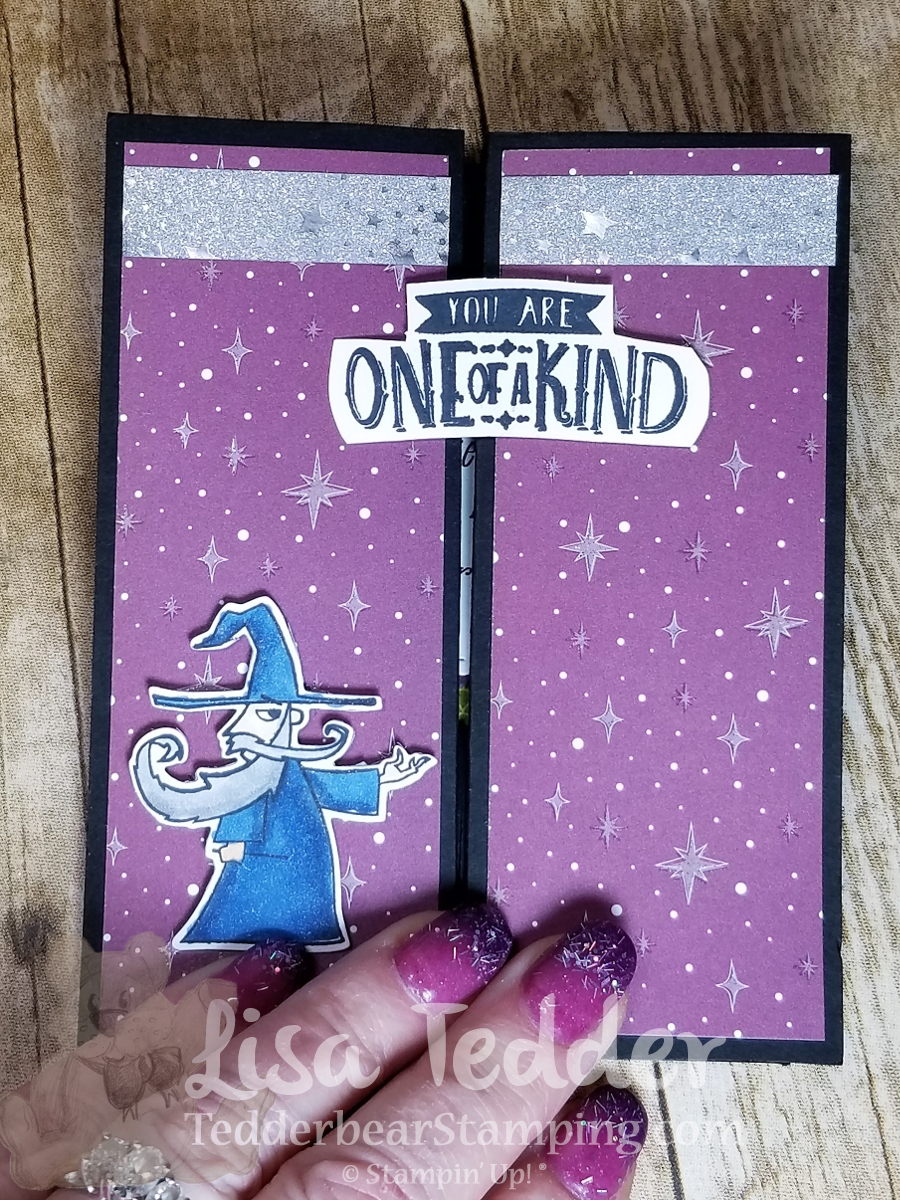
Funny that my nails match!! Just got them done today! This is the card in the closed position
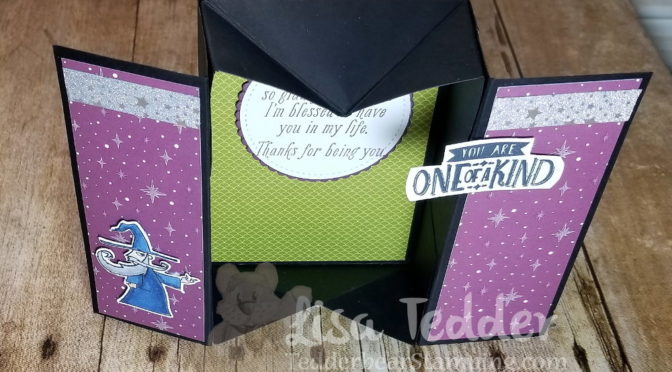
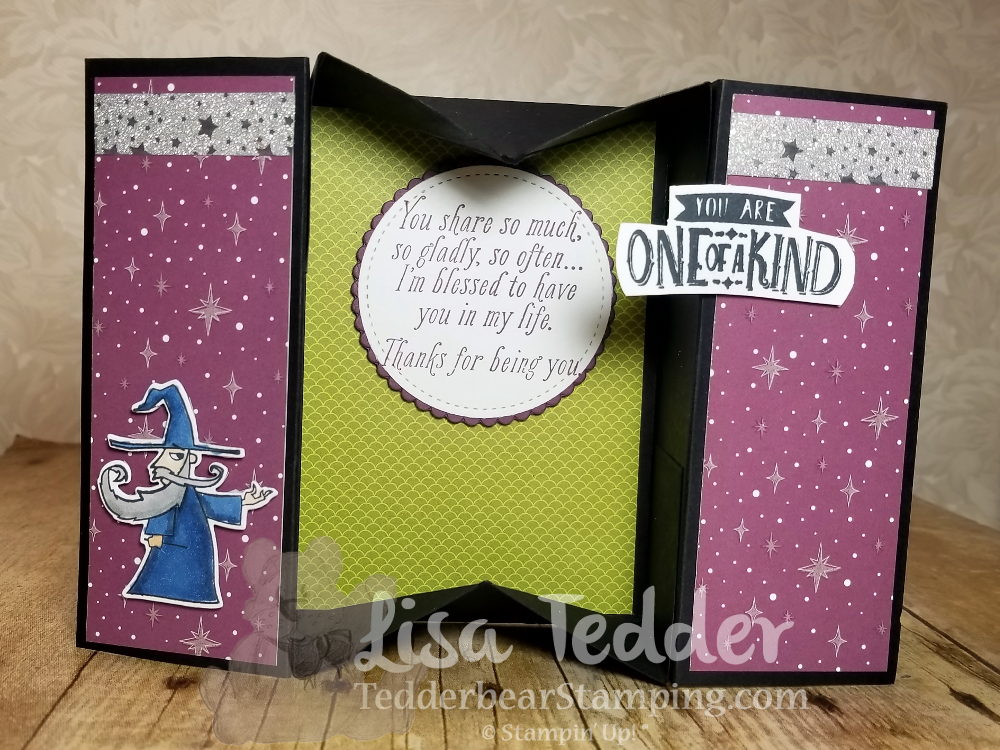
Here it is Open, the next picture shows it from a higher angle so you can really see the ‘box’.
This was super fun! I love the Magical Day Stamp set……I had used EVERY stamp in the set but the Magician, and now I have used them ALL! I colored with the Blends and also used the Magical Day Washi Tape! This entire Suite is awesome!
I got this idea from Natalie Lapakko……..I’m a visual learner so seeing a video would have helped me learn, so I thought I could help you if you also learn by seeing!
This project takes a whole piece of 8 1/2″ x 11″ piece of cardstock. Score Horizontal @ 2″, 3 3/4″, 7 1/4″ and 9″
Score Vertical @ 1 3/4″ and 6 3/4.
Follow along with the video to see where to snip and trim! It was MUCH easier than I anticipated!
Below will be pictures of the items used to make this project. Click on any picture to be taken to my OnLine Store!! If you purchase from me, I will send you one of my handmade cards!
Thanks for stopping by! If you are new to me, I have a YouTube Channel where I TRY to do a video every Tuesday! I would love it if you would subscribe and be alerted when my next video posts!
Lisa Tedder
A California Girl living in North Carolina
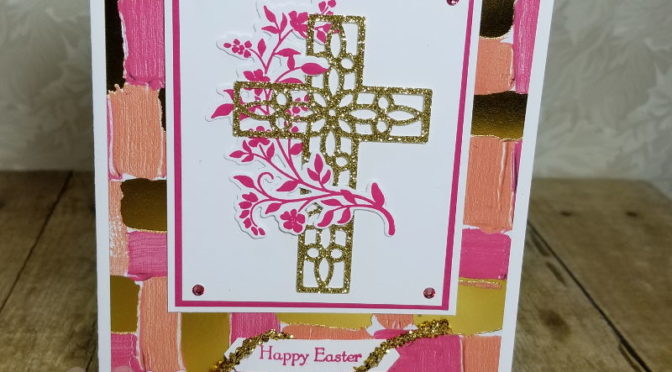
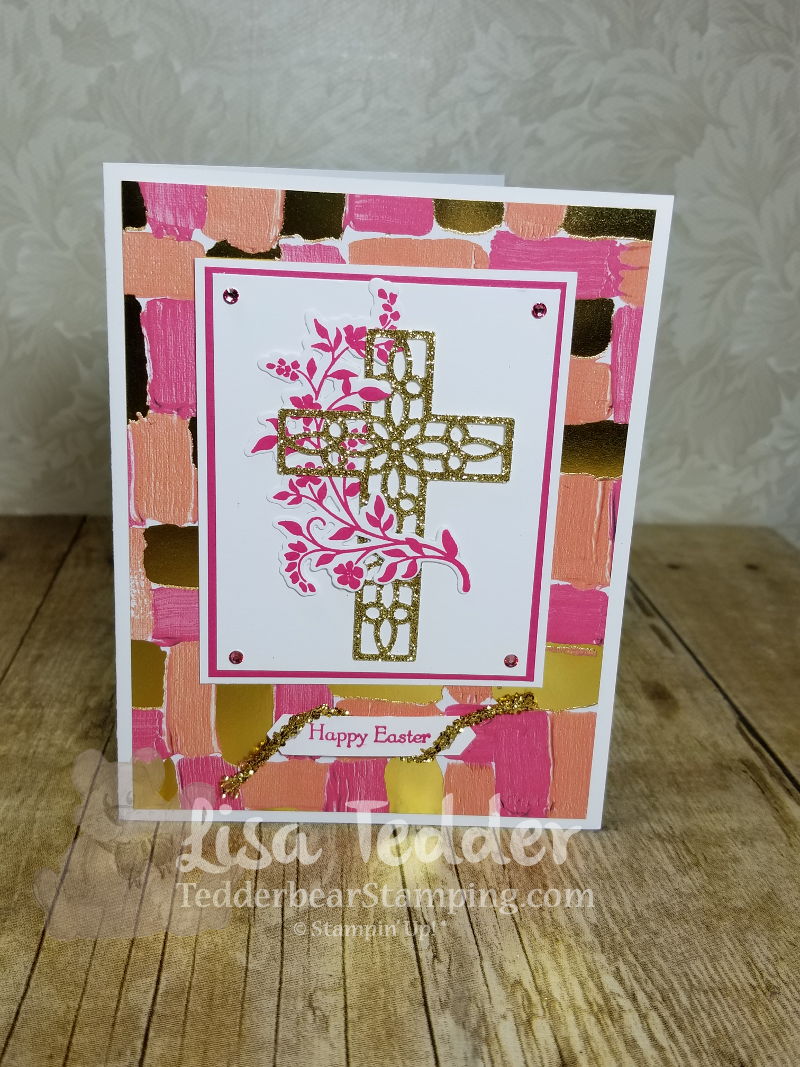
Today I am sharing with you a card I did for my Senior Center Class (not ALL of the people attending are Seniors!), they loved this card! It’s so pretty and uplifting!
I used the Painted with Love Designer Paper. This paper Is so pretty I HATE calling it paper! It seems like there should be a better name for how beautiful it is! LOL
Here is the card:
The colors are so stunning! And the Gold is very shiny. I wrapped the Love Mini Tinsel around the Sentiment to mimic the Shroud that Jesus wore. I hope you think that this card shows love for that awesome sacrifice!!
Below are the items I used, click on any picture and you will be taken straight to my OnLine Store!
Here are the dimensions for this card:
Thick Whisper White:
8 1/2″ x 5 1/2″, 2 7/8″ x 3 1/2″, 3 1/4″ x 2 5/8″
Melon Mambo:
5 1/4″ x 4″, 5″ x 3 3/4″
Painted with Love DSP:
5 1/4″ x 4″
Gold Glimmer:
2″ x 3″ (for the cross)
Thank you for stopping by! I hope you come see me at my YouTube Channel!
I TRY to make a video every Tuesday, subscribe to my channel so you don’t miss my next fun card/project!!
Lisa Tedder
A California Girl living in North Carolina
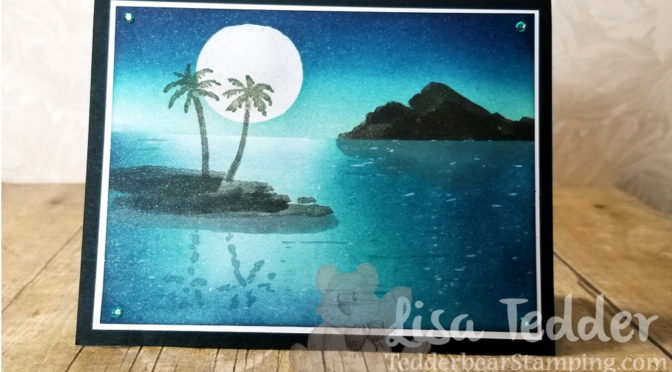
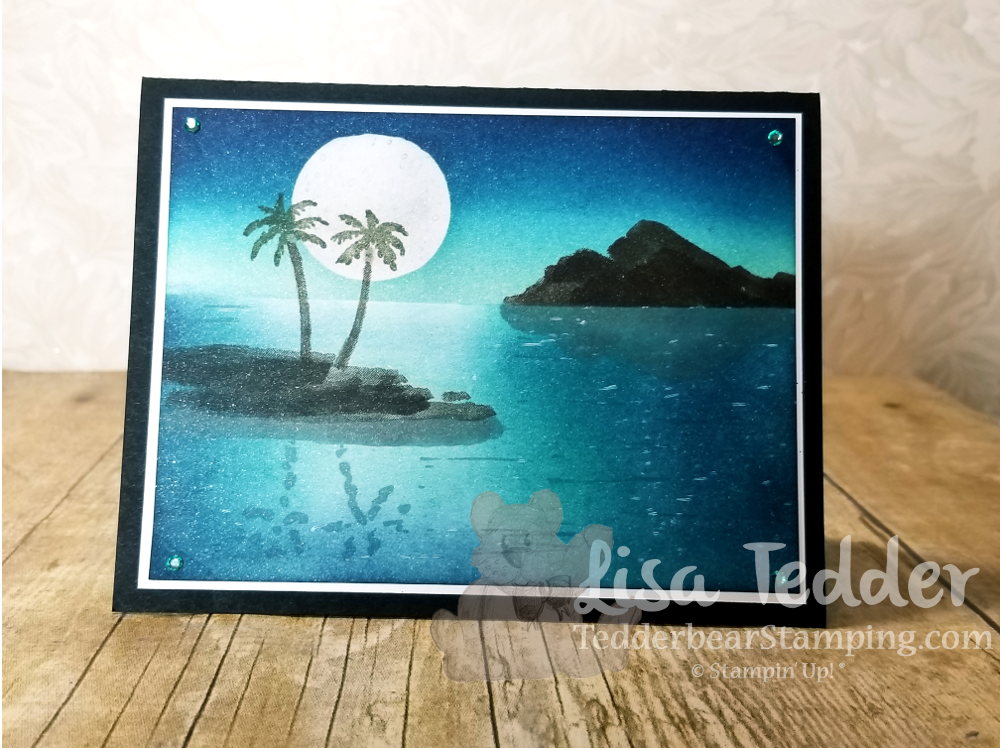
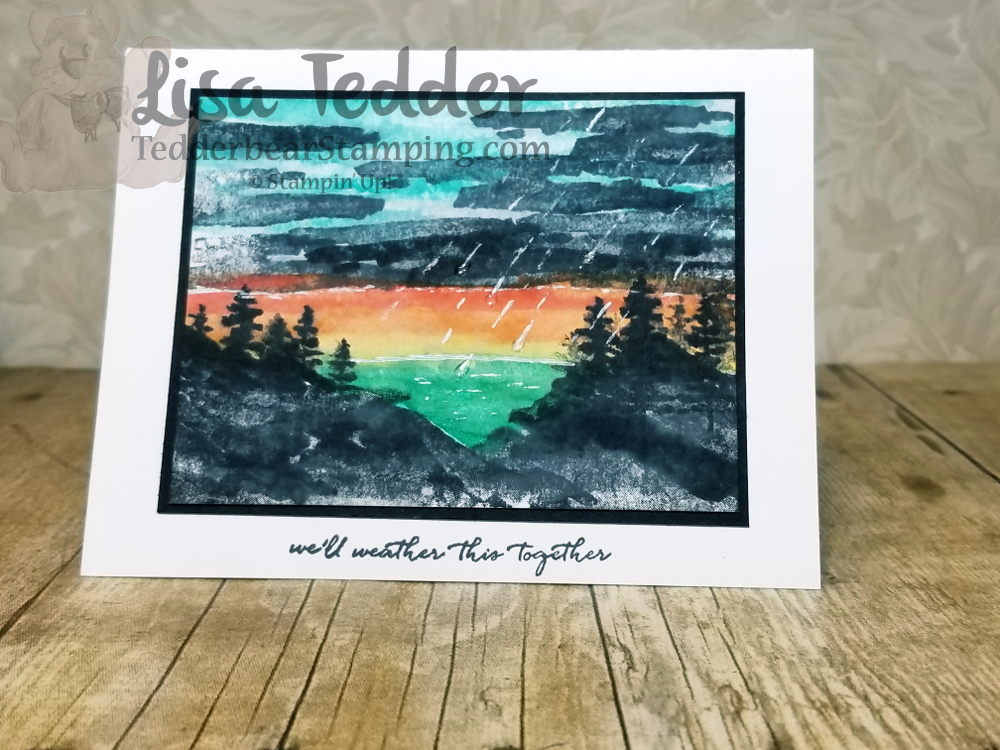
I was so excited on how this card came out! I even tackled doing a reflection!
Here are some of the cards that I show at the end that you might want to see closer!
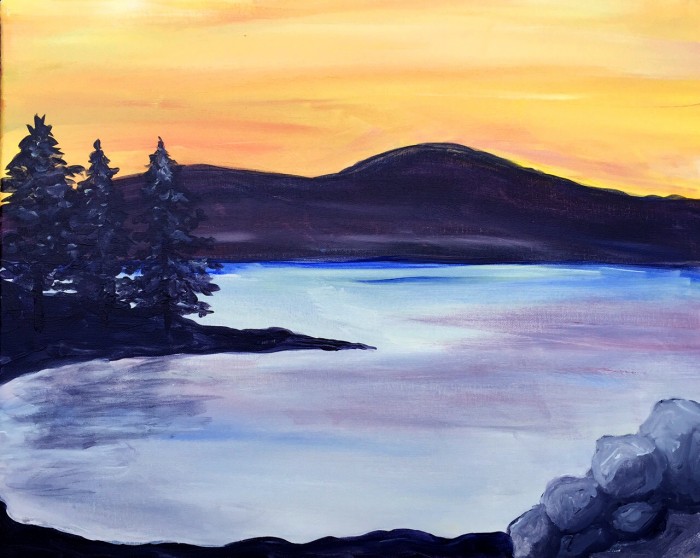
I made this one after looking at this photo i found online:
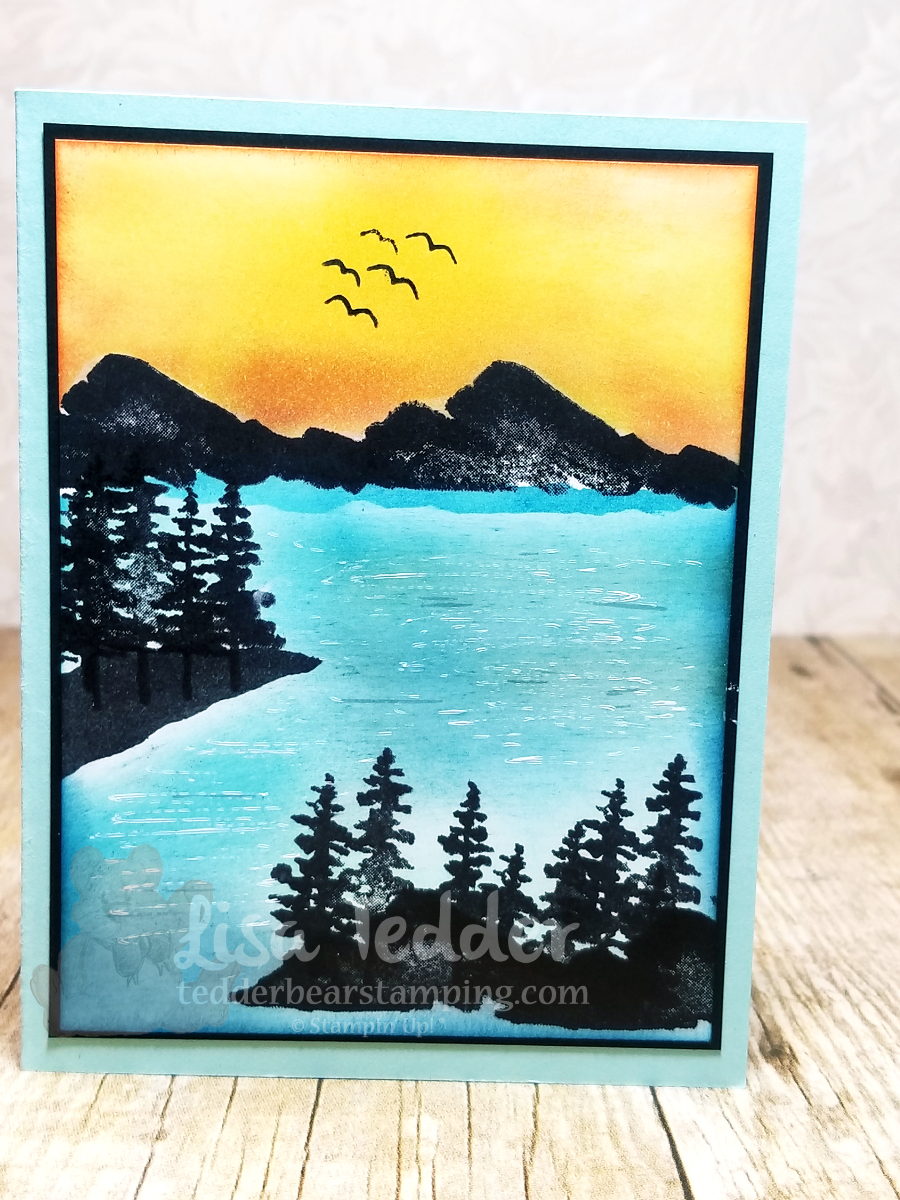
Here’s another card I made:
I saw a card like this online, but couldn’t find it again. I pretty much copied it! I did change a little in the sky, but the rest I kept. If you happen to see this card please let me know so I can give credit. UPDATE: Thank you for everyone that mentioned where I saw this, Kim Jolley at stampinartfully.blogspot.com is the one that I got the idea from. Thank you Kim!!
This is also from the same person, this is where I learned HOW to make the Scenes! Again, if you see or know who made the original, please let me know! I did add some Glitter & Clear Epoxy Dots to make the rain look more real!
Hope you like this post. Check back in for my other posts!
Everything listed for my main picture at the top is listed below. Click on any picture to be taken to my OnLine store!
Talk to you soon!
Lisa Tedder
A California Girl living in North Carolina
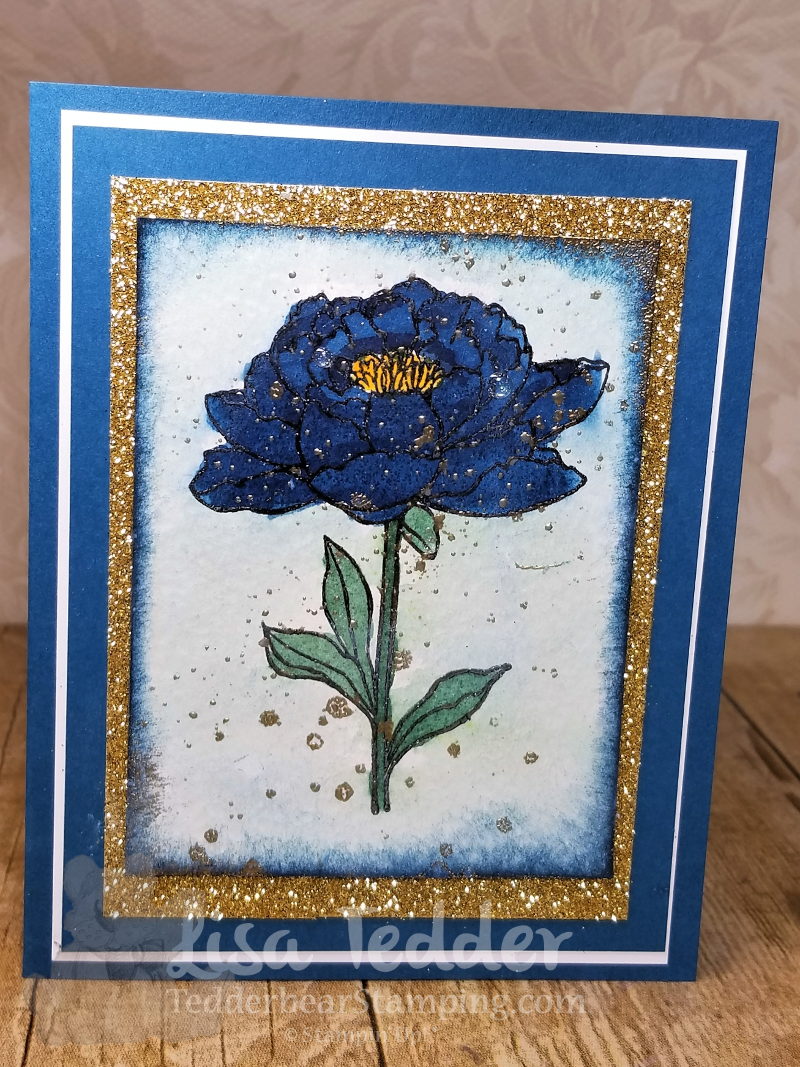
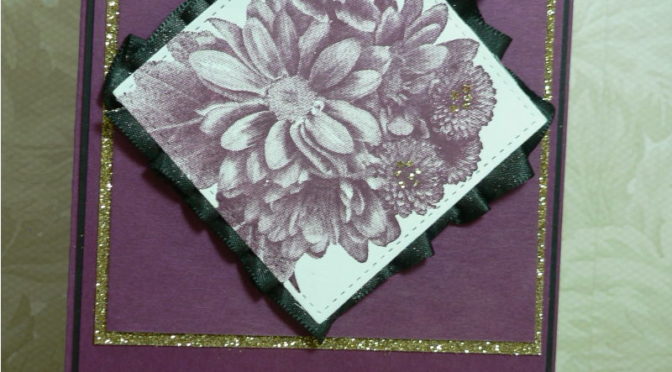
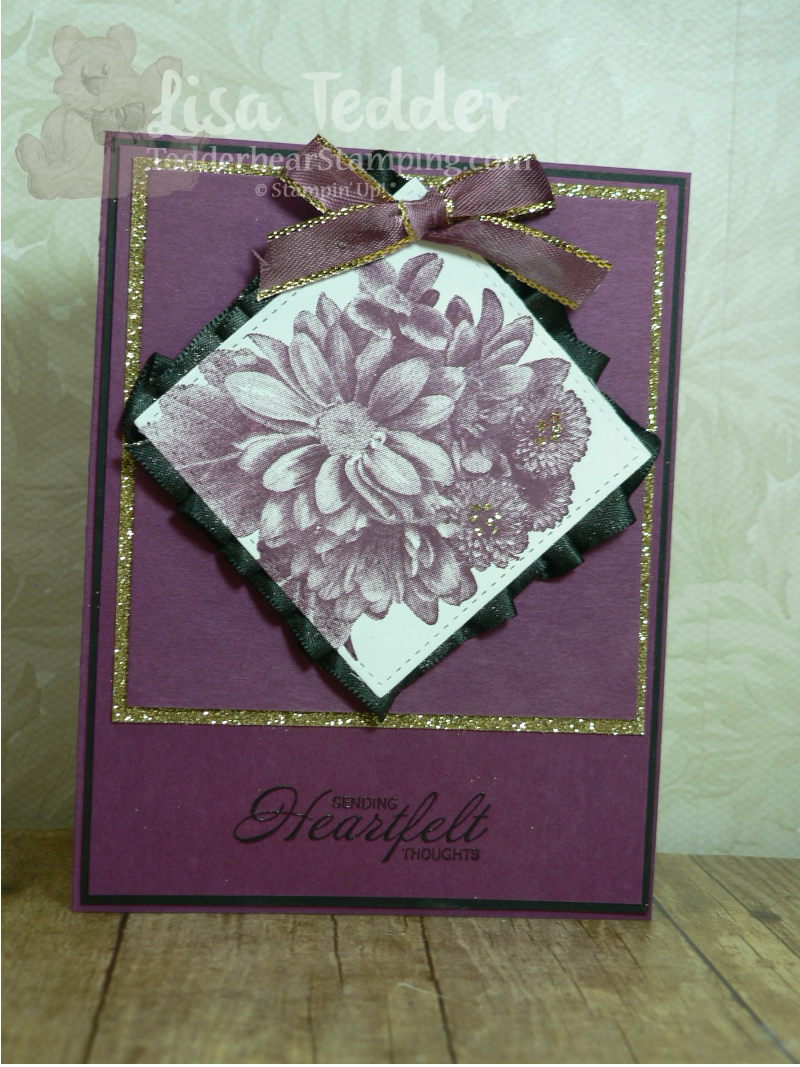
The card today is one I came up with all by myself! That happens rarely and I get so tickled when I make something that I didn’t get any help from Pinterest or any other places! It popped into my head and it came out even better than I thought it would!!
Not only is this stamp set Gorgeous, but did you know that Stampin’ Up! has a patent pending on HOW they made it?!! When you look at the actual stamp before inking it up, it looks absolutely FLAT! How in the World did they get a completely flat stamp to have so much dimension!? NOT sure what/how they did it but I love it!
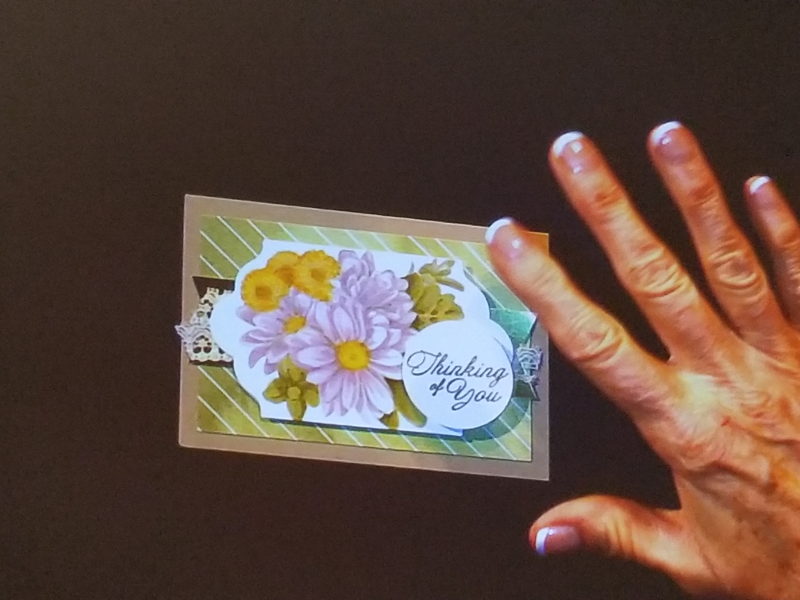
I’ve seen pictures of people who have stamped it and used different colors to differentiate the flowers, here is one I took while at On Stage Live in Salt Lake City:
Isn’t that So pretty!!!? The hint they gave to us was to stamp it with a light color so you could follow it. If you give it a try I would love to see it! I tried, but it didn’t come out. That is why mine is one color! Hahahaha I’m still trying to figure out how to work the blends and have perfect shading………
So for my card above, I used Rich Razzleberry Cardstock, black and Gold Glimmer paper! I added ribbon to the back by putting Tear & Tape around the edges (after I stamped it and cut it with the Stitched Framelits) and then I pleated the Black 3/8″ Shimmer Ribbon over the tape. I then used the Foam Adhesive Strips to make it stand up higher.
I added some Fine Tip Glue to put some Gold Glitter on the smaller flowers. I also used the Gold Metallic Edge Ribbon and colored it with the Razzleberry Blend so it would go with the card! Love that!
I stamped the sentiment in the Basic Black and then immediately clear Embossed it so it would give texture and it just makes the Sentiment look so elegant, don’t you think?
Here are the Dimensions of the paper:
Rich Razzleberry: 8 1/2″ x 5 1/2″, 4″ x 5 1/4″ (x2) one for the inside,
3 5/8″ x 3 3/4″
Basic Black 4 1/8″ x 5 3/8″ (x2) one for the inside
Gold Glimmer paper 3 7/8″ x 4″
Whisper White 2 3/4″ sq (to fit the square stitched framelit)
I hope this helps!!
As always, the supplies are listed below, just click on any picture to be taken to my OnLine Store! I would love to have you purchase your goodies from me!
Lisa Tedder
A California Girl living in North Carolina


 Scallop Circle Punch")
 Scallop Circle Punch")


 Lace Trim")


")


 Metallic-Edge Ribbon")


