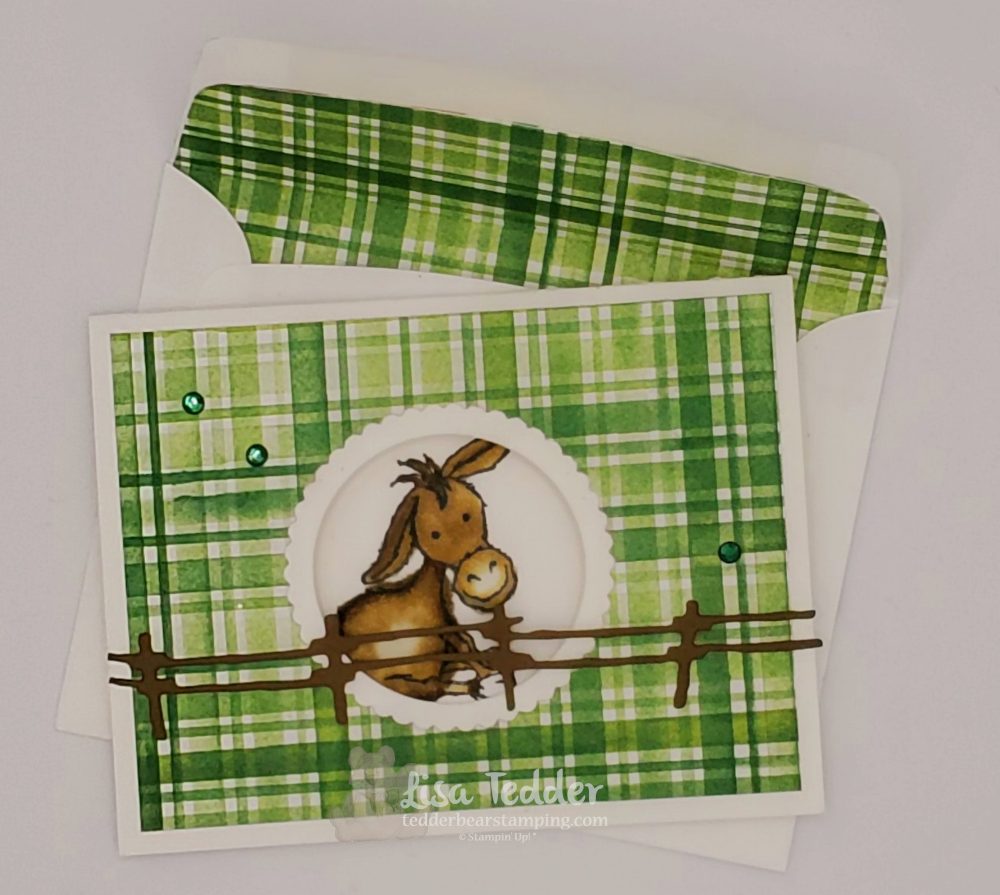
Using Sweet & Precious stamp set
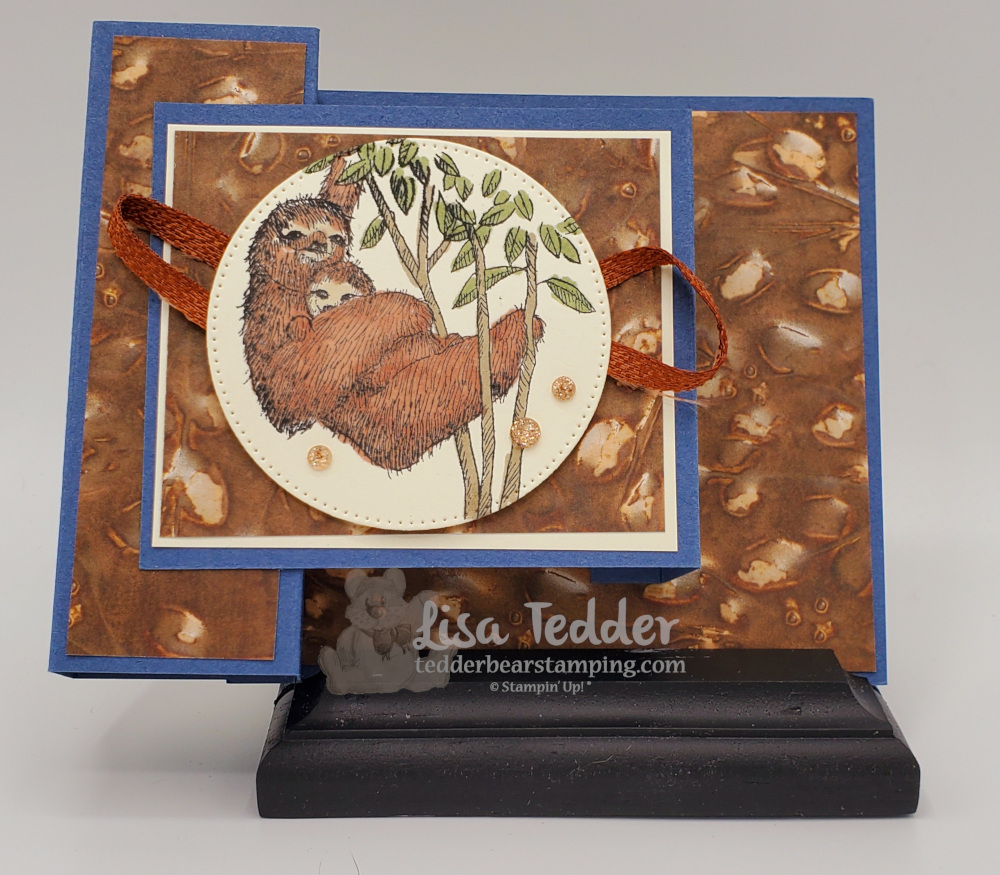
Hey Guys, today I am offering Three very different WOW cards!! If you missed it, click here to see it! For those who have been at a class with me, you might know the Sloth story. Let me tell those of you who haven’t been live with me….Both my sisters with their spouses and Howie and I played a game called The Newlywed Game years ago. All of us had been married a while and thought this would be fun. A question came up “What animal would your Mother in Law be?” The guys had to answer, and my sisters and I thought this should be interesting! My oldest sisters’ hubby answered an Owl, since she is so smart. The youngest sisters’ hubby answered A Pug (what!??), so it was Howie’s turn. Indeed, my husband answered a Sloth, because she is so slow. Yikes!!
I got my sense of Humor from my Mom
Now my mom had survived lung cancer and had half a lung removed. So her health wasn’t the best. Every time the family would meet up in CA all the ladies would go to a Tea Room. We’re sitting at the table and I thought I would tell my mom all about the answers her Son-in-Laws said. Immediately she comes up with a plan, to get revenge.
When we got back to the house where everyone was, she would exclaim that she wasn’t feeling well and lay down on the couch. So, of course we didn’t know the rest of her plan but we went with it. Once she sighs and lays down on the couch all the guys come into the room to be sure she is ok. She says “I’m feeling very…….’slothlike'”. My husband Howie’s face goes white, and he is in shock with his mouth wide open. Then of course he him haws around and says it’s because you are so smart that I said that! Sloths are slow, and they have to be smart to survive! 🙂 Ever since that time my family has loved Sloths! Why she picked on the Sloth and not the Pug, tells me she knew Howie would get a kick out of it!
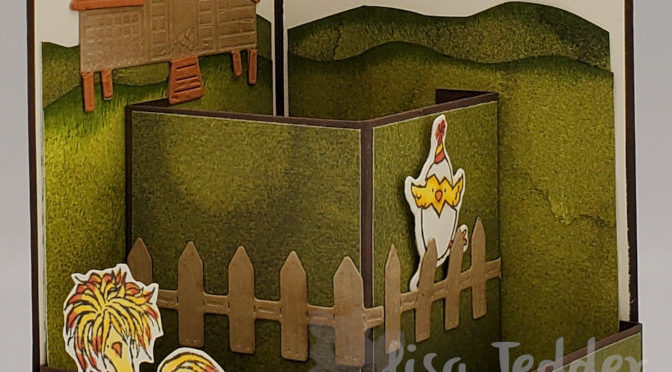
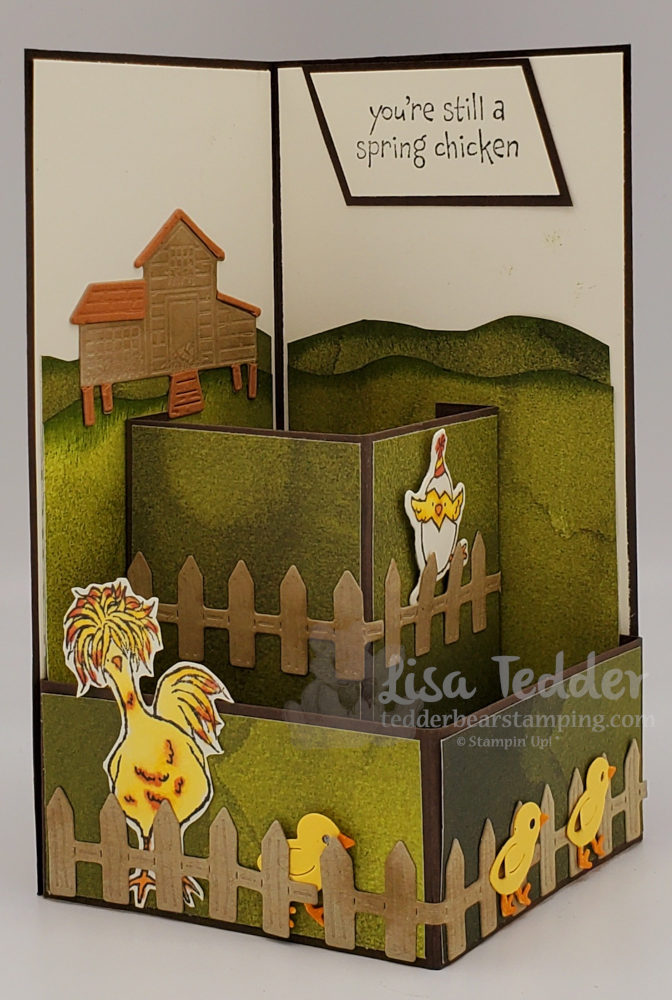
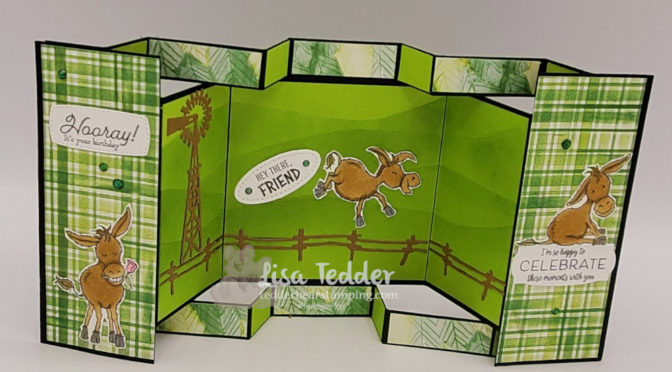
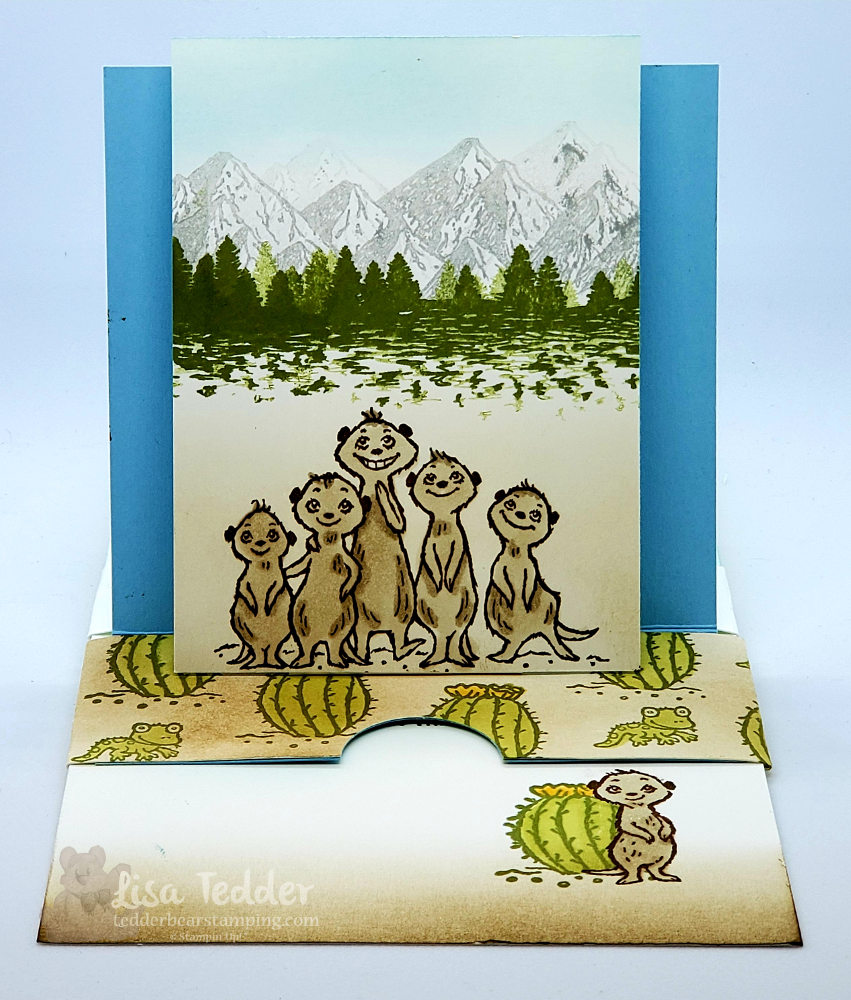
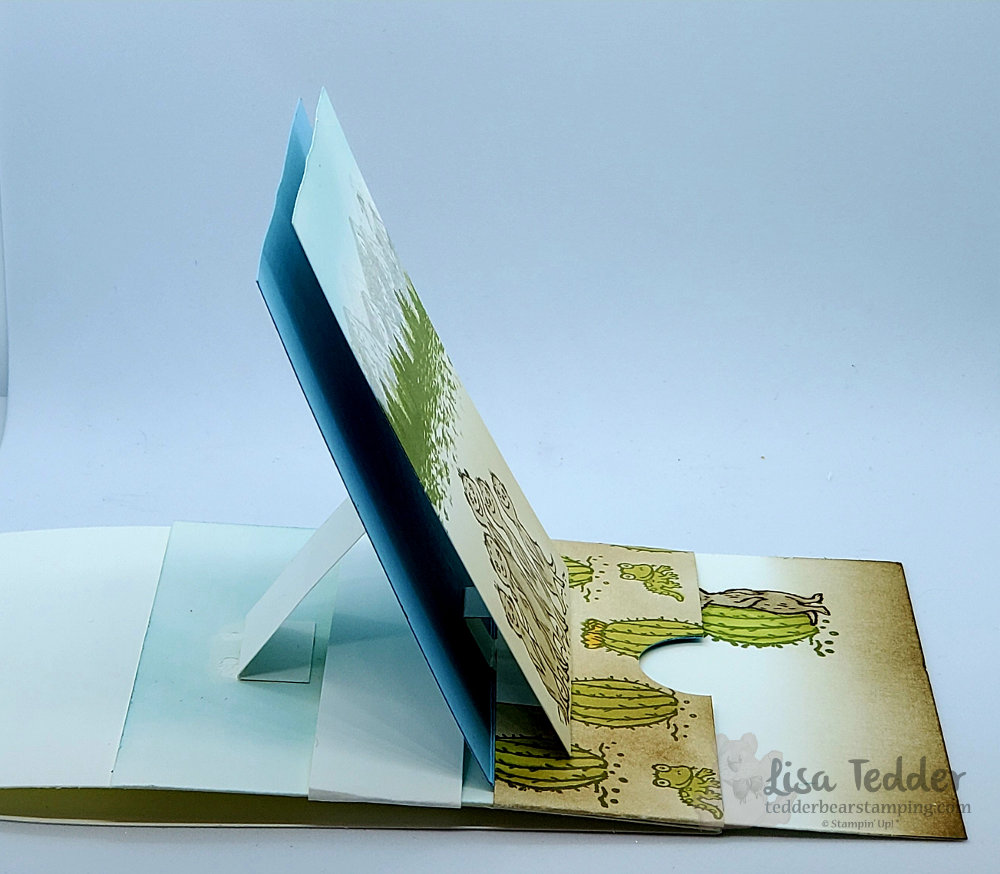
Three very different WOW cards! A fancy fold
Now for the Technique
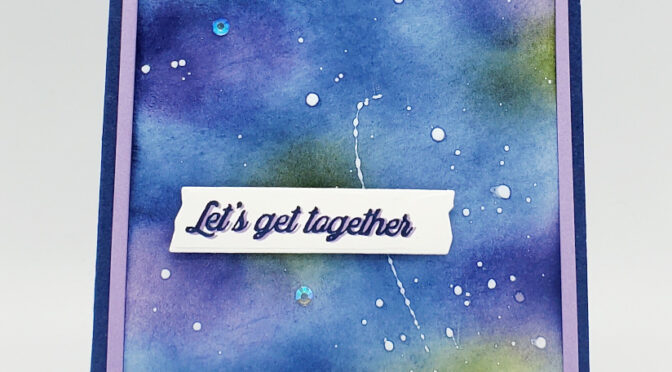
As seen above I shared the Fancy fold first, even though it’s not first on my video. Of course, I HAD to share the story of why Sloth’s are special to me. Three very different WOW cards! I’ve shown you the Fancy fold, now here is the technique! Basically I am a sucker for techniques and this is one of my favorites! Since I have never seen the Northern Lights, I have to make a card with one!
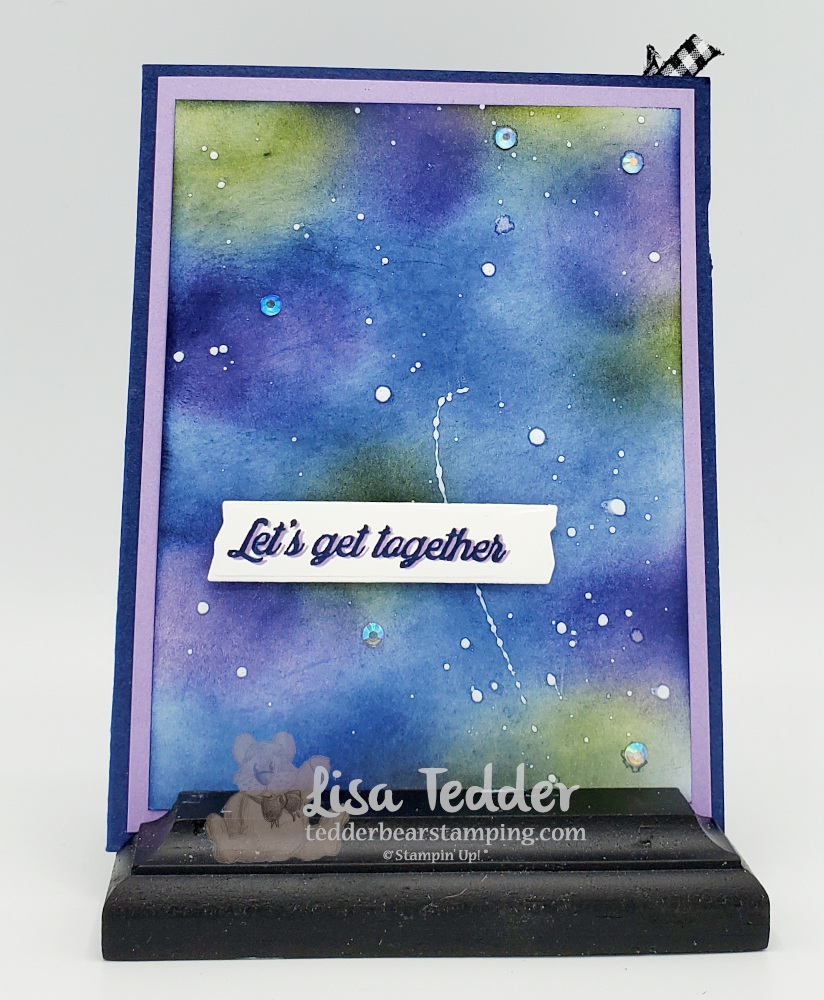
As can be seen on the inside, below….I used ANOTHER technique to make a bookmark! Stampin’ Up! has a new Tool for our Take your Pick tool, and it’s a rotary perforated tool that lets me make a bookmark that can be torn out by the recipient!! Cool, right?!!
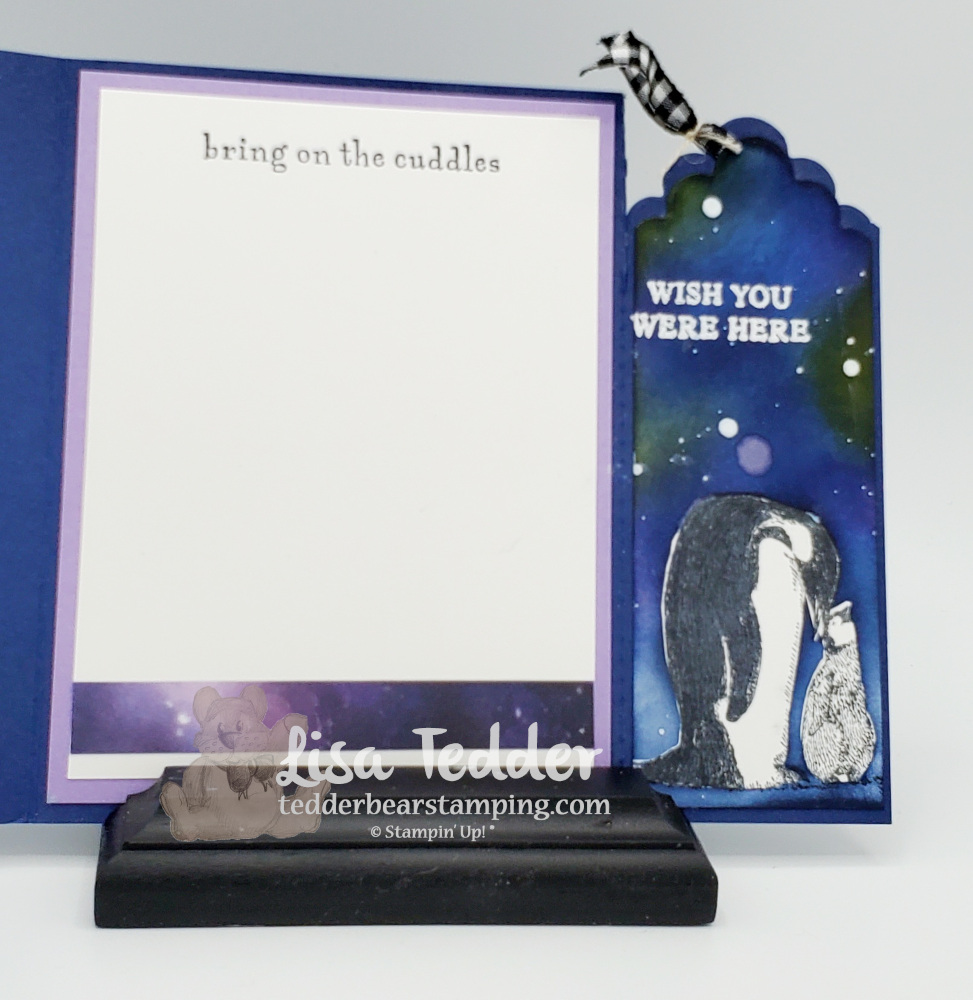
In this case, if you look closely you can see where the bookmark will tear off! Obviously you will want to send this to someone who enjoys reading!!
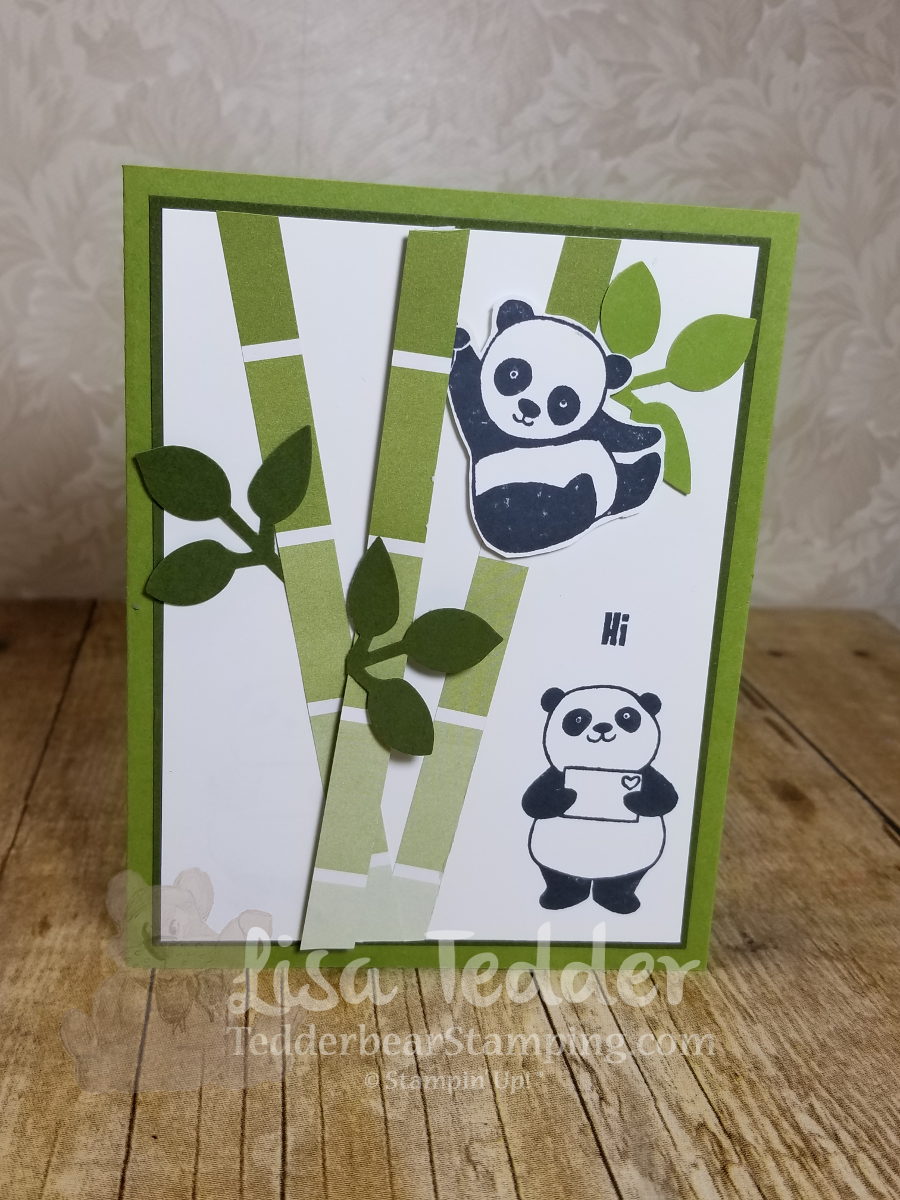
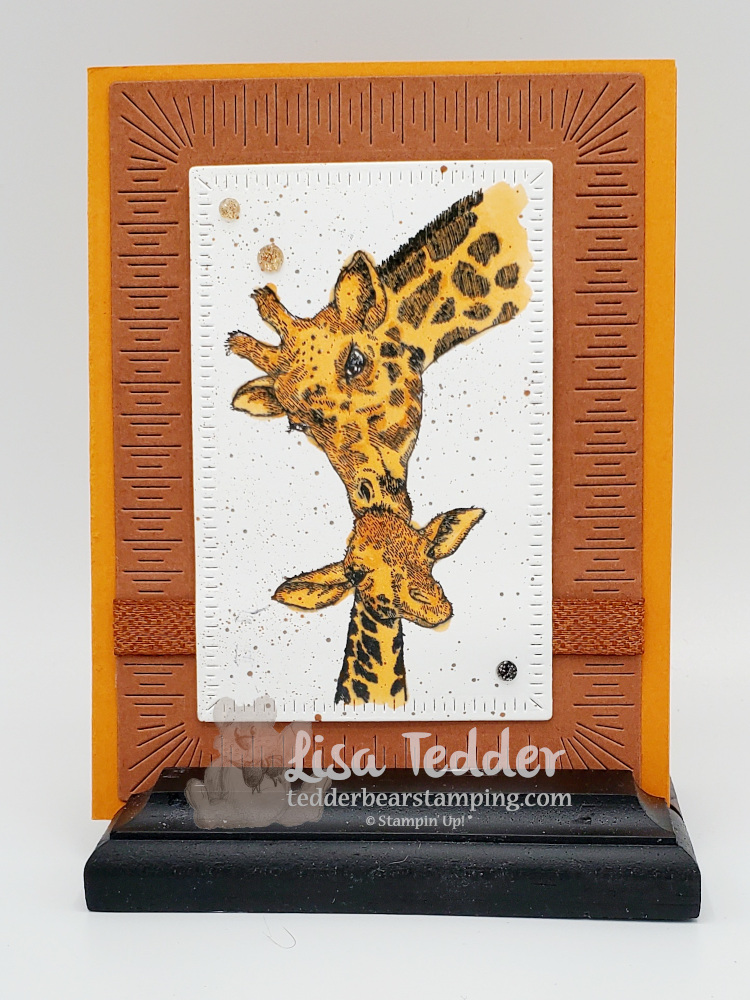
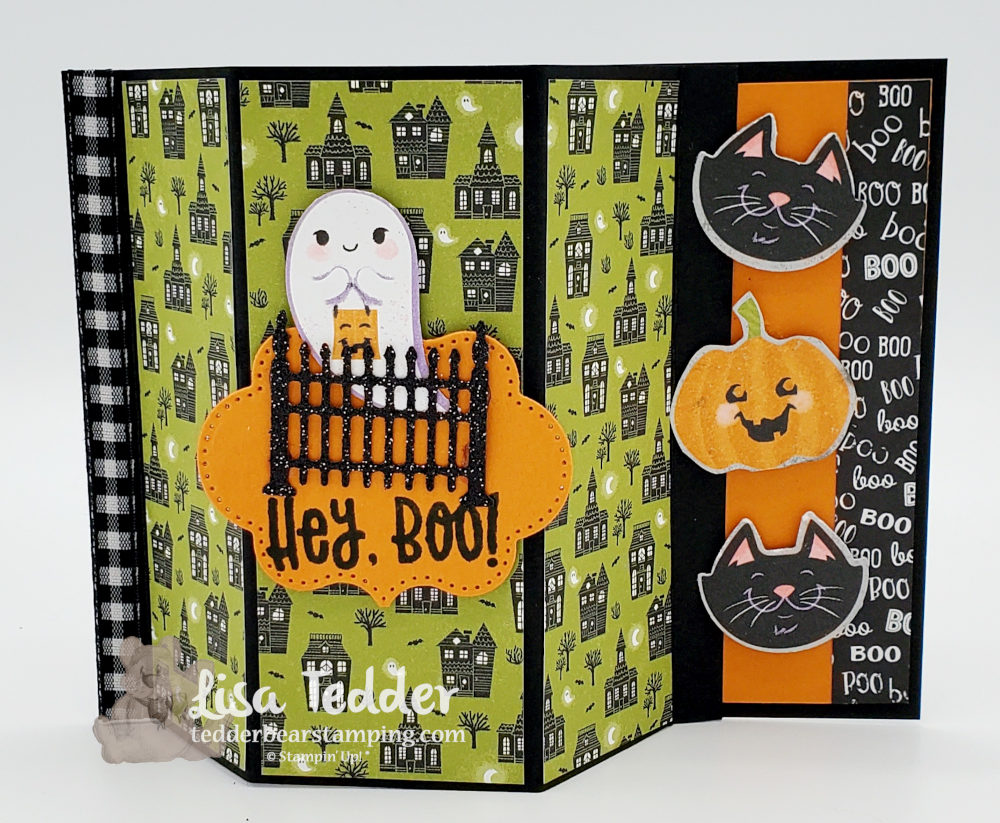
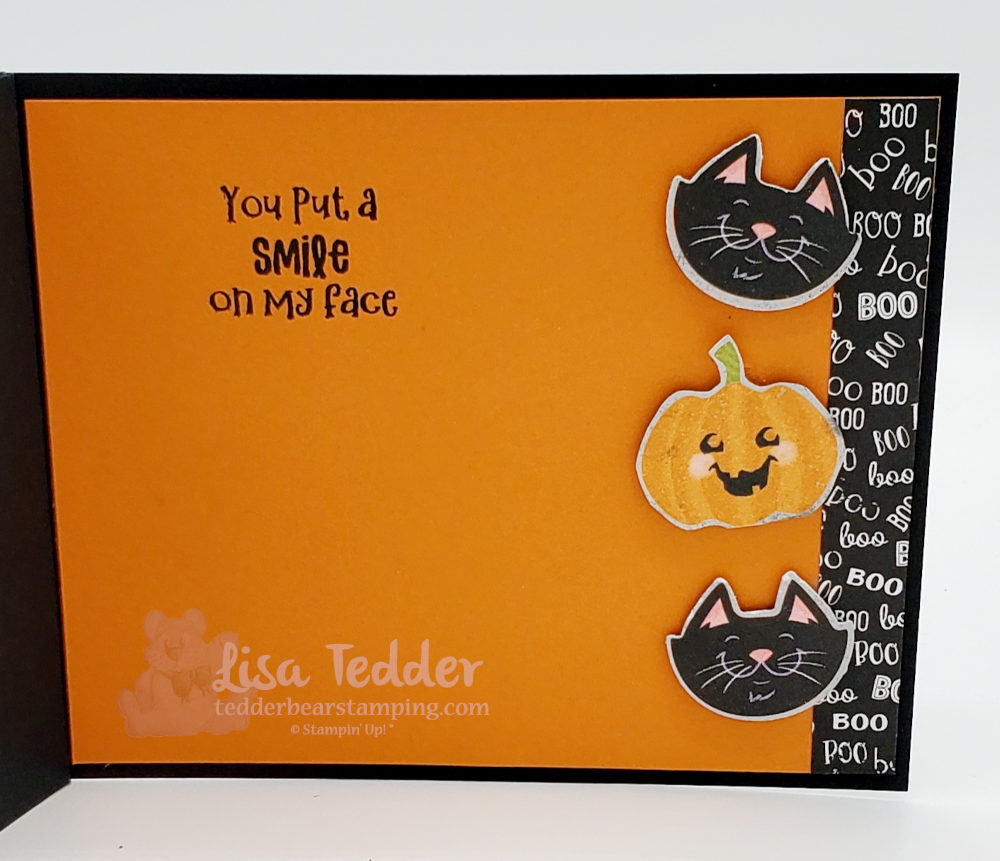
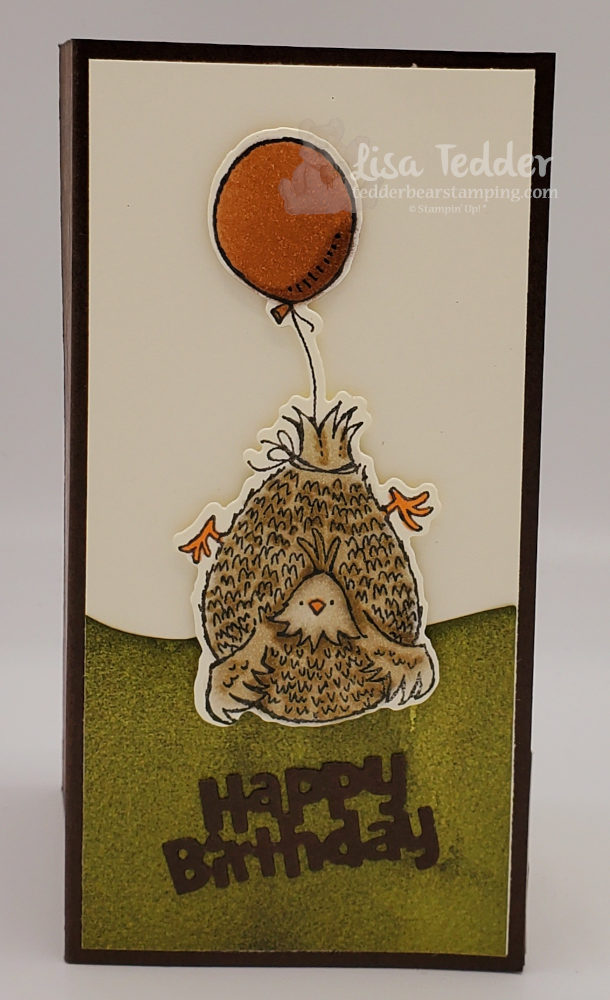
Three very different WOW cards!
So, now we are on to the Cute one!! I love Giraffe, they are my favorite wild animal and I have a few Giraffe items around my house. Chiefly, I have always loved them, but I visited my Daughter in MN and got to hand feed one! Of course that would sell anyone on why these animals are so special!
Want a surprise next month?
As always SU! is always surprising us with great deals!! Indeed they are having Bonus Days in the month of July! What does this mean? Overall, it means for every $50 you spend you will get a coupon for $5 (redeemable in August), which means that NEXT month you will get a discount! Of course this goes along with MY special, so in fact you get TWO specials for the one purchase!! Every month I offer a NEW PDF for those who purchase from my OnLine Store, this PDF has 16 projects with step by step tutorials along with great pic’s! This is especially a good deal! Surely you know that I would love to be YOUR SU! Demo!! It would definitely make my day! 🙂
Finally
For the most part I want to thank you for taking time out and visiting me! I hope you like the cards I showed, of course you will be getting the free PDF of all the cards I show on my videos if you are signed up for my Newsletter! Sign up and you TOO will be getting all my free PDF’s!! Thank you so much for visiting, I would love for you to join me for a Live sometime so I can really talk with you!
Lisa Tedder
A former California girl living in North Carolina
Product List
")
")


 Designer Series Paper")


 Designer Series Paper")


 Gingham Ribbon")


")
")


 Designer Series Paper")


")


 Circle Punch")