Tag Archives: cards

Let’s get scary!

Halloween is coming up fast!

Hey Guys,

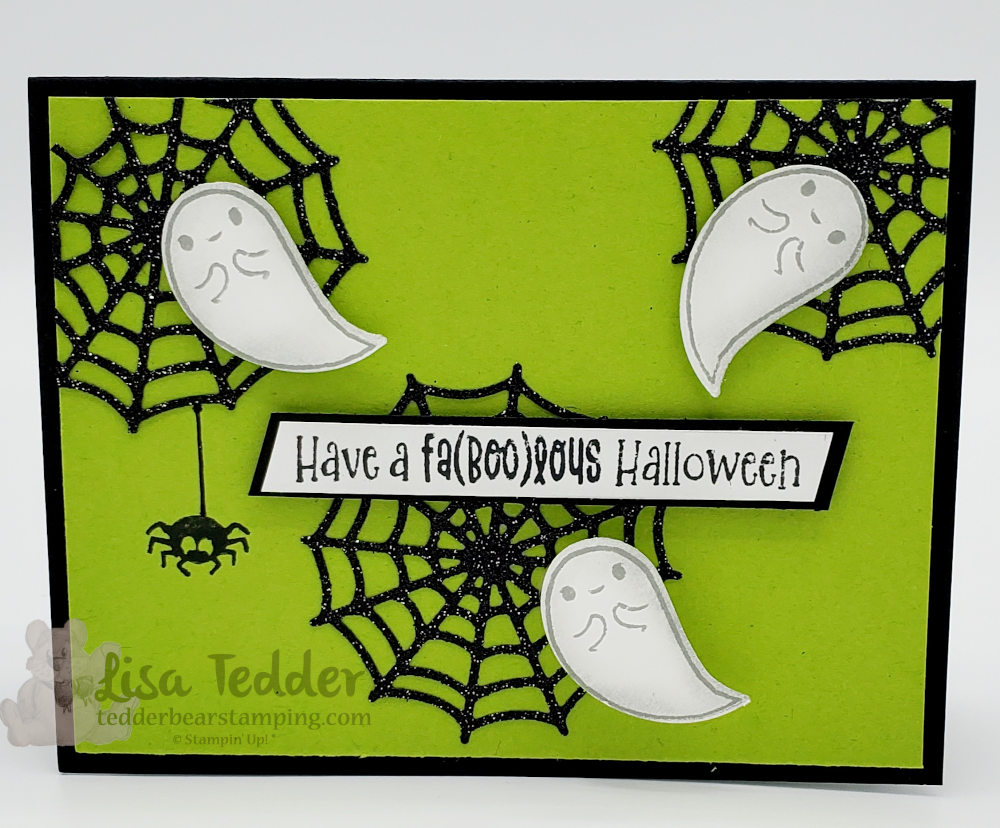
Halloween is coming up fast, Let’s get scary or NOT! Basically, I LOVE Halloween, especially when I am scrapbooking! As you know, Halloween comes up every year and when your kids are young you take a lot of pictures when they go out to Trick or Treat. Therefore, you have all the pictures to put in a scrapbook every year, and I think that each page for every year needs to be different. Hence, the reason why I love Halloween, I have to get really creative with my pages. Subsequently, I felt the need to be creative with my cards that I made for my YouTube video today! Hopefully you will love them as much as I do!
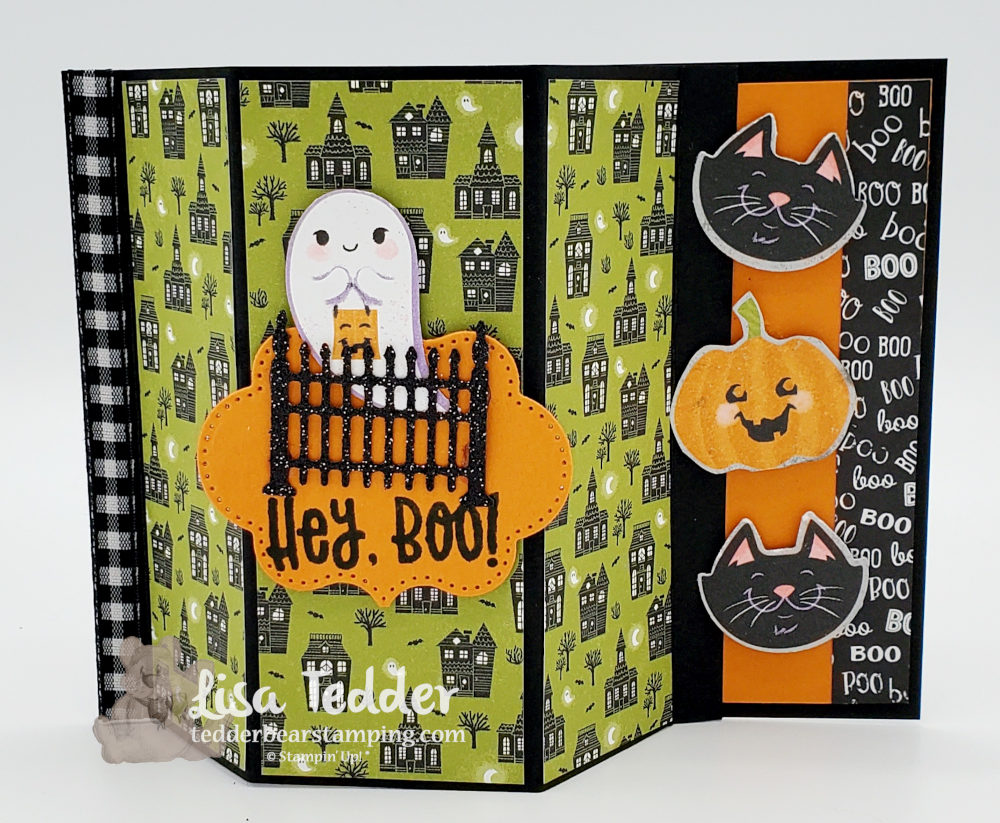
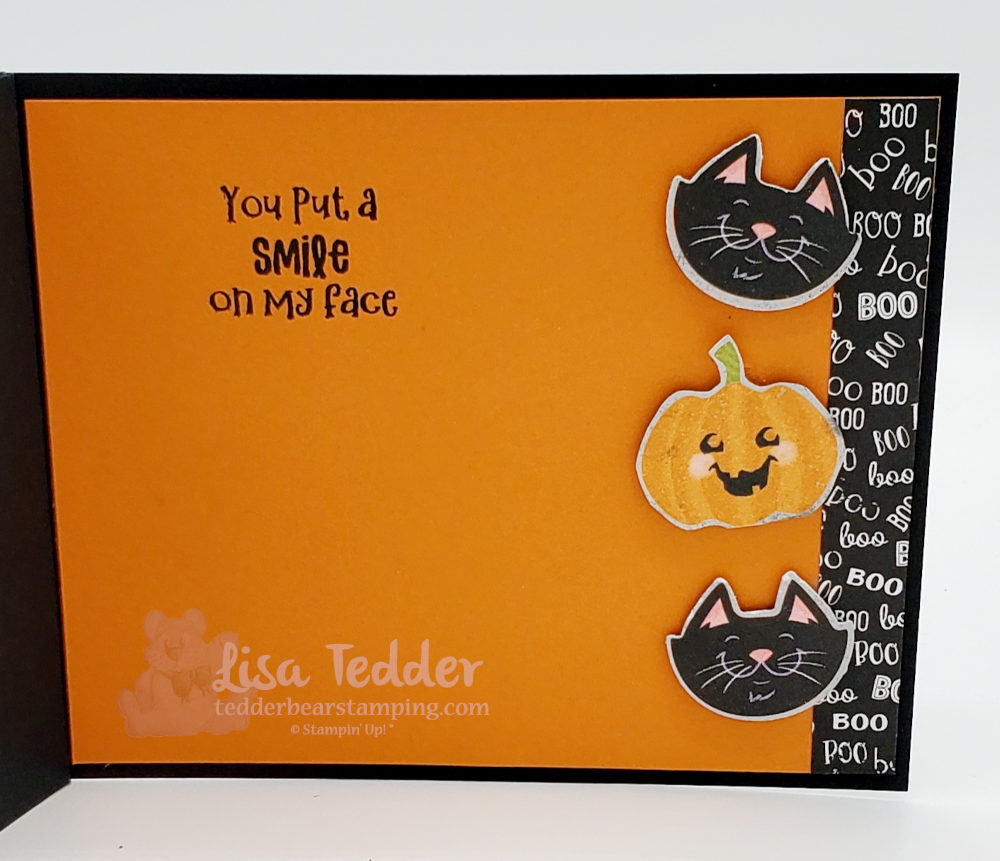
Let’s get scary! Halloween is coming fast!
Not that scary! But it’s still cute!!
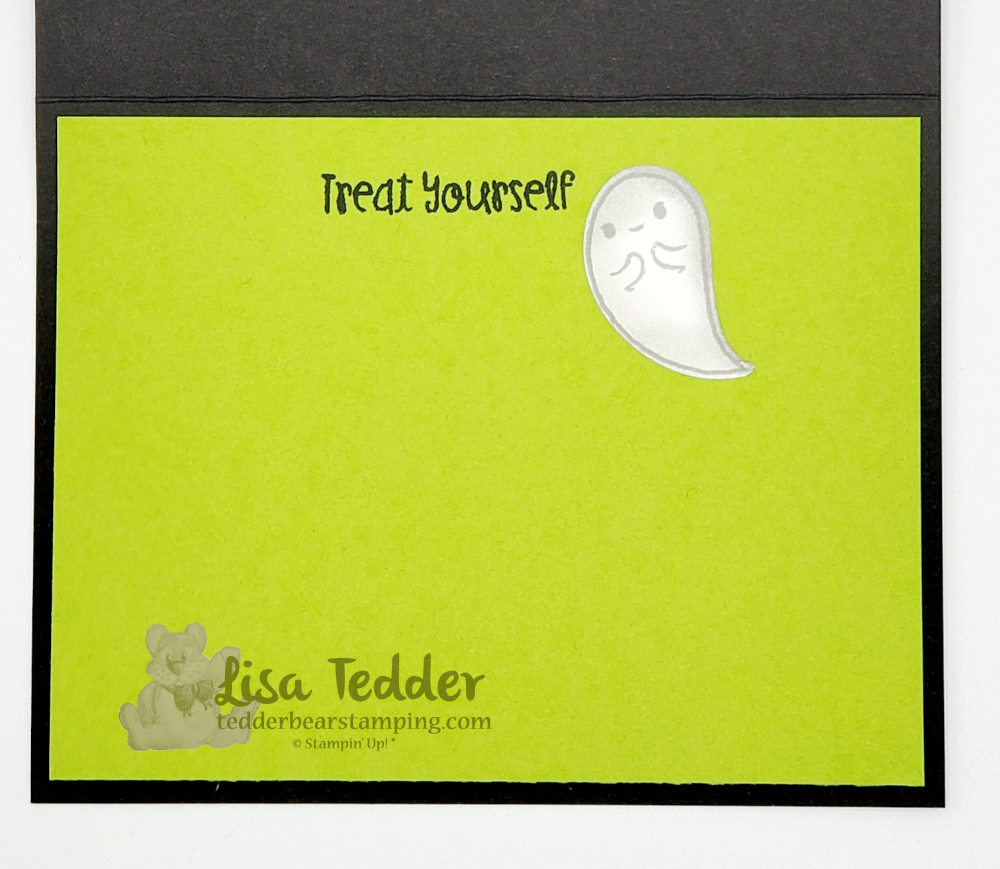
inside

As can be seen, I always list the supplies/dimensions below. Overall, I want it to be easy for you to figure out how I made what you see. Consequently, below you will see all the supplies in written form but also below my signature you will see them in picture from, click on any of the pictures and you will be taken to my OnLine Store! Without a doubt, I would LOVE to be your Stampin’ Up! Demonstrator if you live in the United States! Not only will you get my undivided attention, but you will also get from qualifying orders ($35 or more) a pdf that has 16 projects with pictures and step by step instructions!

Supplies:

Stamps:

  • Cutest Halloween

Inks:

  • Memento Black
  • Smoky Slate
  • Black Marker

Card 1

Paper:

  • Basic Black 4 1/4″ x 11″ scored @ 3/8″, 1 7/8″, 3 5/8″, 5 1/8″ & 5 1/2″
  • Cute Halloween 6″ x 6″ Designer Series Paper 4 1/8″ x 4 3/8″ Place Long edge at top of trimmer, cut 3 pieces 1 3/8″, 1 5/8″ & 1 3/8″, keeping in order so when you put them on the front, they will ‘line’ up. Also cut a piece of coordinating DSP 1/2″ x 4″, You will need to use punch with Bundle to punch out ghost from DSP & the kitties and pumpkin for inside
  • Pumpkin Pie 4″ x 5 1/4″, scrap for die on front
  • Scrap of Black Glitter Paper for fence

Card 2

  • Basic Black 5 1/2″ x 8 1/2″ scored at 4 1/4″, 1/2″ x 4″ (for sentiment)
  • Granny Apple Green 4″ x 5 1/4″ (x2)
  • Basic White scrap for 4 ghosts and sentiment
  • Black Glitter Paper scrap for 3 cobwebs

Misc:

  • Black Gingham Ribbon
  • Dimensionals
  • Frightful Tags Dies
  • Glue Dots
  • Wobble
  • Blending Brush (for edges of ghosts)

Without a doubt, Halloween is a fun Holiday for me to scrapbook, but now I love doing cards too that I can send to my grand kids! My hope is that you enjoy this too, and that you will join me on my YouTube Live on Thursday’s @ 4 eastern. Until next week!

Lisa Tedder
A former California girl living in North Carolina

Product List

Fancy Fold & Who let the Sheep out!?

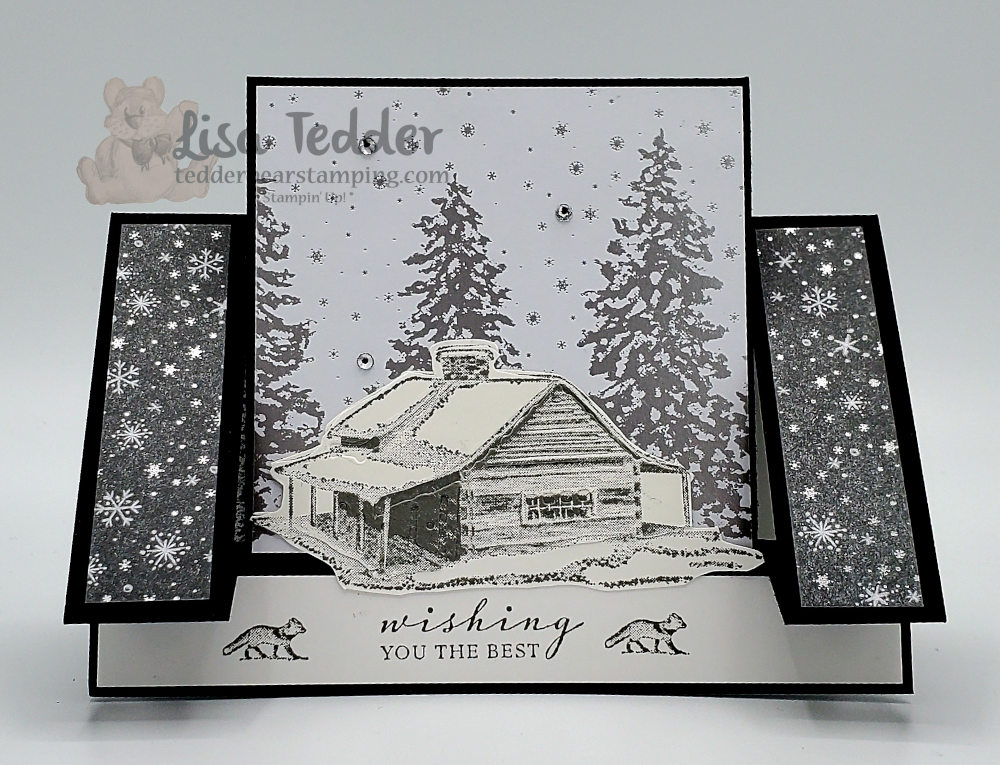
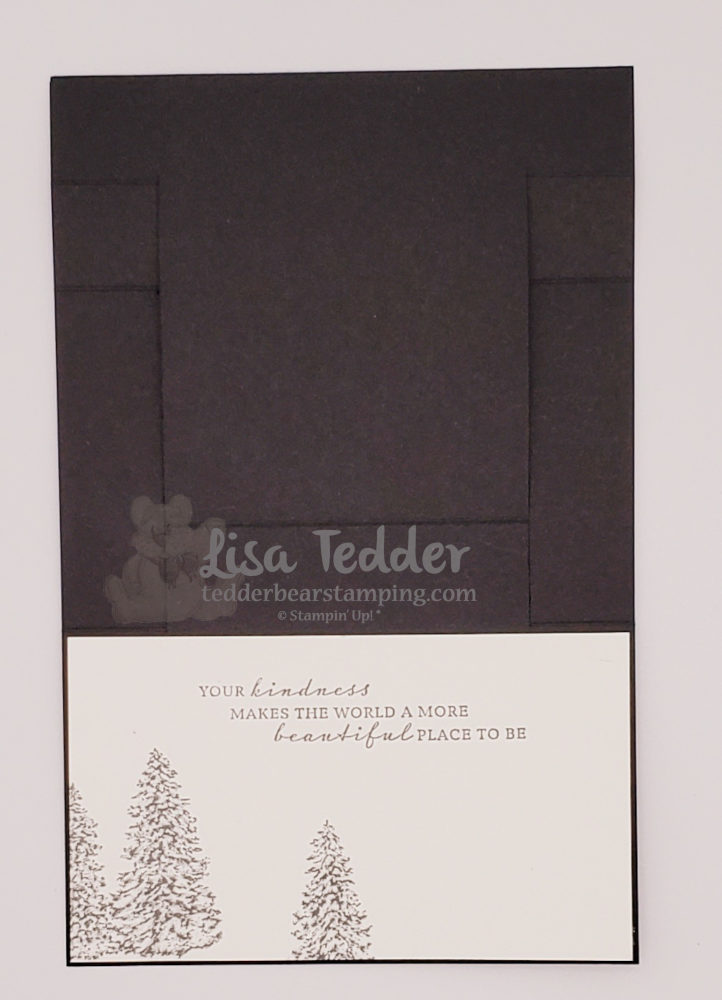
This new fold is easy AND pretty!

Hey Guys!

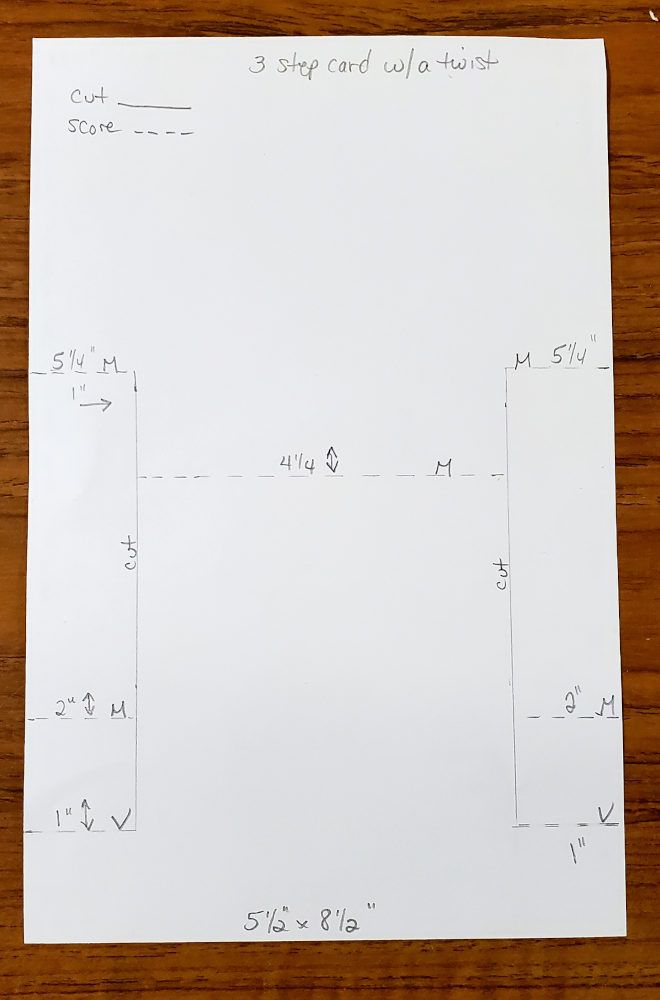
I’m home and I’ve got a great new fancy fold for you, that’s pretty AND easy! Above all, I love new folds and especially love them when they aren’t hard! Thus, when I saw this fold done by Lavonne S. I had to give it a try! This is the same fold as doing a 3 step card, but with making the folds go a different way you have a brand new Fancy Fold! Earlier today I did my Live on my YouTube channel where I showed you how to make these cards, I hope you join me and if you join while I’m live you can be in the drawing to have one of these cards mailed to you!

I love new folds and especially love them when they aren’t hard!
l, I love new folds and especially love them when they aren’t hard!

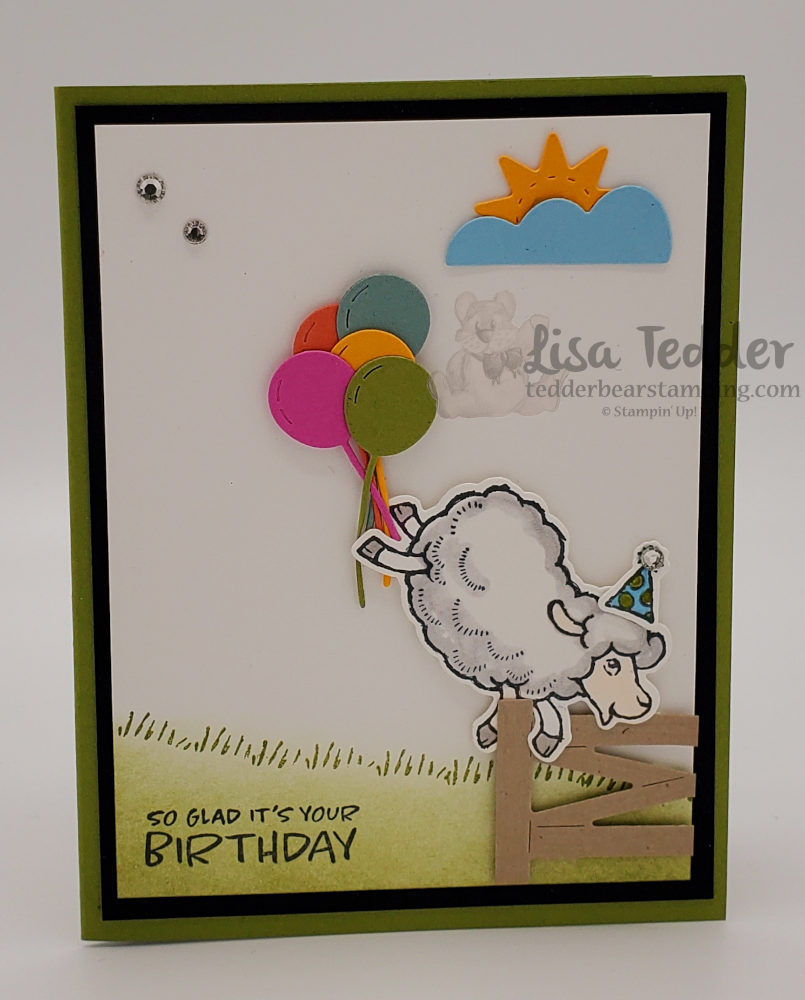
Besides doing fancy fold cards I love cutesy cards and the Counting Sheep stamp set fits that bill perfectly! Plus, this stamp set is one you can get for FREE! Yes, you heard that right this stamp set is a Sale-a-Bration (SAB) set and when you buy something for $50 you can pick Counting Sheep as your free set. Of course that is only if you purchase before the end of September! For this reason, you can buy the bundle for the Peaceful Cabin! Indeed, this bundle you can get for $54 and that will let you pick out a free SAB item! Basically that is a ‘Win-Win’!!

Counting Sheep
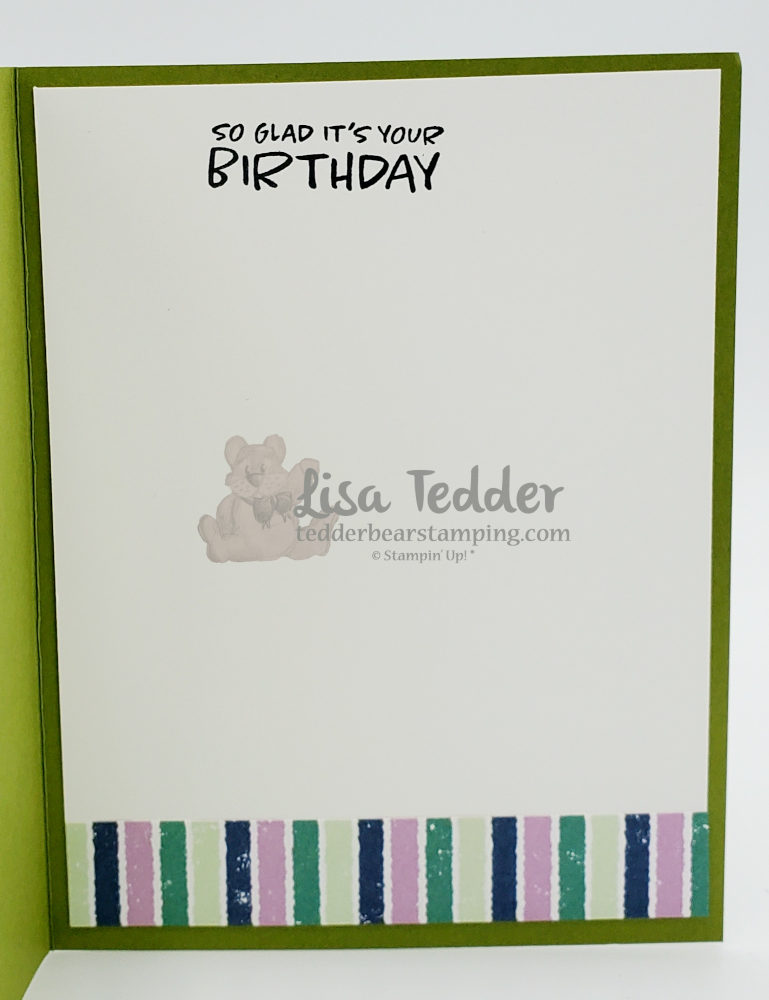
Counting Sheep inside

As always below is my list of supplies needed for both cards, there is also picture images below my name that you can click on to be taken straight to my OnLine Store!

Supplies:

Stamps:

  • Peaceful Cabin Bundle
  • Counting Sheep

Inks:

  • Memento Black
  • Old Olive
  • Basic Gray

Blends:

  • Smoky Slate
  • Petal Pink
  • Color Lifter

Markers:

  • Melon Mambo
  • Old Olive

Paper

Card 1:

  • Basic Black 5 1/2″ x 8 1/2″, see picture above for scoring and cutting
  • Peaceful Place Designer 3 1/4″ x 3 3/8″, 3/4″ x 3″ (x2)
  • Basic White 3 1/8″ x 5 3/8″, 3/4″ x 5 3/8″, scraps for stamping cabin twice

Card 2:

  • Old Olive 5 1/2″ x 8 1/2″ scored at 4 1/4″
  • Basic Black 4″ x 5 1/4″ (x2)
  • Basic White 3 3/4″ x 5″ (x2), scraps for sheep/party hat
  • Scraps for balloons/sun/cloud: Pumpkin Pie, Soft Succulent, Mango Melody, Magenta Madness, Old Olive, Mango Melody, Balmy Blue
  • Crumb Cake for fence

Misc:

  • Basic Rhinestones
  • Dimensionals
  • Blender Brush

On the positive side I’ve shown you two awesome cards! On the negative side I am done with this post! LOL Subsequently I hope you have enjoyed it! Again, you can catch me on my YouTube channel every Thursday at 4:00 eastern where I will have a Live class for you!

Lisa Tedder
A former California girl living in North Carolina

Product List
Check out my FIRST Slim Line Card!

Hey Guys,

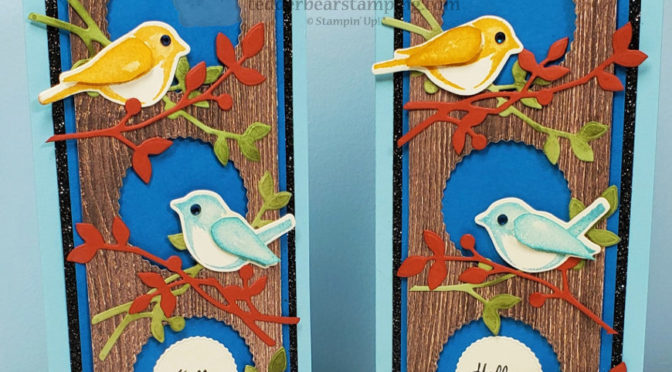
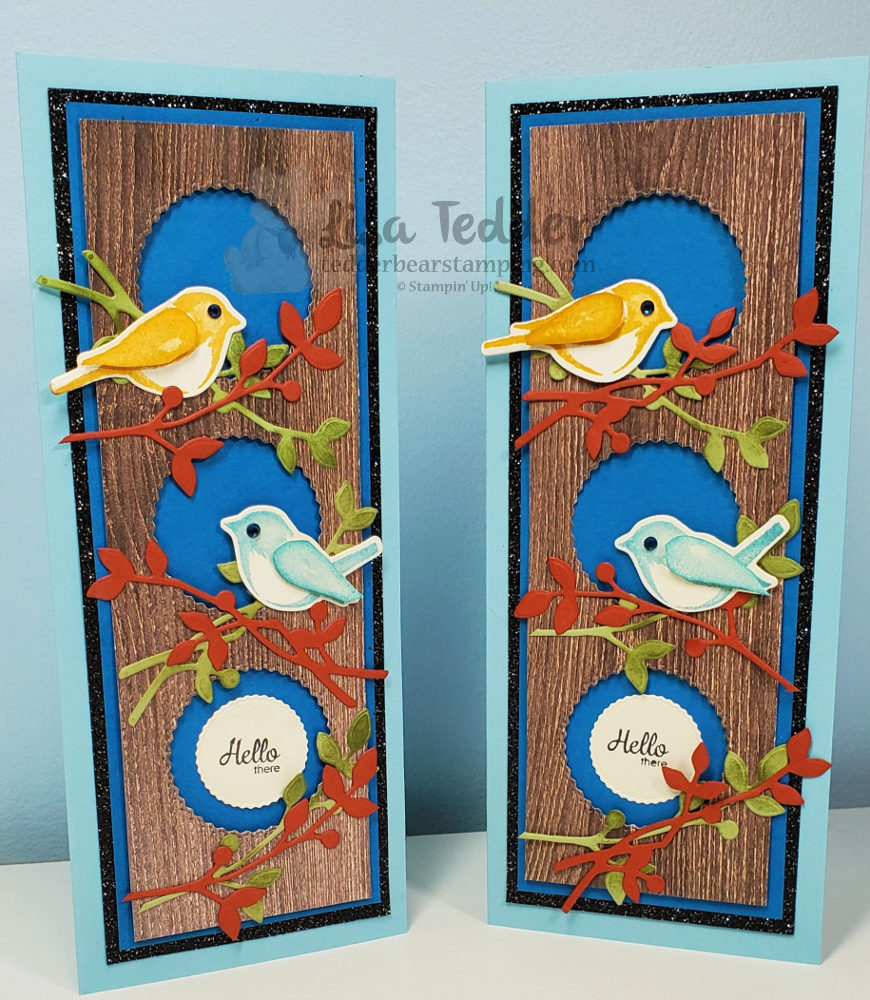
Today, I am sharing with you a Slim Line card I made using the Birds & Branches bundle! Oh my goodness, why haven’t I done one of these before!? First off, go see my video, I’m super proud of how this card came out!

Before we go further, let’s take a look:

My first slim line card!

Of course, I had to make if look like Fall so the leaves have both green and Cajun Craze. In addition, I used the Black Glitter paper from the Holiday mini, and wow that sure adds to the beauty of this slim line card! So, how did I do with my FIRST Slim Line Card using the Birds & Branches bundle?!

As always here are the specifics for this card:

  • Stamps:
  • Birds & Branches Bundle
  • Here’s a Card
  • Inks:
  • Bumble Bee
  • Balmy Blue
  • Memento black
  • Garden Green
  • Cajun Craze
  • Paper:
  • Balmy Blue 8 1/2″ x 7″ scored @ 3 1/2″
  • Basic Black 8″ x 3″
  • Black Glitter paper 8″ x 3″
  • Pacific Point 7 3/4″ x 2 3/4″ (x2)
  • Very Vanilla 7 1/2″ x 2 1/2″, scraps for birds and sentiment
  • In Good Taste DSP 7 1/2″ x 2 1/2″
  • Cajun Craze scrap for stem
  • Pear Pizzazz scrap for stem
  • Misc:
  • Dimensionals
  • Stampin’ Seal +
  • MultiPurpose Liquid Glue
  • Tasteful Labels Dies
  • Stampin’ Cut & Emboss Machine
  • Magnetic Plate

In addition to telling you about all the supplies, I also want to share with you that I am doing YouTube Lives every Thursday at 4:00 pm Eastern time! Of course, I want you to come and support me! Consequently, for every order that is $35 or above you will receive from me the ‘fixin’s’ for that weeks Live! PLUS, you’ll get the PDF of 16 other projects with pictures and step by step instructions……ALL for your ONE $35 purchase! Here is a sneak peek of what you’ll get in the PDF:

Sneak Peek for any order of $35

In conclusion, I want to thank you so much for supporting me by coming here! I appreciate you! Please come back next week and see what I have for you! Also, be sure to catch my YouTube Live tomorrow at 4:00 eastern!

Lisa Tedder
A California girl living in North Carolina

Product List

I made my own Fall Ink Pad, you can too!

Hey Guys!

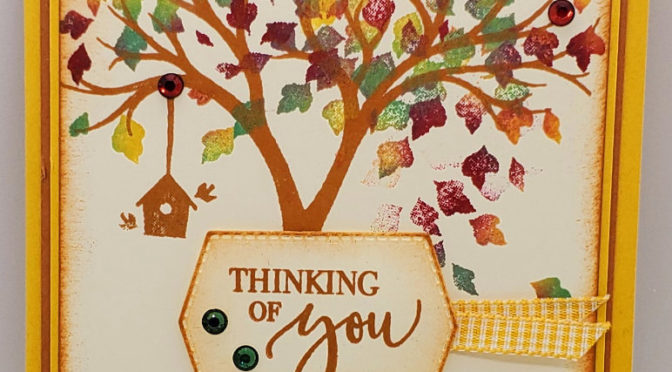
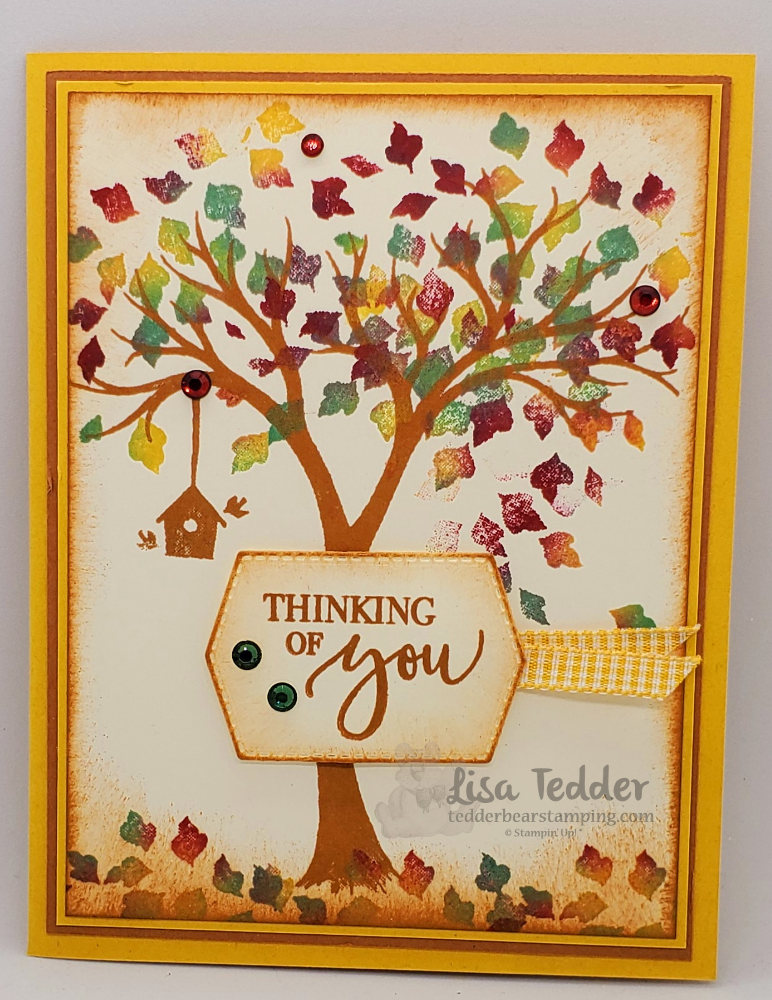
Today I am going to show you how I made my own Fall ink pad so that leaves on my tree look natural, when I am done you’ll be able to also!! Of course, I made a video you can go here if you would like to SEE how I made it! Naturally, I tend to look at pictures and if I have questions a video helps me out a lot. As an example, here is a picture of my card:

See how the leaves are THREE different colors! That’s my own Fall ink pad!
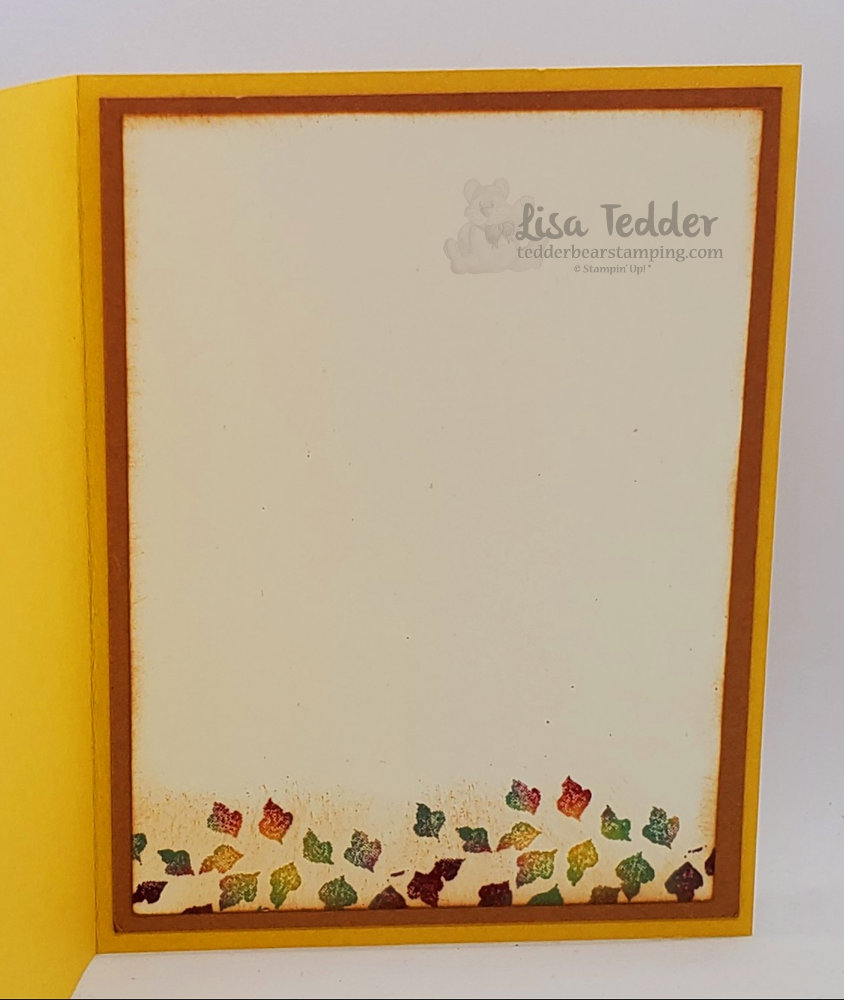
My own Fall ink pad was used for the inside too!

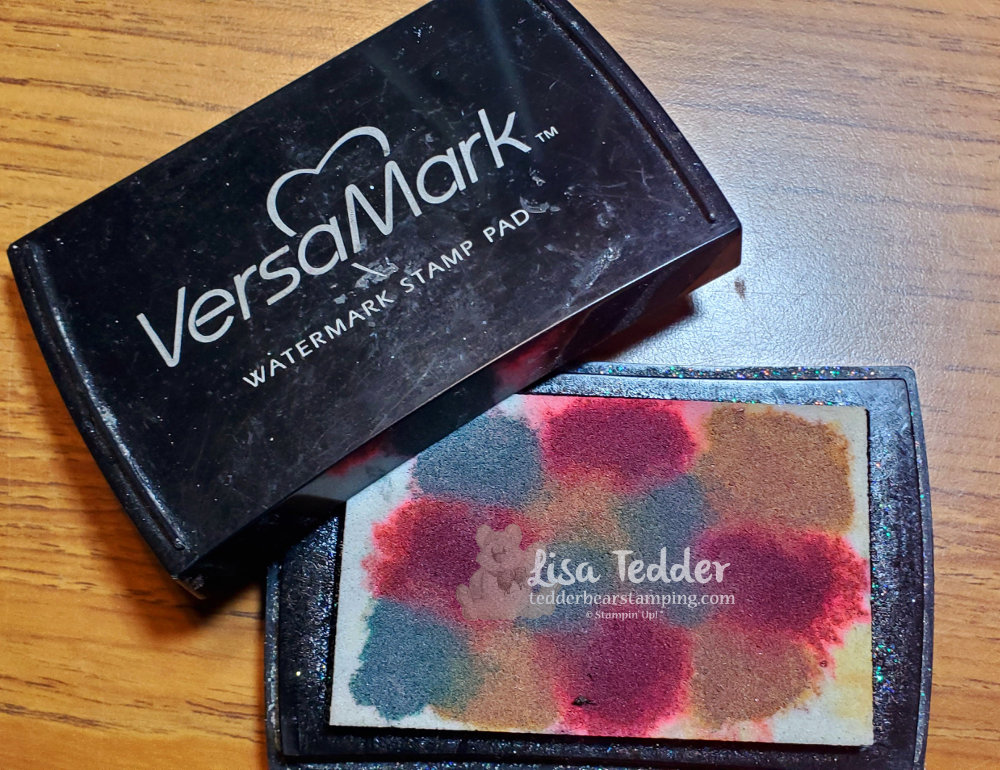
So, how did I make my fall ink pad? To begin with I had a dirty, yucky Versamark pad that I never used and thought of chucking it in the trash……but no, I could make my own Fall ink pad so my tree will look gorgeous AND match the colors I was using for this card!

My own Fall ink pad made from an OLD Versamark pad!

Since I wanted the colors to match my card I used Bumble Bee, Cherry Cobbler and for the green I went with Just Jade. Already I knew that I wanted to use the Holiday Rhinestones and those used Cherry Cobbler for the red, and a yellow that looked a lot like Bumble Bee but the green was Shaded Spruce so I went with a lighter shade of color and used Just Jade instead. It’s funny how I go about figuring out which colors I use in my crafting, this time it was all about the Rhinestones……gotta have that BLING!

For a different fall project that I made a few years ago, click here!

As always here are the specifics for this card:
Stamps:
Life is Beautiful
Inks:
Bumble Bee
Cinnamon Cider
Cherry Cobbler re-inker
Just Jade re-inker
Bumble Bee re-inker
OLD Versamark pad (you can use new!)
Paper:
Bumble Bee 8 1/2″ x 5 1/2″ (scored at 4 1/4″), 3 7/8″ x 5 1/8″
Cinnamon Cider 5 1/4″ x 4″ (x2)
Very Vanilla 5″ x 3 3/4″ (x2), scrap for sentiment
Misc:
Holiday Rhinestones
Stamping Sponges
Dimensionals
Tasteful Labels Dies
Bumble Bee Gingham ribbon

As you know, all the supplies will be listed below in picture form. Consequently if you click on any of them you will be taken to my OnLine Store, for every purchase at or above $35 you will get from me 16 projects in a pdf with pictures and step by step instructions!

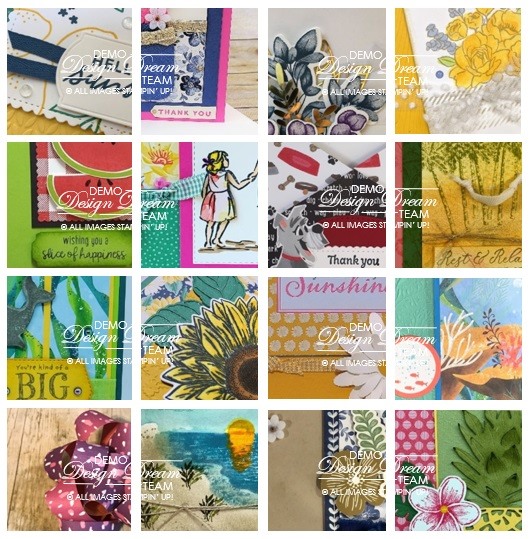
Sneak Peek for projects you will get in your pdf!

To summarize, I am a ‘give the facts and be done’ kind of girl, so I will let you go for now, check back in next week for a new card/video! If you want to know when I post, subscribe and you can also receive a Newsletter from me by subscribing to that too! Thanks for stopping by and supporting me!

Lisa Tedder
A California girl living in North Carolina

Product List

Get double duty from your stamp sets

Get double duty from your stamp sets by using them for both card-making and scrap-booking!

Hey Guys!

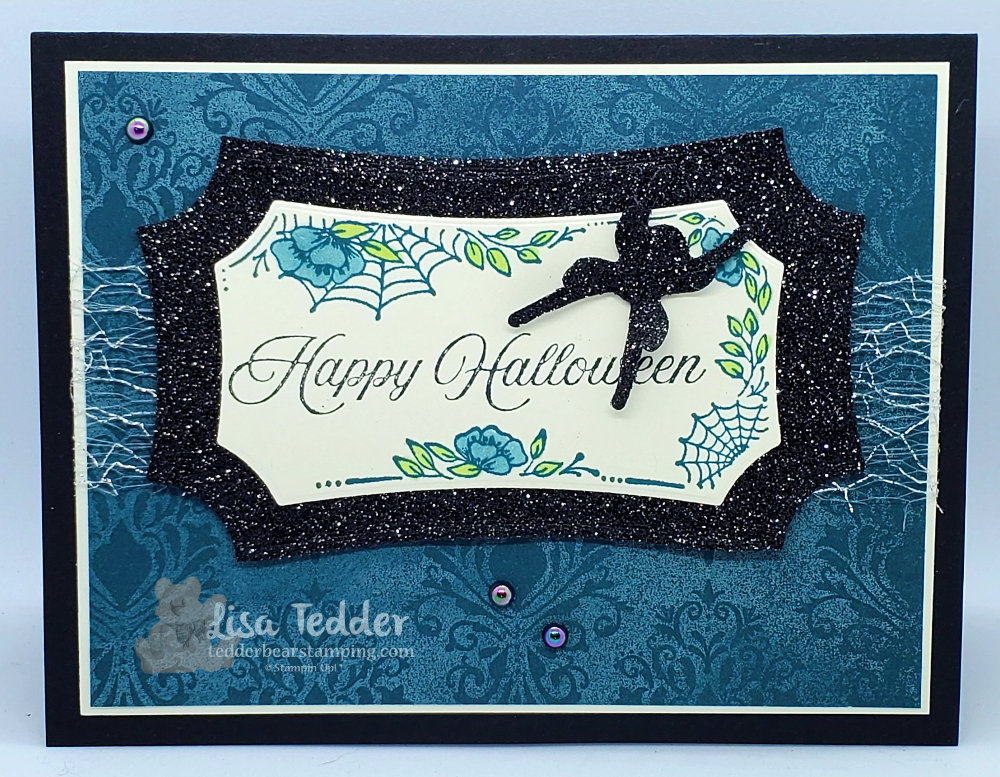
First off, I am going to take you back to my childhood and hear my Mom’s words that Christmas shouldn’t have commercials until AFTER Thanksgiving! So, in that vein, should Halloween be shown now? Of course, I believe it should be since I am doing it! Generally, Halloween is my favorite Holiday to scrapbook so I thought I would make a card using the stamp sets I get EVERY year so I get double duty out of them. Here is what I made:

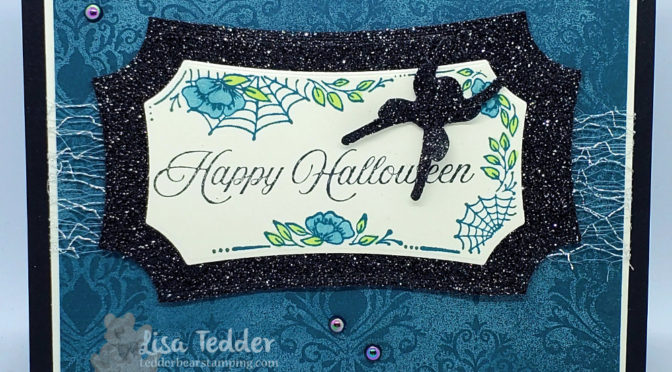
Get double duty from your stamp sets!

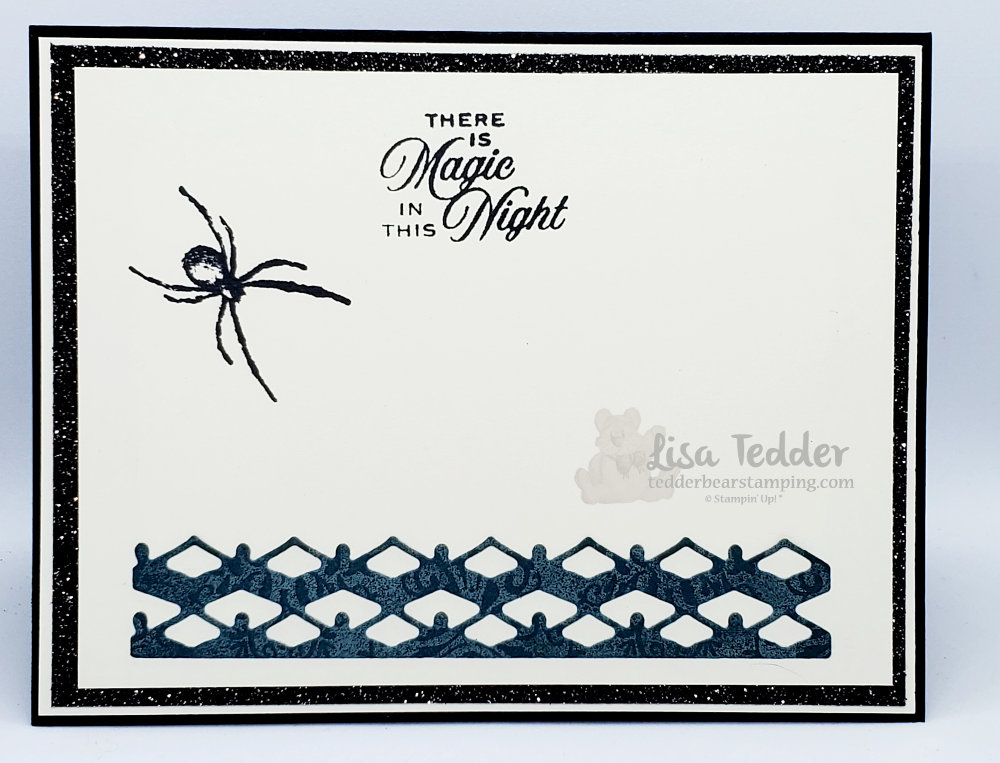
For some reason, Halloween is my Favorite time of year. Funny thing, I named a blog post that, check it out here! Is it because the air is cooler, or the candy? I say it is because it is so much fun to scrapbook, every year I have to do a NEW page! Since it would not be good to have the same layout in the same book. Well, I thought that my Halloween stamps would make a great card too! Of course my grand-kids love getting mail, so this is perfect! Besides, might as well get double duty from my stamp sets, right? By the way the stamp set I used is called Hallows Night Magic from Stampin’ Up!

As always, here is the specifics for this card:

  • Stamps: Hallows Night Magic Bundle
  • Inks: Pretty Peacock, Memento Black
  • Blends: Pretty Peacock, Granny Apple Green
  • Paper: Basic Black 8 1/2″ x 5 1/2″, Very Vanilla 5 1/8″ x 3 7/8″ (x2) 5″ x 3 3/4″, scrap, Black Glitter 5 1/4″ x 4″ (I cut out center so I can use it later), 4 1/2″ x 2 2/3″ (for behind label), Magic in This Night DSP 5″ x 3 3/4″, scrap for inside.
  • Misc: Iridescent Pearls, dimensionals, 1 1/2″ Metallic Mesh ribbon

Ordinarily I tell you that you can find the supplies listed above in picture form below, and today is no exception! Therefore, click on any of them and you will be taken to my OnLine Store. In brief, if you purchase $35 or more at my store you will get from me a PDF with 16 projects which include step by step instructions and pictures! For instance, you can see a sneak peek below:

spend $35 and you will receive a PDF with these tutorials!

So now that I’ve told you how to get double duty from your stamps making cards AND doing a scrapbook, I hope you give it a try! Speaking of, I NEED to work on the scrapbook for my daughter, she is turning 20 in Sept. and I am on her 7th birthday! Yikes!

Thank you for stopping by! I really appreciate your support, I have my Subscribe to my newsletter fixed, so be sure and subscribe! Therefore, when I send them out with ideas for projects you will get them!! No video today, but go check out my channel, I post a video every week!

Lisa Tedder
A California girl living in North Carolina

Product List

Stain your Wood Textures paper to get a Rustic Look!

Hey Guys!

Hope you are all well today!  I am sharing with you today a technique I learned when I went to a meeting by North Carolina Demos.  We are from all over the state, and we have Quarterly Meetings where we get together, for an all day event.  We learn new techniques, meet up with friends and most of the time we start on Friday night and continue on Saturday!  LOVE this group!

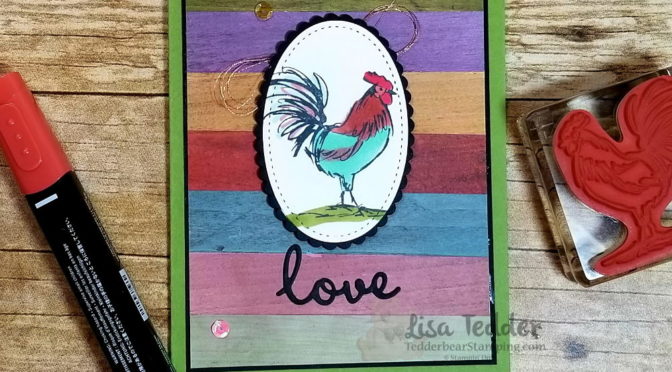
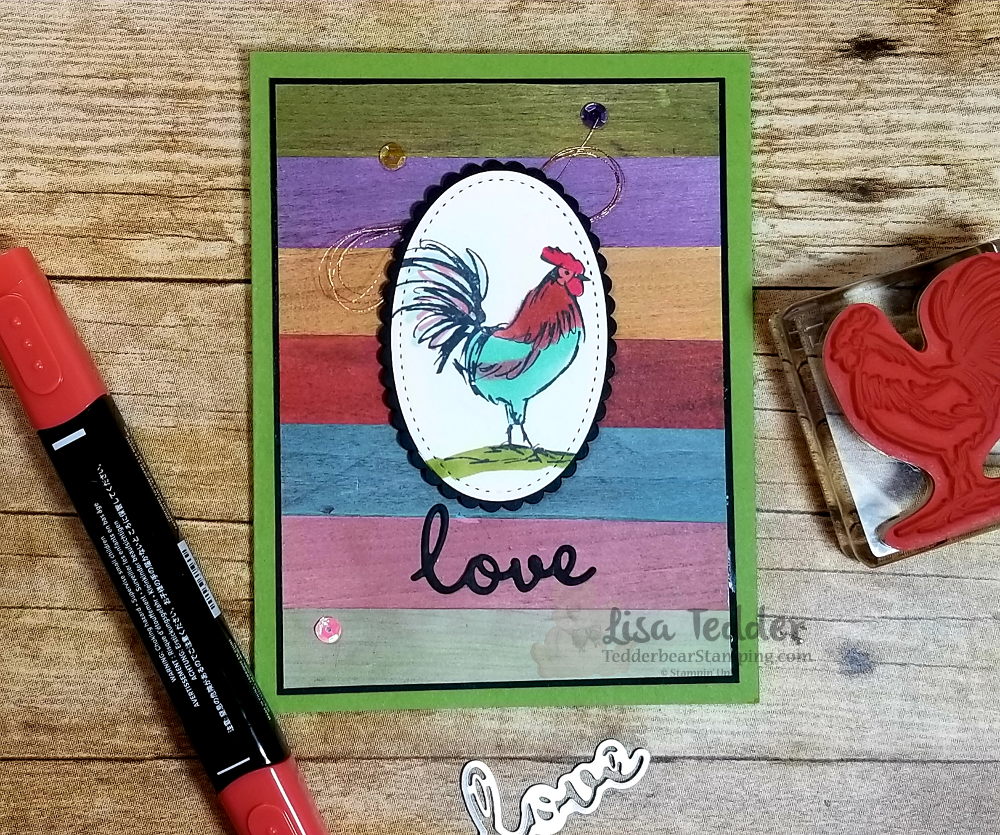
While at the meeting one of the projects was staining the 6″ x 6″ 1DSP Wood Textures with Reinkers and sponges.  The result is stunning!  I am doing this in my class this month, hope they love it as much as I did!

Here are the specifics for this card:

PROJECT 1: Rooster
Stamp Sets Pg #
Home to Roost
Paper
Old Olive 8 1/2″ x 5 1/2″
Black 3 7/8″ x 5 1/8″ (x2), scrap, 2 1/4″ x 3 1/4″
Vanilla 5″ x 3 3/4″ (x2), 2 1/4″ x 3 1/4″
Wood Textures 6 x 6
Inks
Blends: Real Red dk, Cajun Craze, Pool party, Old Olive
Memento
Reinkers: Blushing Bride, Soft Sea Foam, Pear Pizzazz
Calypso Coral, Highland Heather, So Saffron, Balmy Blue
Accessories
Copper Thread
Layering Ovals
Stitched Framelits
Well Written framelits
Sequins
Dimensionals

Below are pictures of the supplies used, click on any of them and you will be taken to my OnLine Store!  I would love it if you would choose me as your Demonstrator! If you purchase from my OnLine Store, you will be sent a gift from me!

Thanks for stopping by!

Lisa Tedder
A California Girl living in North Carolina

Product List

Bees, don’t you just love bees?!

Hey Guys!

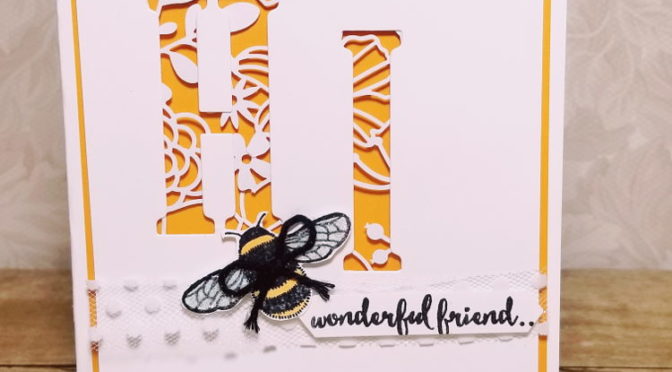
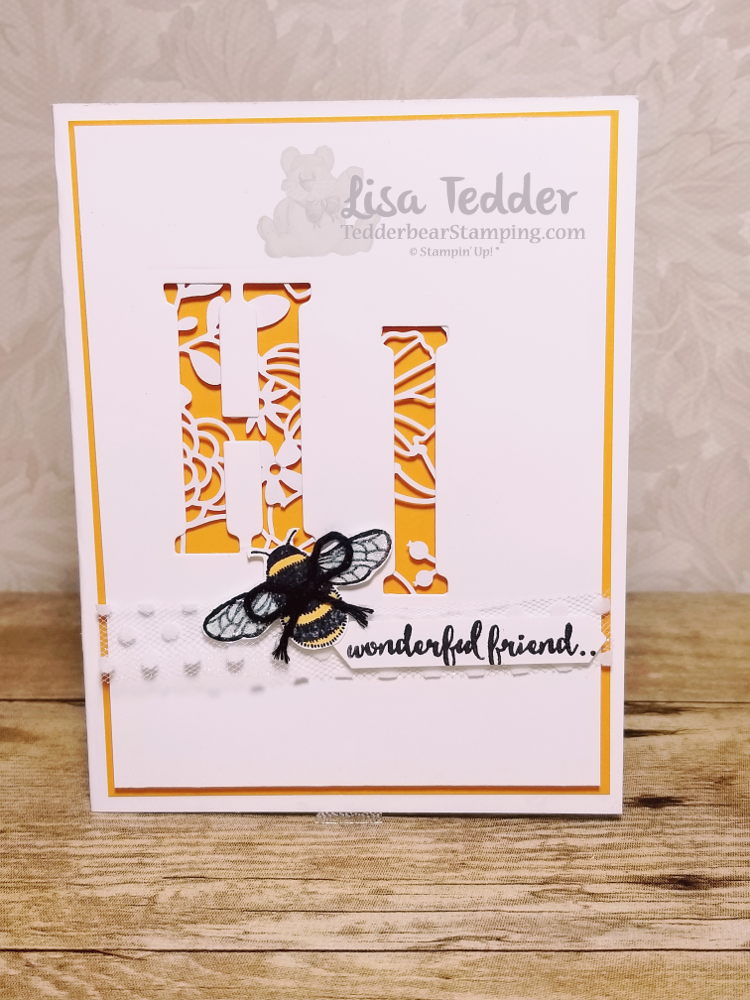
Today I am sharing with you a card that I saw on Pinterest by Monica Gale.  I only changed up the yellow behind the ‘HI’, so technically I CASE’d it (Copy and Share Everything).

I fell in love with it as soon as I saw it and HAD to make it!  LOVE when that happens, it really gets my creative juices flowing!

I used the Large Letter framelits to cut out the HI, then placed some of the Delightfully Detailed Laser cut behind the panel, added dimensionals and then had the Mango Melody behind.  Colored the Bee  using the Mango Melody  Blend!

Here are the particulars for this card:

PROJECT 3: Hi
Stamp Sets Pg #
Dragonfly Dreams
Paper
Whisper White Thick 8 1/2″ x 5 1/2″
Whisper White 5 1/4″ x 4″ (x2), scrap
Mango Melody 5″ x 3 3/4″ (x2)
Inks
Memento Black
Blends: Mint Macaron light, Mango Melody Dark
Accessories
Large Letter Dies
Delightfully Detailed Laser Cut DSP
Classic Label Punch
Black Bakers Twine
Dimensionals
Wink of Stella/Whisper White Polka Dot Ribbon

Dazzling Diamonds with glue on wings

I was very happy with how it came out, can’t wait to see what my girls think when we do it in class!

Below are pictures of all the supplies used for this card, click on any of them and you will be taken to my OnLine Store!  Every Online order receives a gift from me!

If you are in the market for a Stampin’ Up! Demonstrator, I would love to be her!  Or you could join my Team and become a part of my SU! family!

Thanks for stopping by, hope you come back soon!

Lisa Tedder
A California Girl living in North Carolina

Product List

Dragonfly Dreams Photopolymer Stamp Set

Large Letters Framelits Dies

Delightfully Detailed Laser-Cut Specialty Paper

Whisper White 5/8" (1.6 Cm) Polka Dot Tulle Ribbon

Dazzling Diamonds Stampin' Glitter

Fine-Tip Glue Pen

Stampin' Dimensionals

Classic Label Punch

Whisper White 8-1/2" X 11" Thick Cardstock

Whisper White 8-1/2" X 11" Card Stock

Mango Melody Classic Stampin' Pad

Mango Melody Dark Stampin' Blends

Light Mint Macaron Stampin' Blends Marker

Big Shot

Basic Black Solid Baker's Twine

Chicken Wire – Retiring soon, don’t wait!

Hey Guys!

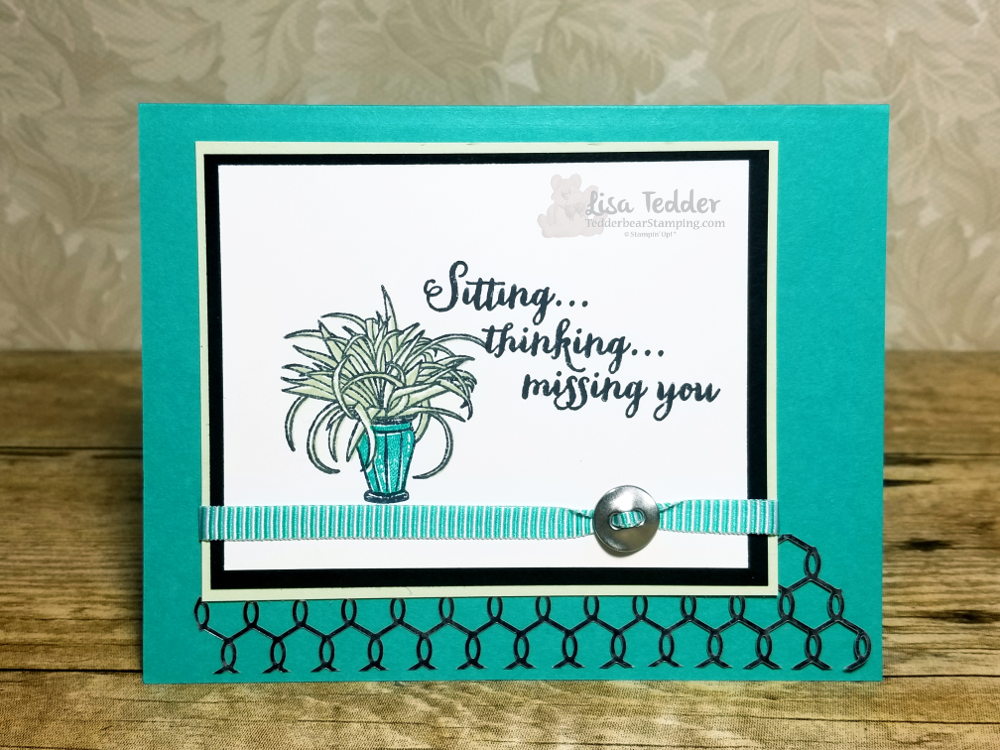
Today’s card was a really fun one to make.  The sad news is that the Chicken Wire (which I LOVE) is retiring!  Say it ain’t so!

I decided to play with it before it was gone…..    Here is the card I made for you today!:

I know that this picture looks like I used Tempting Turquoise, but the colors are all wrong, this was made using Bermuda Bay.  Bermuda Bay is one of my very favorite colors!  Not sure why my camera decided not to show the true color.

I used the Stamp set from SU! called Sitting Pretty.  This stamp set is so much fun to stamp with, all the stamps work together so you don’t ‘color’ anything, you stamp it.  Using the Stamparatus makes it even better!

Here are the specifics for this card:

Stamp Sets Pg #
Sitting Pretty
Paper
Bermuda Bay 8 1/2″ x 5 1/2″
Soft Sea Foam 4 1/4″ x 3 3/8″
Black 3 1/8″ x 4 1/8″
White 5 1/4″ x 4″, 3 7/8″ x 3″
Inks
Memento Black
Soft Sea Foam
Bermuda Bay
Versamark
Accessories
Chicken Wire Elements
Galvanized Buttons
Bermuda Bay Striped Ribbon
Stamparatus
Silver Embossing powder/embossing buddy/heat tool

The Galvanized Buttons are no longer available sad to say.  So make sure if you want/need the chicken wire, get your order in now!!

If you are living in the US and are in need of a SU! Demo, look no further!  I would love to be yours!  Below are all the items used for this card, if you click on any of them you will be taken to my OnLine Store!

Thank you for stopping by!  Please come back and see me!

Lisa Tedder
A California Girl living in North Carolina

Product List

Sneak Peek Animal Outing

Hey guys!

I’m not sure that I’ve told you before, but I LOVE Giraffe!  They fascinate me.  I got to feed one by hand when I visited my daughter in MN!  NOW when I go to  visit we’ll HAVE to go feed them again!

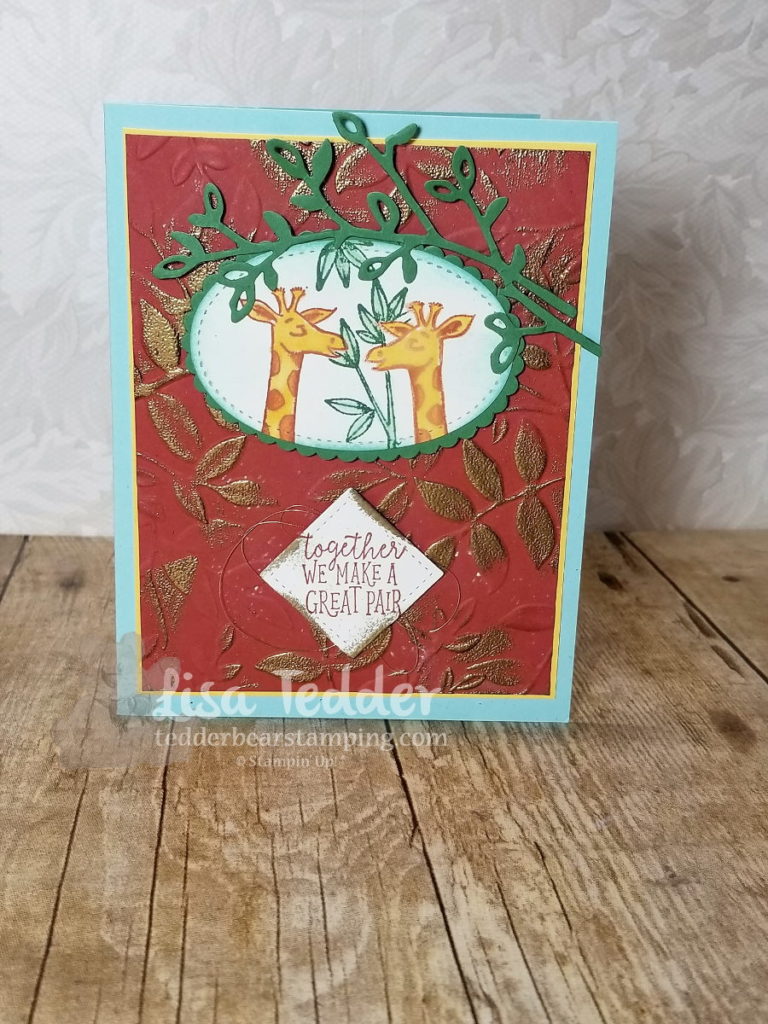
Here is a card I made by creating a second giraffe facing the other way.

To get the image to face the other way, stamp onto the Silicone Craft Sheet and then immediately turn over and ‘stamp’ the image onto your cardstock.  This works really well, since the image doesn’t dry as fast on the mat.  Then color as usual!  Now, you have two Giraffe facing each other!

Dimensions:

Soft Sky 8 1/2″ x 5 1/2″
Daffodil Delight 3 7/8″ x 5 1/8″ (x2 for inside also)
Cajun Craze 5″ x 3 3/4″
Very Vanilla 5″ x 3 3/4″
Scraps of Garden Green and Very Vanilla

I embossed the Cajun Craze with the Layered Leaves Embossing folder, then ran the Versamark over the images GENTLY to have it only on the raised areas.  Then embossed with Copper embossing powder.

The Stitched framelits is a MUST for any stamper, I use it all the time!

If you would like to choose me as your demonstrator, I would love to have you purchase from me!  Just click on any image below to be taken to my Online Store!

Lisa Tedder
A California girl living in North Carolina
Product List

Stampin’ Up! Retiring list is out!!
To see the list, just click on image above!  Please use Hostess Code: 69EGW4G2   and you will get a thank you card from me in the mail!  REMEMBER these items are AS SUPPLIES LAST!  So, don’t put it off!!
This is the time of year I both hate and love!  I hate it because some of my favorite sets are leaving!  Waaaaaaaah

Love it because we get brand new YUMMY sets!!  🙂  I absolutely LOOOOOOVE new sets!!  AND new embellisments!  Yippy!!

I will be posting some of the retiring products here to give you ideas! So be sure and subscribe so you don’t miss them!

Thank you for stopping by!

Lisa Tedder
TedderBearStamping
A California Girl living in North Carolina