If this wasn’t on your list, let me change your mind!
Hey Guys!
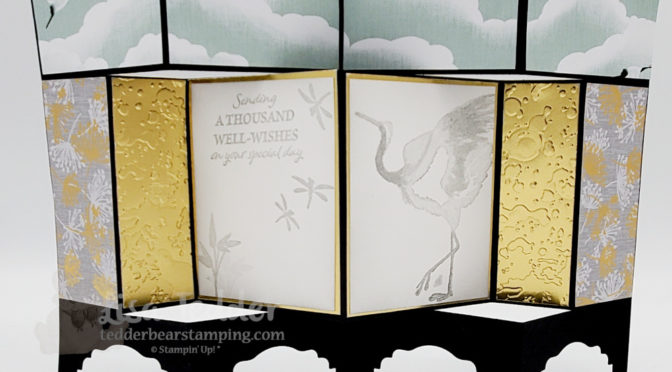
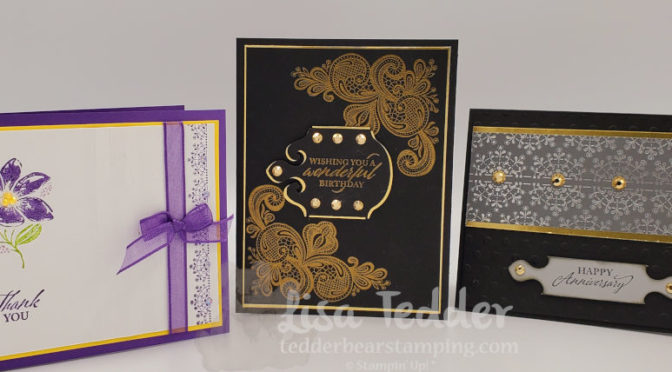
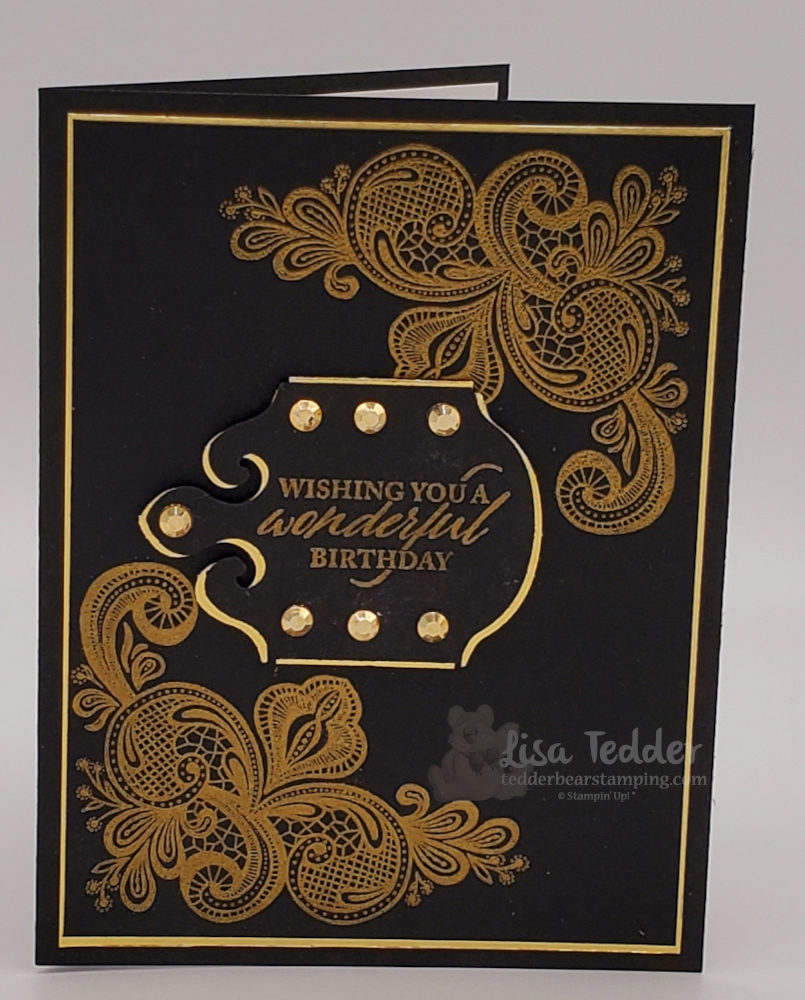
Evidently I love this stamp set – Crane of Fortune, if this wasn’t on your list, let me change your mind! During my Live today I am going to show you how to make these cards step by step! Overall, I can almost guarantee that you will want this stamp set when I am done! Balanced against making a card with an Asian feel, surely this set should sell itself! First thing to remember is that I love cards that have a little more to them, for that reason I put together three cards that are all impressive! Absolutely, I love this stamp set, if it wasn’t on your list, like I said, I hope I changed your mind!
As always I have the dimensions and supplies listed below, I also have them in picture form below my signature. At the present time, this stamp set is on low inventory, so don’t wait to order it, click on any of the pictures below, after that you will be taken to my OnLine Store where you can place your order! For orders over $35 you will receive a 16 project PDF with step by step instructions along with pictures! Whereas if you order over $75 you will get a PDF of a framed décor piece! Here are sneak peeks:

Supplies
Stamps:
- Crane of Fortune
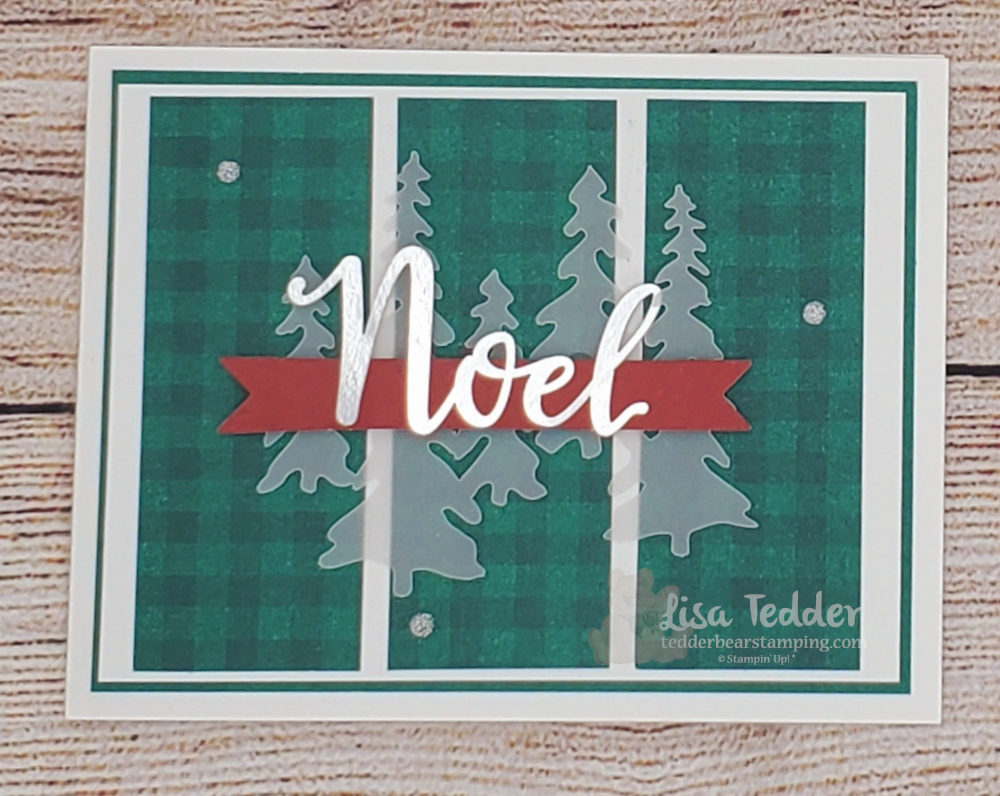
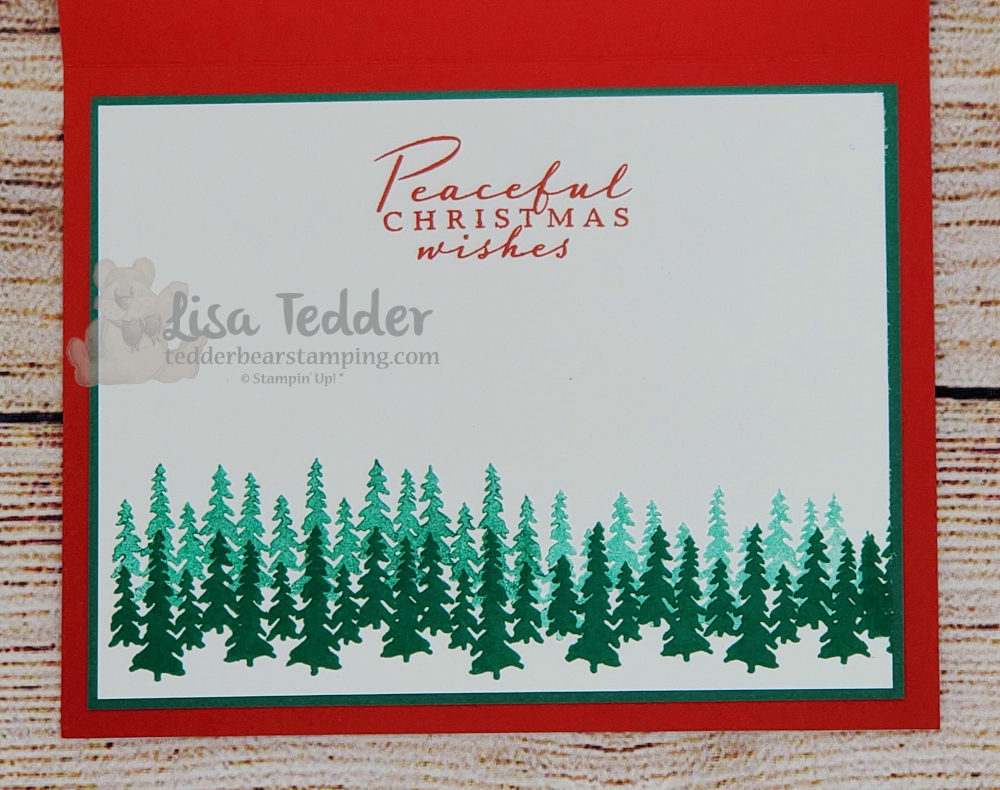
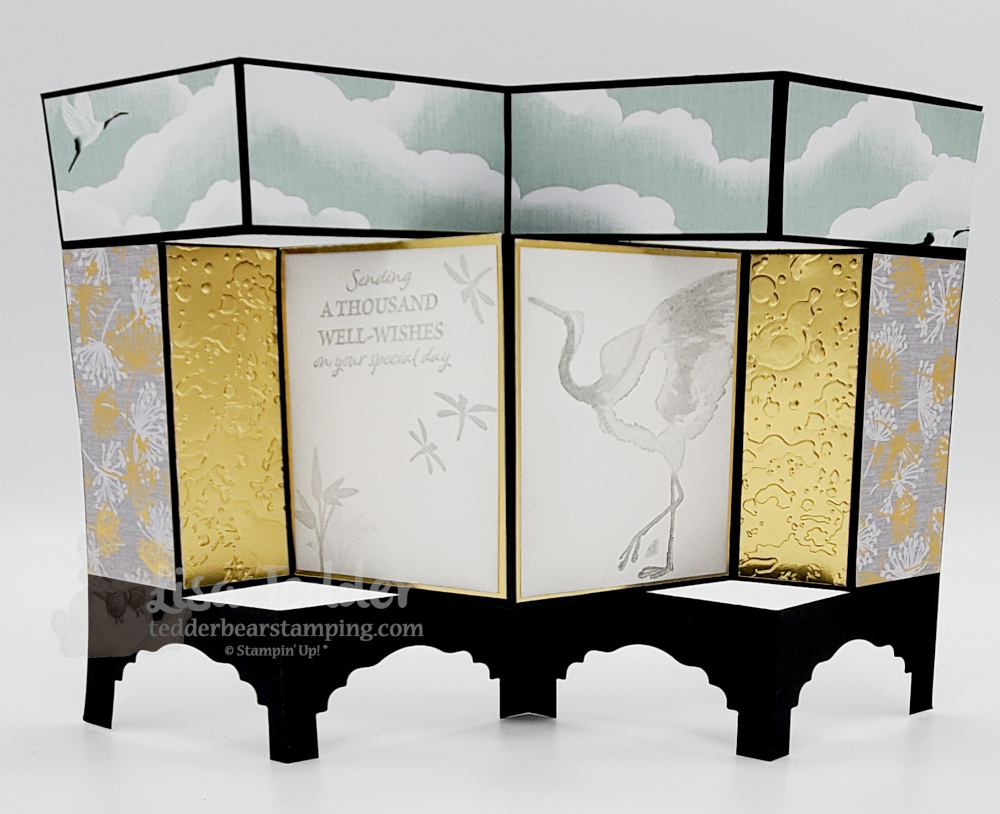
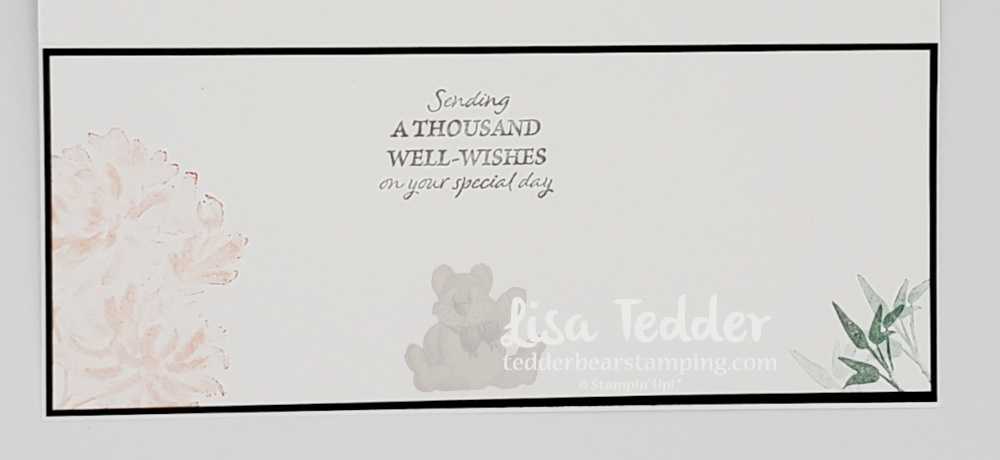
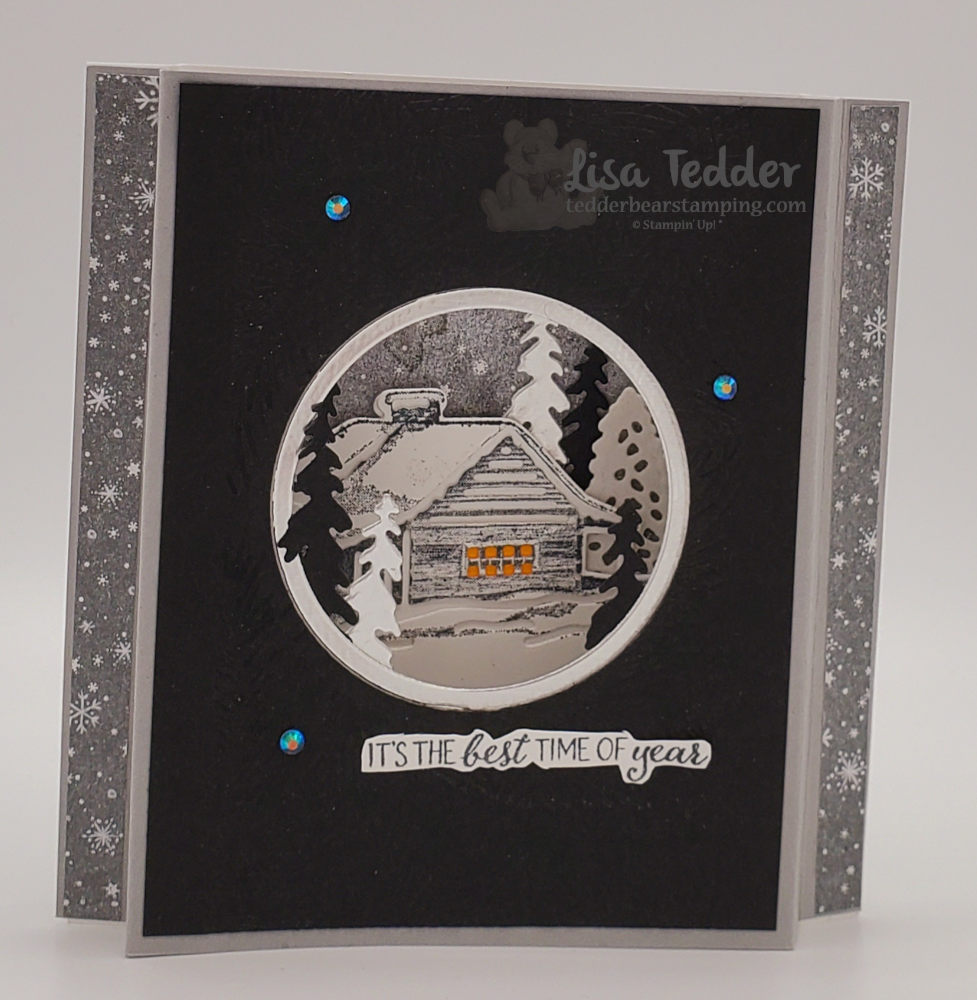
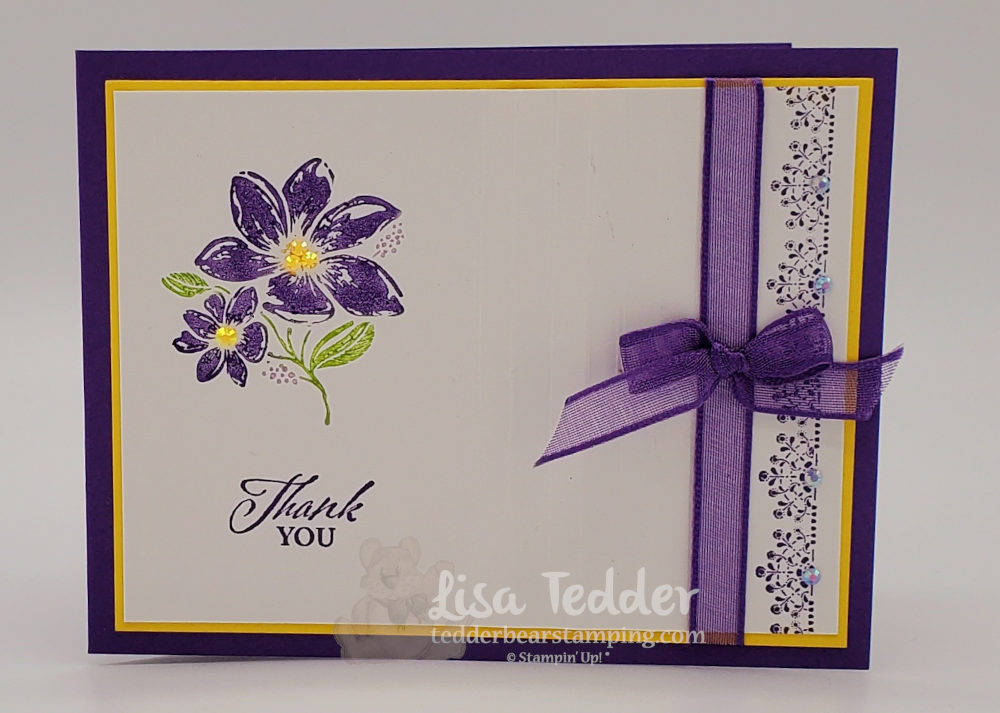
Paper/Card 1
- Basic Black 6 1/2″ x 11″ scored with long edge at top: 2 3/4″, 5 1/2″ & 8 1/4″ then turn so short edge is at top and CUT from 1 1/2″ to 9 1/2″ on both sides. Thereupon you will score again, ONLY BETWEEN CUTS @ 1 1/2″ on both ends. Watch Video because I walk you through it
- Symbols of Fortune Designer Paper for TOP panel: 1 3/8″ x 2 5/8″ (x4), then Middle Panel: 1 1/2″ x 3 3/8″ (x2)
- Gold Foil 1 1/8″ x 3 3/8″ (x2) Middle Panel, then Emboss with Splatter Folder, Also cut 2 5/8″ x 3 3/8″ (x2)
- Basic White 2 1/2″ x 3 1/4″ (x2) so it will fit on the Gold Foil panels in Middle
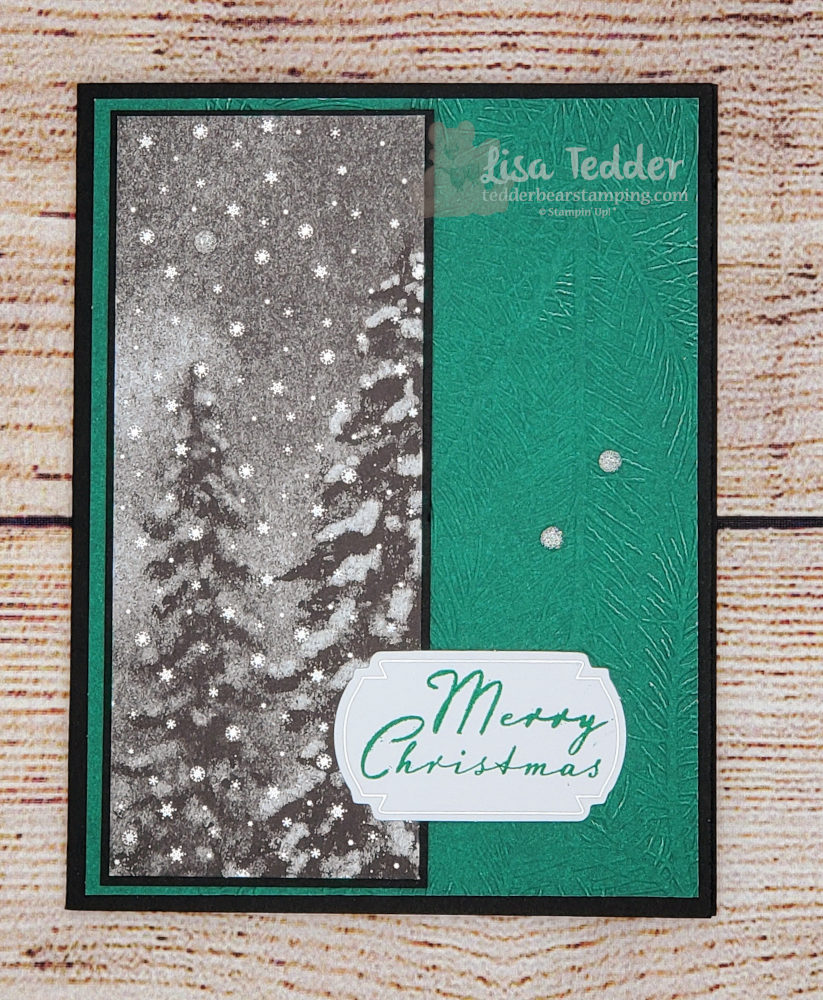
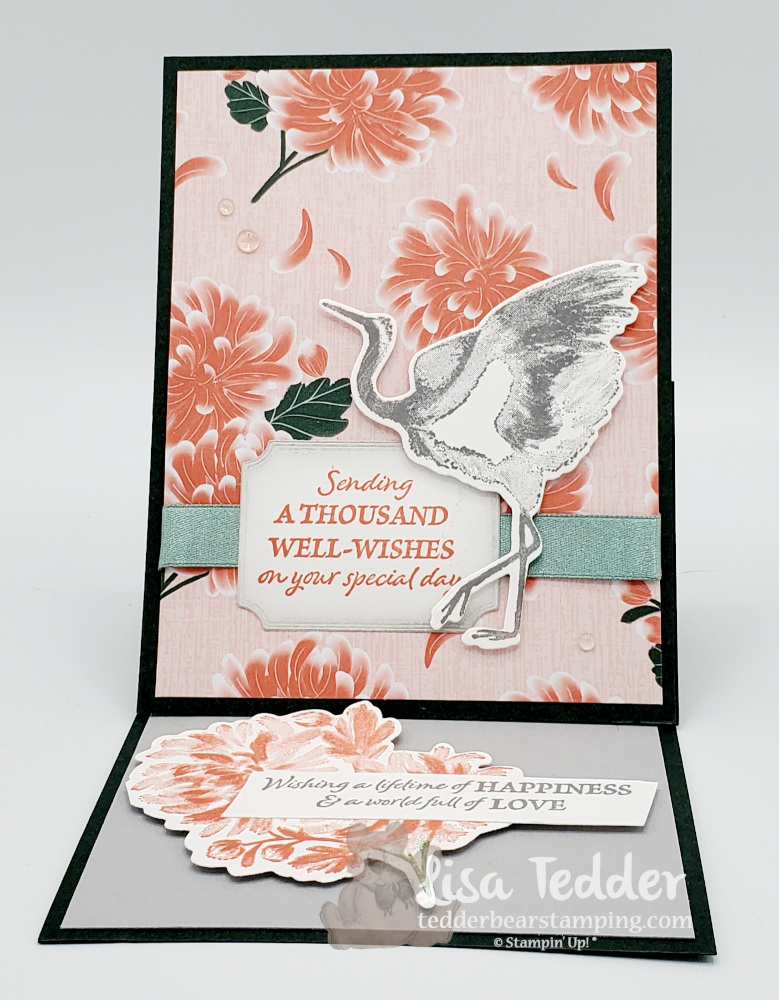
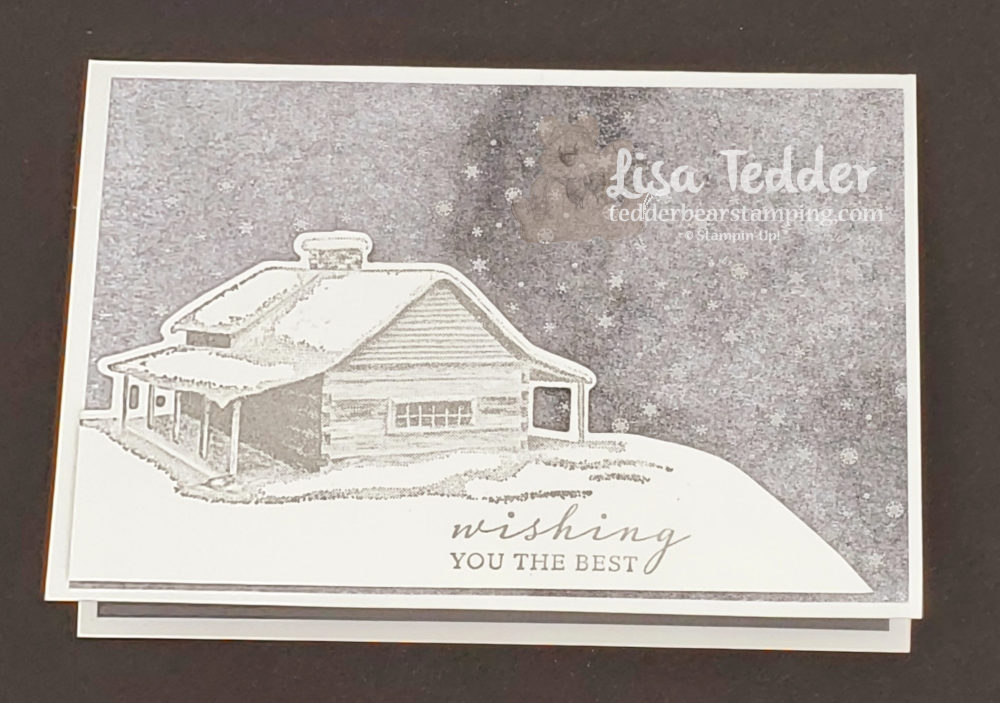
Paper/Card 2
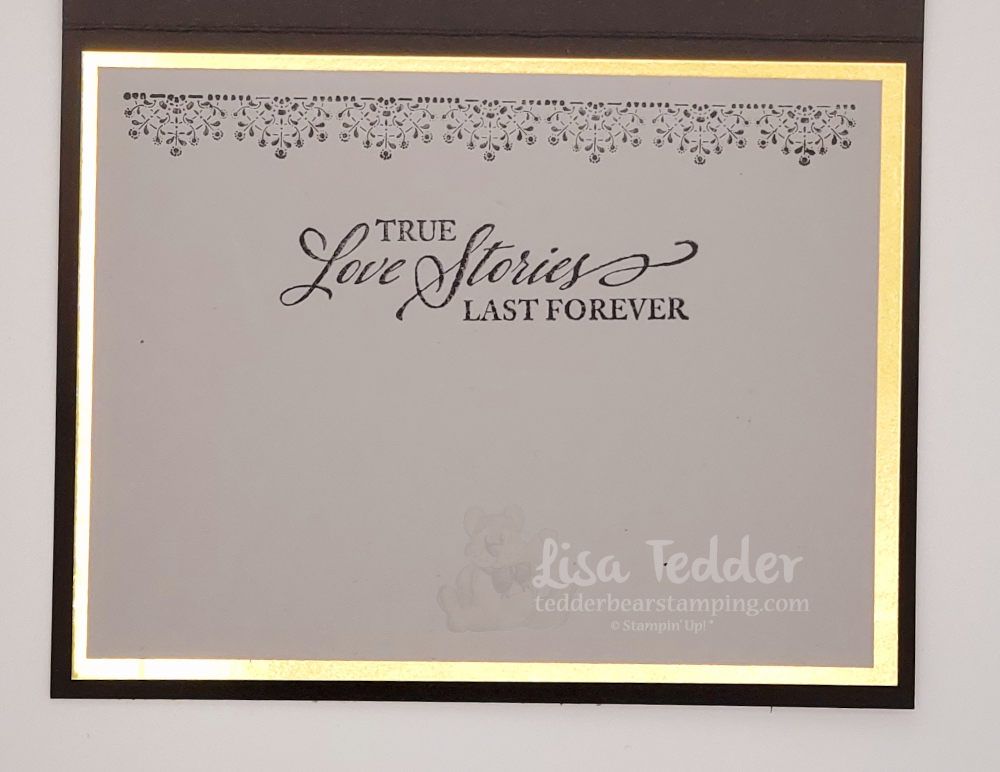
- Basic White Thick 7″ x 8 1/2″ scored at 3 1/2″
- Basic White 3 1/4″ x 8 1/4″ (inside), 2″ x 3 1/2″ for front panel
- Symbols of Fortune Designer Paper 3 1/4″ x 8 1/4″
- Evening Evergreen 3 3/8″ x 8 3/8″ (x2), 2 1/8″ x 3 5/8″
- Gold Foil scrap to cut Die flower
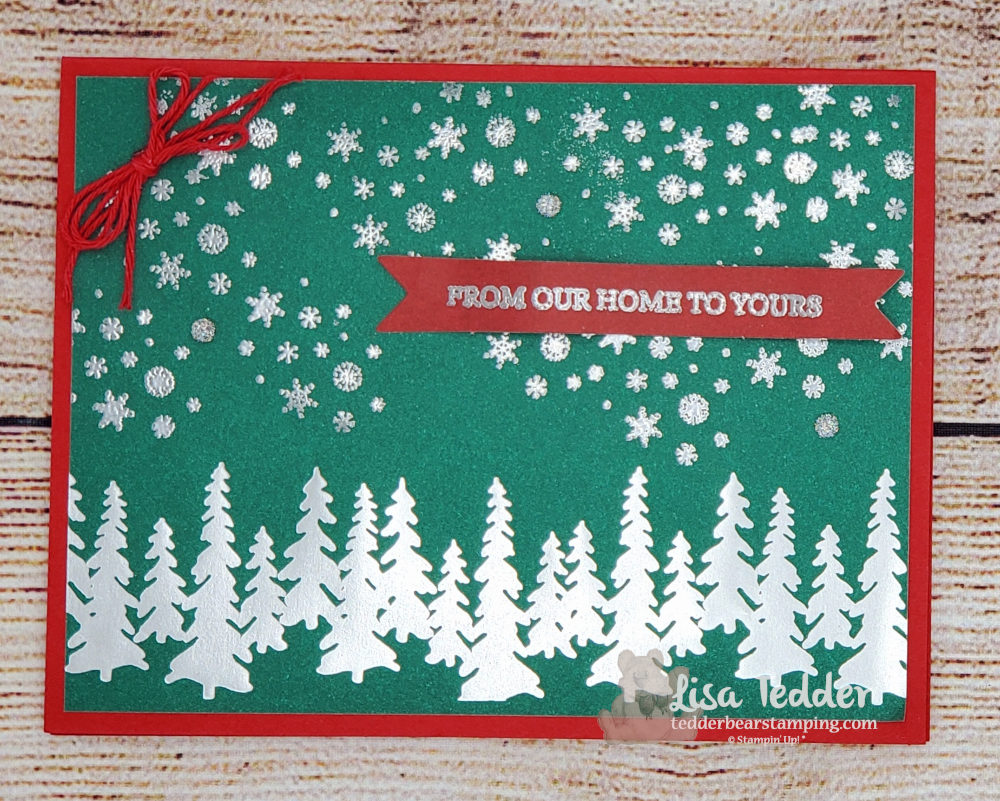
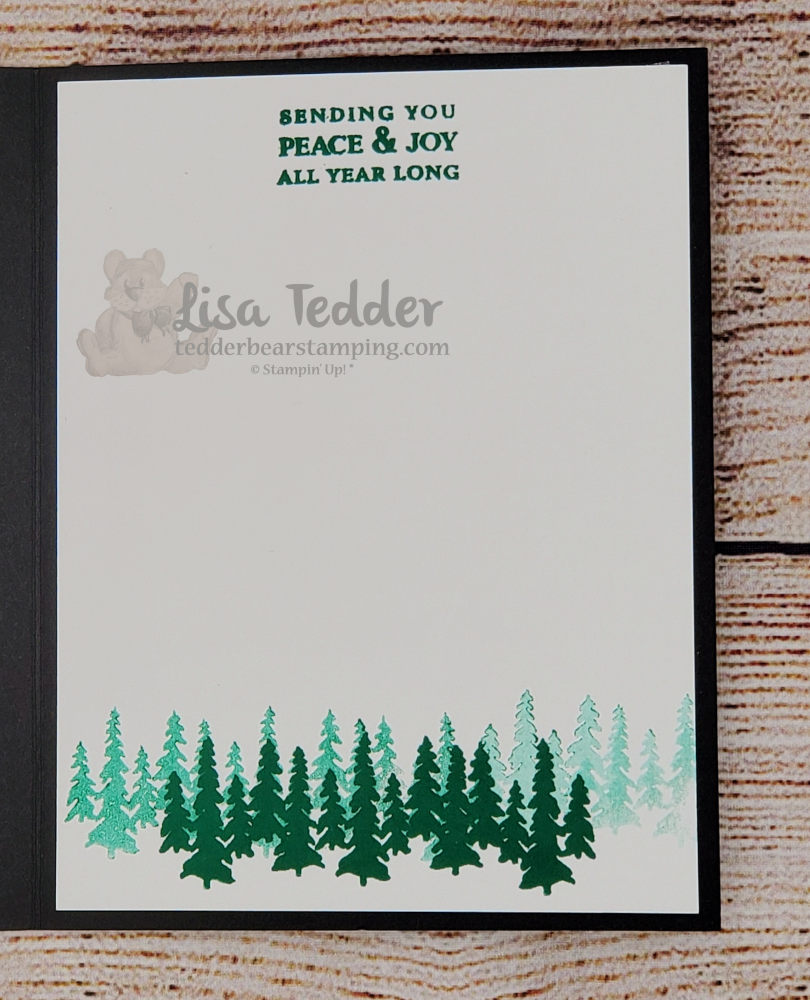
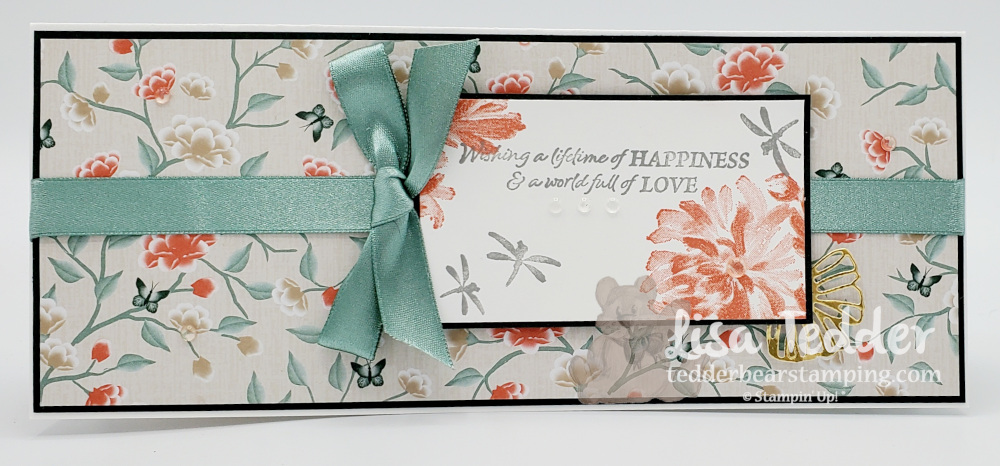
Paper/Card 3
- Evening Evergreen 4 1/4″ x 11″ scored at 5 1/2″, 4 1/4″ x 5 1/2″
- Symbols of Fortune Designer Paper 4″ x 5 1/4″
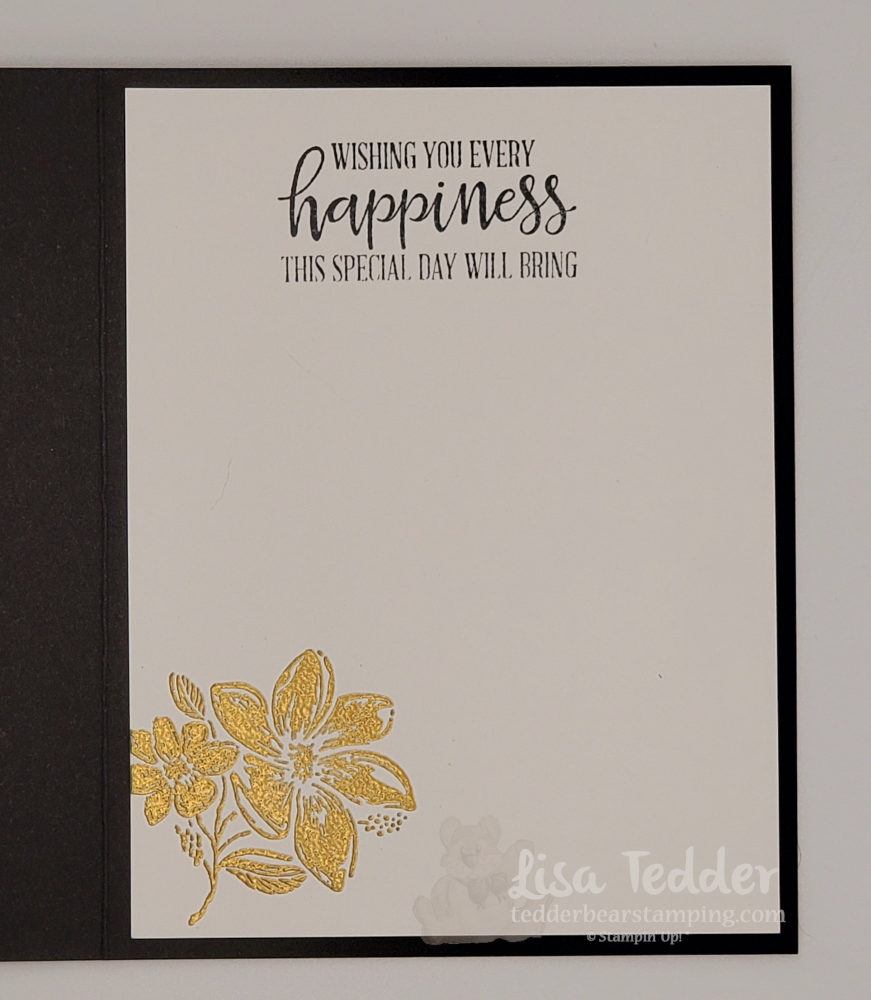
- Basic White 3″ x 3 1/2″ scrap for Crane, 1 3/4″ x 2 1/2″ for front die/sentiment, 3″ sq for flower inside, also 5/8″ x 3 1/2″ for inside sentiment
- Smoky Slate 4″ x 5 1/4″
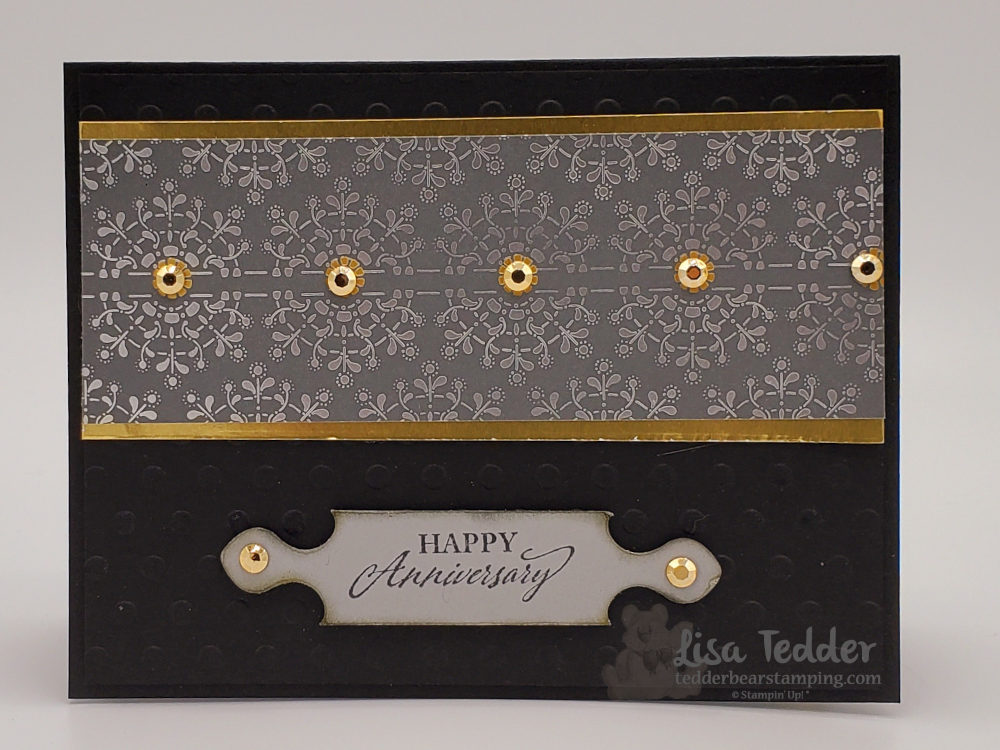
Ink for all cards
- Smoky Slate
- Calypso Coral
- Soft Succulent
- Garden Green Marker
Misc
- Good Fortune Dies or you could buy Bundle
- Soft Succulent 1/2″ Satin Shimmer Ribbon
- Polished Dots
- SlimLine Envelopes
- Label Me Lovely Punch
- Simply Scored Board
- Stampin’ Trimmer
- Stampin’ Cut & Emboss Machine
- Blending Brushes
- Wink of Stella
- Dimensionals
As you can see, there are quite a few ingredients that I have listed, but this is for THREE cards so I think it isn’t a lot! Meanwhile, I asked a question at the beginning of this post, ‘If this wasn’t on your list, let me change your mind’ At this point, Did I change your mind on buying this stamp set? As you can tell, I really love this stamp set, I hope I have convinced you that it is worth every penny! First thing to remember is to check out my video where I walked you through making all three of these awesome cards!
Lastly, thank you so much for coming to my Blog and I especially thank you if you watched my video and subscribed to my YouTube channel! After all, I am Tedder Bear Stamping and I would love it if you could watch Live and I could send you one of the cards I make each week!
Lisa Tedder
A former California girl living in North Carolina
Product List
")


 Specialty Designer Series Paper")

 Satin Shimmer Ribbon")


")


 Specialty Paper")
 Designer Series Paper")


")


")


")
")


 Specialty Designer Series Paper")
 Specialty Pack")


")


")


 Specialty Designer Series Paper")