
Hey Guys!
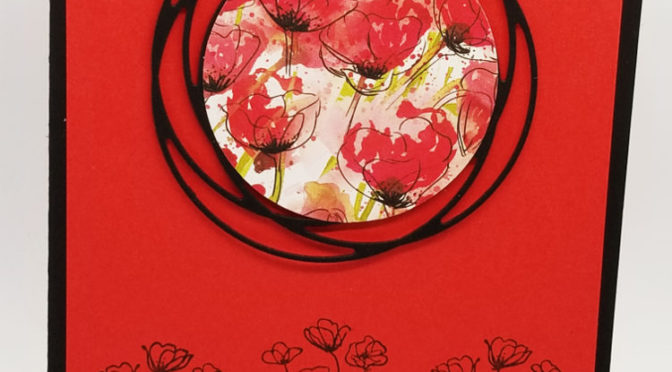
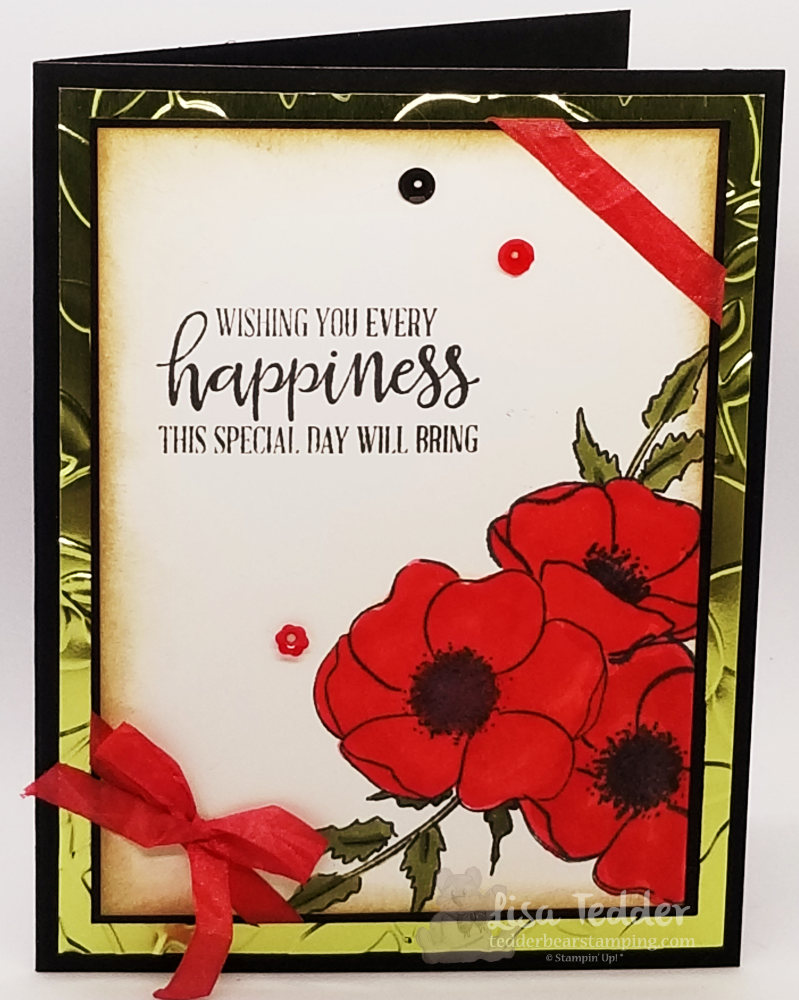
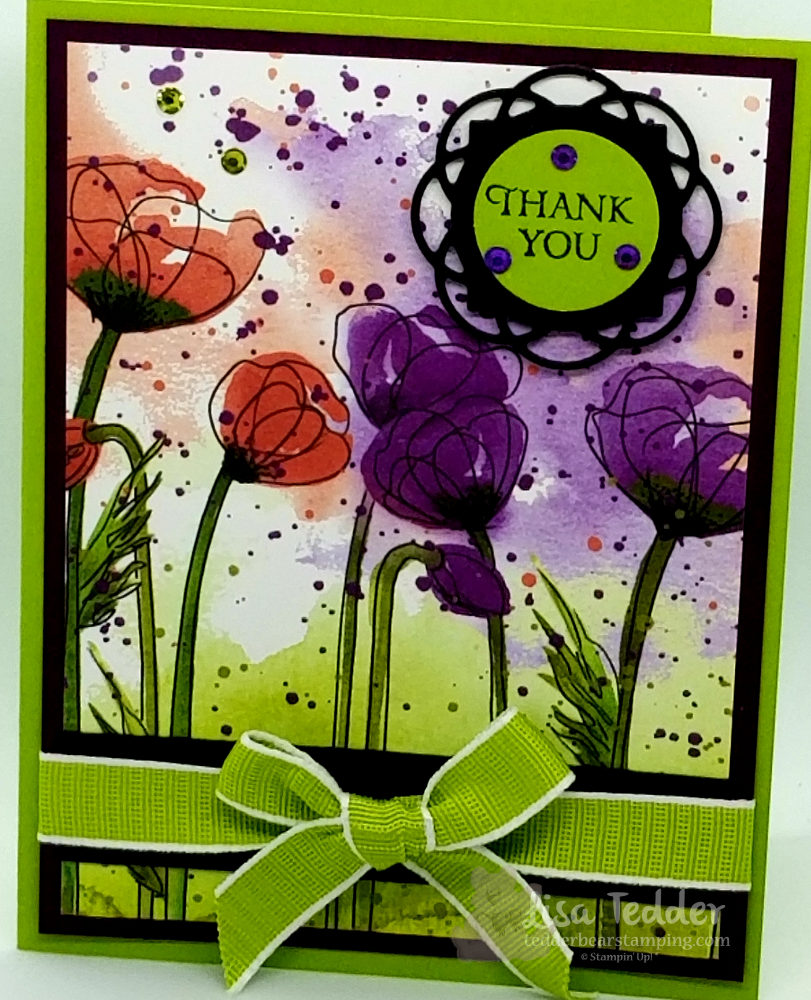
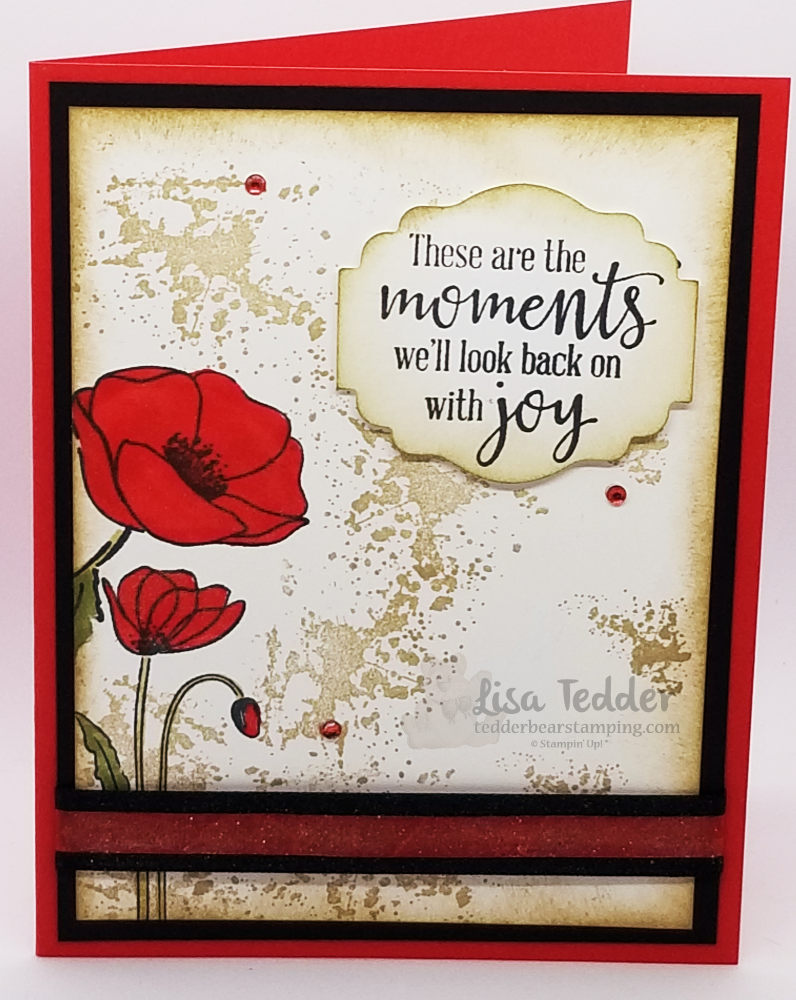
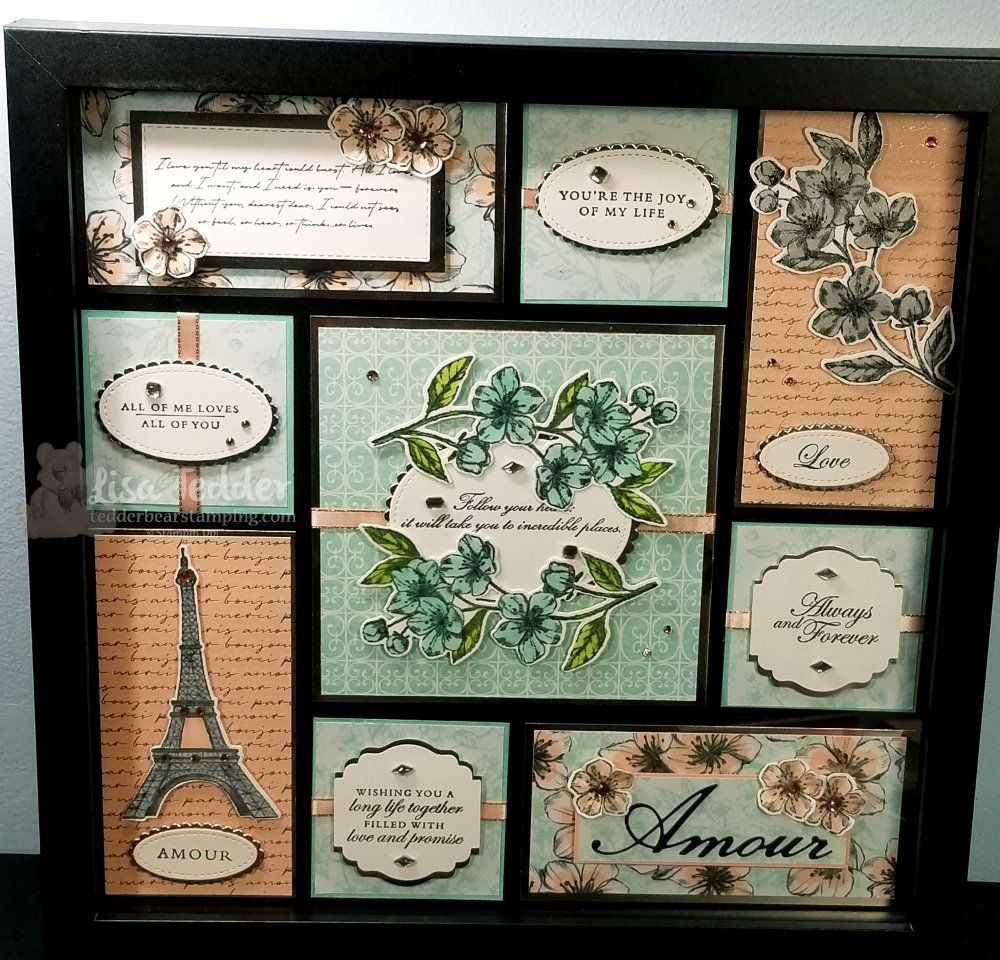
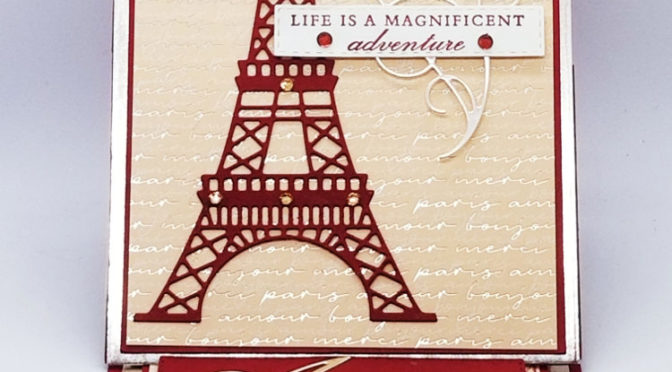
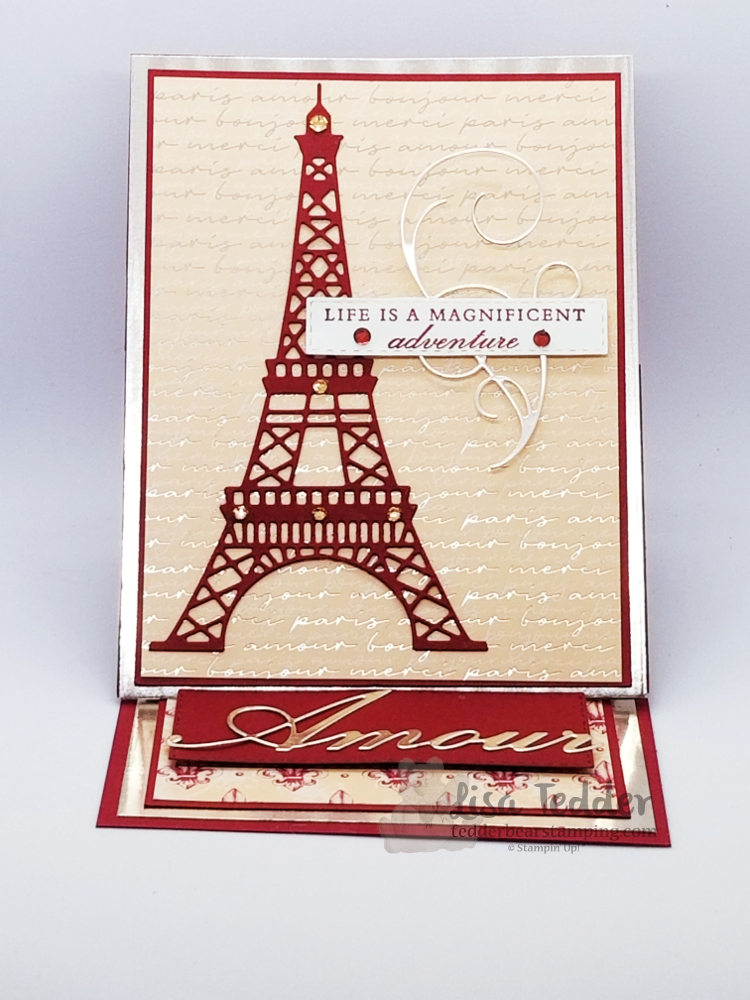
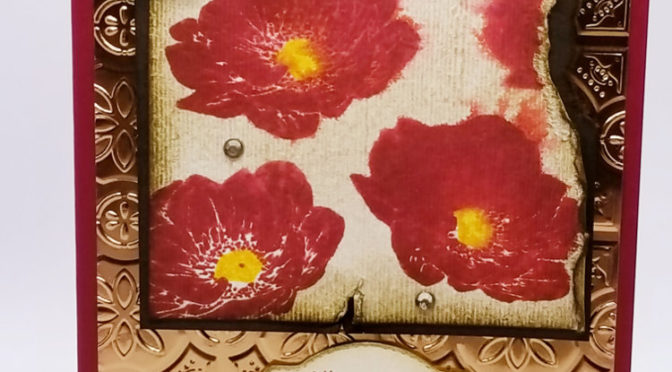
The card I am going to show you today is the design of Susan Campfield! Usually, I try to change up the cards I am inspired by, but this one is perfect, so I left it as it was! Thank you Susan!
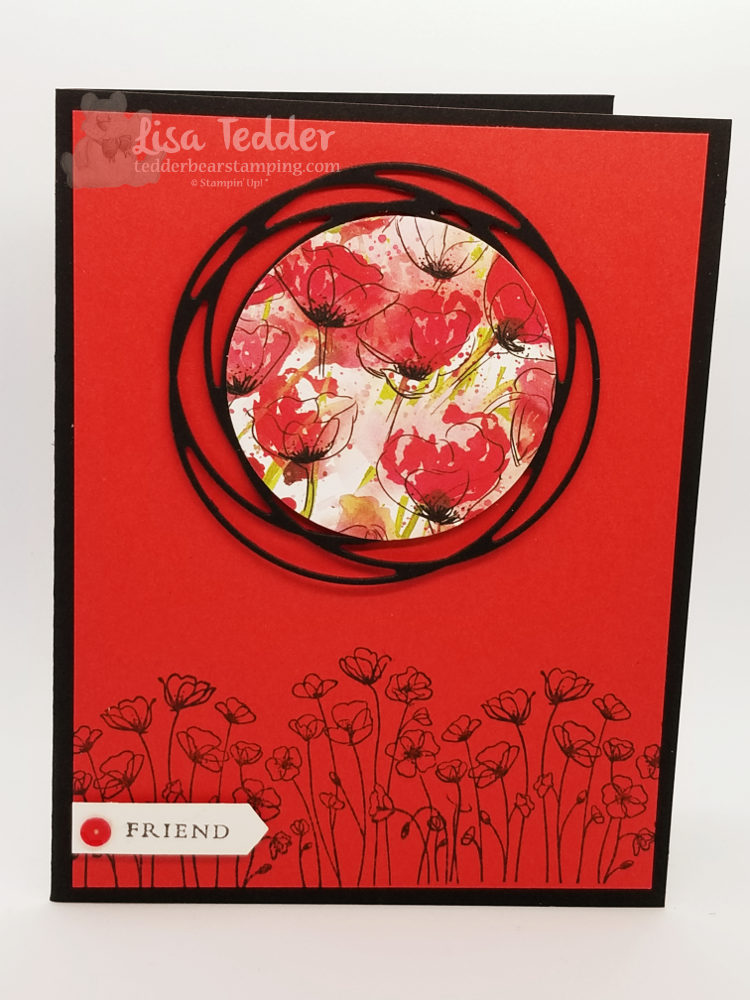
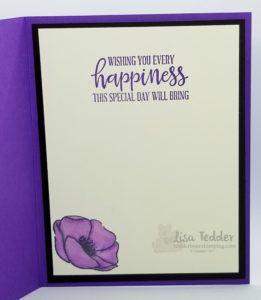
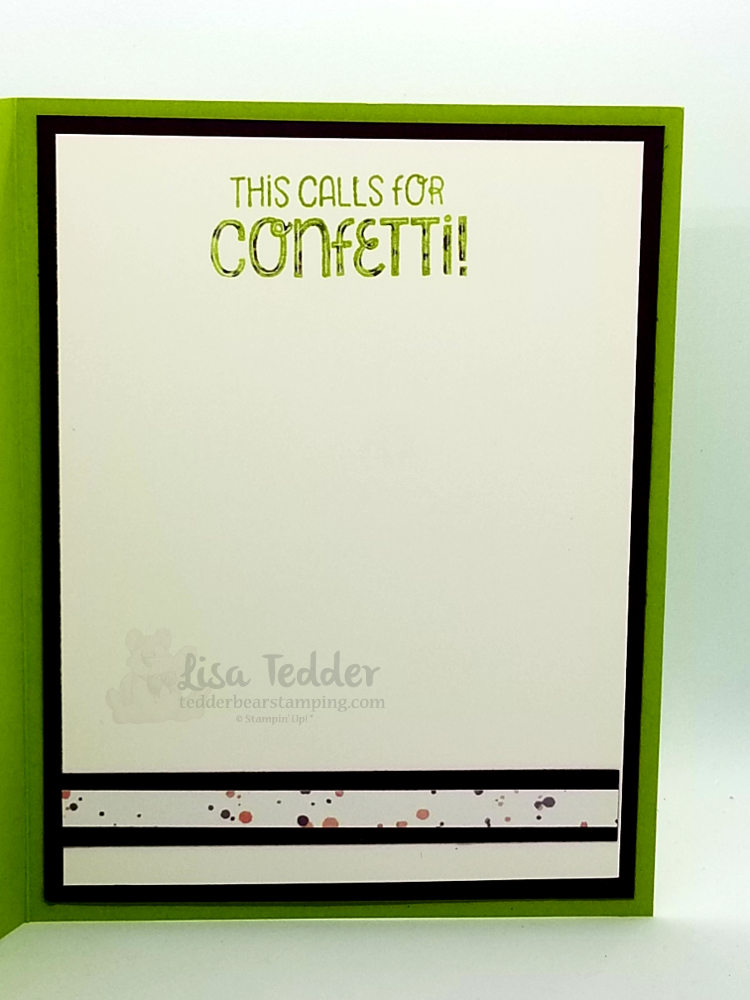
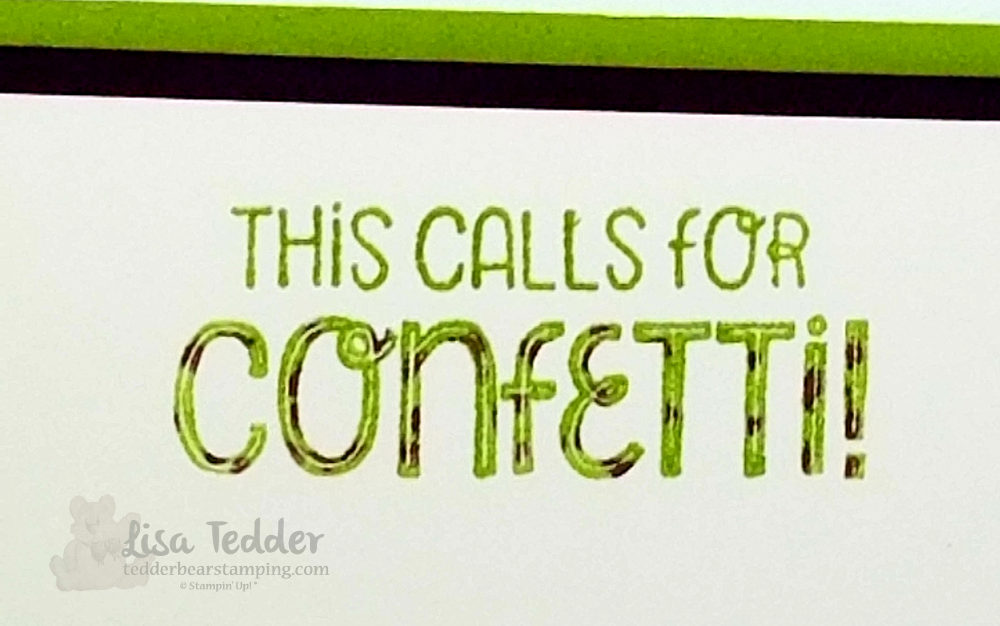
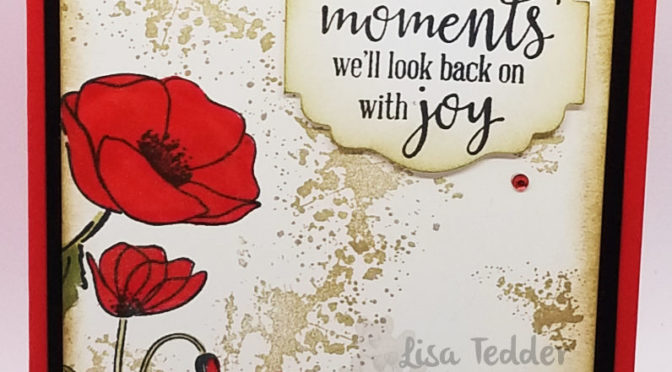
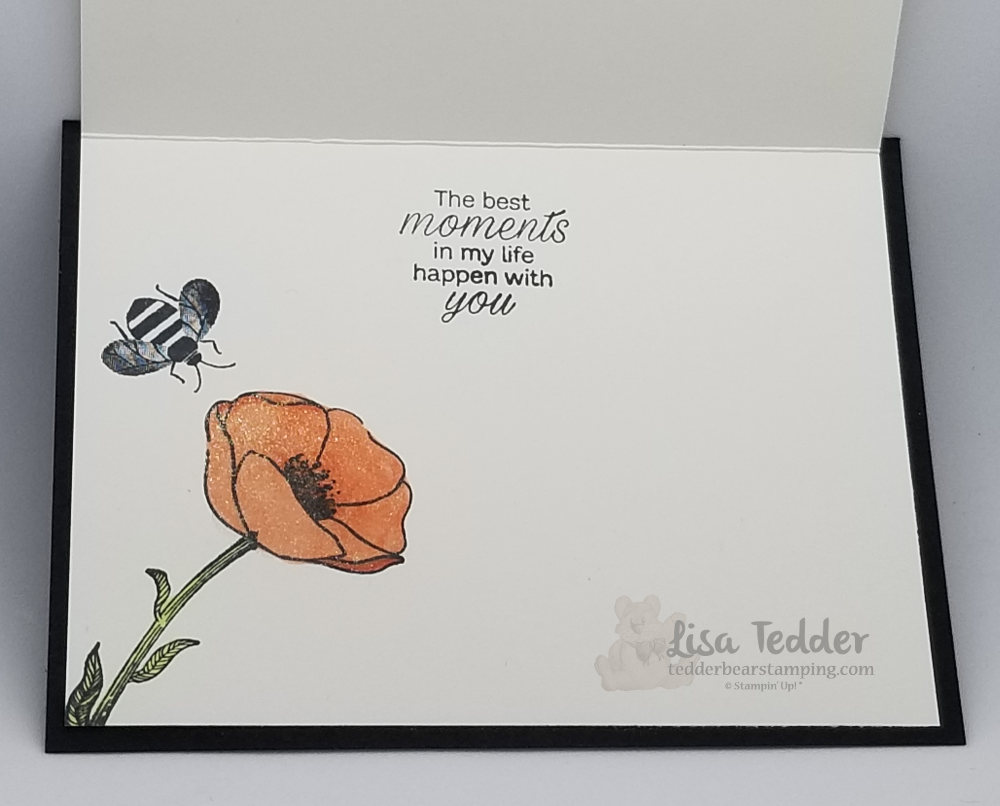
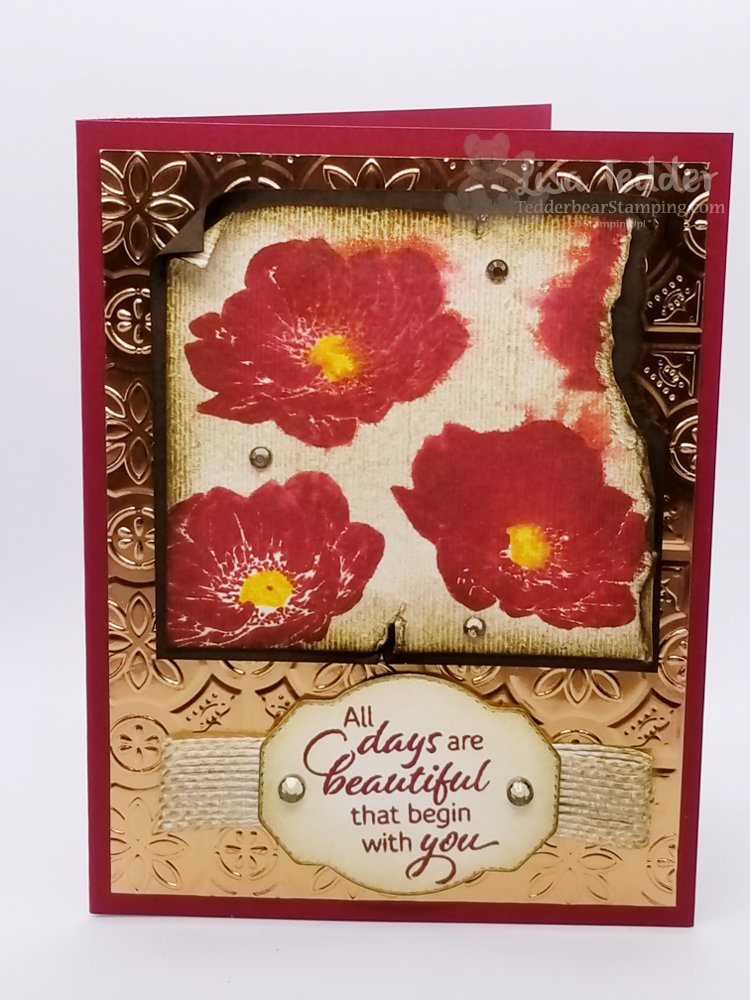
I did Lie about ONE thing, hers had a different sentiment, but this one worked from Forever Blossoms. But, it was a little white lie, so I’m sure you’ll forgive me. 🙂
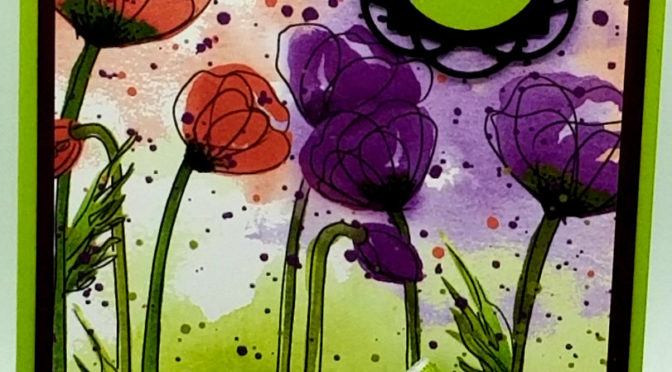
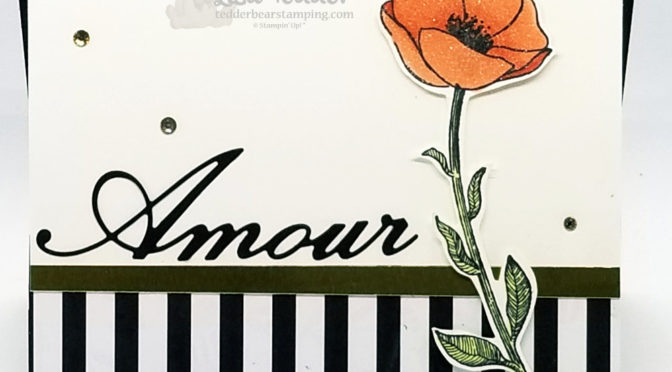
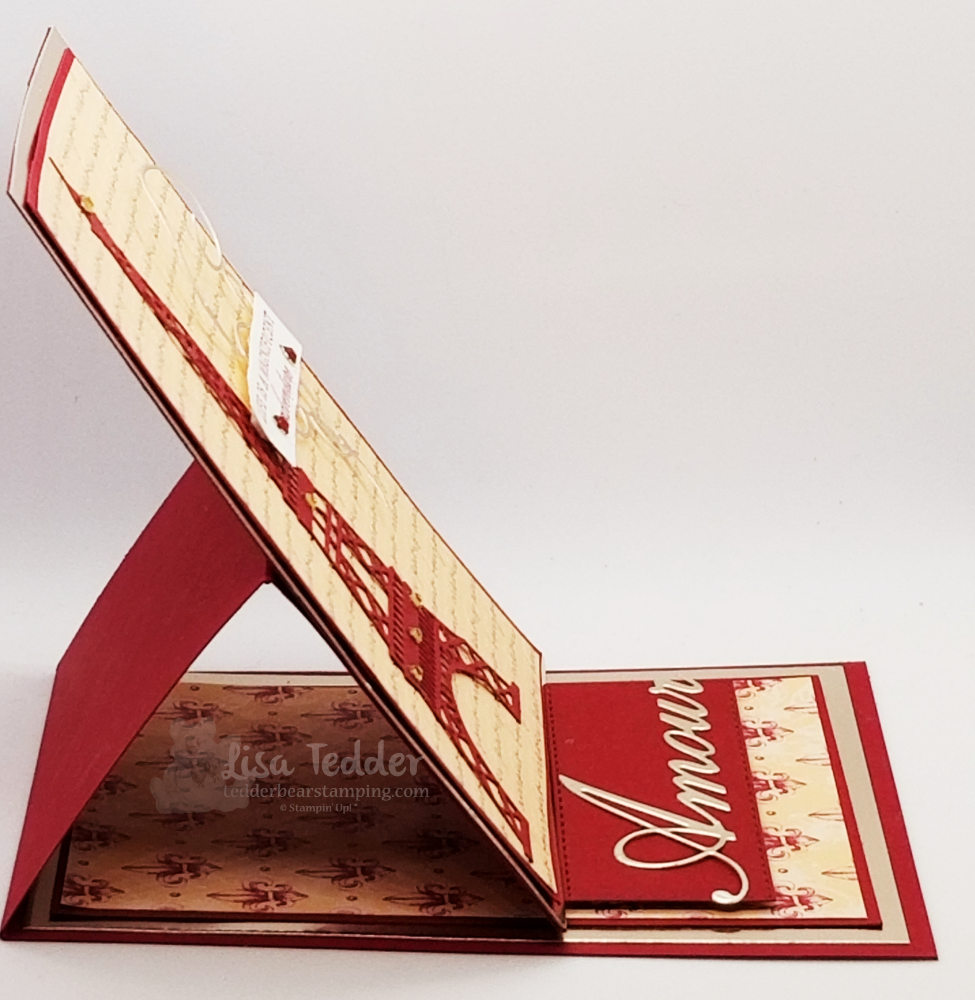
This card is pretty straightforward, stamping and die cutting the DSP/swirly ……very fast and easy! I hardly ever do ‘simple’ cards, they are more of a challenge for me, go figure! Ha!
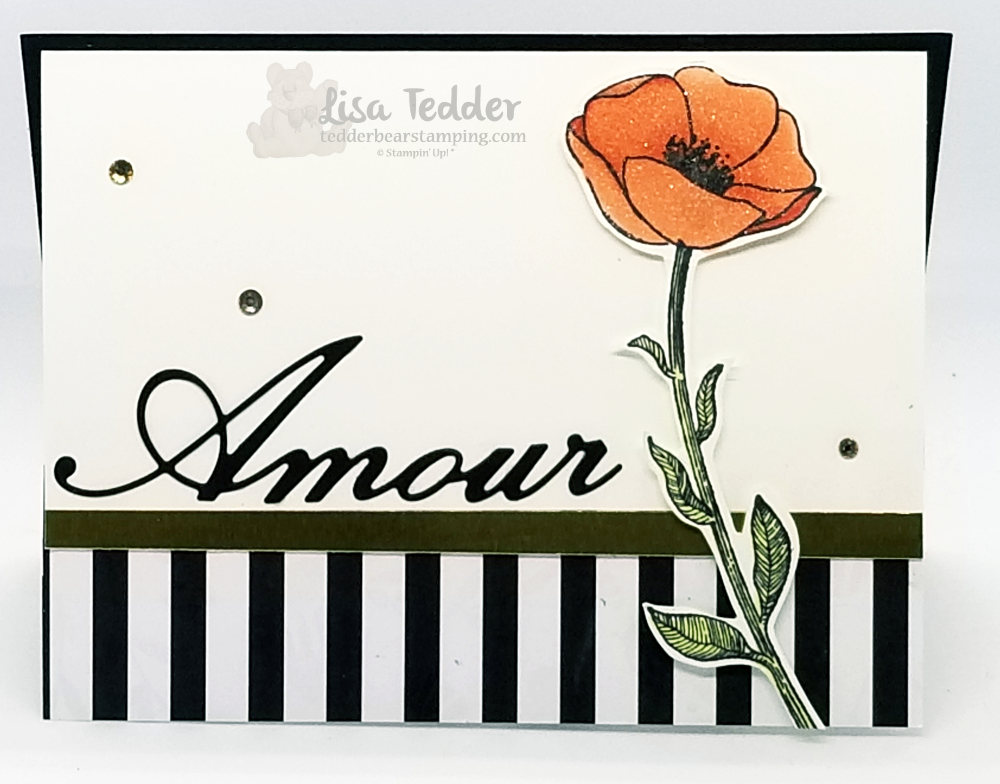
Here are the specifics for this card:
Stamps:
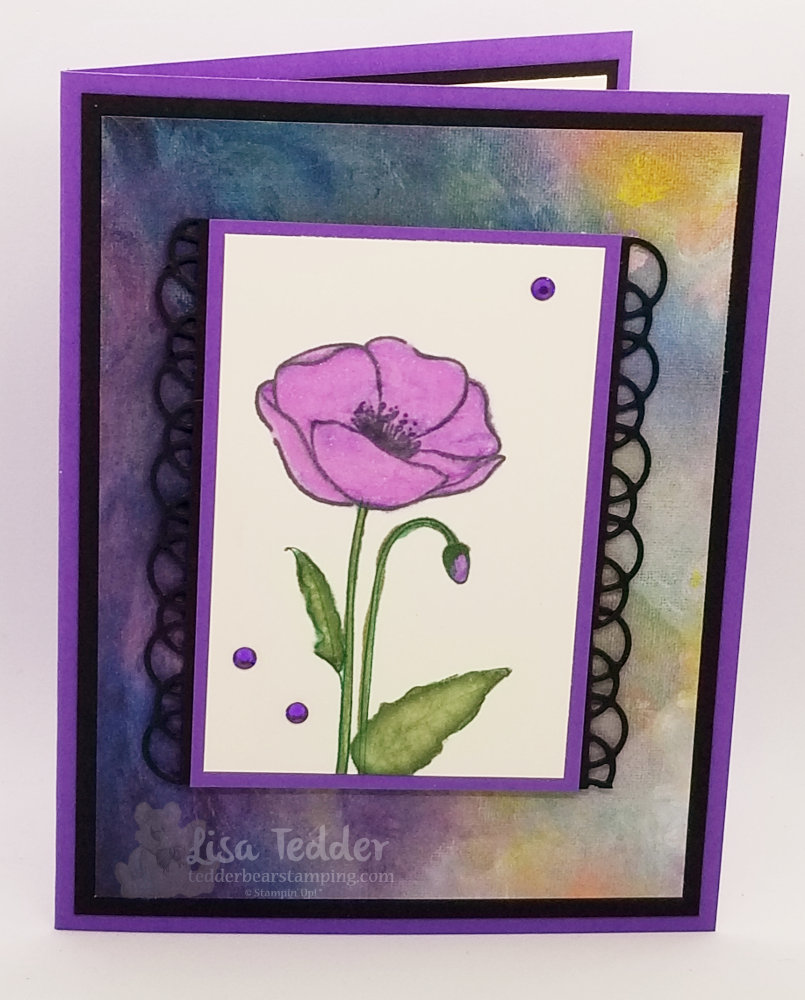
Painted Poppies Bundle
Forever Blossoms
Inks:
Memento Black
Paper:
Black 8 1/2″ x 5 1/2″, scrap for swirl
Poppy Parade 5 1/4″ x 4″
White scrap
Peaceful Poppies DSP scrap for center of swirl
Misc:
Dimensionals
Layering Circle Dies
Classic Label Punch
Peaceful Poppies sequins
MultiPurpose Liquid glue
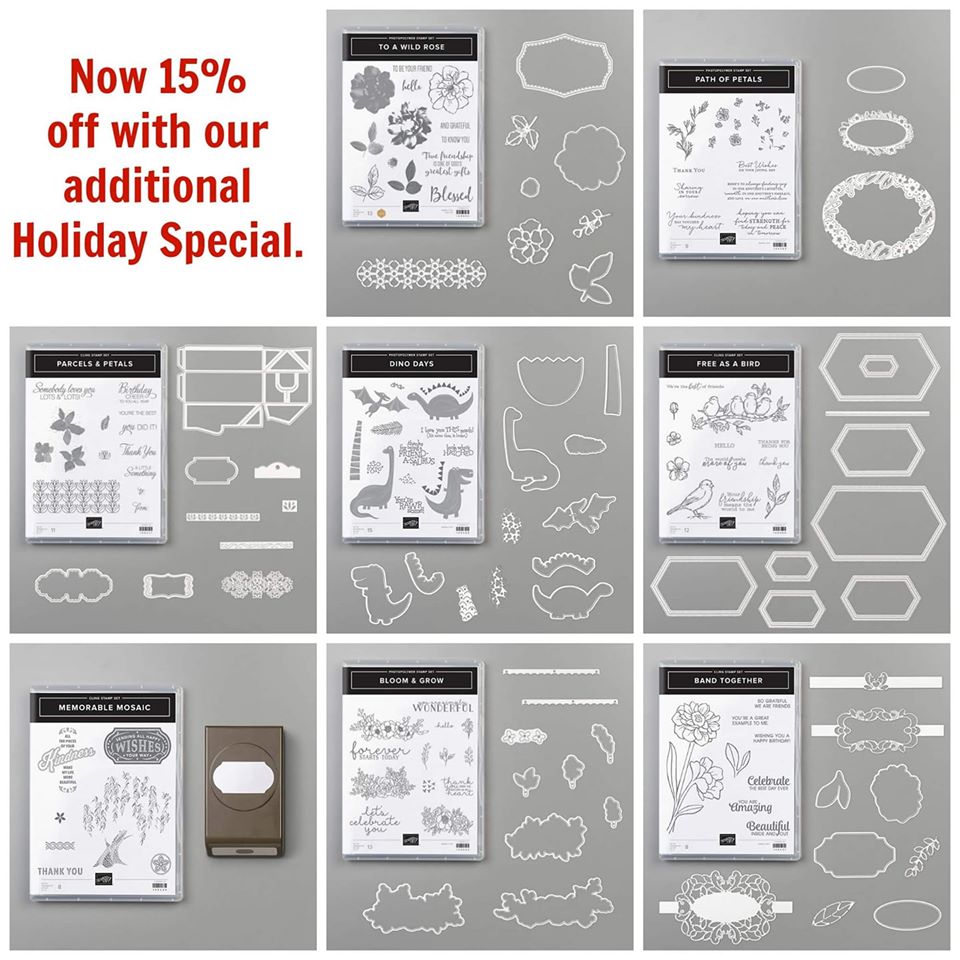
As usual, the supplies will be listed below in picture form, click on any of them to be taken to my OnLine Store. If you purchase from me you will receive from me a handmade thank you card and 40+/- tutorials! Each month you can get brand new tutorials with any purchase! IF you are interested in my class where you can get the 3-5 cards for free, purchase the Painted Poppies stamp set (to get 3) or the Painted Poppies bundle (to get all five cards in a tutorial!). If you live near me in North Carolina, you are welcome to come to my classes! I have day and night time classes!
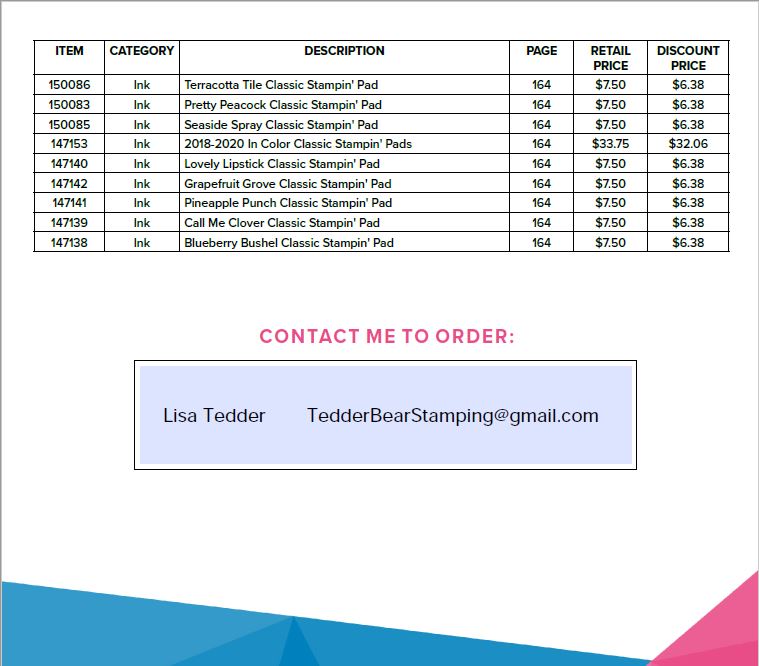
Lisa Tedder
A California girl living in North Carolina
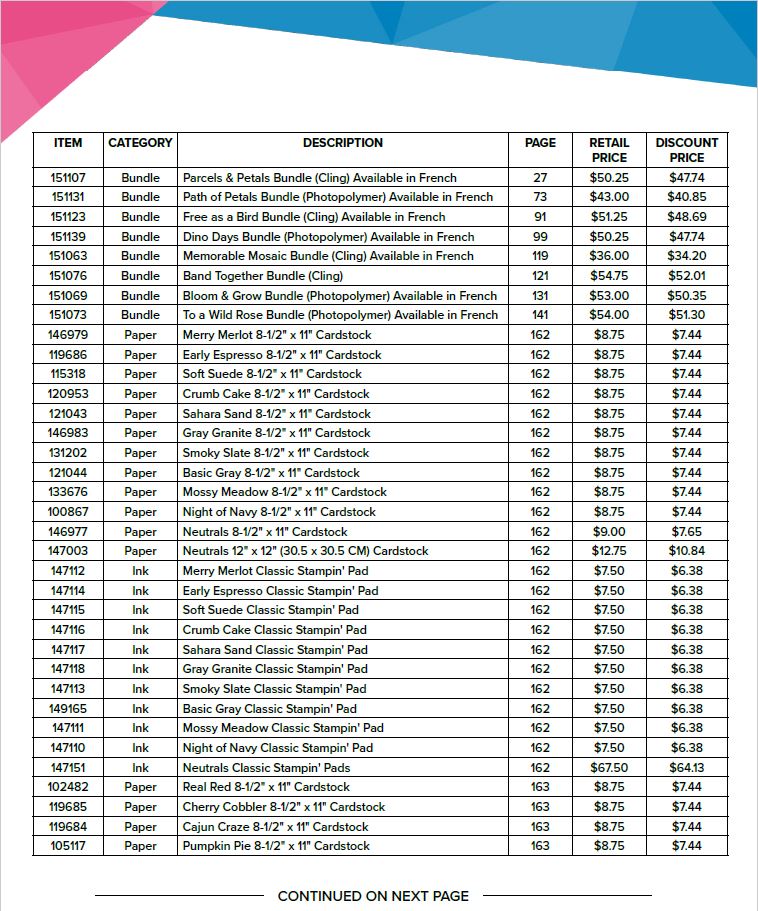
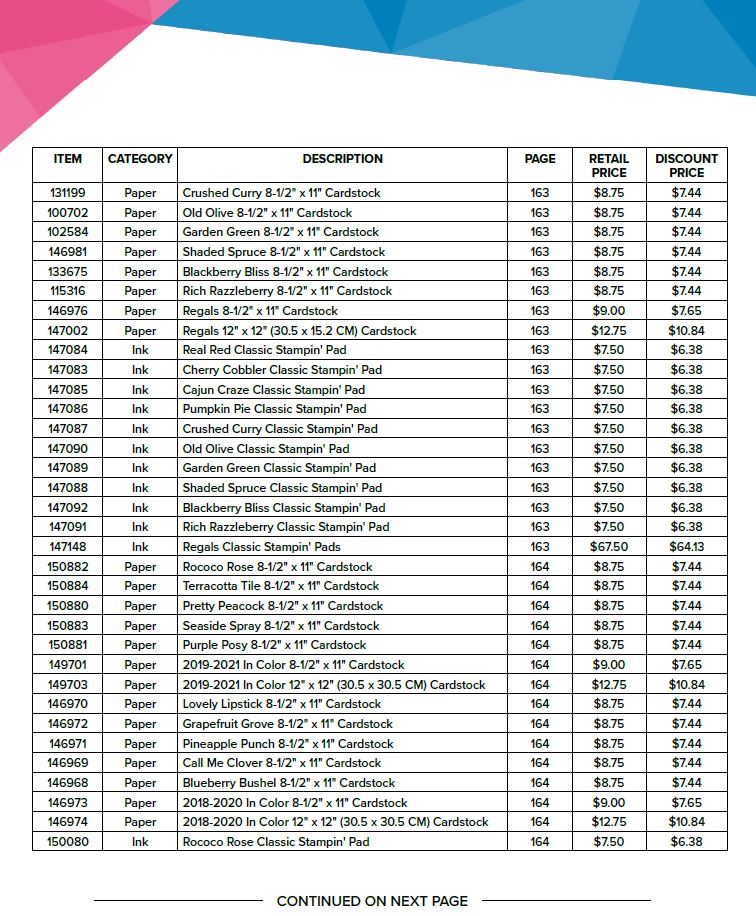
Product List

")


")


 Crinkled Seam Binding Ribbon")


")


 Textured Weave Ribbon")
")
 Satin Ribbon")


")


")


 Flax Ribbon")
